


Do you have a kid asking for a Super Mario Birthday Party?
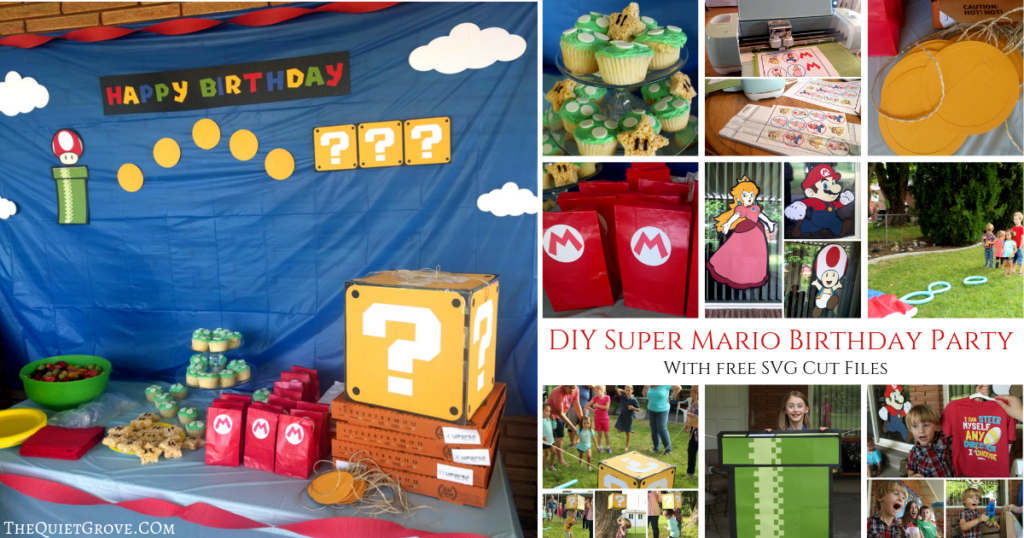
So I actually threw this birthday party for my youngest last year for his 4th birthday. I did a post about it on my Instagram Account and have gotten a lot of requests for me to do an actual blog post and to share the cut files my husband designed for me to use with my Cricut for this party. But until Now I haven’t gotten around to writing up a Blog post about it. Which is a shame since this was probably my favorite themed Birthday Party that I have done so far. Well better late than never…right?
So as you know I love throwing parties. Themed parties are even more fun and in my mind special so When we aren’t traveling when it comes birthday time for my kids I like to go out of my way to throw them a special themed birthday party of their choice. When they are younger these birthday parties are family affairs (with cousins, aunts, uncles and grandparents) when they get older they can choose to have their party be a friend’s party instead.
This last year when I asked my youngest what theme he wanted for his 4th Birthday he immediately responded, “MARIO!!” which makes sense what with his favorite games to play are Mario games.
For this party, I asked my husband who is a skilled illustrator to help me by designing some SVG cut files for me to use with my Cricut for the party. Then I got to planning the food and decorations.
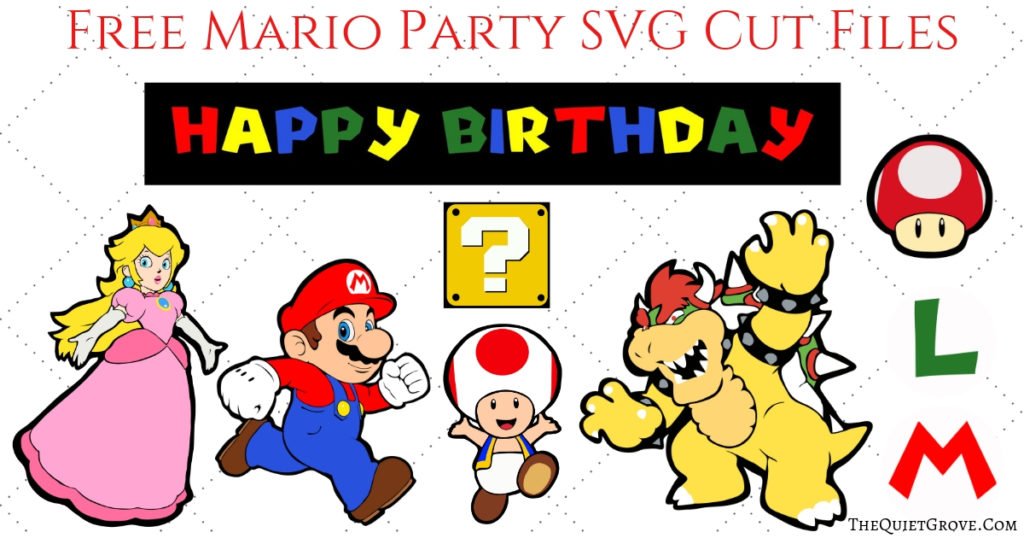
Get Free SVG Cut Files HERE
If you need to order any of these supplies from Cricut.com use Promo Code: TheQG10 to get 10% off + free shipping!!
**Note this code does not work on Design Space Access, digital content, machines, EasyPress, Brightpad
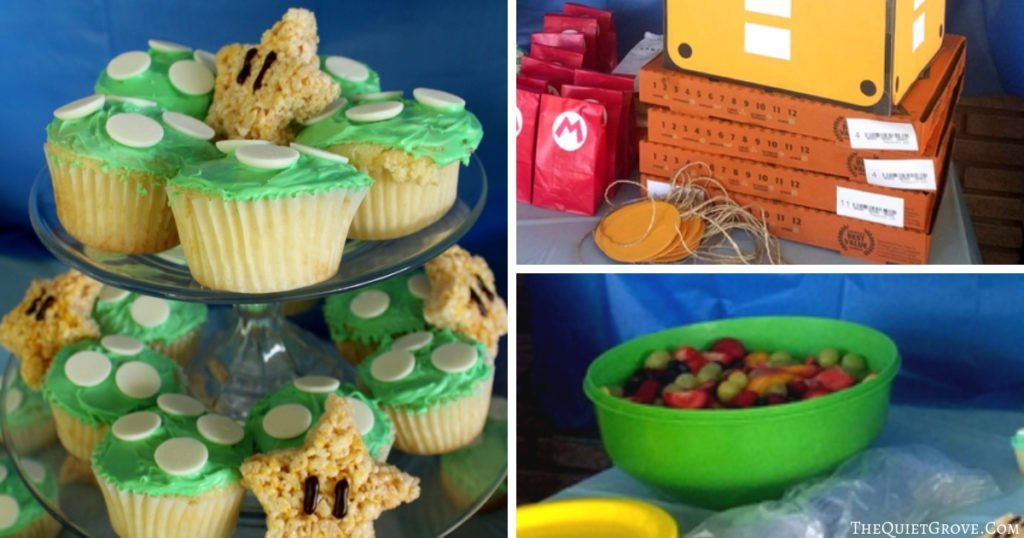
For the food (since we were going to be feeding a lot of people we opted to order pizza. For desserts, I made Power up Cupcakes and Star rice Krispies. I made the power up cupcakes out of vanilla cake and topped them with green vanilla frosting and white chocolate melts. to make it look like a power-up cupcake. For the Krispy Stars, I made a batch of Rice Krispy treats (poured onto an edged cookie sheet) then cut out stars using a cookie cutter. To finish them I pipped eyes out of block pipping icing.
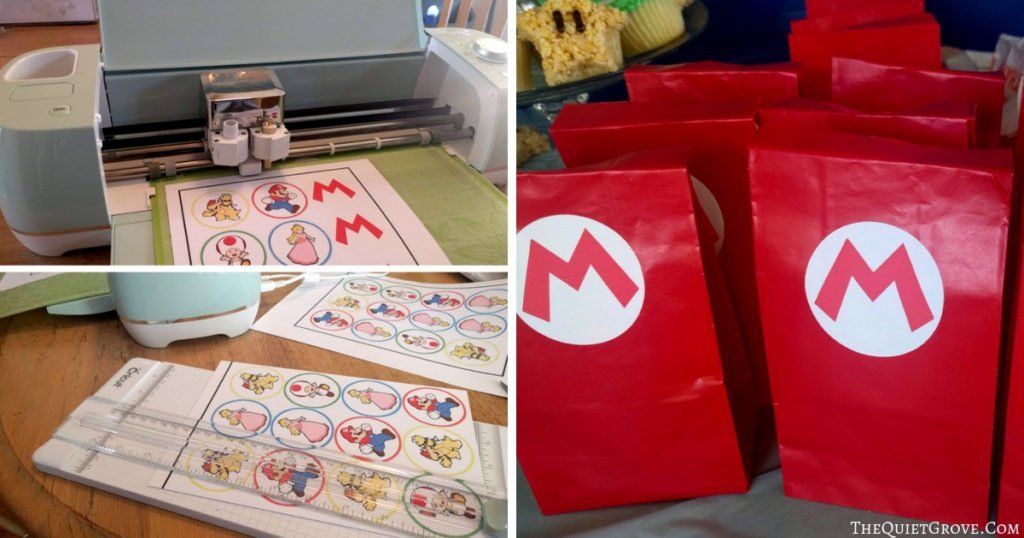
For the Party Favors, I took small red paper bags and made Mario “M” Stickers for the front of each bag (using Printable Vinyl Stickers. (Get directions on how to make Print & Cut Party Favor Stickers HERE) Inside each bag, I had Mario Character stickers I made with printable vinyl (I did so by creating a colored circle in Design Space with a slightly white circle with the Character design on top that I flattened to make a print and cut sticker design) along with some candy.
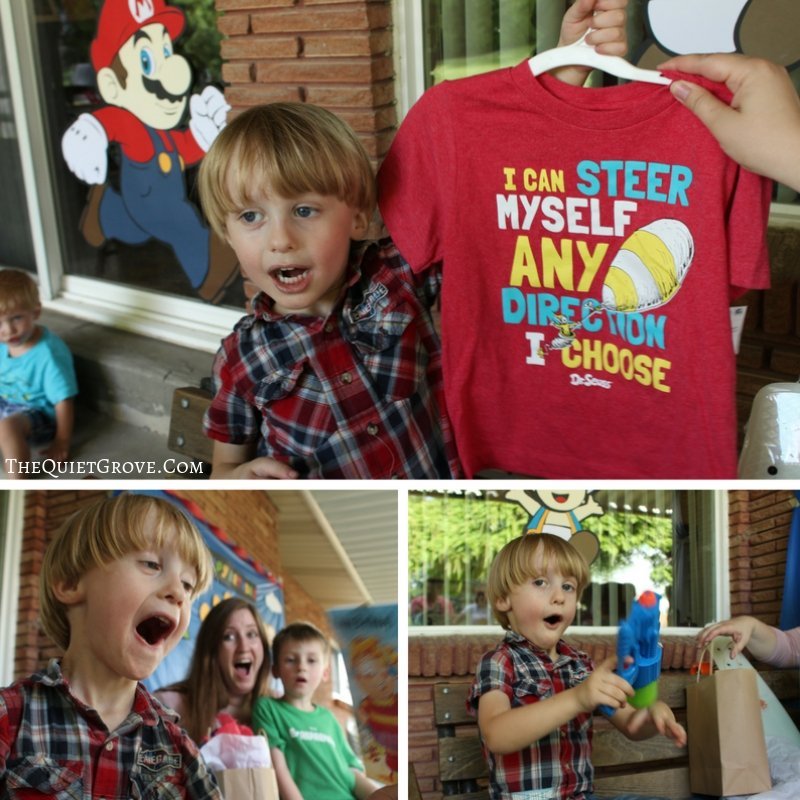
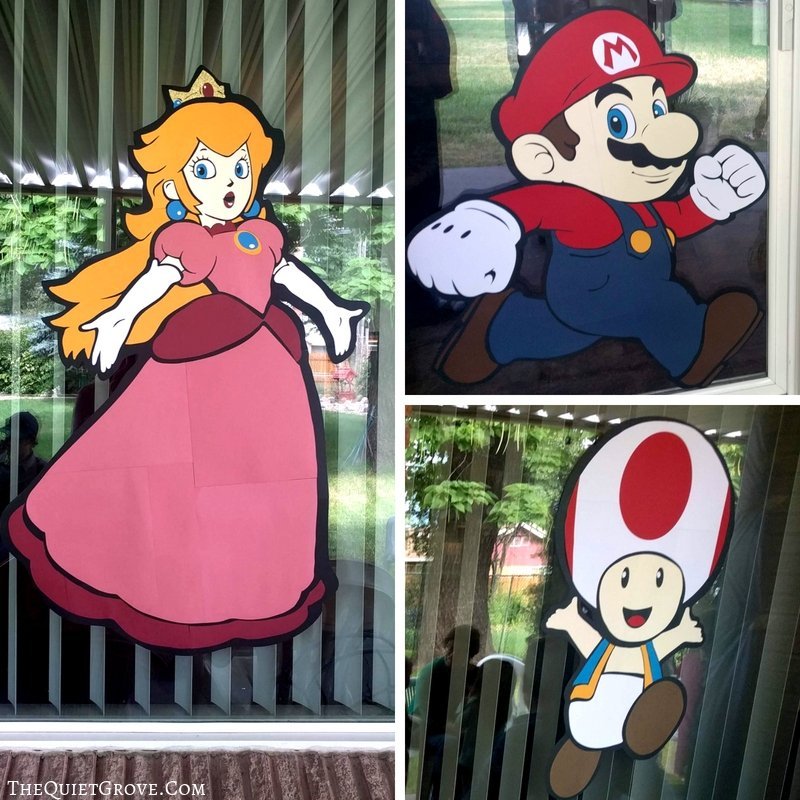
For the decorations, I made larger than mat Mario characters out of Cardstock using the SVG designs my husband made for me. (you can find instructions for how to turn the SVG files into larger than mat characters in my Zelda Party Post HERE.)
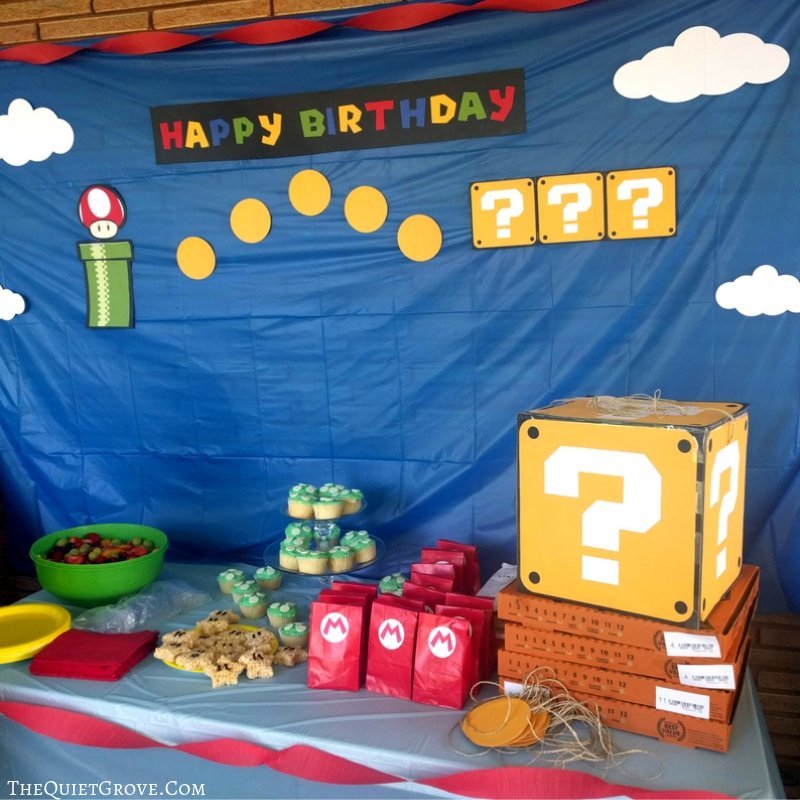
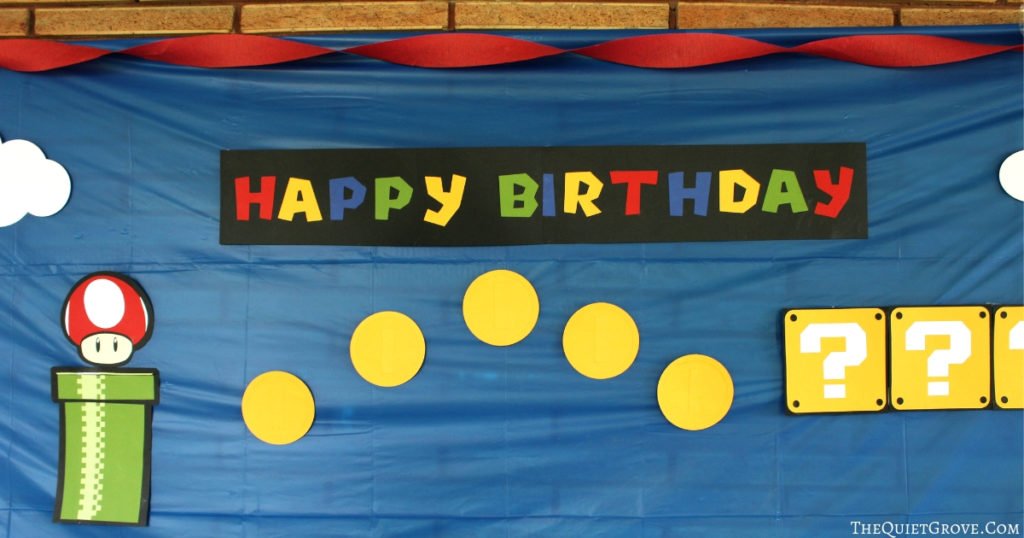
For the food table Along with the Pizza, cupcakes, and Krispy treats I also made a yummy colorful fruit salad that I served on Yellow Plates and Red Napkins. Behind the food table, for the final decoration touches I taped up a blue plastic tablecloth to which I taped a Happy Birthday Banner, Small pipe with mushroom, and question mark boxes I also cut out of cardstock using my Cricut Explore Air 2 and Free Mario SVG Cut Files I also included clouds and coins (that I created in Design Space HERE)
For our first activity that lasted the whole party, we made a really larger Mario Pipe that we used as a photo prop. This was a hit with kids and adults who liked to pretend they were Mario going down the pipe to a secret land…

Next, we did a fun obstacle course where we timed each kid and wrote their time on the back of Coin awards that I made with Cardstock and ribbon. (that I designed in Design Space HERE) The Obstacle course consisted of pool noodles taped into rings (which the kids had to hop from one to one) a parachute (they each had to crawl under) a chair (they had to run around. And a wood board (they each had to walk across).

Our last activity was a Mario Style Pinata. Rather than a regular pinata that you hit with a stick, I made a Mario Question Box with a tissue bottom That The kids would go under and hit with their head to tear. Inside the pinata, I had little bags filled with candy. A bag for each kid.
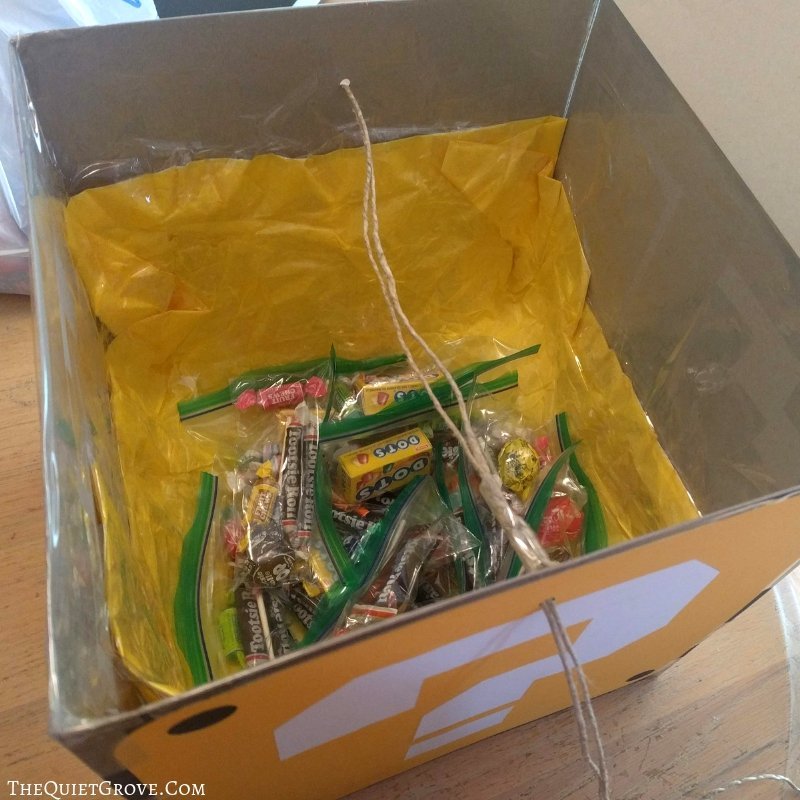
(For the Pinata I Created the box my taping (4) 12×12 Chipboard squares together to form the box sides and then I taped the top on only 1 side so that it could open (I used the chipboards Cricut puts in their Cardstock packages for stability) Then I cut out a 12×12 Yellow Cardstock Question Mark Box which I glued on top of each side of the pinata box to make it look like a large question box from the Mario Games. I then created the bottom of the pinata by taping tissue paper on the inside before carefully placing the bags of candy inside. Lastly, I poked holes on both sides of the box that I strung a cord through to hang the pinata. )

This was such a fun Birthday party for everyone involved. When we were done we kept the decorations to hang in our son’s room alongside his brother’s Zelda decorations and sister’s Paris & Poodle Decorations.
If you liked this post then check out these: (CLick on the photos to go to the posts)


Whitney
Sunday 10th of July 2022
Anybody have any luck downloading the Mario SVG files? I have tried multiple ways and nothing. Thanks
Julia
Sunday 10th of July 2022
The instant download link is for a compressed RAR file containing multiple SVG cut files. You need to use a standard Winzip program (which is free online if you don't already have it) to open the compressed file and extract the SVG cut files to use. I can manually resend you a new instant download link if you need it.