
DIY Harry Potter Inspired T-Shirt Using Cricut Iron-on


Looking to make a fun Harry Potter Inspired T-Shirt?

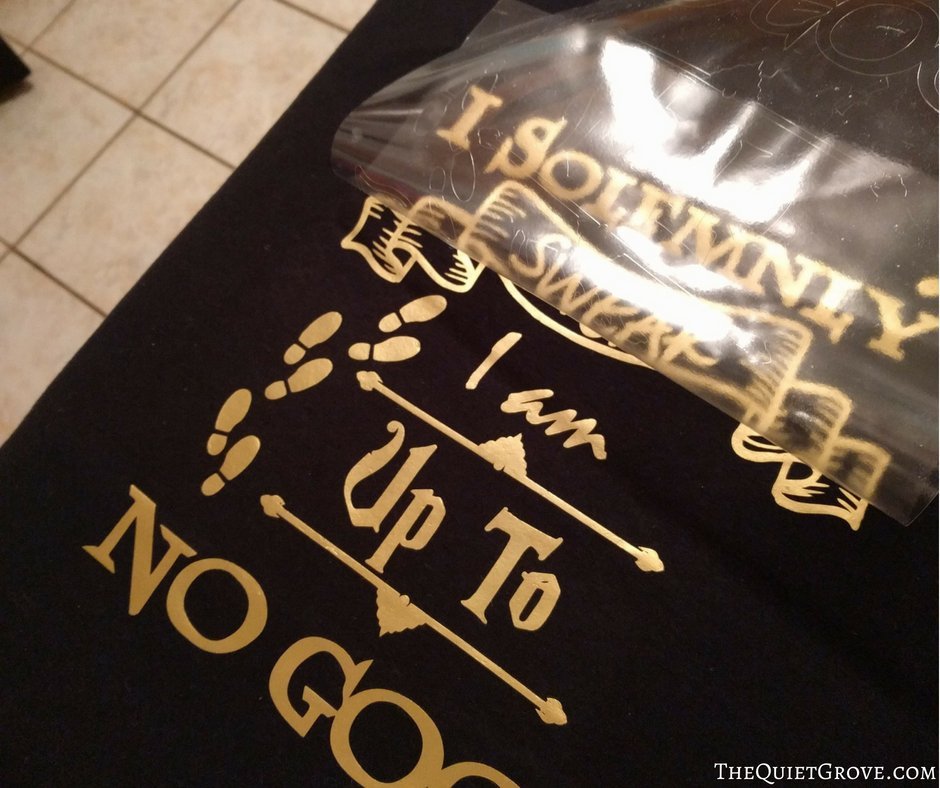
So I actually made this shirt a year ago to wear to Comicon. My sister insisted I have something Geeky to wear to comicon so I wouldn't embarrass her. So I whipped out my Computer and Cricut Explore Air 2 and Made this shirt in about 20 minutes. I already had the design for the "I Solemnly Swear I Am Up To No Good"back of the shirt (that I had made into an art print for my site.) so I just had to design the Hogwarts Alumni for the front.
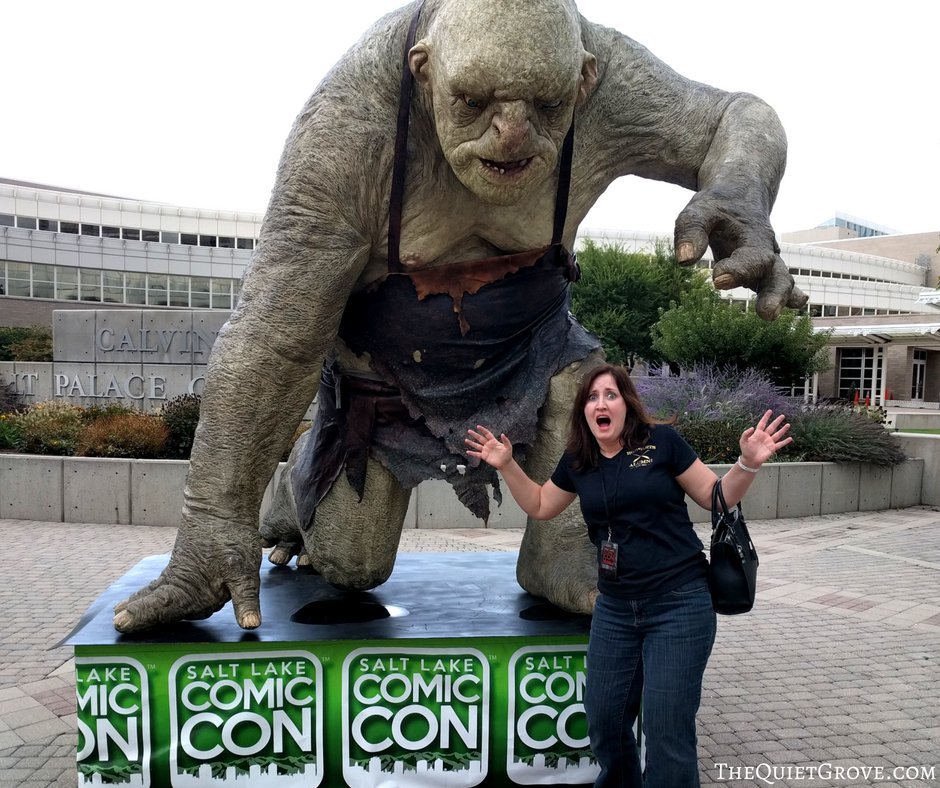
Anyways, at the time I made it I wasn't thinking of putting the files up on my site. It was just a fun spur of the moment project. However, I have have had a lot of people tell me they wanted to make this shirt. So while at the gardens with my family the other night I asked my hubby if he could take some pictures of my now very worn and washed many a time shirt, (since I didn't really have any good ones to show the design) so I could post this tutorial.
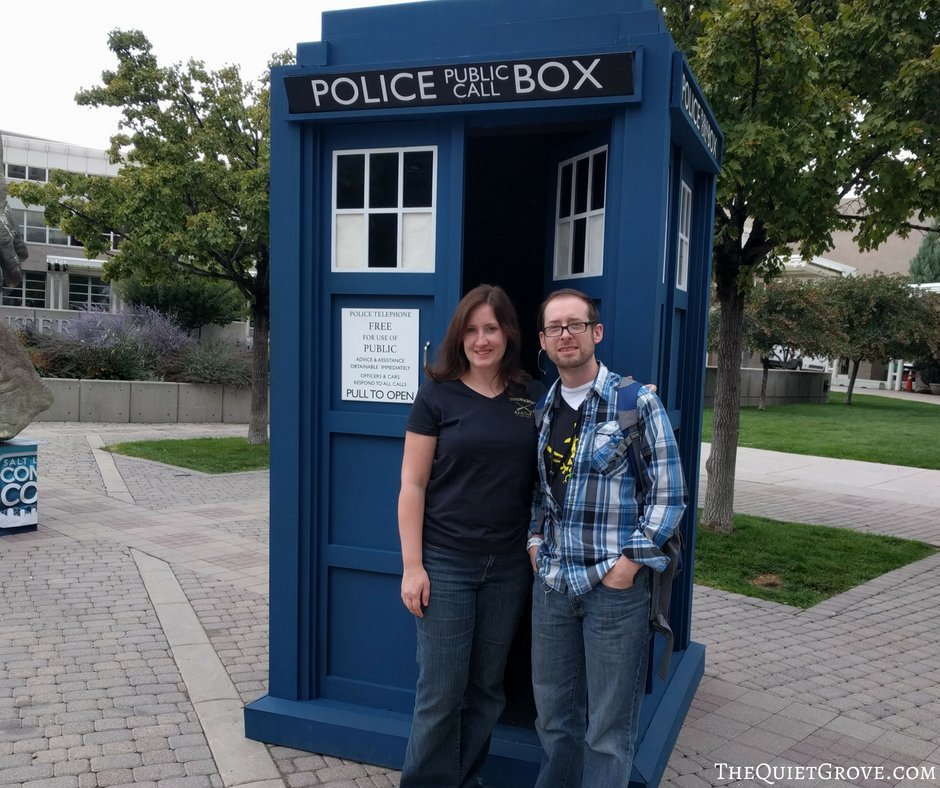
Even after a year of wearing and washing the Iron-on still looks great (though it looked even better when newly made.) So here is the quick tutorial for making it.
Materials Needed
- Cricut Explore Air 2 (or other Cricut Cutting Machines that work with Design Space)
- Cricut Design Space
- Hogwarts Alumni SVG Cut Files --> HERE <--
- Standard Grip Mat
- Fine Point Blade
- Weeding Tool Set
- Gold Iron On Lite (Heat Transfer Vinyl)
- EasyPress or EasyPress 2
- EasyPress Mat
- Adult sized Black T-shirt
If you need to order any of these supplies from Cricut.com use Promo Code: QUIETGROVE to get 10% off + free shipping!!
**Note this code does not work on Design Space Access, digital content, machines, EasyPress, Brightpad
Instructions:
- Download the "Hogwarts Alumni" SVG Cut File and the "I Solemnly Swear I am Up to No Good" SVG Cut File and Upload into the same Design Space Canvas --> Get SVG's HERE <--
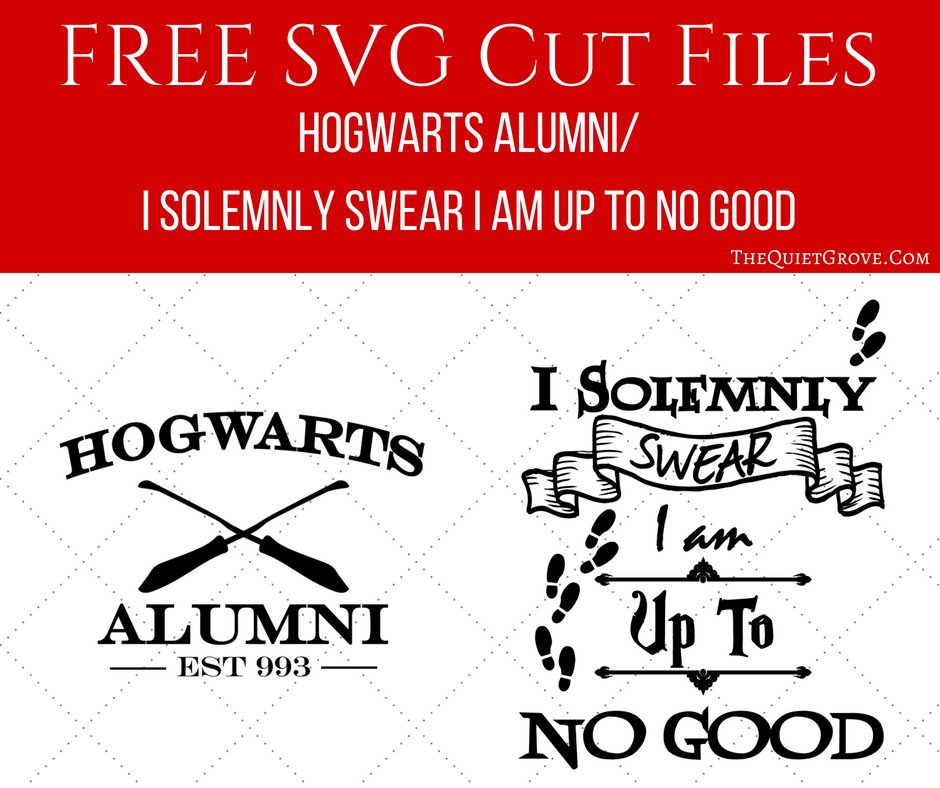
- Size design for the shirt you are putting them on. (For my size Large Women's Shirt I sized the Hogwart's Alumni design to 4in Wide for the front of the shirt and the "I Solemnly Swear I Am Up To No Good" design to 9 in Wide for the back of the shirt)
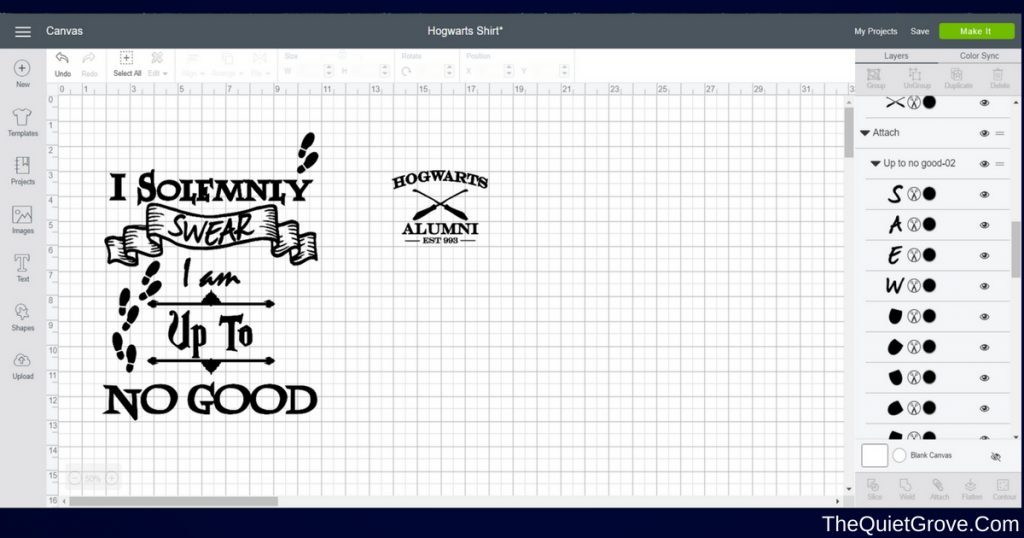
- Make sure to click the Mirror Image button for all the Mats before cutting them out.

- Set your Cricut Machine to Iron-On and load your Iron-on shiny side down on your standard grip mat.
- Weed using weeding tool and tweezers found in the Weeding Tool Set.

- Place shirt on EasyPress Mat ** The EasyPress Mat is Cricut's newest tool to use with their Easypress. It shields your work surface from damaging heat (so you can use your table without damaging it) It helps eliminate moisture and directs the heat (from the Easypress) to your Iron-On Design creating a better meld to your fabric!
- Preheat the area of your shirt that you will be putting your design (5-10 seconds) then place the first color of Iron-On where you want it on your shirt.

EasyPress Ironing Instructions
- For the Standard Light Iron-on on 100% Cotton shirt set your EasyPress to 3015 F and preheat for 5 Seconds. Press Iron-On design for 30 seconds on the front of the garment and then 15 seconds on the back of the garment (leaving Liner on) using medium pressure. Warm Peel
Regular Iron Instructions (for those who don't have an EasyPress Yet.)
- Set your iron to the Cotton/Linen setting (generally the highest temperature setting). Make sure the steam setting is OFF for steam irons.
- Place the weeded image, liner side up, onto the preheated material.* Apply medium pressure with the iron for 25-30 seconds.
- Flip the material over and apply medium pressure with the iron to the back of the material for an additional 25-30 seconds.*
- Let cool 1-2 minutes. Remove lining.
This is such a fun shirt for Harry Potter Lovers. I get stopped all the time when I wear it out and about.

If you liked this post, then check out these: (Click on the photo to go to the post)




Hi I’m very new to cricut and would LOVE to make this shirt for my daughter how do I save it and transfer it to my space thank you
Thank-you This is great!