
HTVRONT Auto Heat Press 2 Review: Is This Auto Heat Press Worth It?

Disclosure: HTVRONT gifted me the Auto Heat Press 2 to facilitate this review. However, all opinions expressed in this post are entirely my own. You can read my full disclosure here
HTVRONT Auto Heat Press 2 Review: A Game-Changer for HTV, Sublimation & DTF Projects
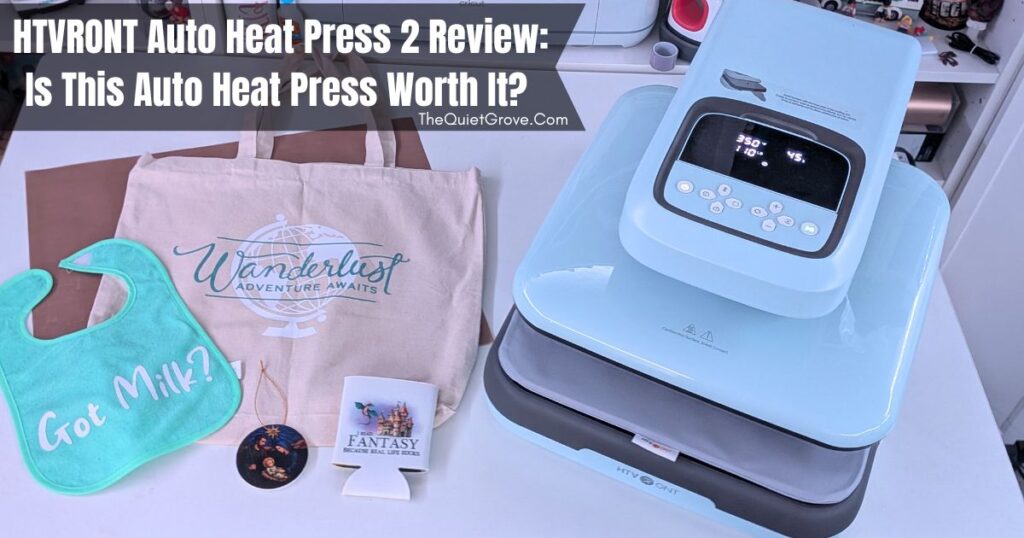
If you have been around here for long, you know I love trying out new crafting tools—especially ones that make my creative process easier and more efficient. So today I am excited to share my thoughts on the HTVRONT Auto Heat Press 2, a machine that has honestly taken my heat pressing projects to a whole new level.
Recently, HTVRONT sent me their Auto Heat Press 2 to try out and review here on the blog, and I have to say, I was really curious to see how it would compare to the handheld heat presses I have relied on for years.
Up until now, all of my HTV and sublimation projects have been made using handheld heat presses. They have served me well, and I still appreciate the compact portability of smaller handheld presses. But they also come with a few frustrations. With a handheld press, you have to provide the pressure yourself the entire time you are pressing. And when working on larger designs—especially on bigger shirts like XL or 2XL tees—you often have to press the design in sections, moving the press multiple times to cover the full image.
That works, but it definitely is not the most efficient way to craft.
My Biggest Concern Before Trying the Auto Heat Press 2
As much as I loved the idea of an auto heat press, I had one major hesitation before trying one: space.
I do not have a craft room setup where I can leave a large machine permanently out on my desk. If I were going to use an auto heat press, I needed something I could store in one place and then move into a shared crafting space when I actually wanted to use it.
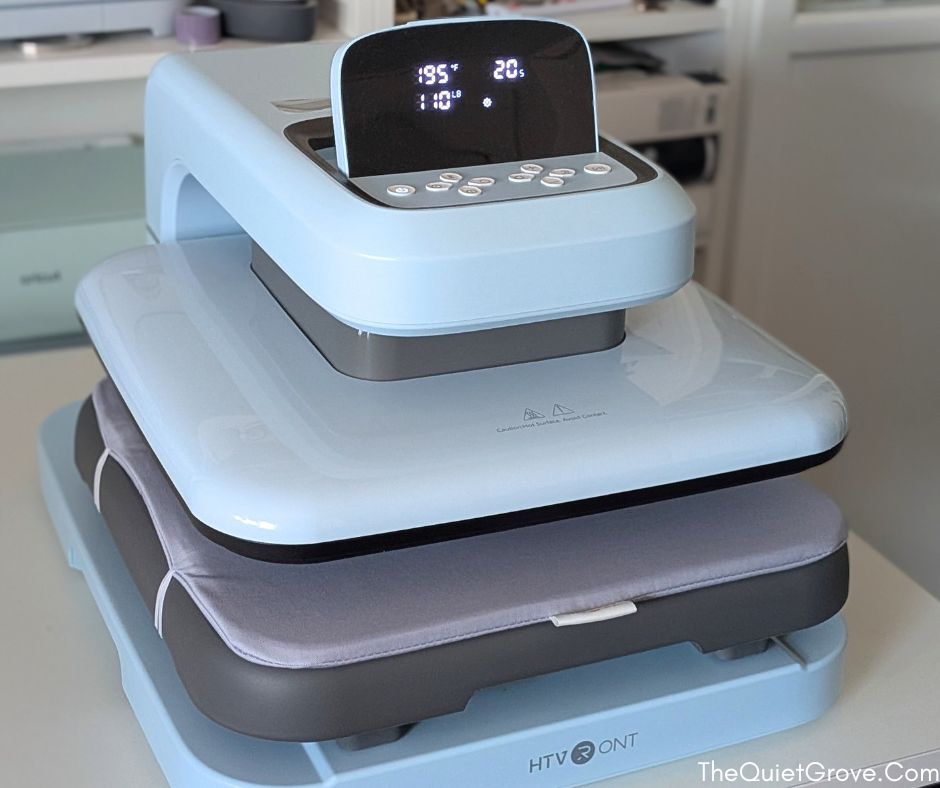
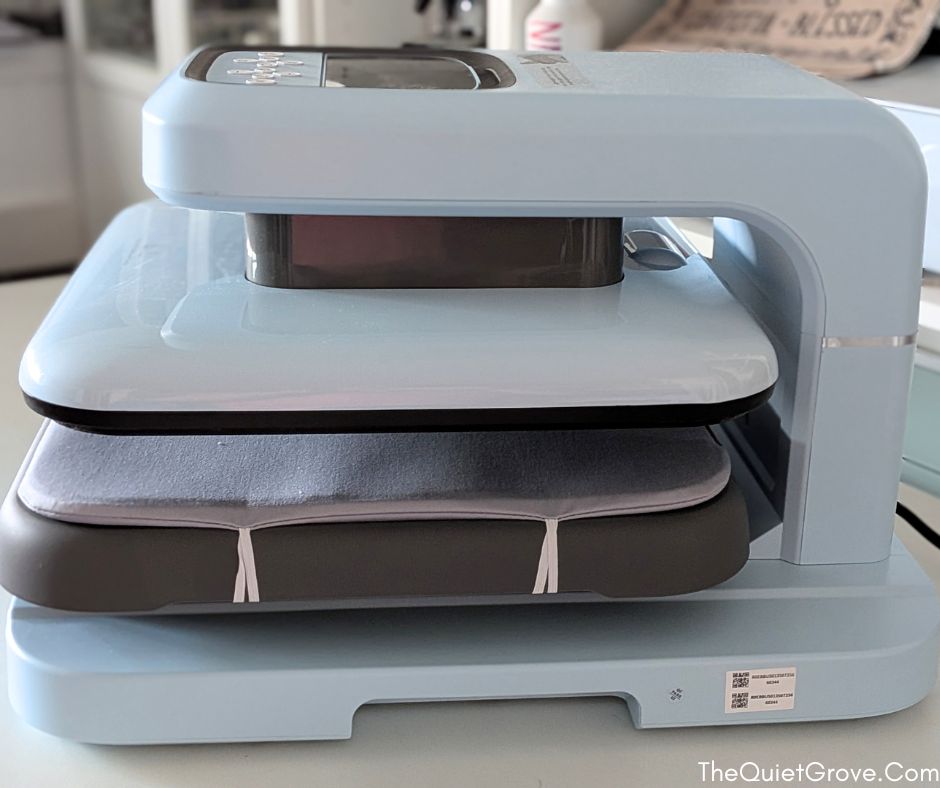
The good news? While the HTVRONT Auto Heat Press 2 is definitely larger and heavier than a handheld heat press, it is still very manageable to move. You carry it from the bottom, and the base has convenient handholds on each side, which makes it much easier to lift and transport than I expected. That means I can store it when I am not using it, then pull it out and set it on my crafting desk when I am ready to work.
For me, that portability made a huge difference.
What I Love Most About the HTVRONT Auto Heat Press 2
The biggest feature that won me over is the fact that this press lets you control all three major parts of the pressing process:
- Temperature
- Time
- Pressure
With my handheld heat presses, I could already control the time and temperature, but pressure was always up to me. That means I had to make sure I was applying enough pressure, keeping it consistent, and physically holding it there the entire time.
With the HTVRONT Auto Heat Press 2, the machine handles the pressure for you.
You simply set your time, temperature, and pressure for the project you are working on, and the press does the rest. That one feature alone makes this machine feel like such a major upgrade—especially if you do a lot of heat transfer projects.
15" x 15" Pressing Area = Fewer Multi-Step Presses
Another feature I have really appreciated is the 15" x 15" pressing area.
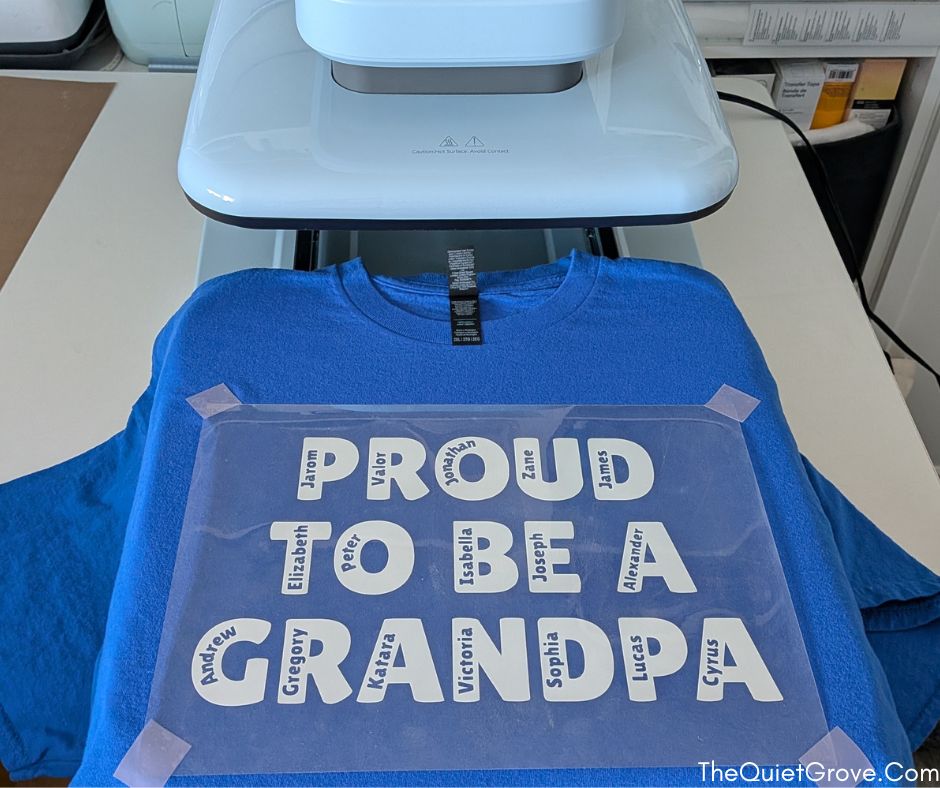
That larger size means I have not had to do multiple presses on bigger projects the way I normally would with a handheld press. For larger shirt designs, especially adult shirts, that is a big deal. Instead of pressing one section at a time and hoping everything lines up perfectly, I can often press the design all at once.
My first project with the Auto Heat Press 2 was a custom Father’s Day shirt for my dad. Since he wears a 2XL shirt, I would normally have to press the design in sections with even my largest handheld heat press. But with the Auto Heat Press 2, I was able to press the whole design at once thanks to that larger pressing area.
That alone made the project faster, easier, and less stressful.
How the HTVRONT Auto Heat Press 2 Works
Using the Auto Heat Press 2 is very straightforward.
Once you plug it in and turn it on, the top of the press automatically lifts so you can easily slide out the base tray and place your project materials on it. I really like this slide-out design because it makes setup easy and keeps your hands farther away from the heated top plate while positioning your project.
From there, you can choose between Auto Press mode or Manual mode.
With Auto Press mode, the machine begins pressing as soon as you push the tray fully back in until it clicks. If you prefer, you can also start the pressing process manually instead.
The machine also includes a removable pressing mat, which is nice if you ever need to clean it. Mine also came with a silicone mat, which I have been using on top of my projects to help protect the press pad.

One Small Adjustment Compared to a Handheld Press
One difference I noticed when using the Auto Heat Press 2 is that because you place your project on a slide-out tray, it is a good idea to use heat-resistant tape to keep your design from shifting when moving the tray in and out.
That is not something I usually have to worry about with a handheld heat press, since I am placing the press directly on top of a stationary project. But honestly, this was not a big downside for me at all—just a small adjustment in workflow.
Why the Auto Pressure Feature Matters So Much
While the auto pressure is nice for HTV projects, I think where it really shines is with sublimation.
HTV projects usually only press for around 20–25 seconds, depending on the material, so while it is still convenient to let the machine do the work, it is not a huge hardship to hold a handheld press that long.
Sublimation is a different story.
Sublimation projects often require a couple of minutes of pressing time, and with a handheld press that means standing there the whole time, holding the press down and trying to maintain steady pressure. In the past, that would leave my wrists and arms aching—especially on larger projects.
With the HTVRONT Auto Heat Press 2, I can start the press and let it handle the pressure while I move around and take care of other things nearby. That has been one of the biggest quality-of-life improvements for me. It makes longer pressing projects so much more comfortable.
Adjustable Screen and Easy Controls
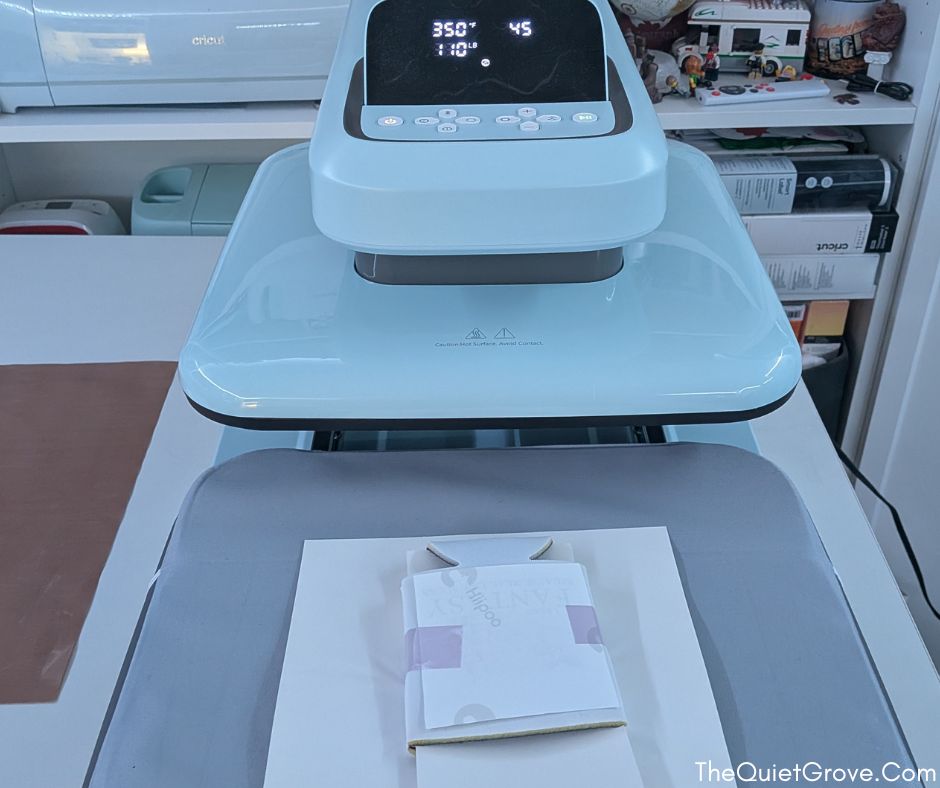
Another feature I really like is the adjustable display screen.
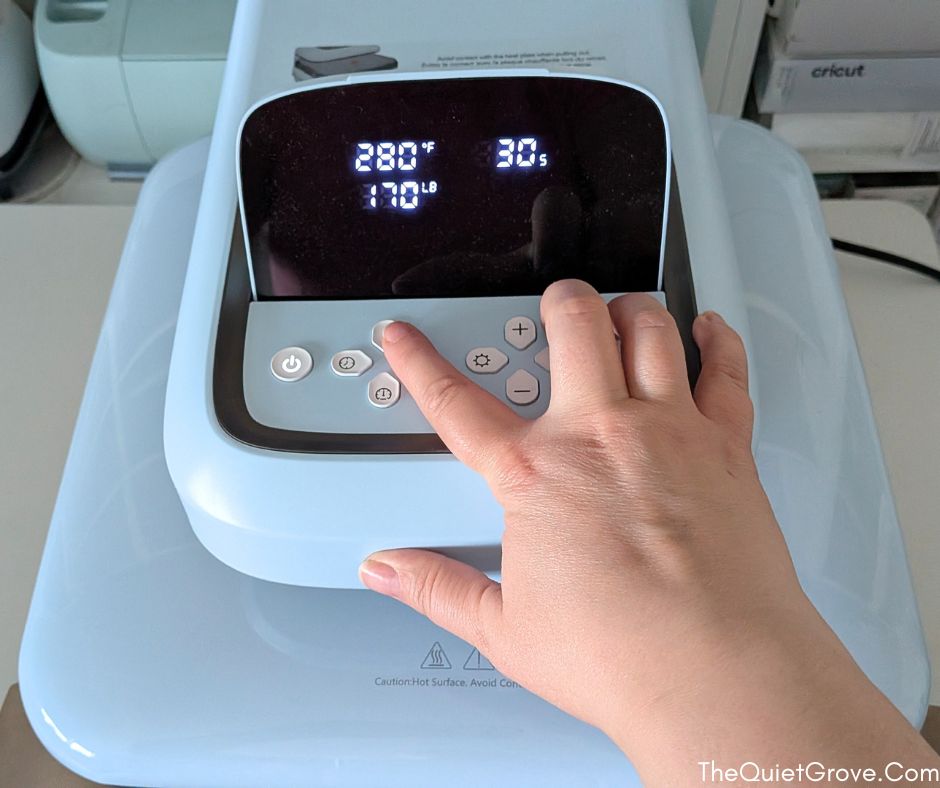
The screen can be positioned flat if you are viewing it from above, or tilted upright so it is easier to see from the front. It is a small design detail, but it genuinely makes the machine more comfortable to use in different crafting setups.
Changing the settings is simple too. After turning the machine on, you just tap the icon for the setting you want to change—temperature, time, or pressure—and then use the up and down buttons to adjust it to your project’s needs. Click on the automatic button if you want to use that setting. The press also has memory recal for previous settings and automatic turn off if left unused for too long.

My Overall Thoughts on the HTVRONT Auto Heat Press 2
All in all, I am genuinely very impressed with the HTVRONT Auto Heat Press 2.
It is easy to use, has a generous pressing area, and gives consistent heat and pressure for great results. I especially love that it works with HTV, sublimation, and DTF transfers, which makes it a versatile tool for a wide variety of projects.
For me, the biggest benefits have been:
- Not having to manually apply pressure
- Being able to press larger designs all at once
- Having a more comfortable setup for longer sublimation projects
- Still being able to move and store the machine when I am not using it
If you have been thinking about upgrading from a handheld heat press to something that offers more consistency, convenience, and control, this is definitely a machine worth looking at.
Use my code: Julia10 to Save $50 on the HTVRont Auto Heat Press 2


