
The First 5 Things To Do When You First Get Your Cricut Maker

POST DISCLAIMER: This is a sponsored conversation written by me on behalf of Cricut. The opinions and text are all mine.
READER COMMENT DISCLAIMER: Comments submitted may be displayed on other websites owned by the sponsoring brand.
So you just got a Cricut Maker...Now What?

Like countless of you, I was awe-inspired when the Cricut Maker was first revealed at the 2017 Cricut Mountain Make-A-Thon. I mean seriously, not only could it do EVERYTHING that my Explore Air 2 could do, it could also do soo much more. With its rotary blade (an adapted tool launched with the Maker) you could now cut over 60 different kinds of fabric ...Without needing any stabilizing backing! They even and has teamed up with Simplicity®, Riley Blake™, and more to offer more than 500+ digital sewing patterns and quilt blocks available from (sold separately)
With the Knife Blade (shown but not launched until several months later) you could cut Chipboard, Basswood, Balsa wood, thin metal, Plastic, Leather and so much more. The Maker was not only 10 times more powerful than the current Explore Machines it also had the ability to control the direction of the adaptive tools created just for the Maker giving it the ultimate control in cutting materials.
When I saw what it could do, I KNEW I needed one. It immediately went to the top of my wish list. However, since we had just gotten back from traveling overseas with our family it wasn't in my budget (yet) to get one. So I waited and watched all the amazing projects being made by fellow Cricut bloggers and fell even more in love with this new Cricut machine. Then they came out with the Scoring Wheel (& Double Scoring Wheel) and I knew I had waited long enough and just had to have one.
Before I knew it my Maker, adaptive tools, and some fun materials had arrived and I was faced with the question...Now, What?!?
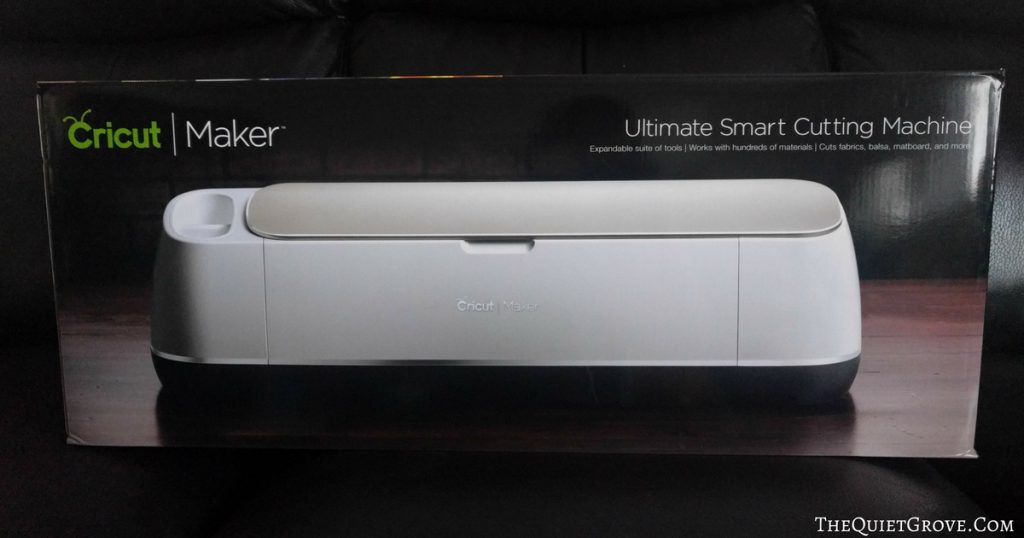
Thankful having owned both the Explore Air, and Explore Air 2 (and a long time ago an Expression) Machine I was prepared for my maker. In the few weeks that I have had my new Maker, I have had the opportunity of making some wonderful projects. I have loved the Rotary blade and Scoring Wheel and look forward to using my knife blade for the first time this next week for a fun Fall project I will be making. (stay tuned it is going to be awesome!) For those who need a little help getting started here are my tips for the First 5 things you need to do when you first get your Cricut Maker.
1- OPEN THE BOX and get out your Maker
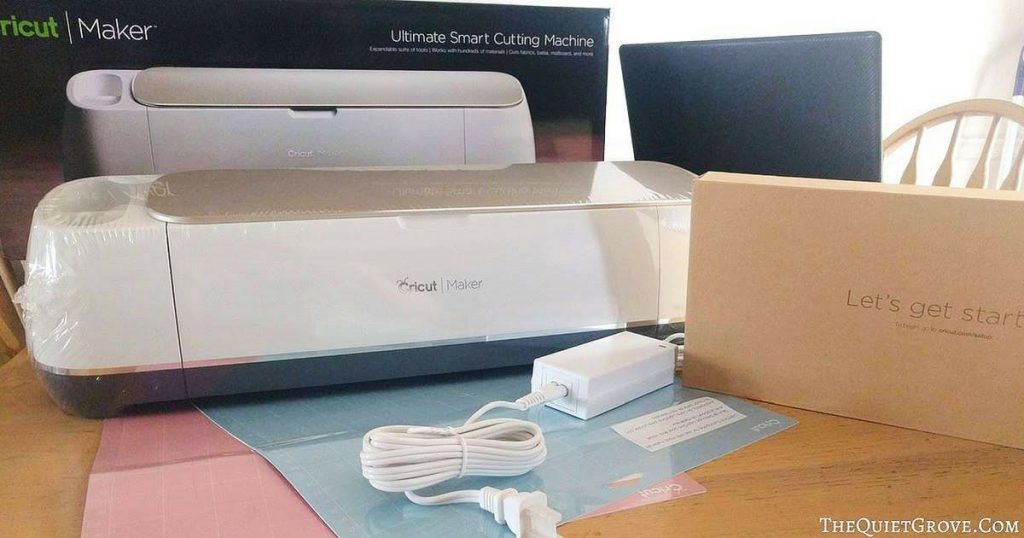
I know this sounds simple and redundant but I can't tell you how often I hear in one of the Cricut FB groups I am a part of that someone got their Maker and had had it for XXX amount of time but hadn't taken it out of its box yet. Overwhelmed with the possibilities and not knowing where to start (and probably a bit afraid of doing something wrong and ruining the materials they had invested in let alone their Cricut Maker.) their much-awaited Maker sits lonely in its box.
If this is you (and note you are not alone) I encourage you to just open the box and pull your Maker out. You won't regret it. Trust me.
2- Familiarize yourself with your Maker Machine.

When you open your Cricut Maker you will find a fun booklet that includes the diagram above to help you familiarize yourself with your actual Maker machine. It also goes into detail about the adaptive tools and the new materials you can now cut with those tools and your Maker. Take a few minutes to go through the book and then open your Maker and find all the mentioned parts.
A few of my favorite aspects about the Maker is that with the help of its adaptive tools (ie The Scoring Whee which creates razor-sharp creases in materials like Cardstock, Poster Board and more; The Knife blade which can cut thicker materials like Leather, Chipboard Basswood, Balsa Wood and more compatible materials up to 2.4 mm: and The Rotary Blade which cuts fabrics, felt, and even crepe paper and did I mention they have a cool washable fabric pen that can draw the pattern on your fabric to make sewing easier??) you can now cut hundreds of materials. The Maker has a Fast mode for those simpler projects made with vinyl, Iron-on, and Cardstock, With its Fast Mode you can cut and write up to 2x fast! It is compatible with Windows, Mac, iOS & Android so if you have a computer, Phone or tablet you can use the Maker! And yey like my Air 2 it is Bluetooth compatible so you don't need to be connected with a cord to use. Seriously this is the Ultimate Crafting Machine! And the more familiar you are with your machine the easier it will be to use it.
3- Set up your Maker and Make the Starter Project included with your Machine.

Setting up your Cricut Maker is actually pretty easy. They basically walk you through it step by step via Design Space. To set up your Maker go to Cricut Design Space and click the three lines at the top left of the screen (next to your home button). Next, Select New Machine Set Up and follow the instructions. Even though your Cricut Maker is Bluetooth compatible it will ask you to use the included cord to link to your computer to set up.

The second part of setting up your machine is making the fun Make it Now Project (Adorable Smile Kite Card) that will use the fine point blade (for cutting the cardstock) the Rotary Blade to cut the patterned fabric, and the included Black Pen. This project is quick and easy but will help you become more familiar with using the different tools that come with your machine.
4-Find a Maker Make it Now project in Design Space to make
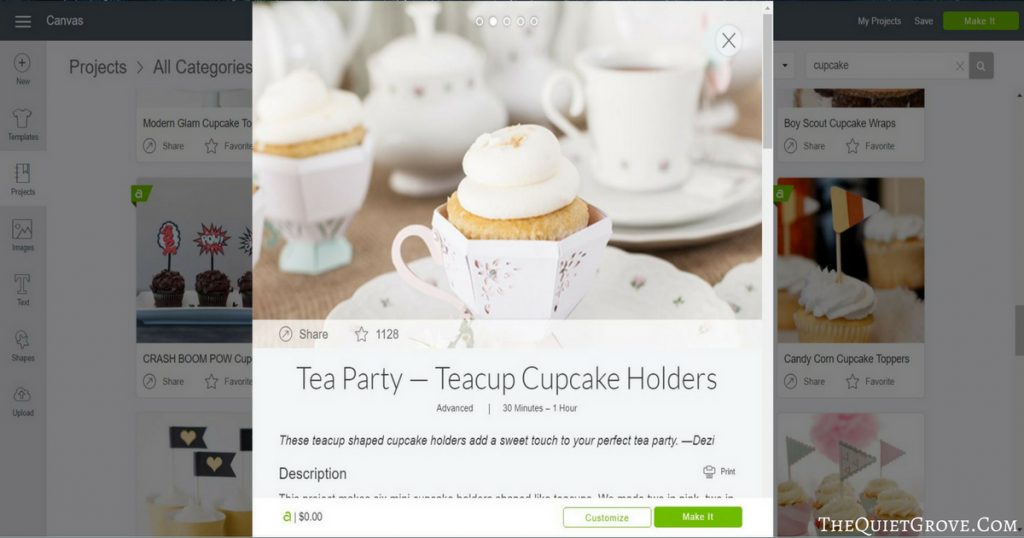
Alright, so now you have successfully made that Start project with the materials that came with your Maker. Before you try to start designing projects to make I recommend taking advantage of your Design Space Access to Make 1 (or more) Make it Now projects. These projects are designed and ready to make. They will tell you what materials you need and in many cases give you some basic instructions for assembly. These projects will help you become familiar with your new Maker and using the new Adaptive tools.
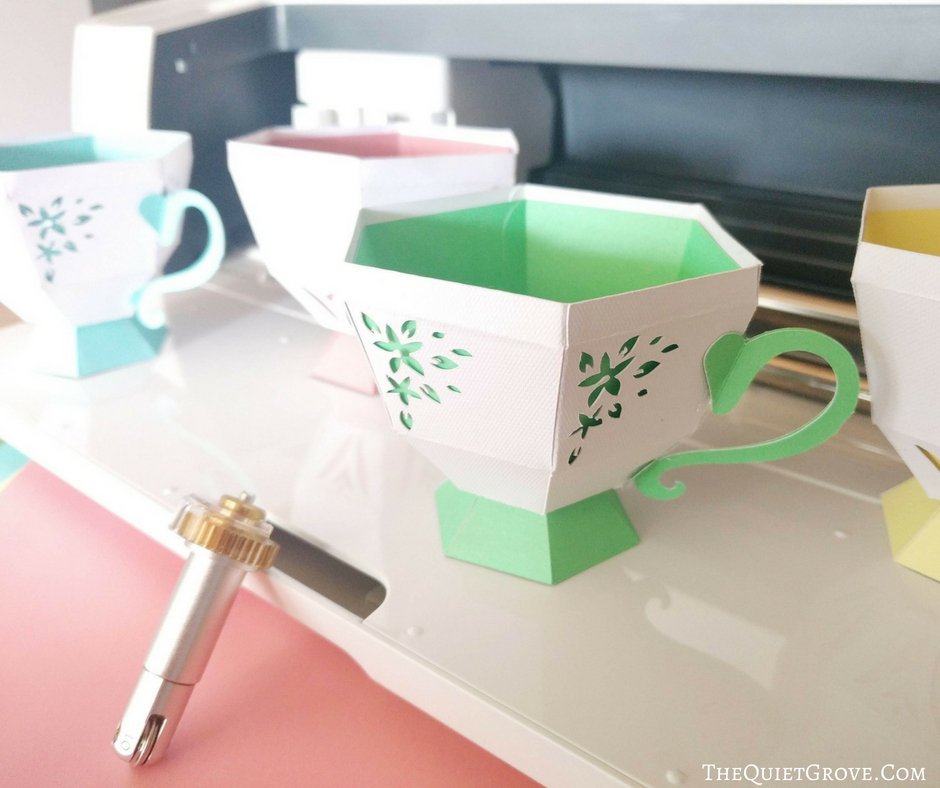
When I opened my Maker I let my daughter (who is my crafting buddy pick the first project for us to make. Since we are planning on having a Tea Party (with my mother, sisters, and nieces) this next month she thought it would fun to make these cute little Teacup mini Cupcake holders. It was the perfect project to get us used to using our new Scoring Wheel! (I did a quick tutorial below for how to put them together.)
5-Share your Project to your Community Profile
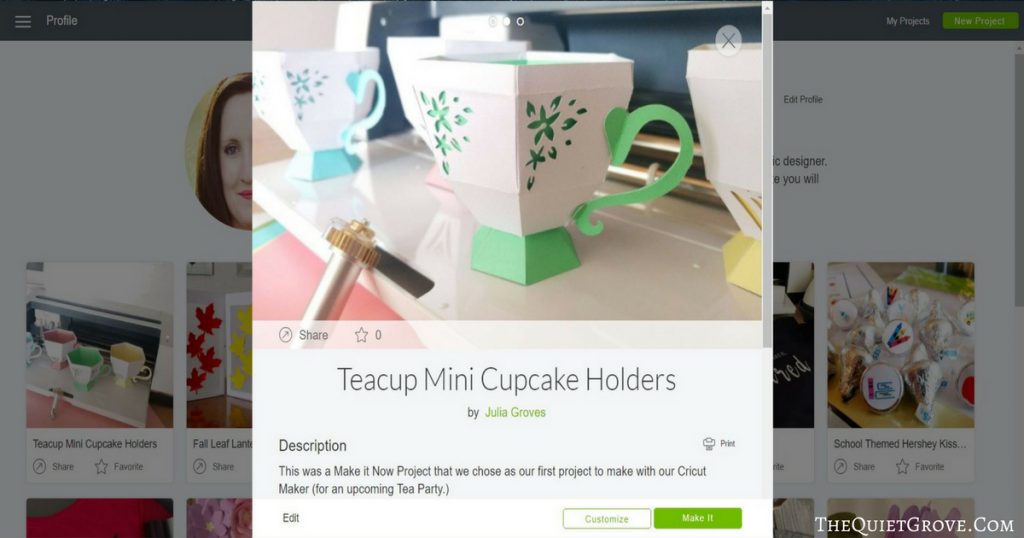
The Cricut Community was created for you to share what you have made (whether you designed it yourself or not. To inspire other Cricut Crafters. To share you will need to Save the Canvas to your private library. Then Click the share button which will have you add your own photo of your completed project, Add a title, Click to make visible to others and last but not least add a Description (Here is where I would mention if the project was a make it now project, one you found from another source (like your favorite Cricut blogger) or designed it yourself. If you would like you could also mention any special materials or instructions to assembly. )
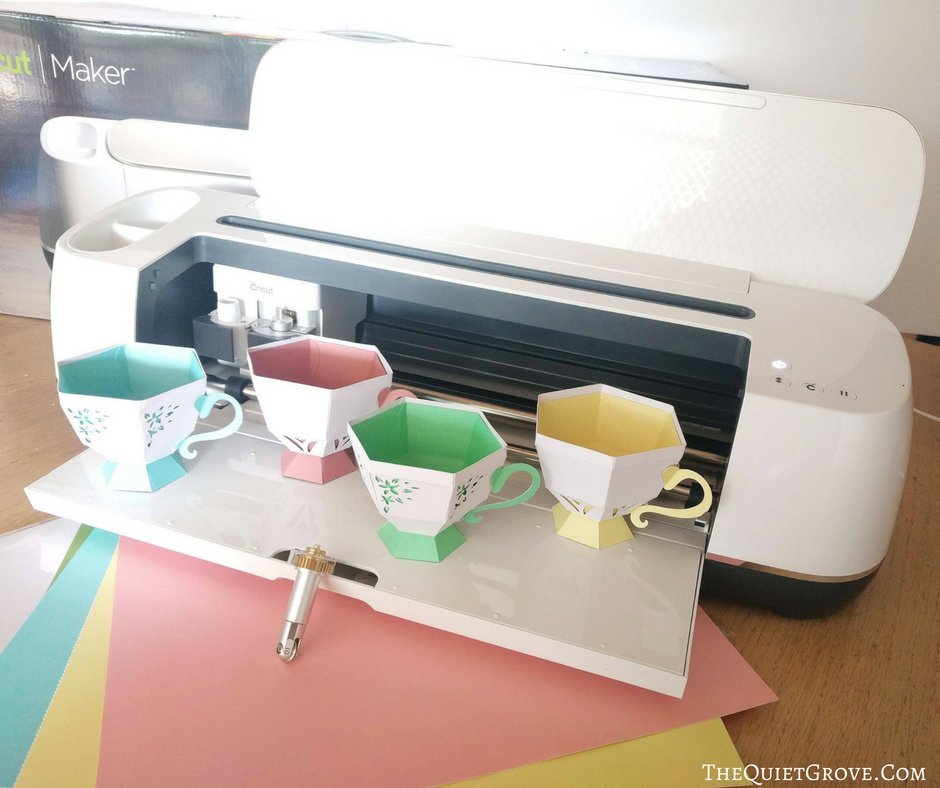
Now having 2 completed projects under your belt it's time to just have fun. If you still aren't as confident as you would like in creating your own designs look for some more make it now projects to try, or find some fun DIY tutorials (with cut/design files) from crafty bloggers like me. If you like a design but want to customize it go ahead and do so. Have fun. Be creative. If you don't know how to do something. look up and see if there is a blog tutorial (Pinterest is a great way to search) or Youtube tutorial that can help you. Or join some of the great Cricut FB groups available and ask. We love to help each other along the way. Once you learn the basics then the sky is the limit with your Cricut Maker.
If you want the tutorial for how to make the cute (Make-It-Now) Tea Cup Cupcake holders here it is: **I modified the design slightly to add two more cups (since we needed 8 for our tea party but the design only was for 6 (3 of each design style) . I also changed the design colors to match the colors I made the teacups in.
These Tea Cup cupcake holders are sized for mini teacups. If you want to change the size just make sure you select all the pieces for each cup so that they all still fit together when the size is changed.
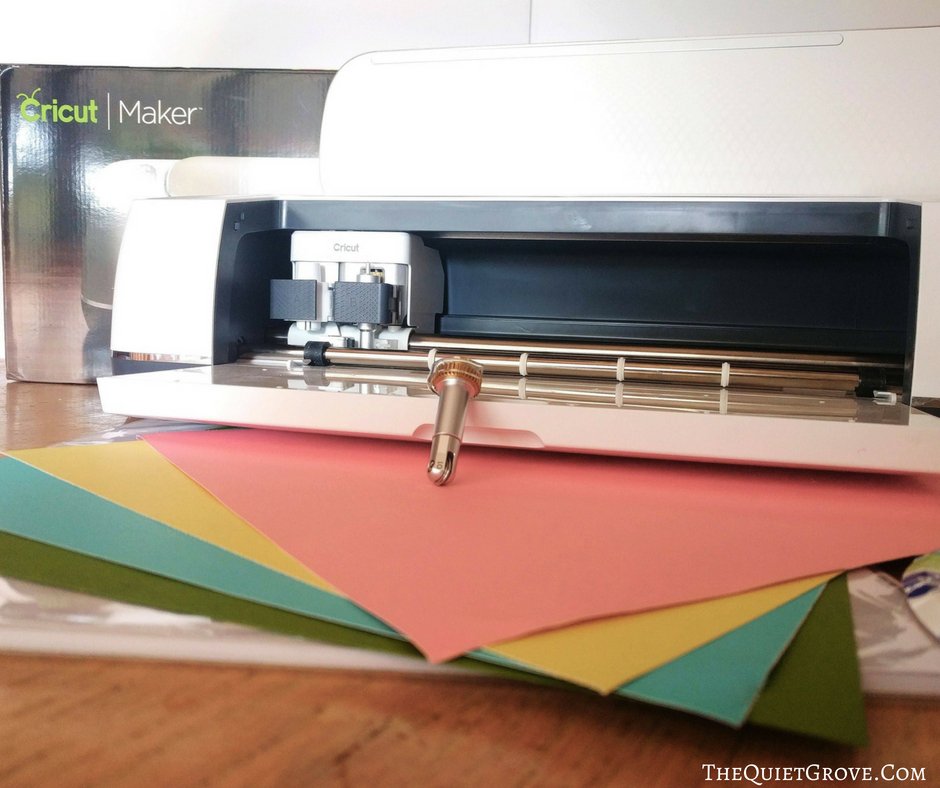
Materials Needed:
- Cricut Maker (or other Cricut Cutting Machines that work with Design Space)
- Cricut Design Space Teacup Mini Cupcake Holder Canvas --> HERE <--
- Standard Grip Mats
- Fine Point Blade
- Scoring Wheel
- 6 (12x12in) Sheets of White Linen Cardstock
- 1 (12x12in) Sheet of Pink Linen Cardstock
- 1 (12x12in) Sheet of Blue Linen Cardstock
- 1 (12x12in) Sheet of Yellow Linen Cardstock
- 1 (12x12in) Sheet of Green Linen Cardstock
- Cricut Essentials Tool Kit
- Glue Stick (or other favored adhesives)
- Hot Glue Gun & Gluesticks
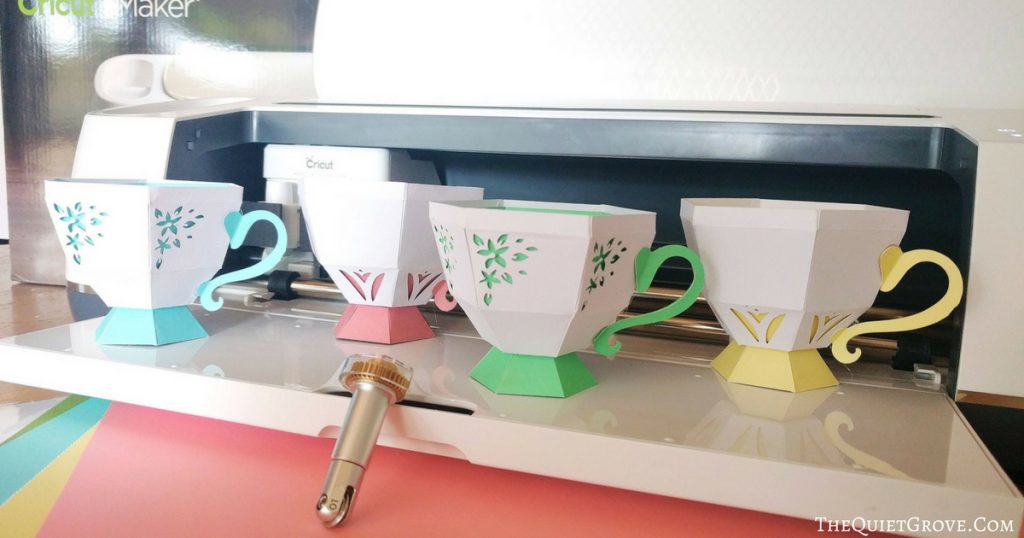
Instructions:
- Open Design Space Canvas for Teacup Mini Cupcake Holder --> HERE <--
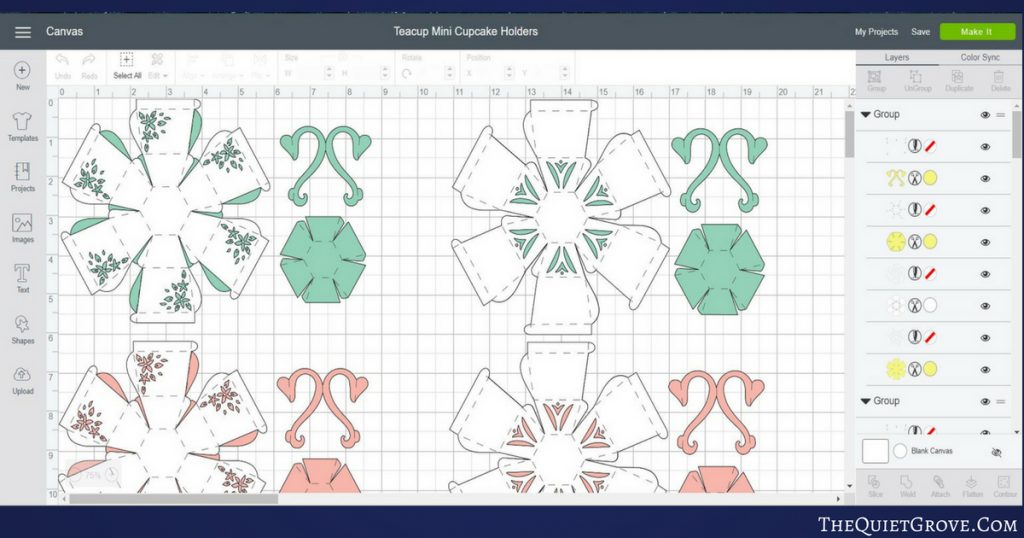
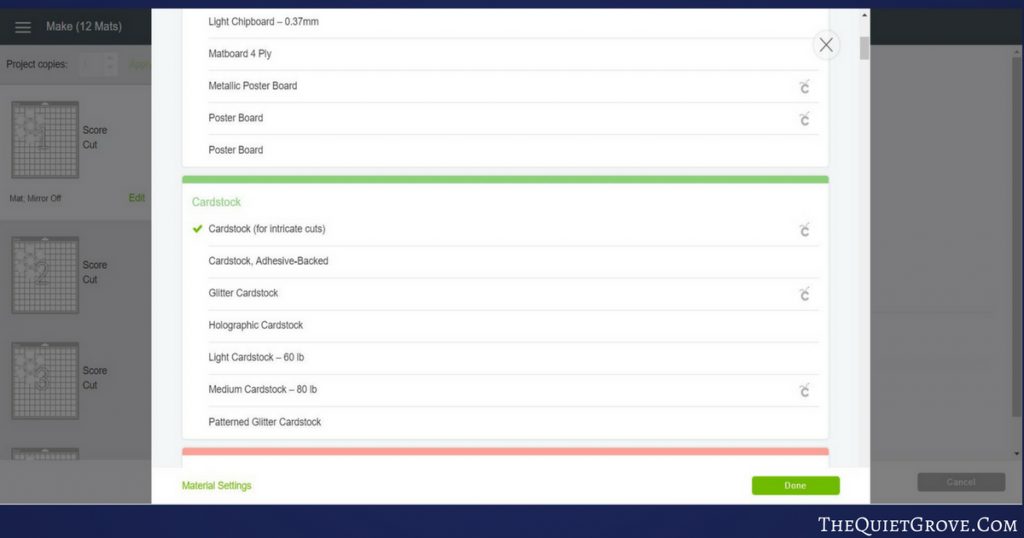
- Click to make it and select Cardstock (for intricate cuts) the material setting.
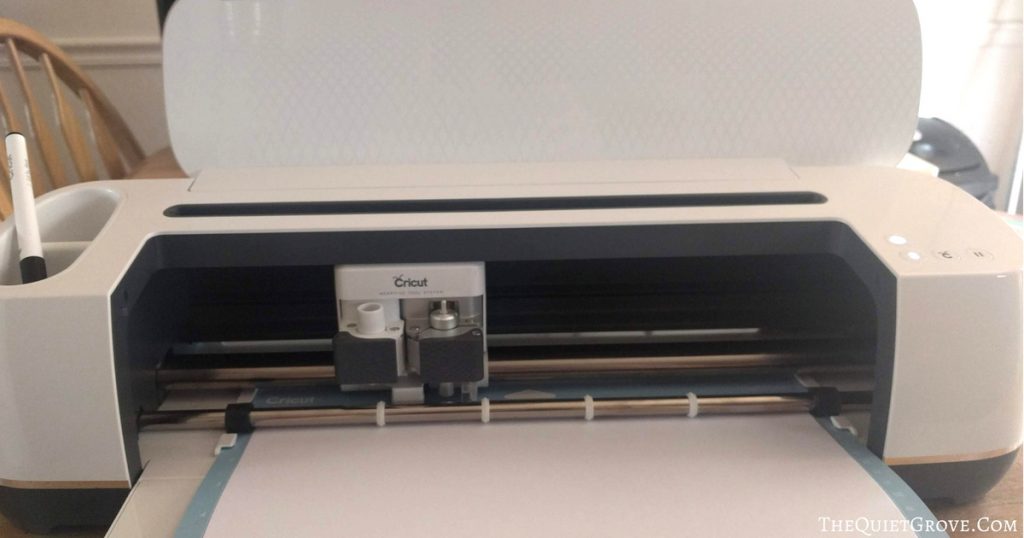
- Load Cardstock onto Standard Grip Mat. & Load the Scoring Wheel into the right side tool into your right-hand tool holder. **You always score first then cut. Just follow the prompts on design space and you will be ok.
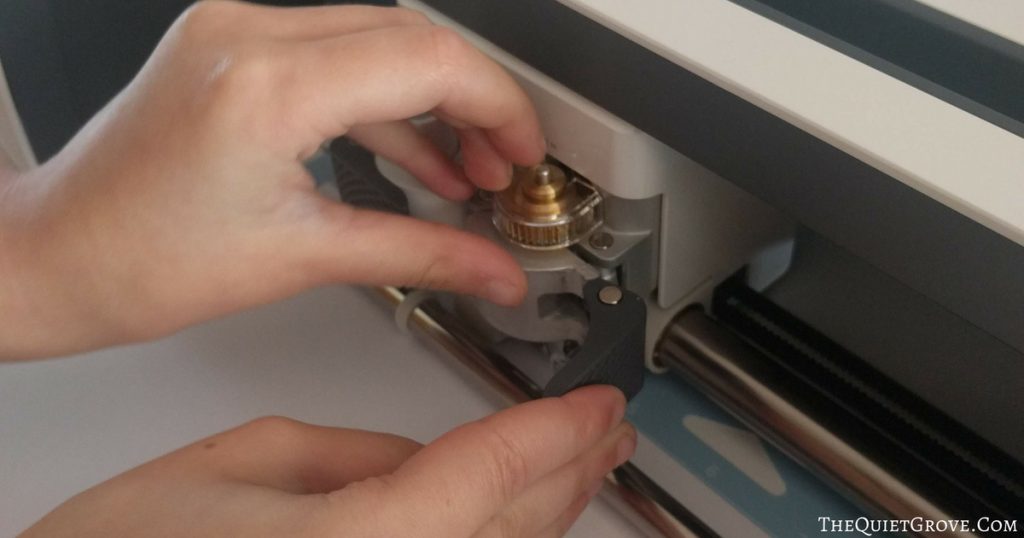
- After you are done scoring follow the DS prompt and switch the scoring wheel for the fine point blade.
- After the design is done cutting, use the spatula from the Essential Tool Kit to carefully remove cut cardstock from the mat. & Use weeding too to poke out any of the finner cut details.
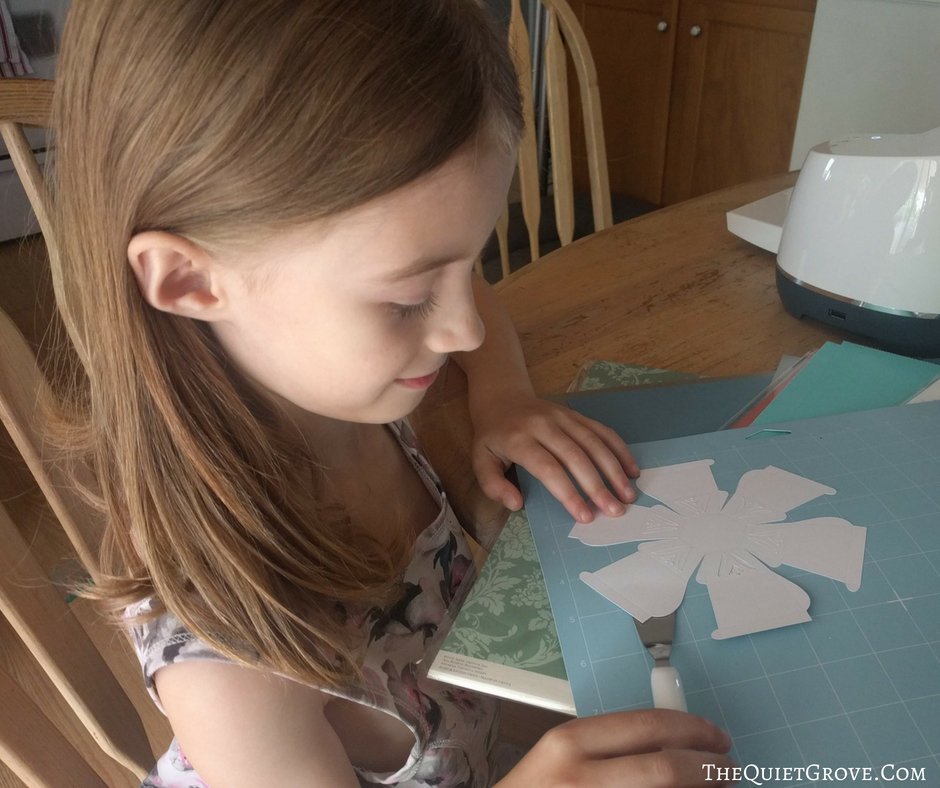
- --> Repeat for all the mats. <--
- Fold cardstock along all the Scored lines.
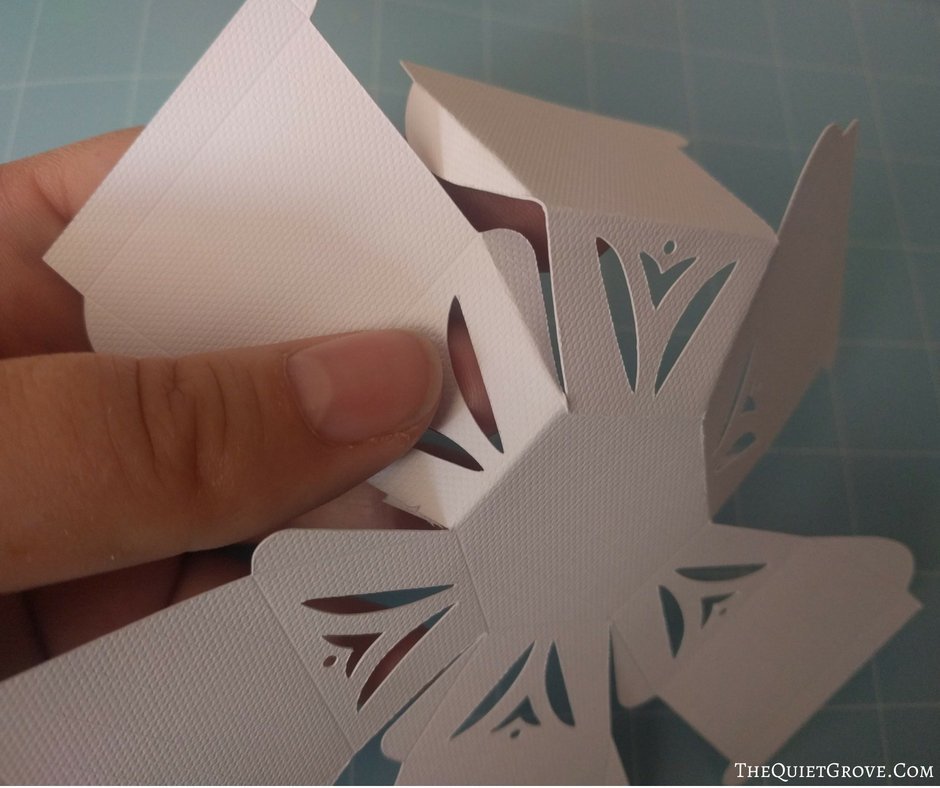
- Form the outer cup by gluing (I used a regular glue stick for this part) each of the tabs toward the inside of the piece next to it. Do this for the bottom and middle sections. Leave the top taps unglued until the inner cup is placed inside the outer cup.
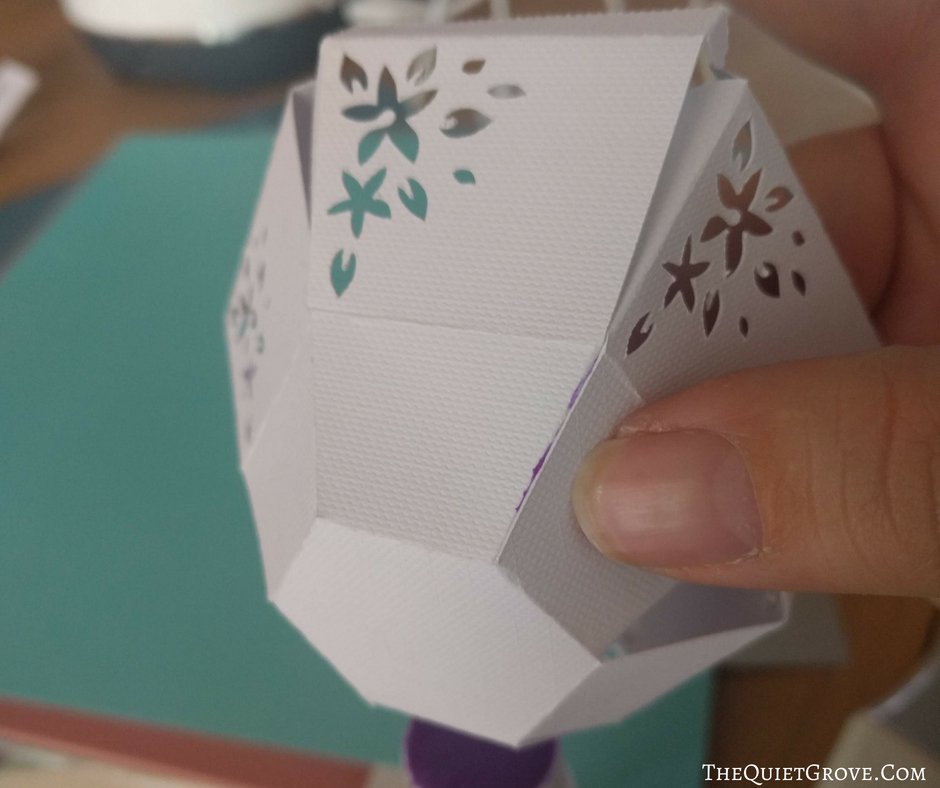
- Repeat this process for the inner cup (cut from colored cardstock. )
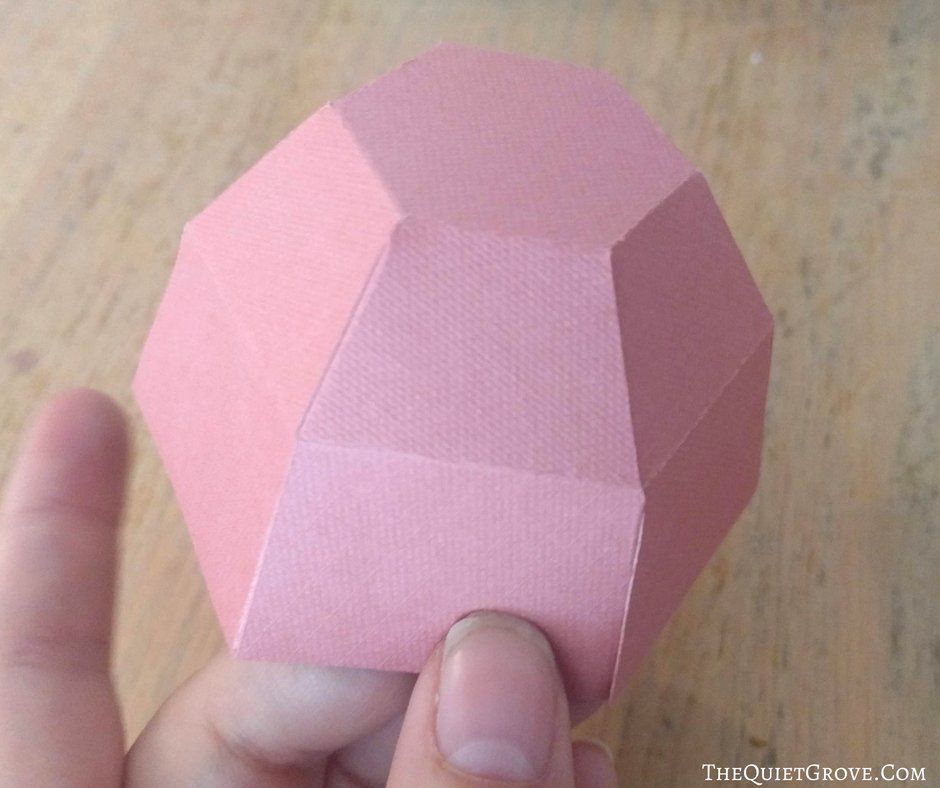
- Place inside the inner colored cup inside the outer white cup and Glue the tabs around the top of the outer cup (which will keep that inner cup securely inside.)**There is a slight size difference in the teacup designs. The cup with the finner detailed flowers up the side of each panel is slightly smaller than the teacup with the simple cut design on the bottom of each cup. So make sure to divide the two sizes (for the wrong size won't fit properly.
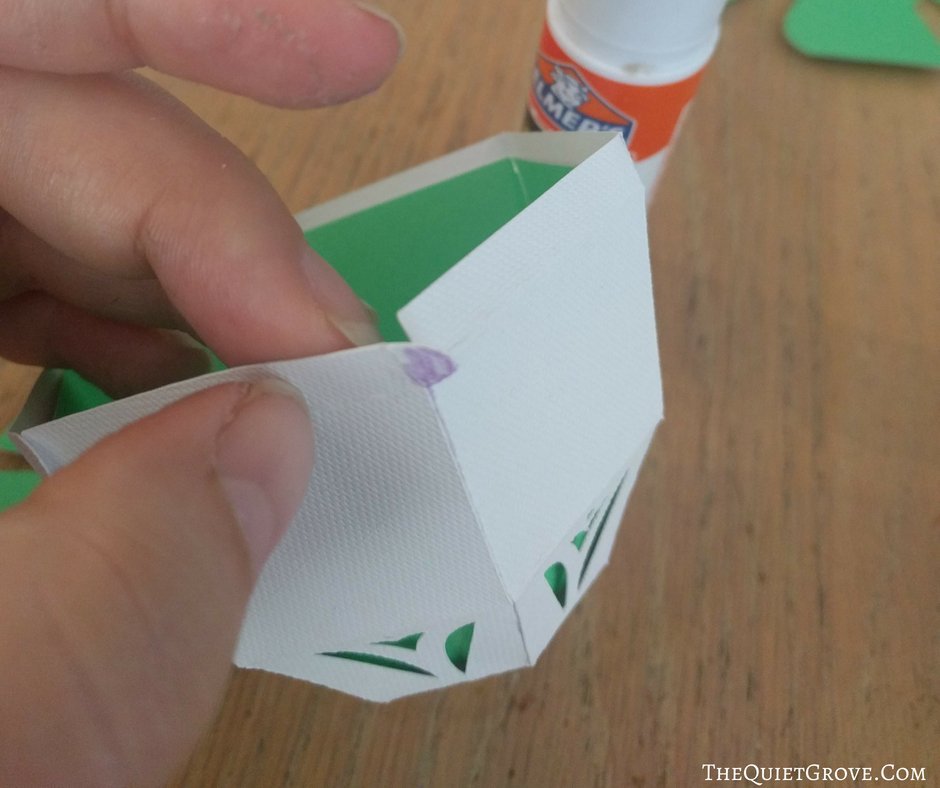
- Assemble the cup base by again by gluing the tabs to the inside of the design. then glue to the bottom of the cup.

- For the handles, gue inside and fold in half (folding the handle tabs outward) and attach using a hot glue gun for more stability!
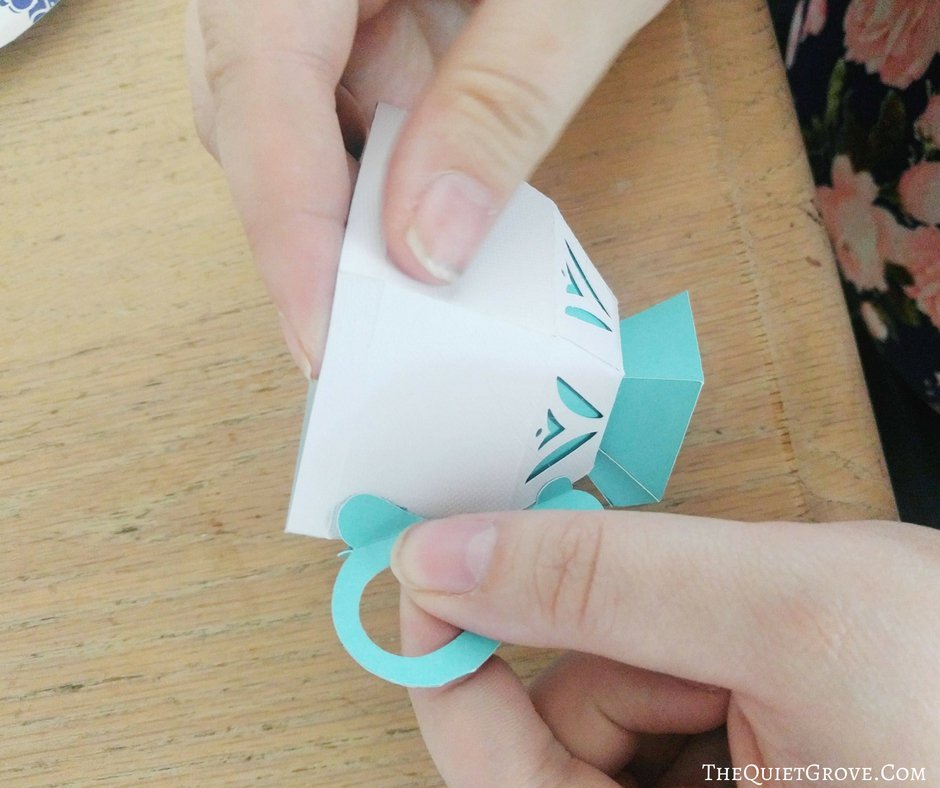
- Then just add your mini cupcakes and enjoy!

The most important thing to do with your new Maker is to have fun! You have an incredible machine that can do so much. You just have to get to know it first and then experiment and have fun.
If you liked this post then check out these: (Click on the photo to go to the post)


This is a sponsored conversation written by me on behalf of Cricut. The opinions and text are all mine.


