
Answers to the 5 most commonly asked Cricut Maker Questions

POST DISCLAIMER: This is a sponsored conversation written by me on behalf of Cricut . The opinions and text are all mine.
READER COMMENT DISCLAIMER: Comments submitted may be displayed on other websites owned by the sponsoring brand.
Are you looking into buying a Cricut Maker but trying to decide if it is the right Machine for you?
It is no surprise that the Cricut Maker is taking the crafting world by storm. It is amazing all this small portable crafting machine can do. I still remember when it was first announced and showcased last year at Cricut's Mountain Make-a-thon. In addition to being able to do everything that the Cricut Explore machines can do (which is a lot! I adore my Air 2 and have made sooo many lovely things with it) the maker can do sooo much more.
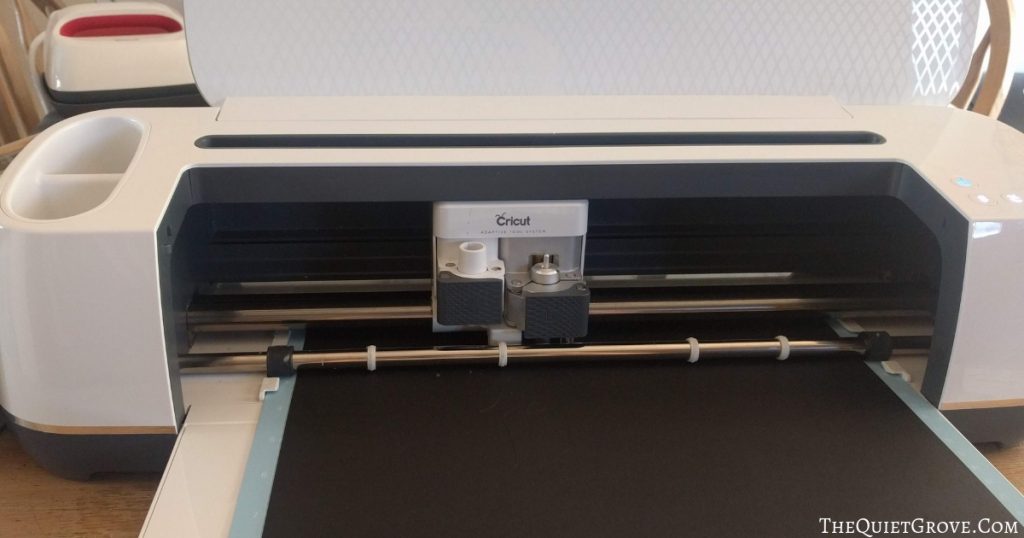
Thanks to the Maker's ability to control the direction of the adaptive tools as well as its new design giving it up to 4kg of force the maker can cut tons of more materials (even Heavy chipboard, basswood, balsa wood, acetate, plastic, fabrics, and leather.) Not only is the Maker great with thick, hard and difficult materials it is also great with delicate ones like felt, fabrics and even crepe paper. Because of this, the sky is the limit with what DIY projects you can make with the Maker as I am starting to learn.
As amazing as the Cricut Maker is, there are still many questions commonly asked about it as people like you and me try to decide if it is the right machine for us. Cricut asked if I would be willing to do this post about maker Faq to address these questions as well as do a DIY tutorial to showcase how awesome this machine really is. Let's get started with the questions:
1- Will I use the machine enough to justify the price?
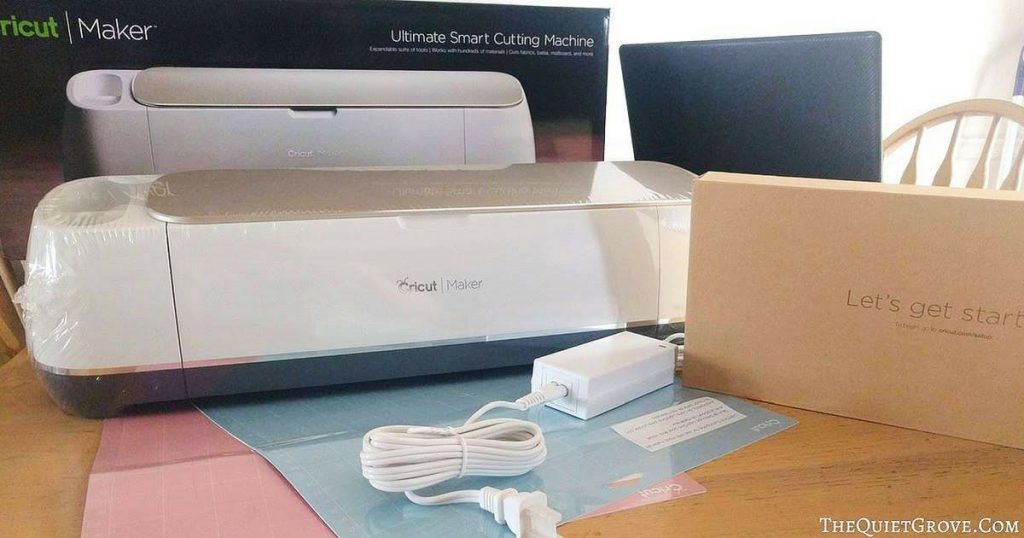
Personally, I would say yes (as have countless other crafters who have gotten this amazing machine.) Thanks to how portable it is, and easy to use it will quickly become your favorite go-to tool. I have used it for decorations, custom clothes and accessories, craft projects for my kids, party decorations, gifts and more. Seriously I practically have my Maker out every day working on something new.
The key to having this answer being as YES, it to not be afraid to open your new Maker, get to know it and USE IT!! If you need help knowing where to start with your Maker then check out this post about the first 5 things to do when you get your Cricut Maker.
2-What materials can I cut?
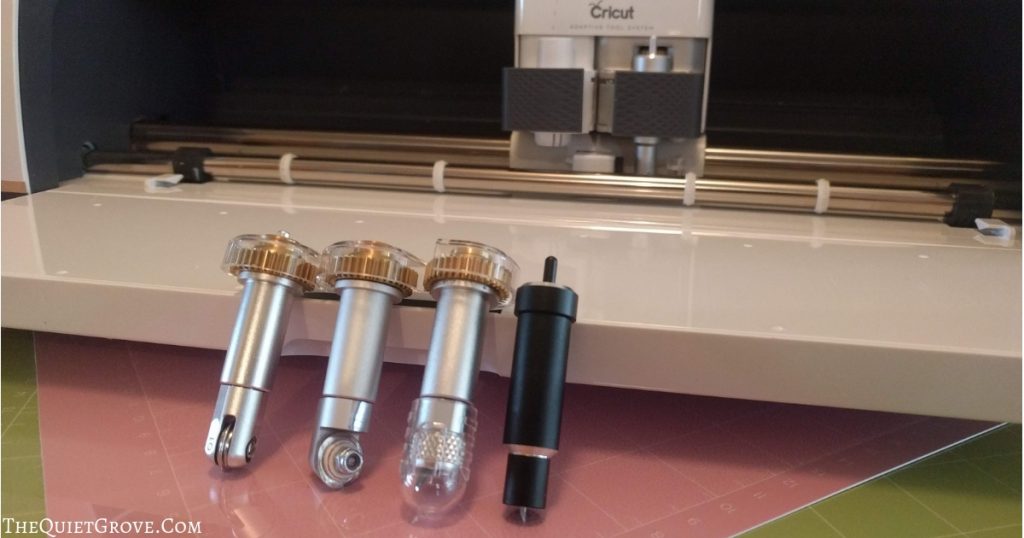
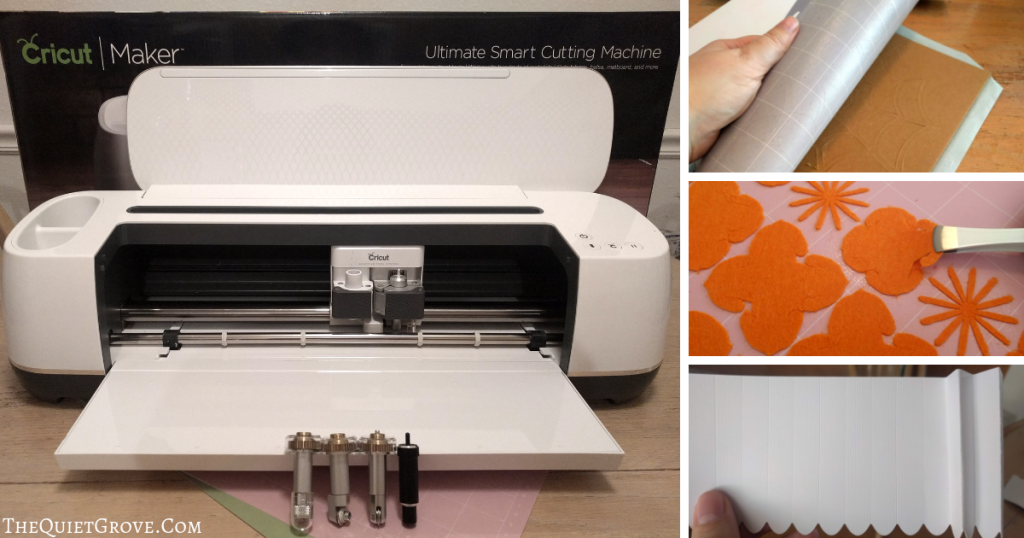
Oh my word, the correct question would be what can't I cut. With the maker, you can cut all the materials you could with the Explore machines Vinyl, Iron-on, Cardstock, Paper, Window Cling, Faux Leather, Poster Board, Vellum, Kraft Board, Corrugated Cardboard, Sticker Paper, Printable Magnet sheets, and Adhesive Foil. With the new Rotary Blade (the Adaptive tool that comes with the Maker) you can cut over 60 kinds of fabric (denim, cotton, silk, satin, fleece, felt...etc). With the new Knife Blade (adaptive tool sold separately) you can now cut Balsa Wood, Basswood, Chipboard, Plastic, Thin Metal, Acetate, and Leather. Get a full list of materials here.
In addition to Cutting you can also write on materials with Cricut Pens, and with the new Scoring Wheel (which is way better than the scoring stylus) you can intricately score many materials for those intricate folds. I have personally tested the Scoring Wheel against the Scoring Stylus (from the Essential Tool Kit) and have found that yes the quality of the scoring was waaaaay better with the new Scoring Wheel.
3- Can I upload my own images? (e.g. SVG, jpg, png)
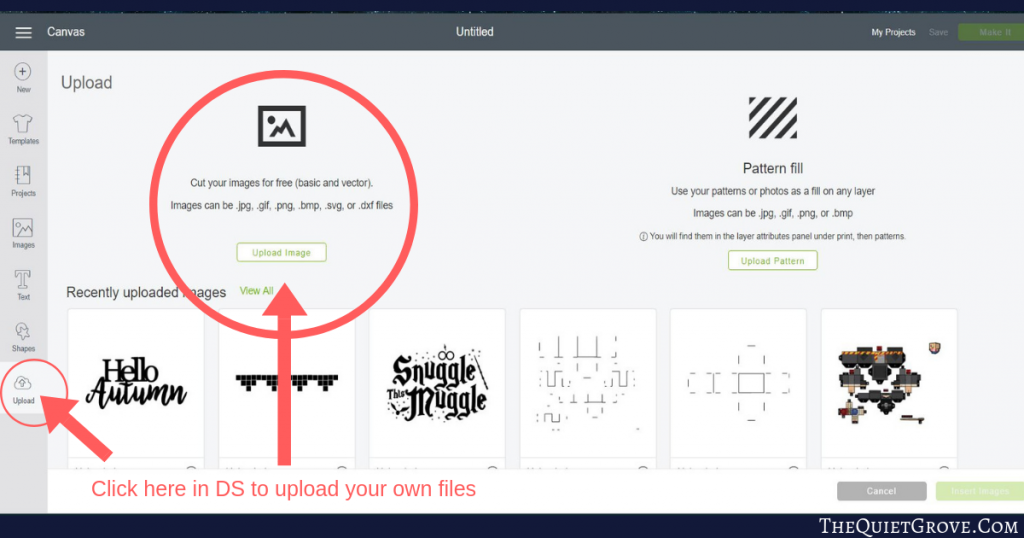
YES! I do it all the time. While I often make use of my Cricut Access subscription in Design Space to make various projects, I am a Graphic Designer and LOVE to make my own custom designs. In fact, I have a ton of Cricut DIY project here on my site that uses Free SVG files available on my site to use with the Cricut. Using your own uploaded designs is actually really easy.
The best part is Cricut Design Space not only saves your projects in your own private library but it also saves all your uploaded design images incase you ever need them for a future project!
4- What add-ons do I need to use the machine and how expensive will it be?
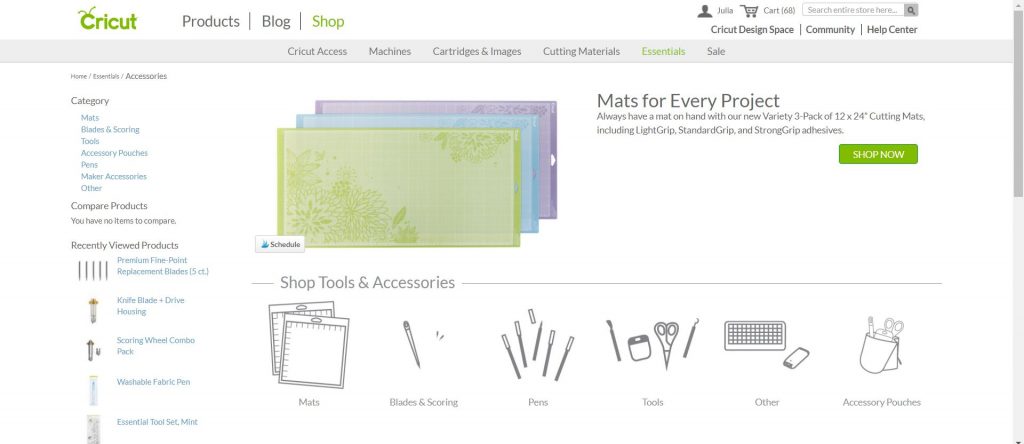
I guess this would depend on what sort of projects you want to use your Maker for. The maker comes with a fine point blade (perfect for materials like paper, cardstock, vinyl, Iron-on, vellum, adhesive foil, sticker paper, corrugated cardboard, posterboard, window cling etc...) It also comes with the Rotary Blade (perfect for cutting fabrics and delicate materials like crepe paper.)
As a general rule, I recommend getting the essential toolkit. It comes in handy with soo many projects. You can get it on Cricut.Com for only $39.99 and it is well worth the cost.
I also recommend getting extra Mats for your Maker for they will wear out with use. Mats range in price depending on the mat and how many you are getting but start at $14.99
To really utilize the Maker to it's fullest capabilities I recommend getting both the Knife Blade ($45.99) and the Scoring Wheel ($39.99) I also recommend getting extra Fine point blades (5 pk - $29.99) since they do wear out over time.
Lastly, if you are planning on using Iron-on which I do for many projects on many materials I recommend getting an EasyPress they come in 3 sized ranging in price from $139-$249 again sooo worth it!
Of course, there are other materials and tools that would be great to get but these will get you started on your Maker Journey.
If you need to order any of these supplies from Cricut.com use Promo Code: QUIETGROVE to get 10% off + free shipping!!
**Note this code does not work on Design Space Access, digital content, machines, EasyPress, Brightpad
5- What kind of Diy projects can I make?

Really the Sky is the Limit. Like I said the maker can do everything the Explore machines can do and more. For ideas of what to make you can check out the Cricut DIY projects on The Quiet Grove --> HERE <--. I also recommend checking out the Make it now projects in Design Space. Did you know that when you buy the Maker it comes with automatic access to a bunch of free Maker "Make it now projects" (that are yours for life). They are really cute projects too like the fun Tea Cup mini Cupcake holders that I made as my first maker project. (Check it out here)
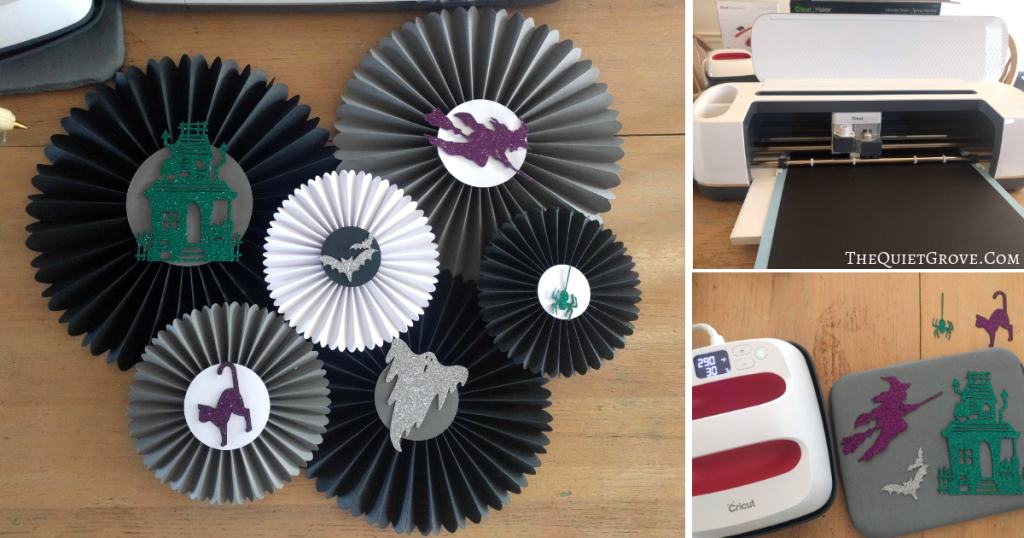
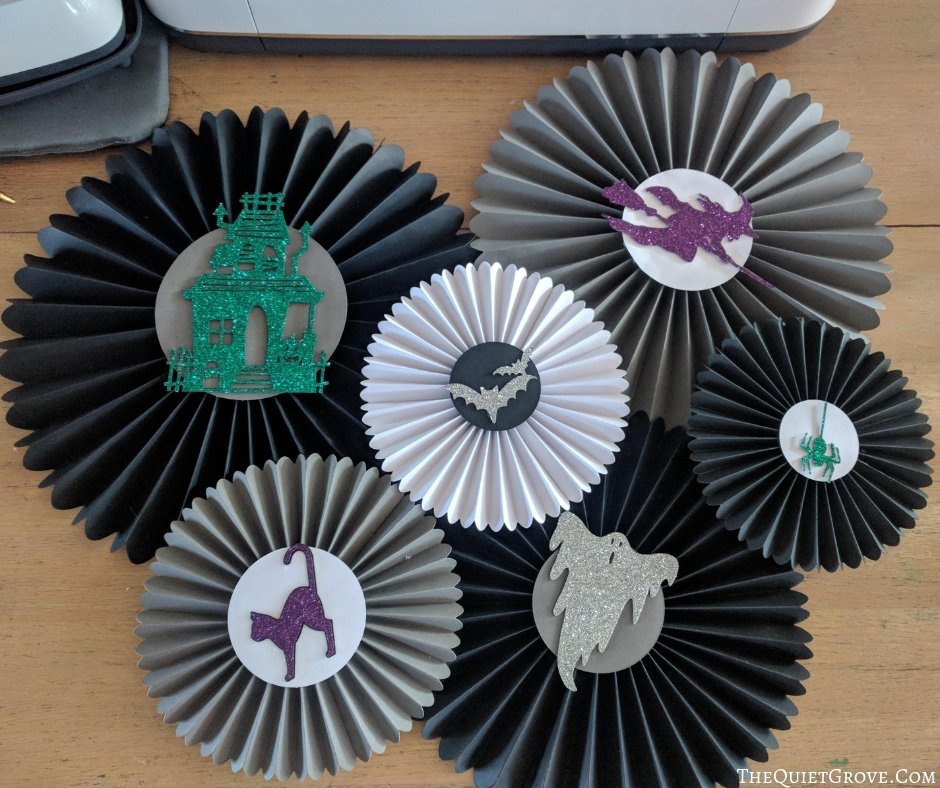
When I got my Maker 6 weeks ago one of the projects I had been really wanting to make (ever since the Scoring Wheel was announced) was my own Rosettes. I love how they look on the wall as a decorations. So I thought to include the tutorial for how to make them for your Halloween decorations. I used Cardstock for the main rosettes, and then Glitter Iron on and Kraft board for the Halloween designs on the fronts of the Rosettes. I love how easy they were to make with my Cricut Maker and hope you find the tutorial useful!
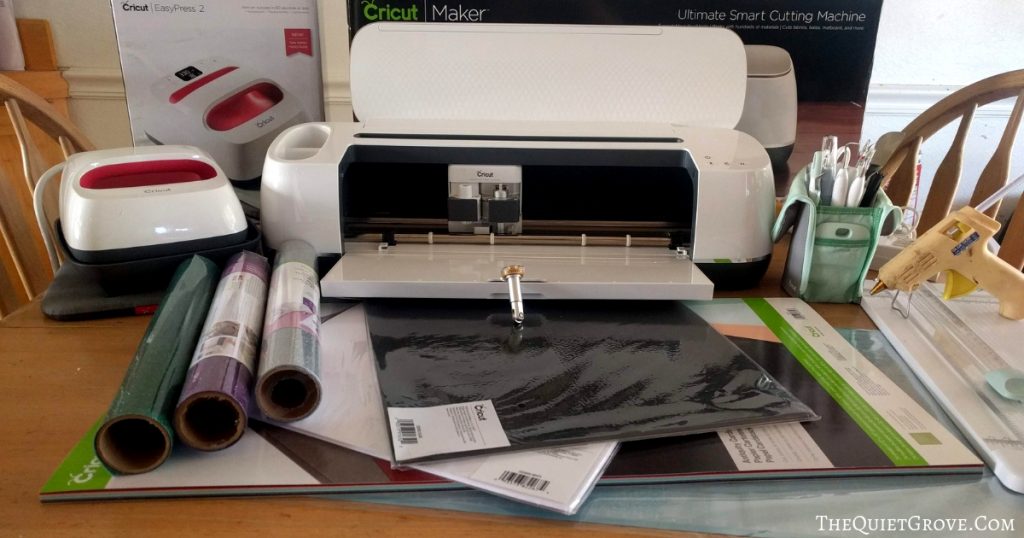
Materials Needed:
- Cricut Maker (or other Cricut Cutting Machines that work with Design Space)
- Cricut Design Space For Halloween Rosettes. --> HERE <--
- 12x12 Standard Grip Mat
- 12x24 Light Grip Mat
- Fine Point Blade
- Scoring Wheel
- Cricut Essentials Tool Kit
- 4 sheets 12x24 Black Cardstock
- 3 Sheets 12 x24 Grey Cardstock
- Silver Glitter Iron-on
- Green Glitter Iron-on
- Purple Glitter Iron-on
- 1 12x12 sheet Black Kraft Board
- 6×7 Mini EasyPress 2
- Easy Press Mat
- Hot glue gun & Glue
If you need to order any of these supplies from Cricut.com use Promo Code: QUIETGROVE to get 10% off + free shipping!!
**Note this code does not work on Design Space Access, digital content, machines, EasyPress, Brightpad
Instructions:
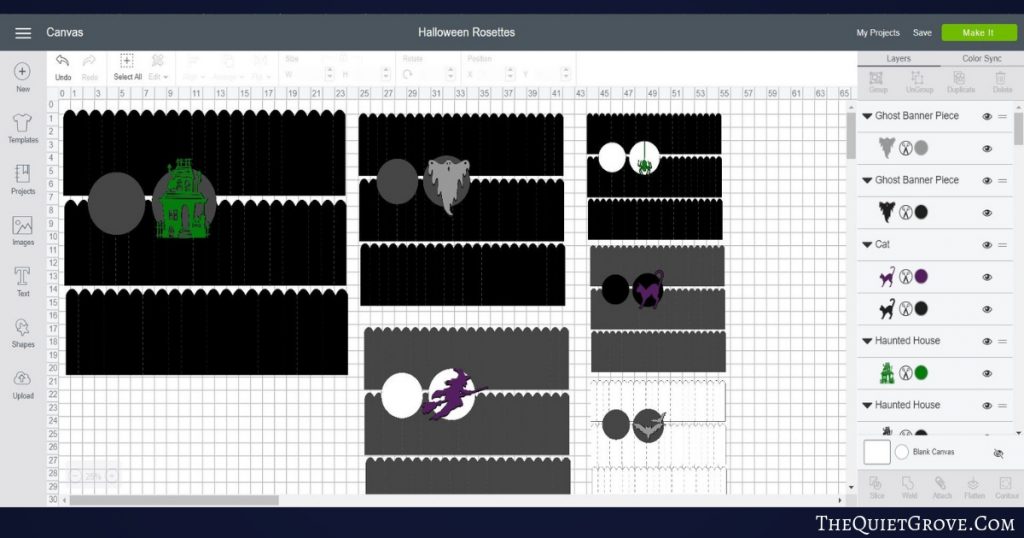
- Open Cricut Design for Halloween Rosettes --> HERE <--
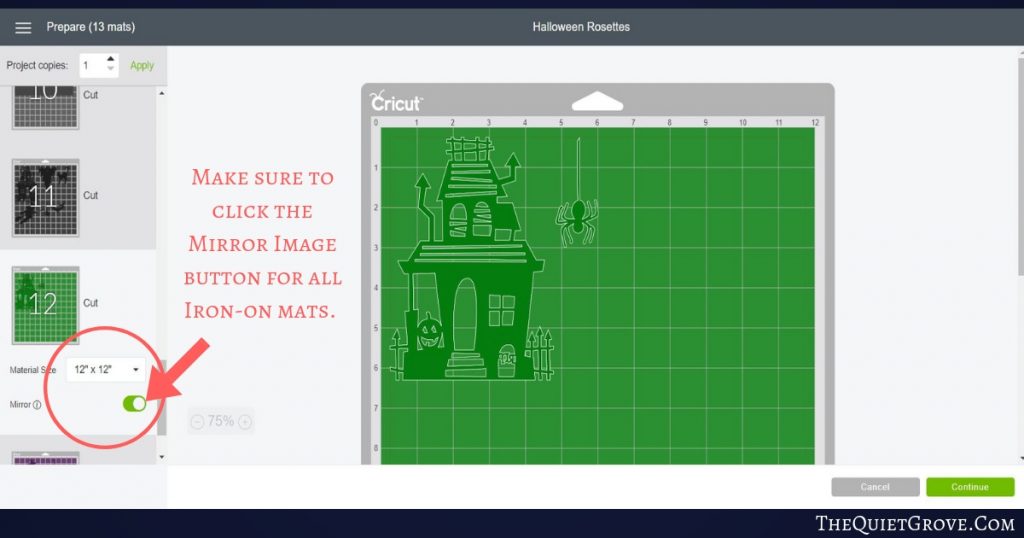
- Make sure to click Mirror Image on all 3 mats that you will cut Iron-on (Mat 3, 12 & 13 or the Light Grey, Green & Purple Mats)
**Now you can cut the mats in the order they are in DS. However, you will then be changing mats, materials and blades often. Or you can click on specific mats to cut all the Rosettes first (Mats 1,2, 4,5,6,7,8,9, &10), The Kraft Board designs (Mat 11) next and the Iron-on last (Mats2, 12 & 13).
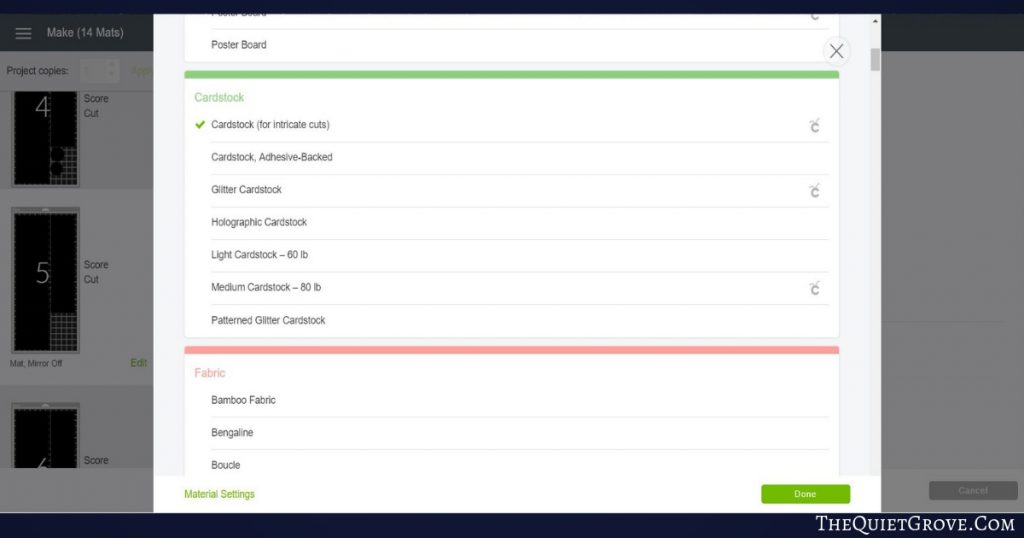
- Select Cardstock (Intricate Cuts) and load your first mat (I used the 12x24 light grip mat for the Cardstock. You always score first then cut so you will be prompted to put your scoring wheel in first.
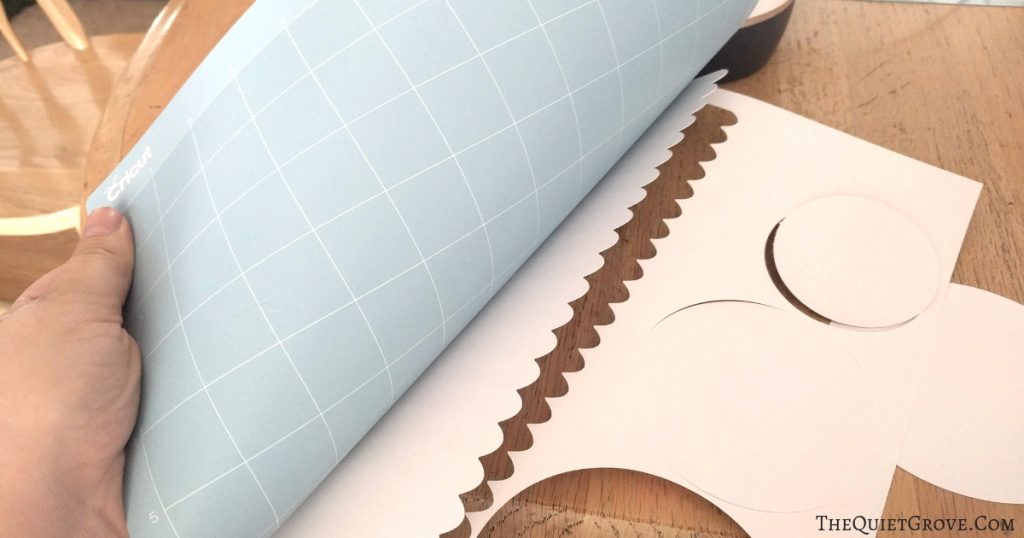
- After you are done cutting carefully peel the mat from the cardstock.
- While next mat is cutting start folding the cut cardstock (accordion style) along the scored lines.
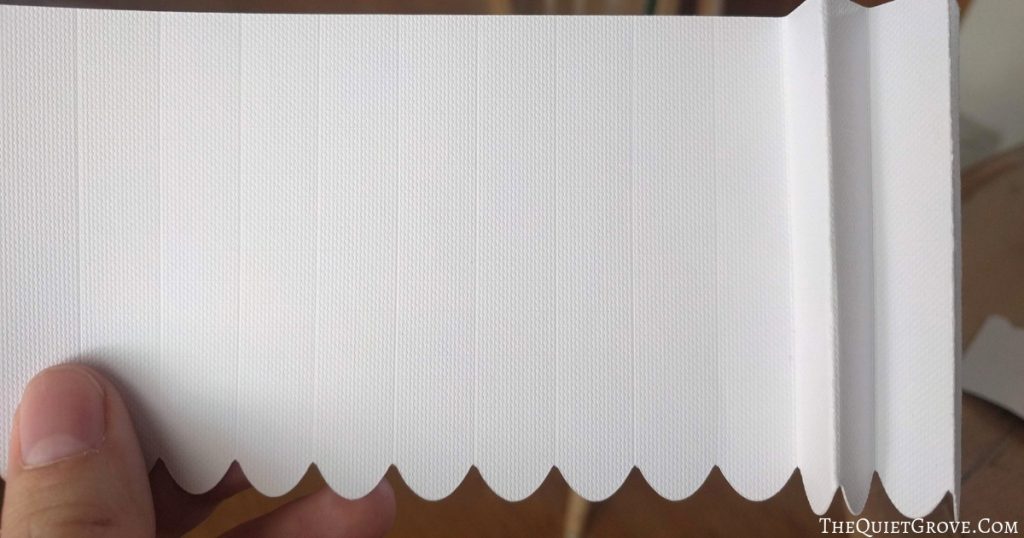
--> Repeat for all the Cardstock <--
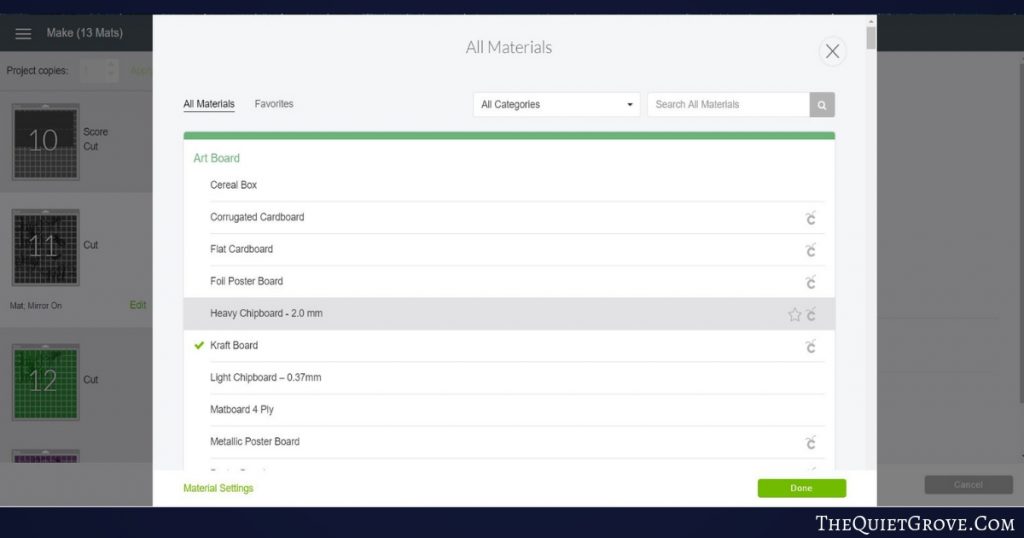
- Next set your Material to Kraft Board and load your black kraft board onto a 12x12 standard grip mat.
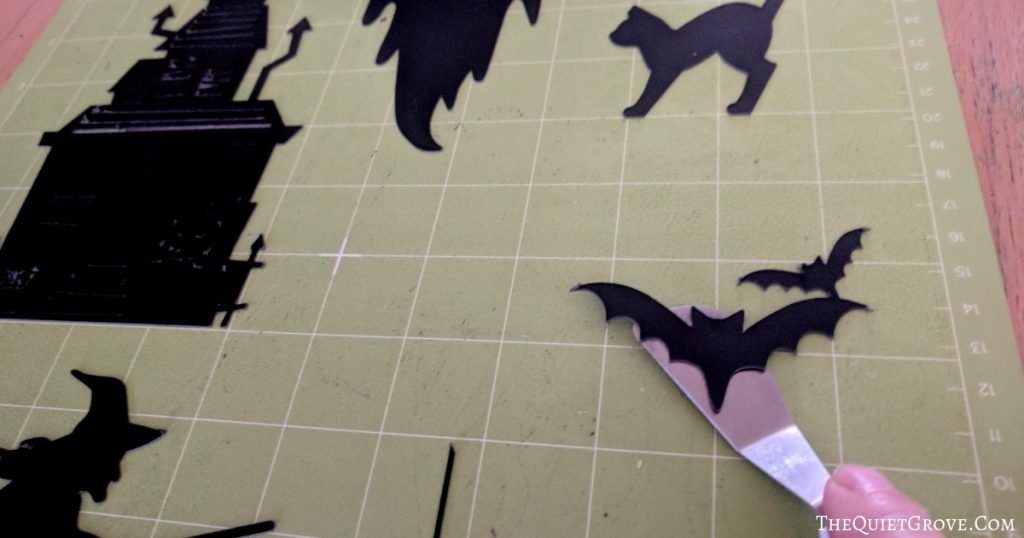
- After cutting use your spatula from the essential toolkit to carefully remove all the cut designs from the mat.
- Now it's time to cut the Iron-on. Make sure to set your DS to Glitter Iron-on as the material (this lets your Maker know to use more pressure and double cut for crisply cut designs.
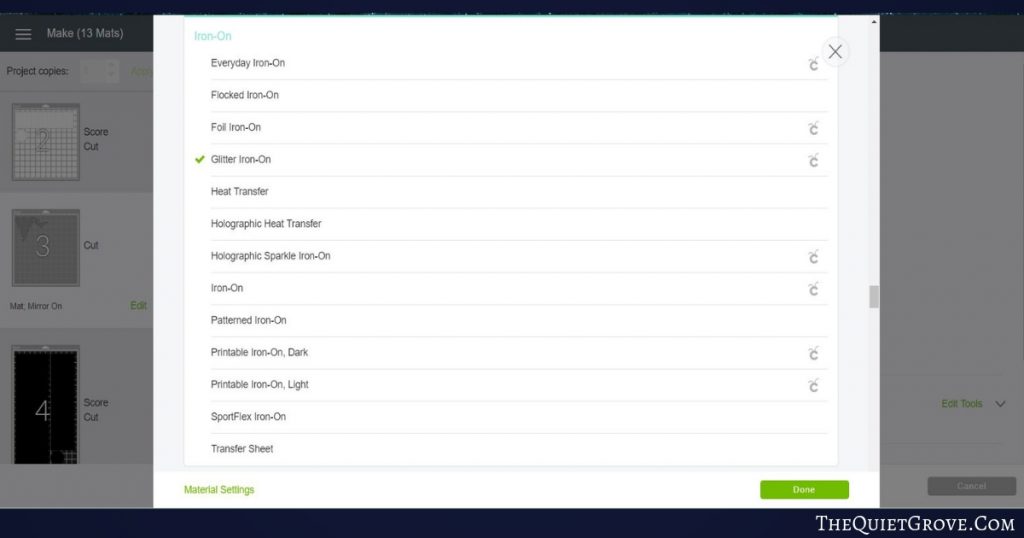
- I used a standard grip mat to cut the Iron-on (make sure to place the Iron-on shy side to down so you only cut the Iron-on not the clear plastic backing.
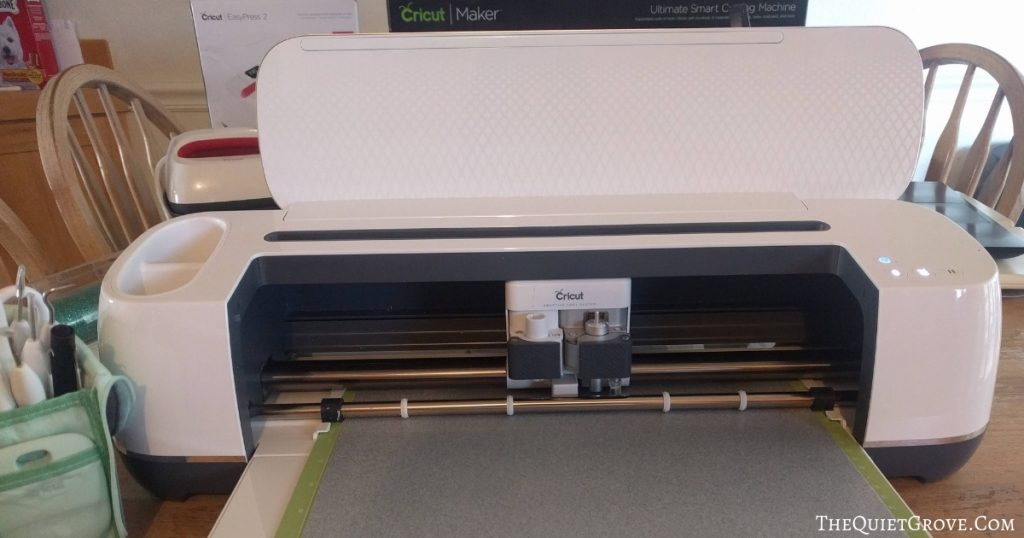
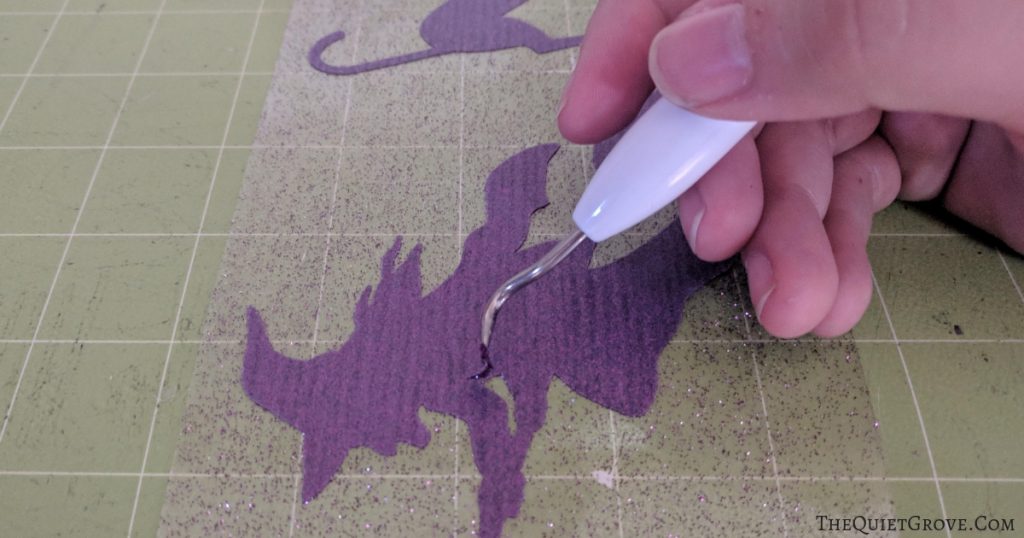
- After you are done cutting use your weeding tool from the essentials toolkit to weed out the excess iron-on from your cut design.
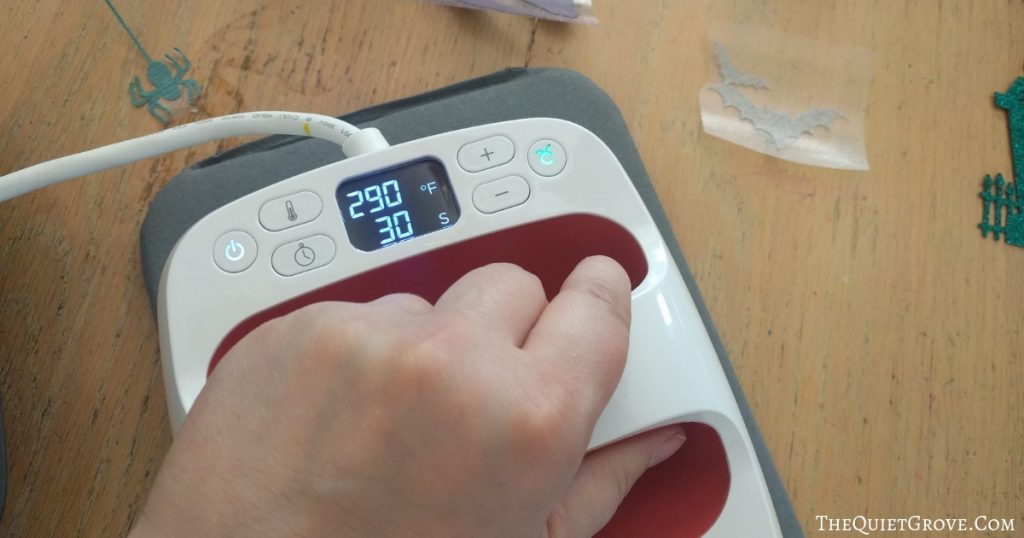
- Heat your EasyPress 2 to 290 and using the Easypress mat underneath press the cut Iron-on designs to the cut Kraft Board designs for 30 seconds.
- Cold peel the backing off.
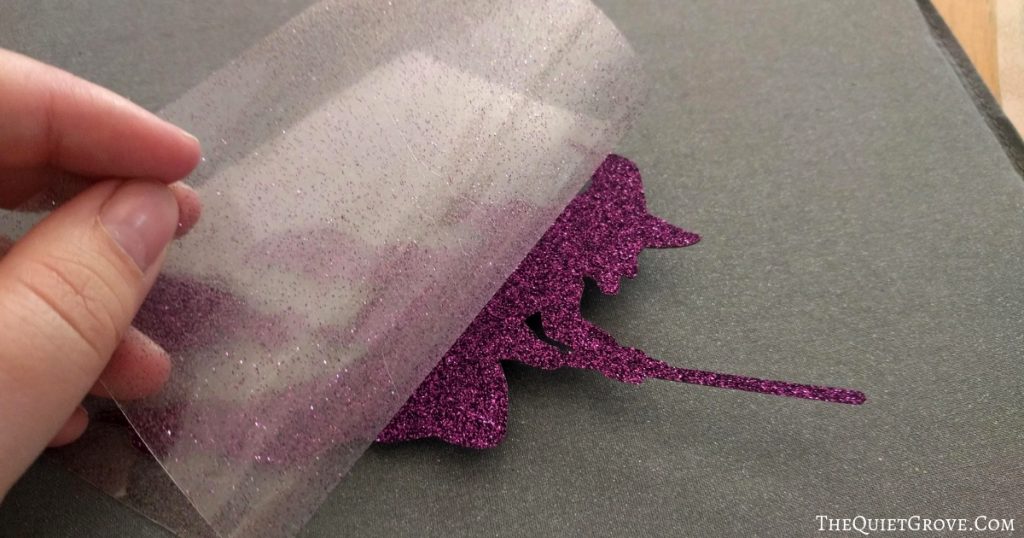
Now to assemble your Halloween Rosettes.
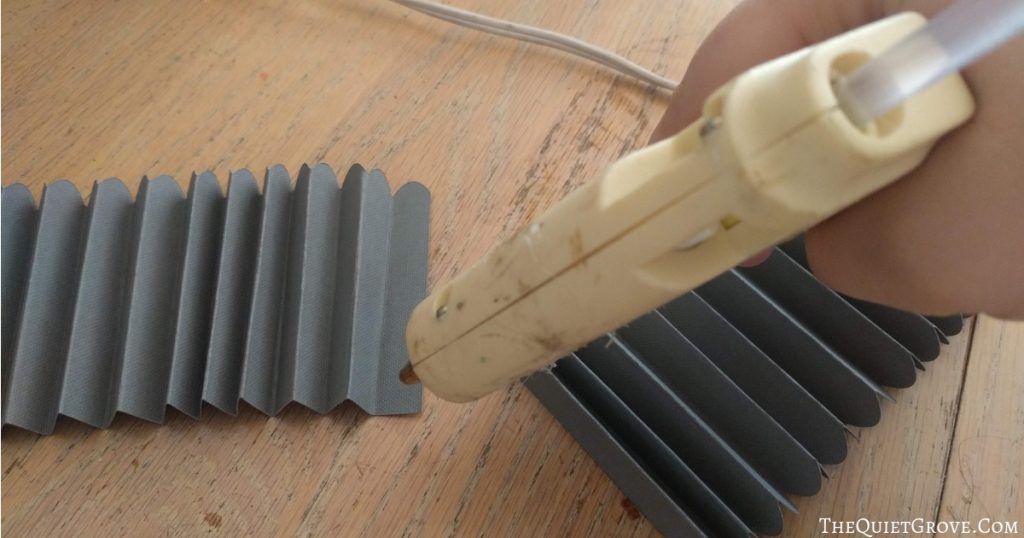
- Each rosette has three strips of cardstock that you have folded accordion style. Use hot glue to attach each of the strips together (overlapping the cardstock. Then glue the ends together making an accordion circle.
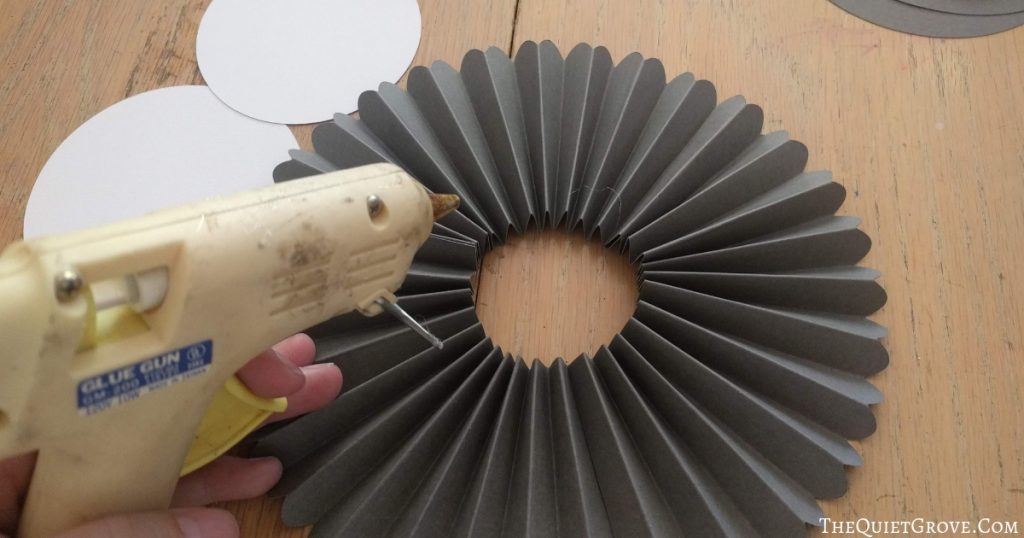
- Press the circle flat and glue a cardstock circle to the front side and back side of the rosette (put the slightly larger circle on the back side.
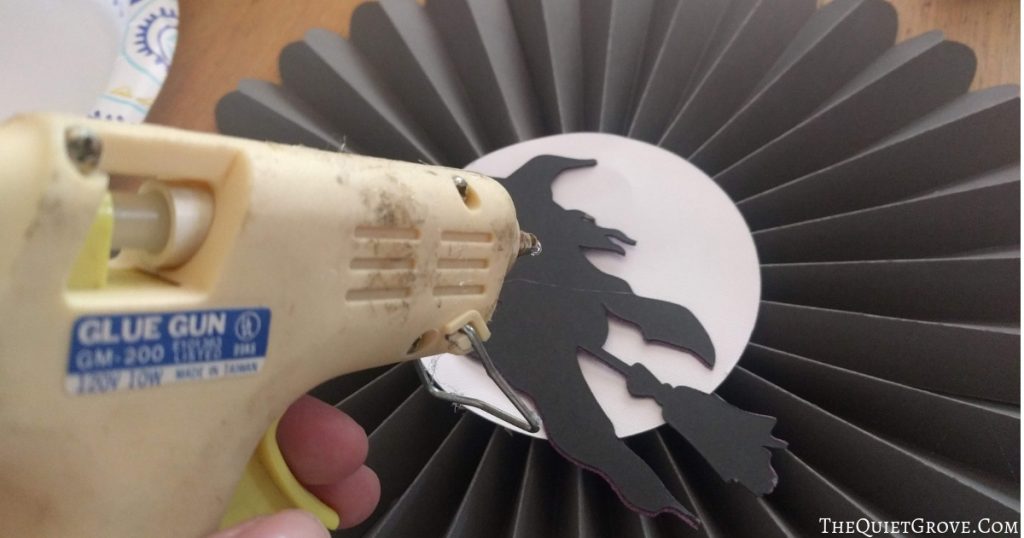
- Hot Glue the Halloween designs to the front of each Rosette.
I love how they turned out! Now to figure out where to hang them up. I'm thinking on the wall in my front living room. Then I can make a matching Halloween Banner and some other fun Halloween Decorations to go with it. What do you think? I especially love how the Glitter Iron-on looks on the Rosettes.
If you liked this post then check out these: (Click on the photo to go to the posts)


This is a sponsored conversation written by me on behalf of Cricut . The opinions and text are all mine.


