DIY Tombstone Party Favor Boxes


Did you know this fun Tombstone Party Favor Box is a Make it Now project available with Cricut?!?

Personally, I prefer to use my own (and my husband's designs) for my projects. When I do, I like to offer the SVG & PNG (print & Cut) files here on my site for free. (find them here). However, I do on many occasions also utilize Cricut Access Designs for my various projects. When I do so I always share my Design Space canvas with you here so if you have Cricut access you can easily recreate my projects. This is the case with these fun Tombstone Party Favor Boxes.

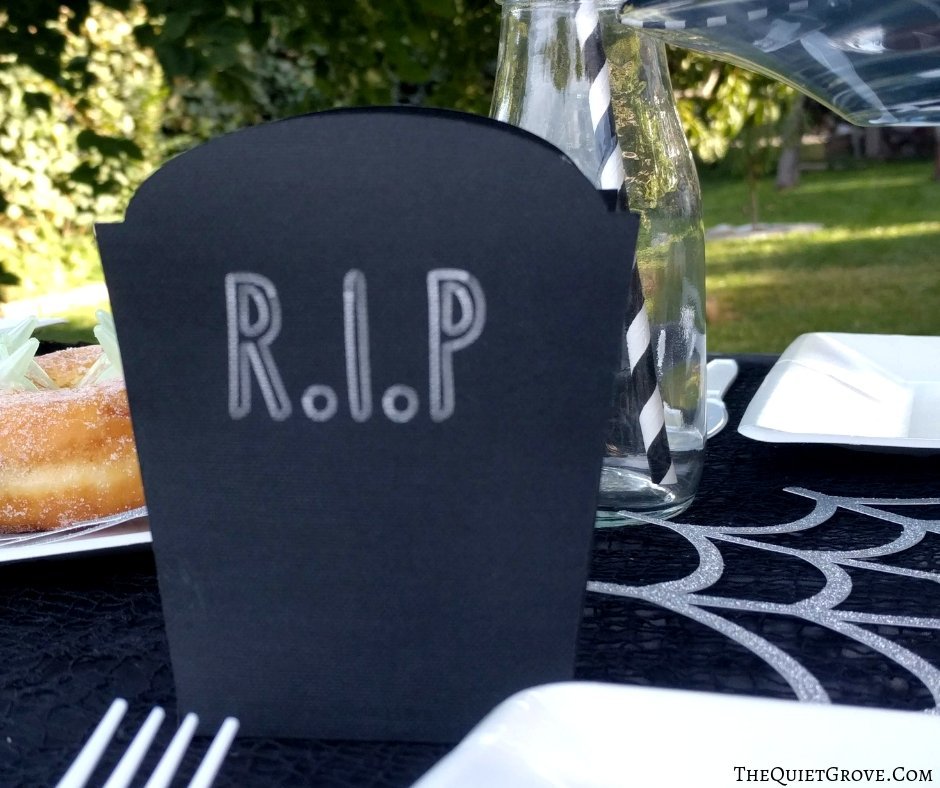
For my recent Halloween party, I wanted to make a fun Party favor box to put some candy at each table settings. I was looking for a tombstone box to fit in my table theme and happily found a make it now project that had a couple to choose from. Rather than do different boxes for each place setting, I chose the box design that matched the best with my cupcake toppers (find here) and then just used that Make it now design for all my table settings.

I love how this design utilized a silver pen to write the RIP on each black box. I really don't utilize pens with my Cricut as often as I should. After all, I have a bunch of different pens to try out (some I won in a contest in a Cricut crafter FB Group and some I got from the recent Cricut Mountain Make-a-Thon I taught at this year.
Materials Needed:
- Cricut Maker (or other Cricut Cutting Machines that work with Design Space)
- Cricut Design File for RIP Party Favor Box --> HERE <--
- 12×24 Light Grip Mat
- Fine Point Blade
- Scoring Wheel
- Cricut Essentials Tool Kit
- Silver Cricut Pen
- Black 12x12 Cardstock
- Glue
If you need to order any of these supplies from Cricut.com use Promo Code: QUIETGROVE to get 10% off + free shipping!!
**Note this code does not work on Design Space Access, digital content, machines, EasyPress, Brightpad
Instructions:
- Open Cricut Design Space Canvas for DIY Tombstone Party Favor Box --> HERE <--

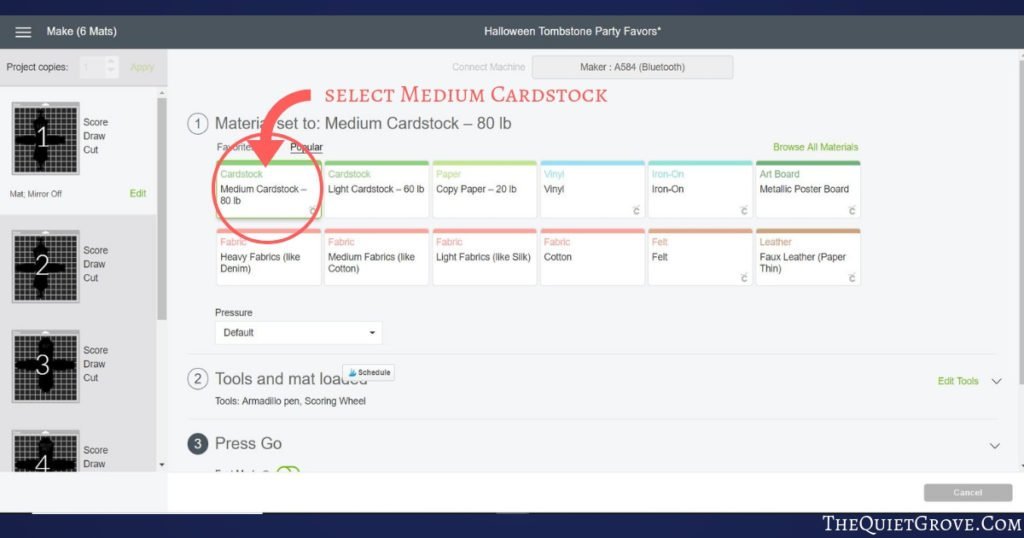
- Click Make it and select Medium Weight Cardstock for material.
- You will be Prompted to Place your Silver Pen in the A Tool Slot and your Scoring Wheel in your B tool slot. (you always draw and score before you cut.)
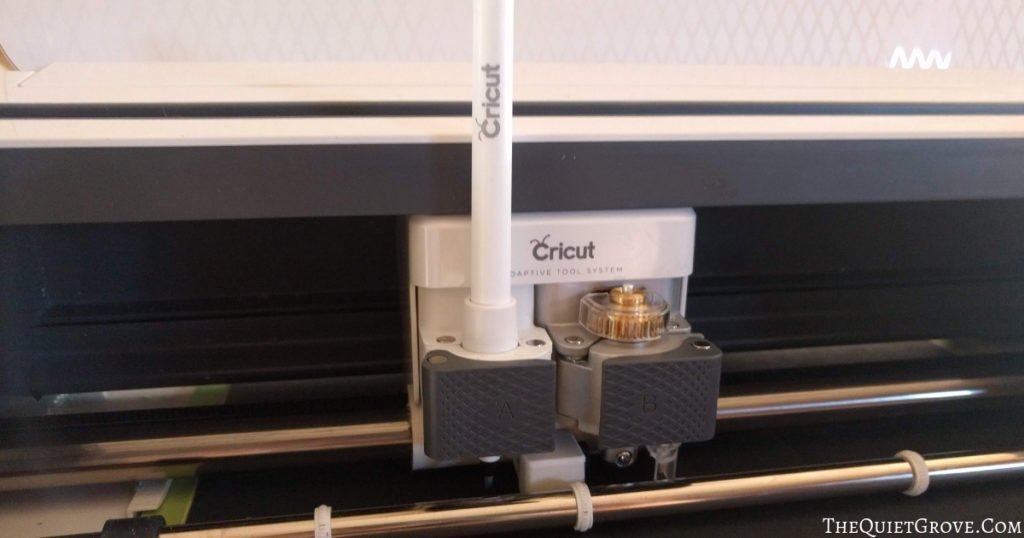
- After your Cricut is done writing the RIP and making the score lines, you will be prompted to switch back to the Fine Point Blade to cut out your box (at which point you can also remove the pen to put your lid back on to keep it fresh.).
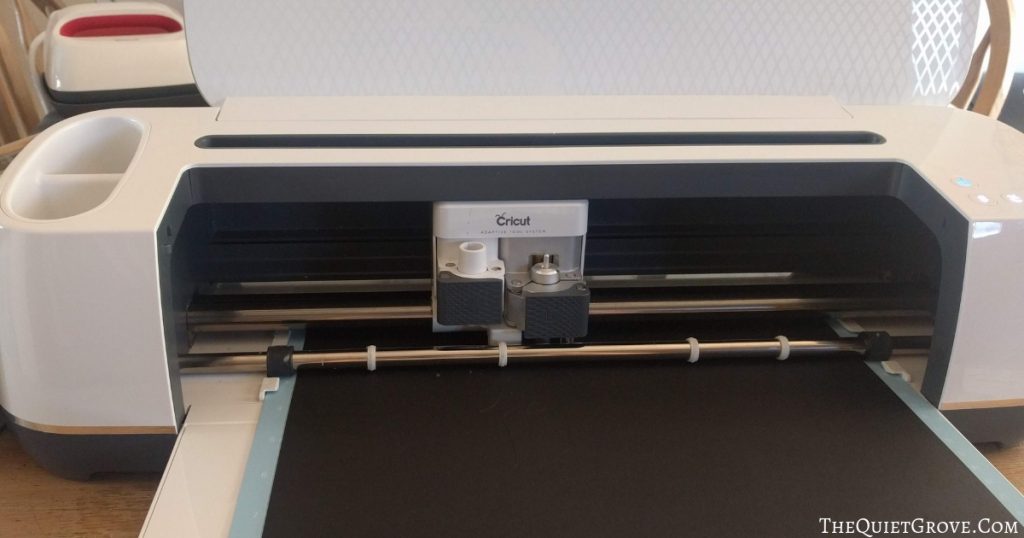
- Carefully remove your Cut design from your mat (I like to peel the mat from the cardstock. However, you can also carefully remove your cut cardstock with the spatula from your Essential Tool Kit.) and then fold along all the score lines.

- Glue together (I just used a glue stick but you could use other adhesives like glue dots or hot glue...)
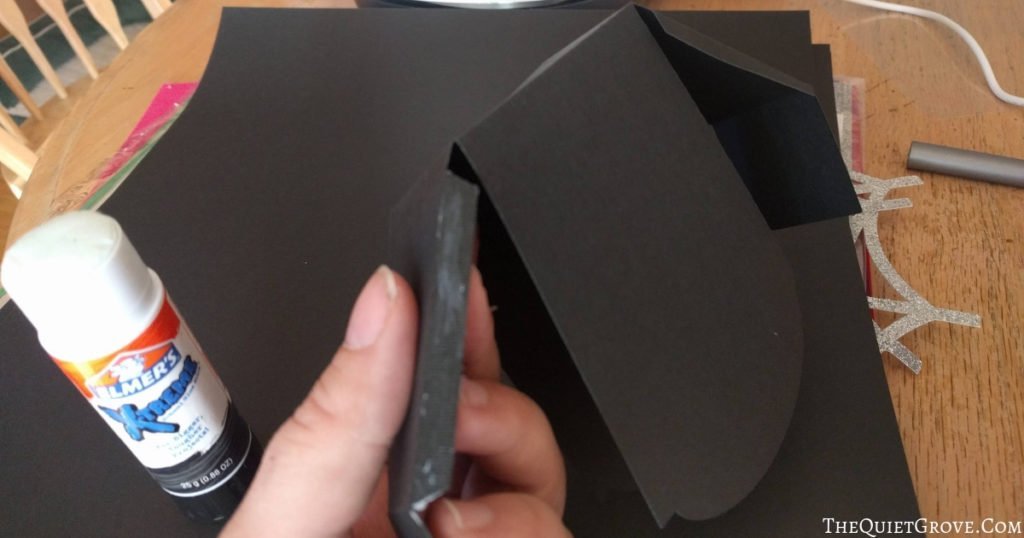
- Add your treat and you are done.

One thing I did notice with this design was that the top box tabs weren't long enough to close so I just pushed them down into the box for an open top. If you prefer you can try lengthening the tabs or slicing them off the design if you don't choose to.
If you liked this post then check out these: (Click on the photo to go to the post.)