
Introducing the 4 new Cricut Maker Tools! (with 4 fun DIY Projects)

This is a sponsored conversation written by me on behalf of Cricut. The opinions and text are all mine.
Have you heard about the 4 new Cricut Maker Tools just released?

When it comes to Crafting machines the Cricut Maker is in a league of its own. It can do everything that standard crafting machines can do and sooo much more...The maker is just as easy to use as their Explore Air series of crafting machines, but thanks to its ability to deliver 10 times or more cutting force as well as it's new adaptive tool system that can control the direction of the blade while cutting, the versatility what materials the Cricut can work with is amazing. When they released the Maker, They promised to continue to come out with new tools and materials to take your crafting to the next level and beyond. Which is why Cricut just released 4 new Cricut Maker Tools!

When the Maker came out, it came with a new Rotary blade which allowed you to cut fabrics and delicate materials (like Crepe Paper.) They teased us with the Knife Blade (which was released a few months later (which was designed to cut through those difficult and previously impossible materials like Bass Wood and Leather.) Then they released the Scoring Wheel which made it possible to make intricately folded projects (using materials like Acetate, Cardstock, Kraft Board & Poster Board). And now Cricut has added 4 new tools for their maker.
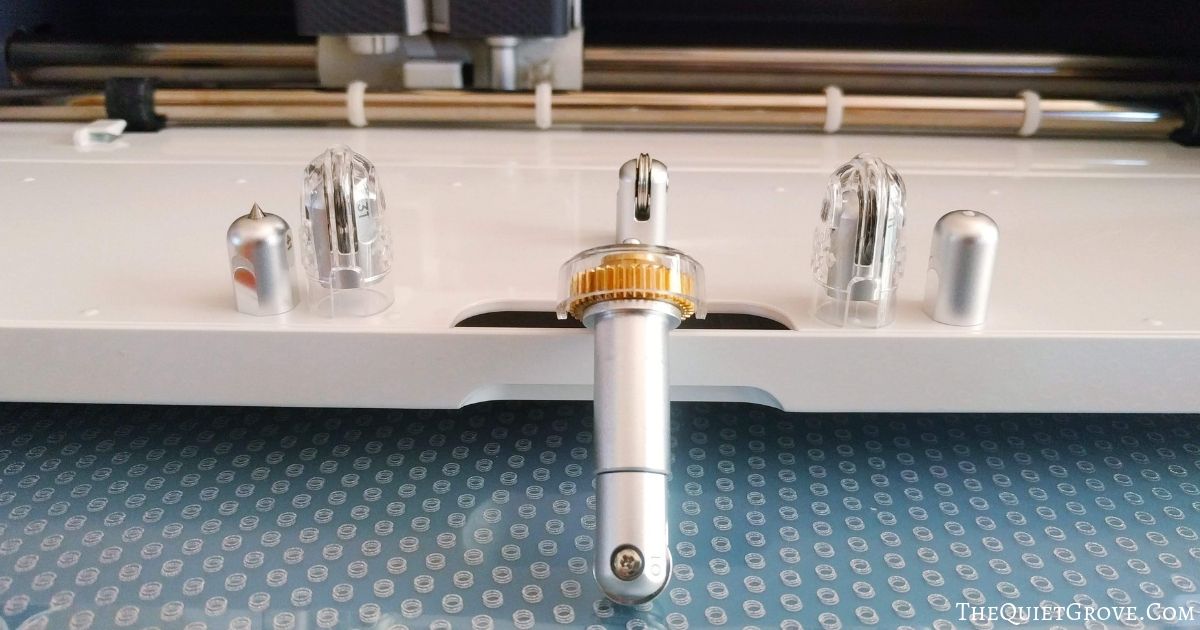
Each of these new tools further expands the Maker’s capabilities allowing for crafting creators to use more advanced techniques on even more materials for amazing personalized projects.
So, What are the new tools?
The Cricut Maker Debossing Tip:

Are you wanting to add a quick textured design to your project? Unlike embossing folders which totally lock you into a set design, with the debossing tip you can add a quick fine detailed (and custom) design to your material adding that extra touch of elegance and professional polish. This Tip can be used with a wide range of materials like regular & Foil Cardstock, Shimmer & Gitter Paper, Basswood, Leather and more.
The Cricut Maker Engraving Tip:
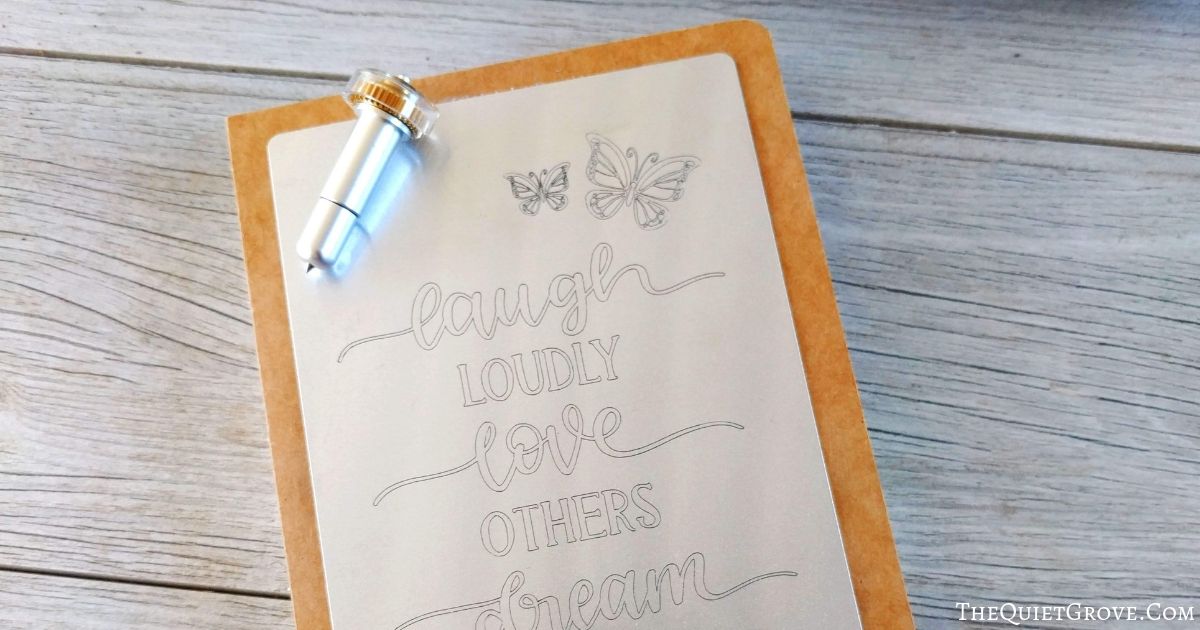
Are you wanting to inscribe a finely detailed design on your project? With the new Engraving tip you can make lasting designs on previously too hard to work with materials (like metal and acrylic sheets.) This is great for tags, jewelry, keepsakes and much more.
The Cricut Maker Perforation Blade:
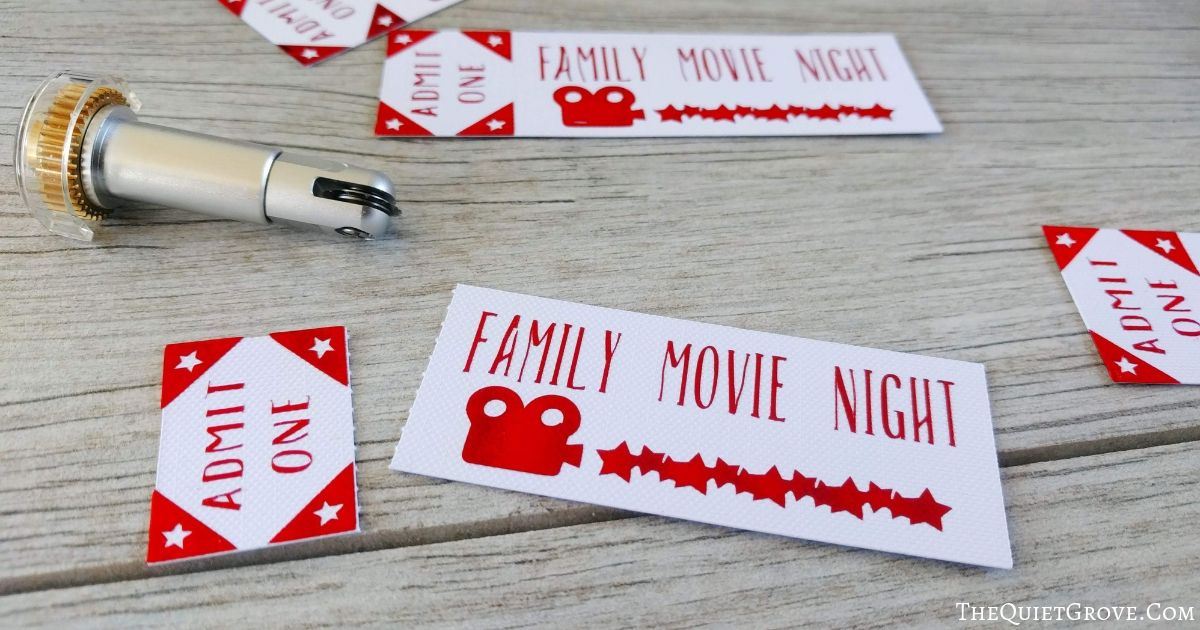
Are you wanting to add a tearing aspect to your project? (like for tickets, homemade journals, tear our booklet pages etc...)This blade adds a perfect evenly spaced finely perforated lines which make for easy tearing without having to fold first.
The Cricut Maker Wavy Blade:
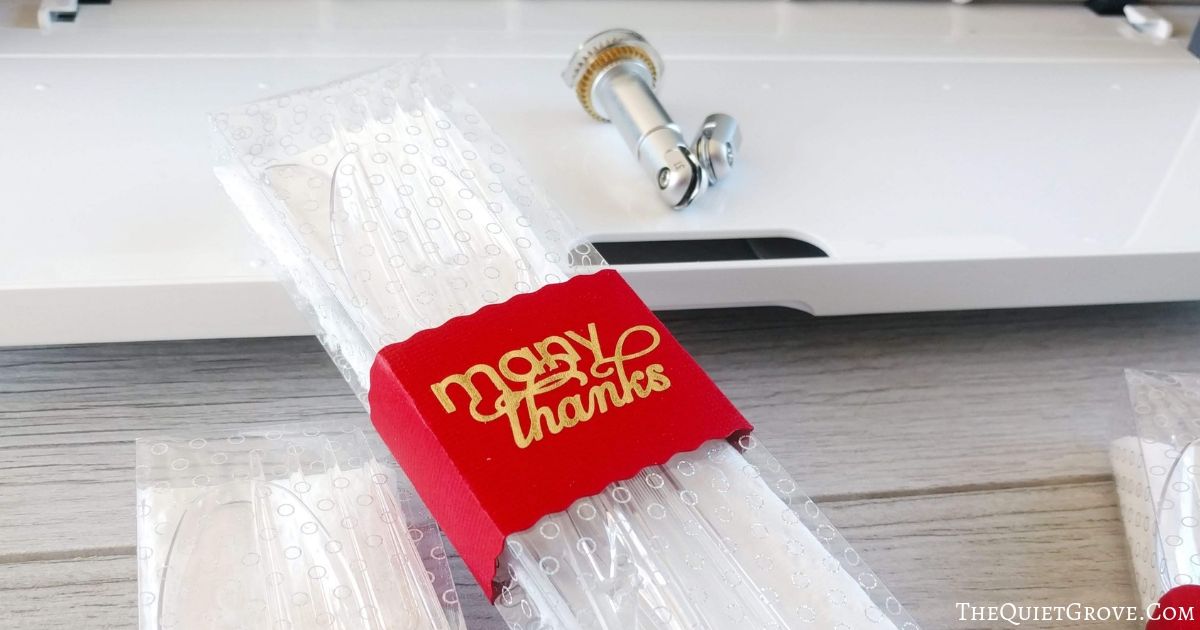
Are you wanting to add a quick whimsical edge to your project? The Wavy Blade is a fast and easy way to add a decorative edge (in half the time than a drag blade.) and can be used on lots of materials like Iron-on, vinyl, paper, cardstock, fabric and more.
**Note: Each of these 4 tools (like the scoring wheel released last year) are part of the QuickSwap toolset so you can use the same base and easily just switch the tip to finish your project.

To illustrate how you can take your crafting to the next level with these 4 new fun Maker tools I have created 4 easy projects using the new tools. With the Wavy Blade, I added a fun bit of flair to my Cardstock Wrapping on the Utensil Boxes I made for an upcoming Thanksgiving Tablescape. With my Debossing Tip, I made some fun "Homemade" Gift tags. With my Engraving Tip, I made a modern metal plate for the cover of my daughter's new Drawing Journal. And with the Perforation Blade, I made some fun Family Movie Night Tickets.
DIY "Many Thanks" Utensil Boxes

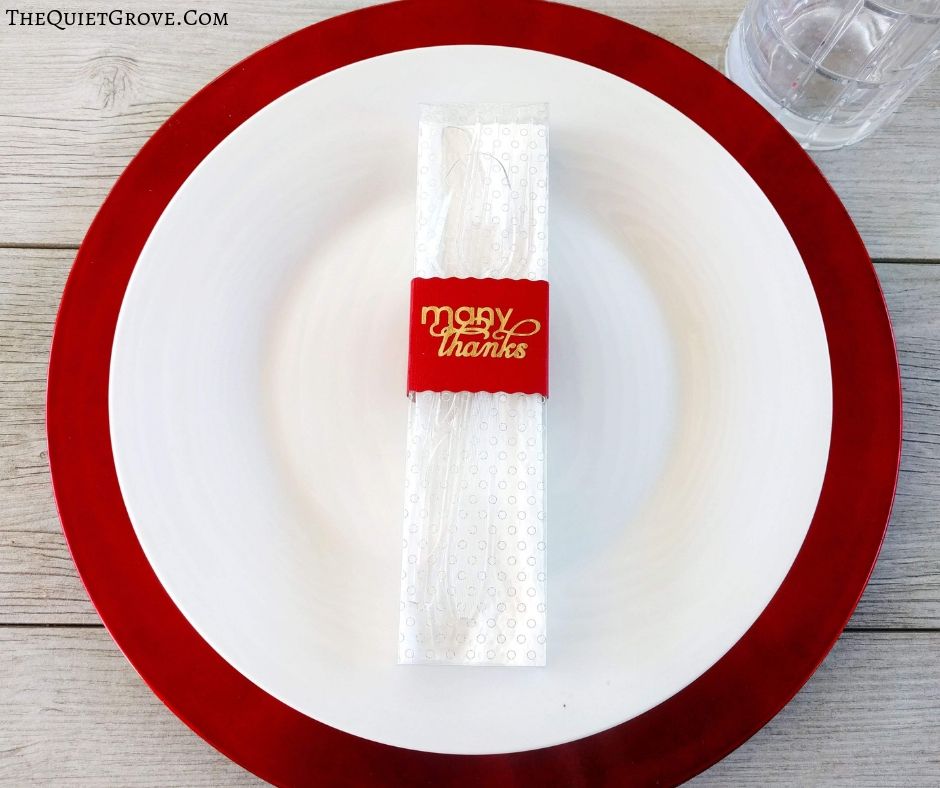
Add a touch of elegance to your Thanksgiving Tablescape with these Beautiful Acetate Utensil Boxes sealed with a fancy "Many Thanks" decorative wrapping (made from Cardstock and Foil Iron-on using the wavy blade for edges.)
Materials
Tools
Instructions
Cutting Instructions:
1. Open Cricut Design Space Canvas for Utensil Boxes -->HERE<--
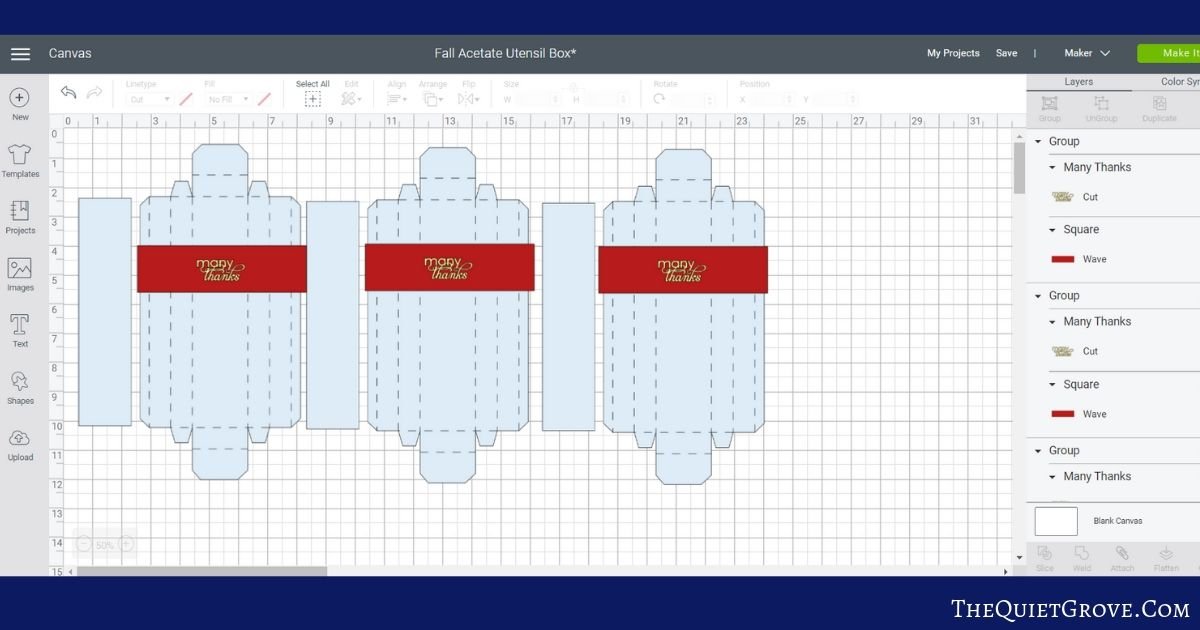
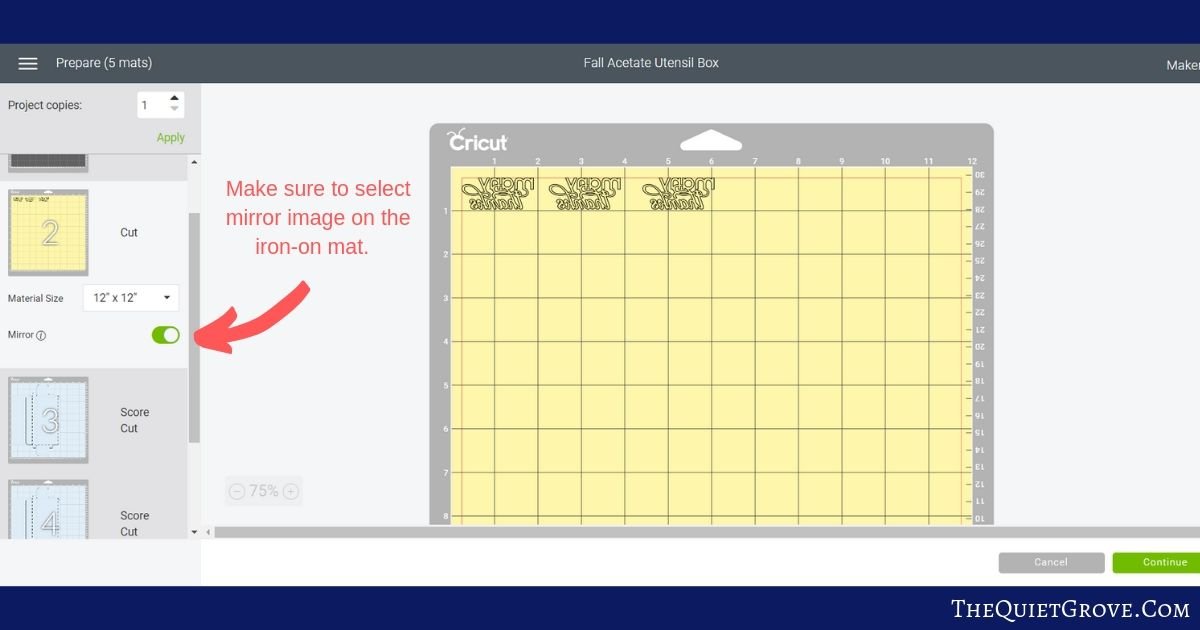
2. Click to make and select to Mirror Image the yellow mat with the Iron-on design.
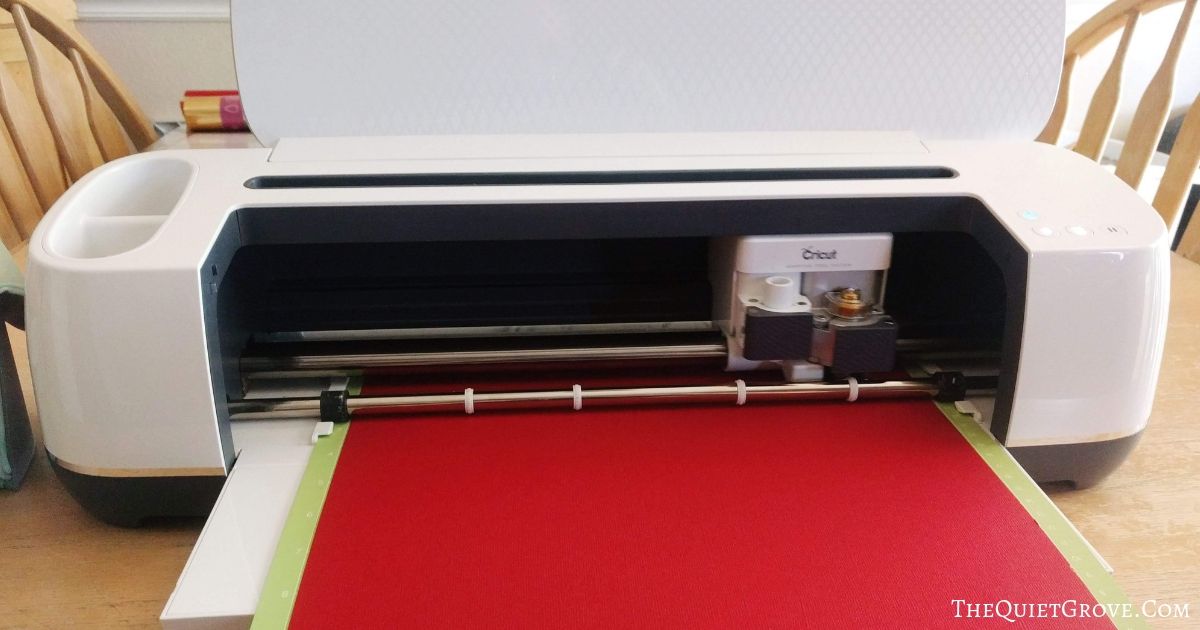
3. Select Cardstock for the first material, place Cardstock on Standard Grip mat & put the wavy blade in the tool holder and load into the machine to cut.
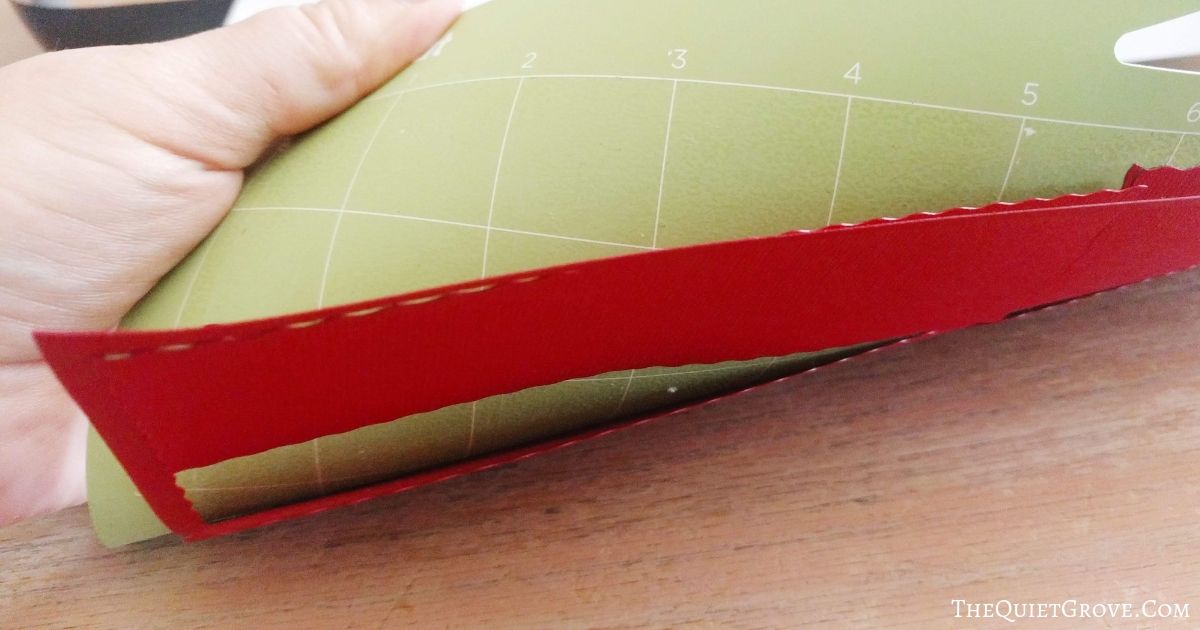
4. After cutting peel mat from cut cardstock.
5. Select Foil Iron-on as the material and place on mat shiny (colored side) down, and switch wavy blade for fine point blade.

6. After cutting use the weeding tool (from the essential tool kit) to weed out unneeded iron-on.
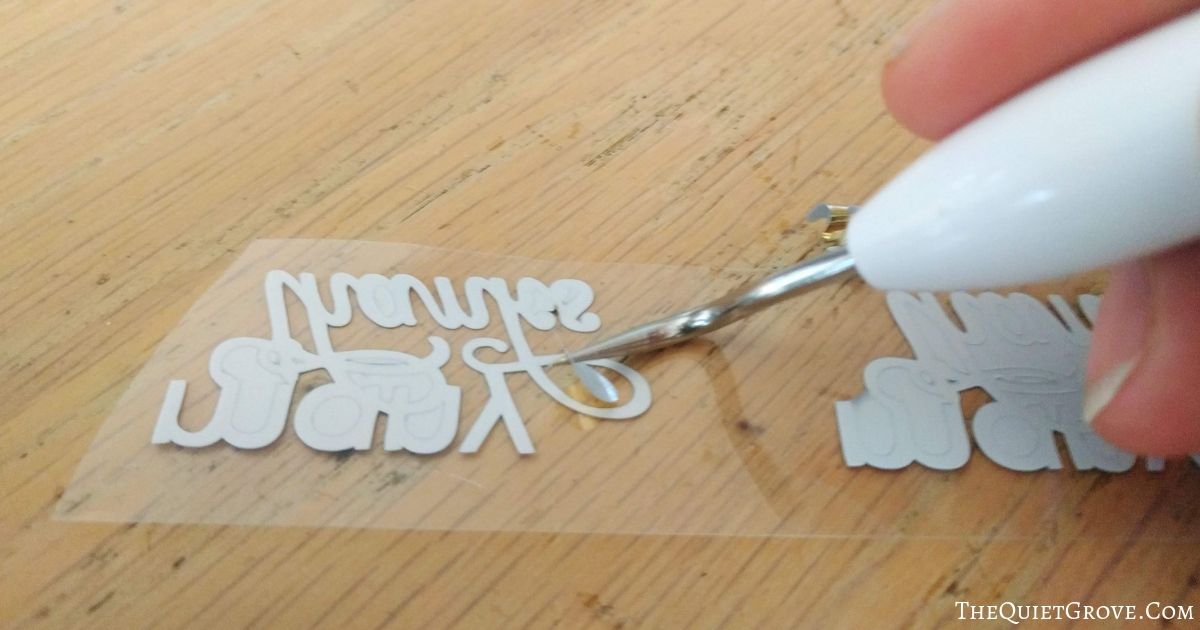
7. Switch the fine point blade for the scoring wheel and select foil Acetate as the material & peel acetate protective backing off.
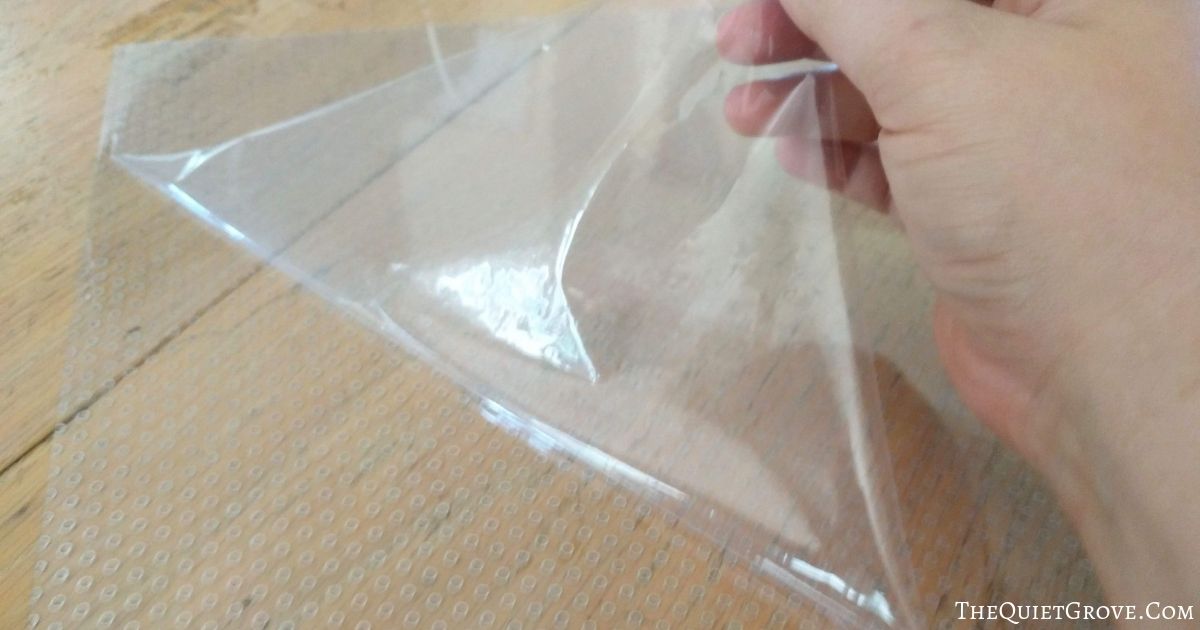
8. Place foil side up on Standard Grip Mat. and load into Cricut Maker.

9. After scoring switch scoring wheel for fine point blade to cut. & after cutting, peel mat from acetate.
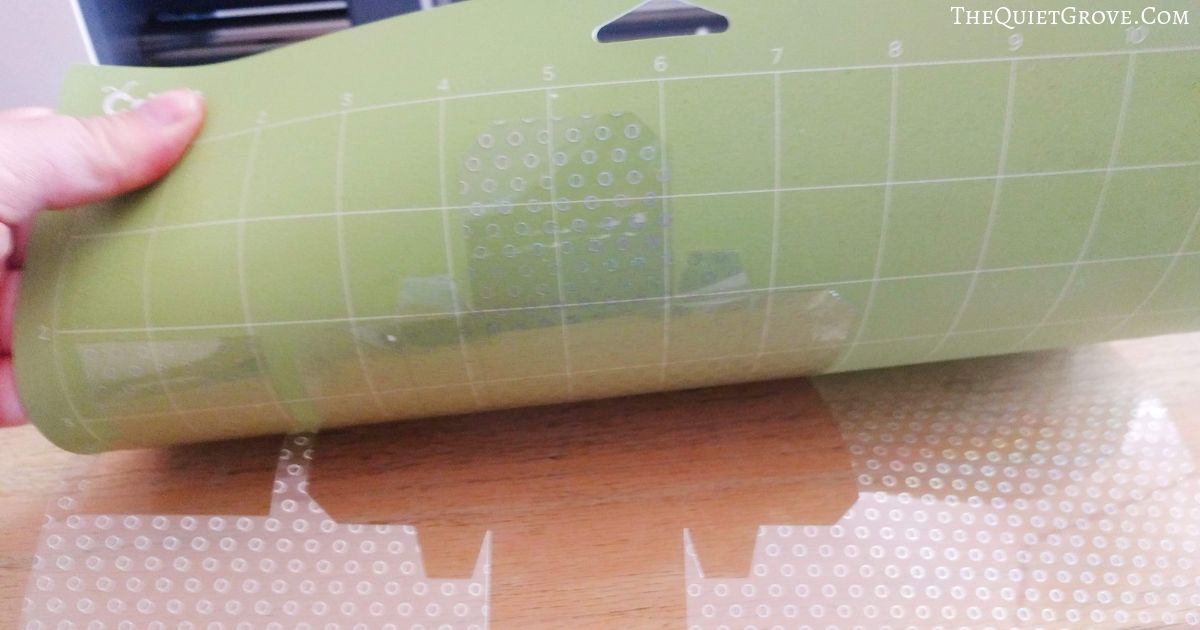
Ironing Instructions:
1. Set your Easypress to 270 and the press time to 30 seconds. then preheat Cardstock for 5 seconds
2. Carefully place the iron-on design where you want it on the Cardstock wrap.
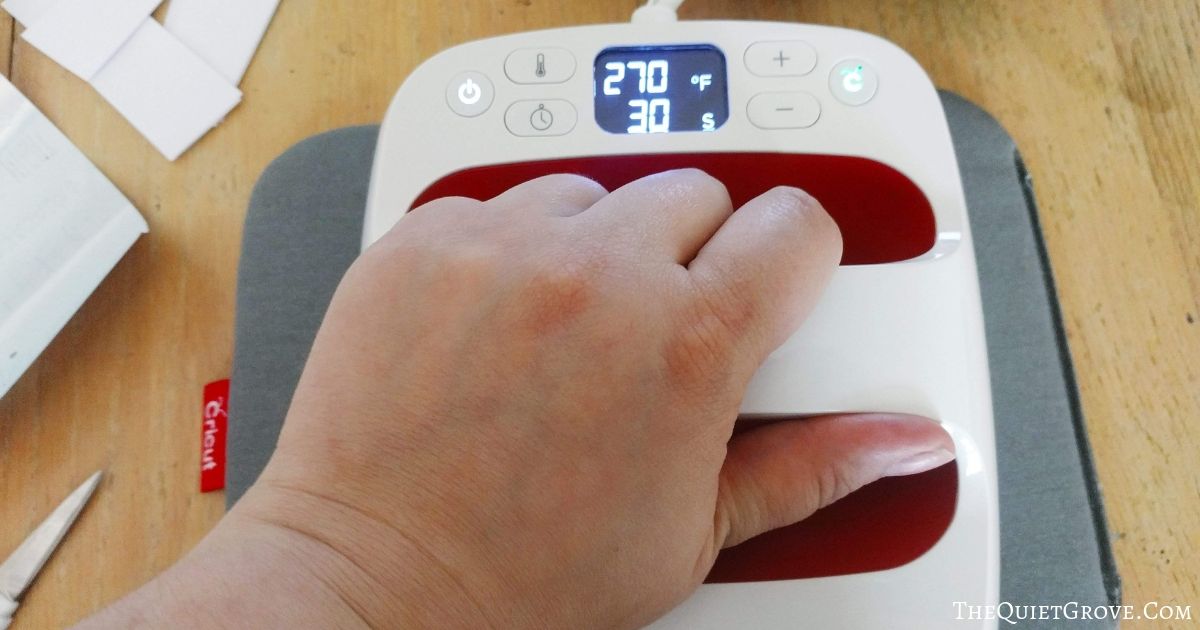
3. Click the Easypress Cricut button to start timer and press on design with light pressure for 30 seconds. then flip over and iron for 15 seconds on the backside
4. Peel backing off design as soon as it is cool enough to touch.
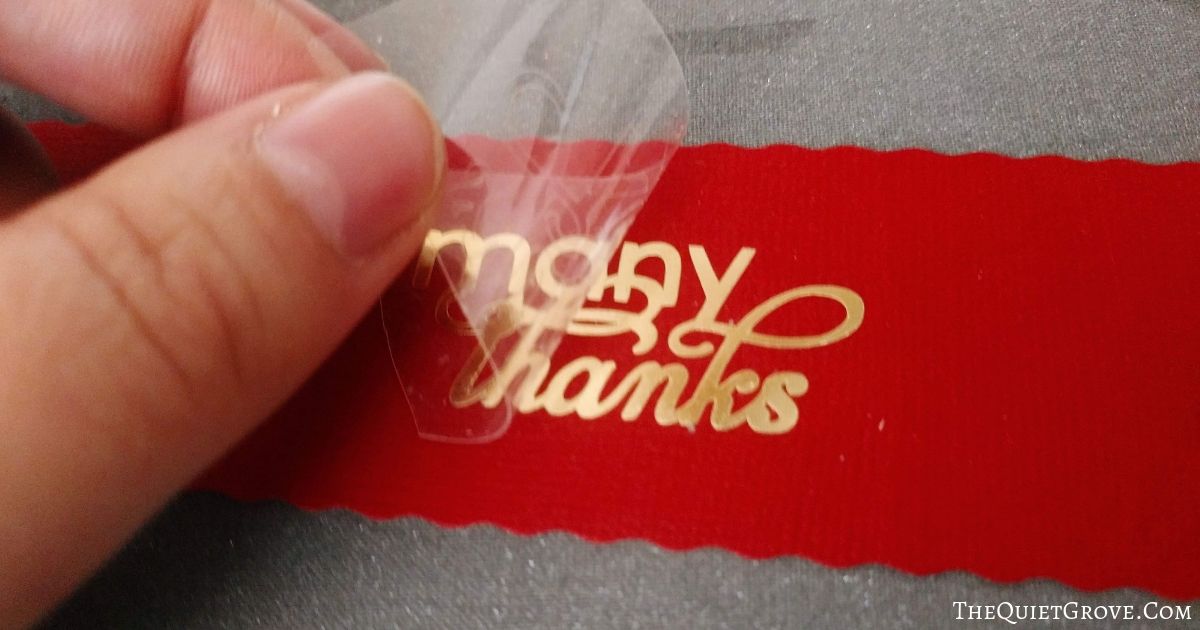
Assembly Instructions:
1. Fold Acetate along the score lines.
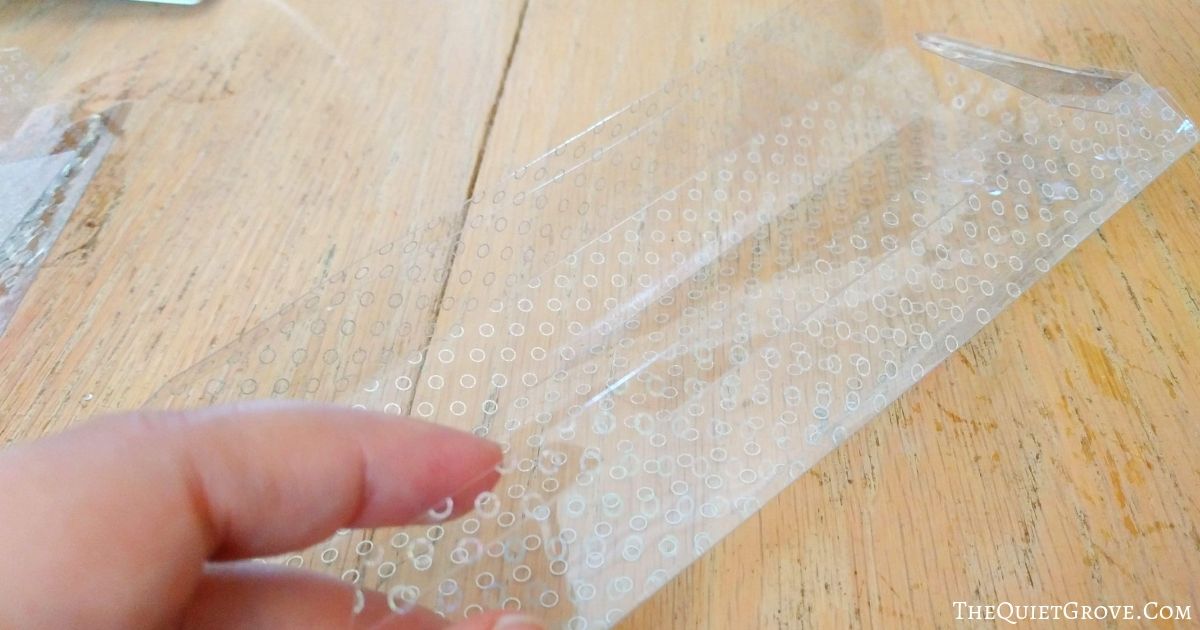
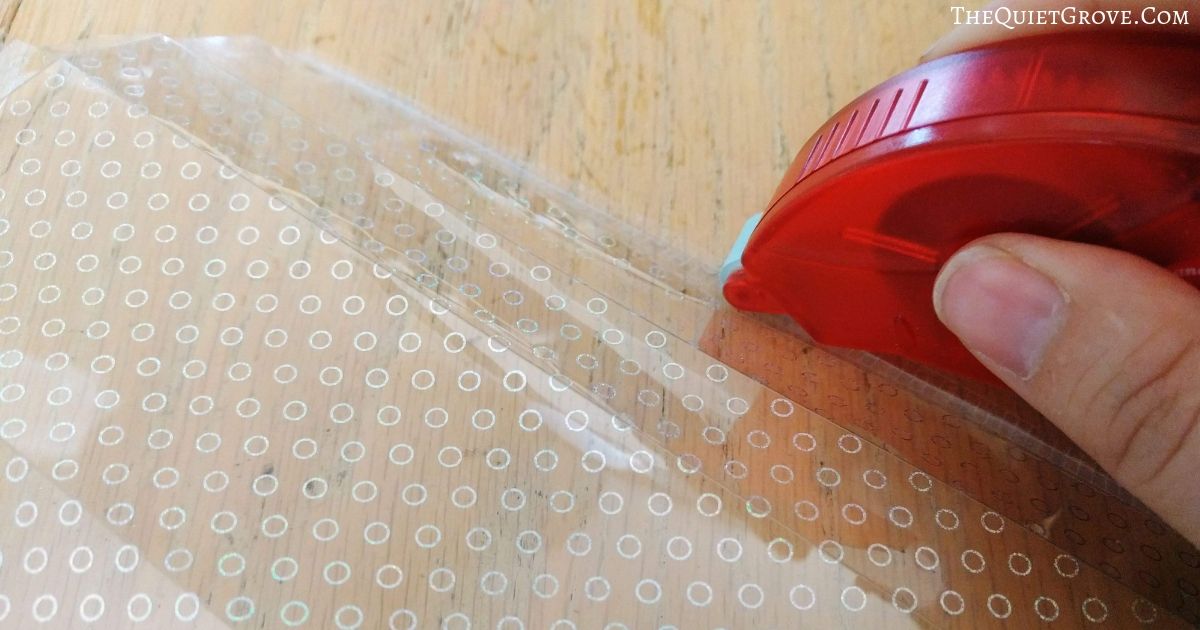
2. Fold flaps on the bottom of the box to close and secure with adhesive.
3. Insert Rectangular backer into the box, & Insert Utensils, a napkin.
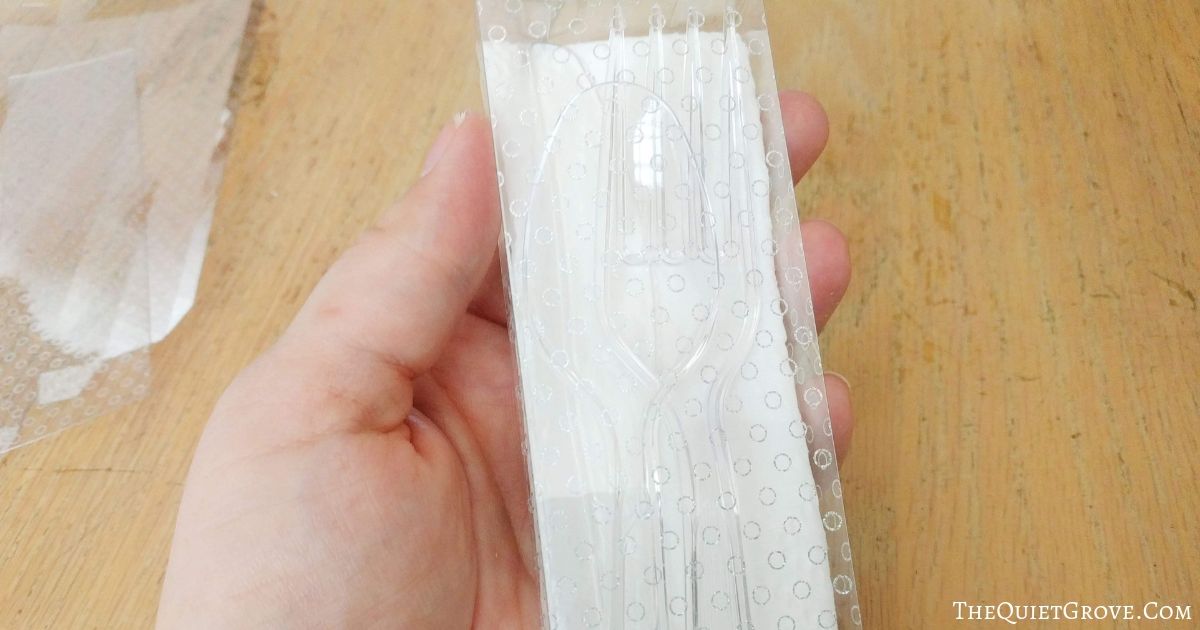
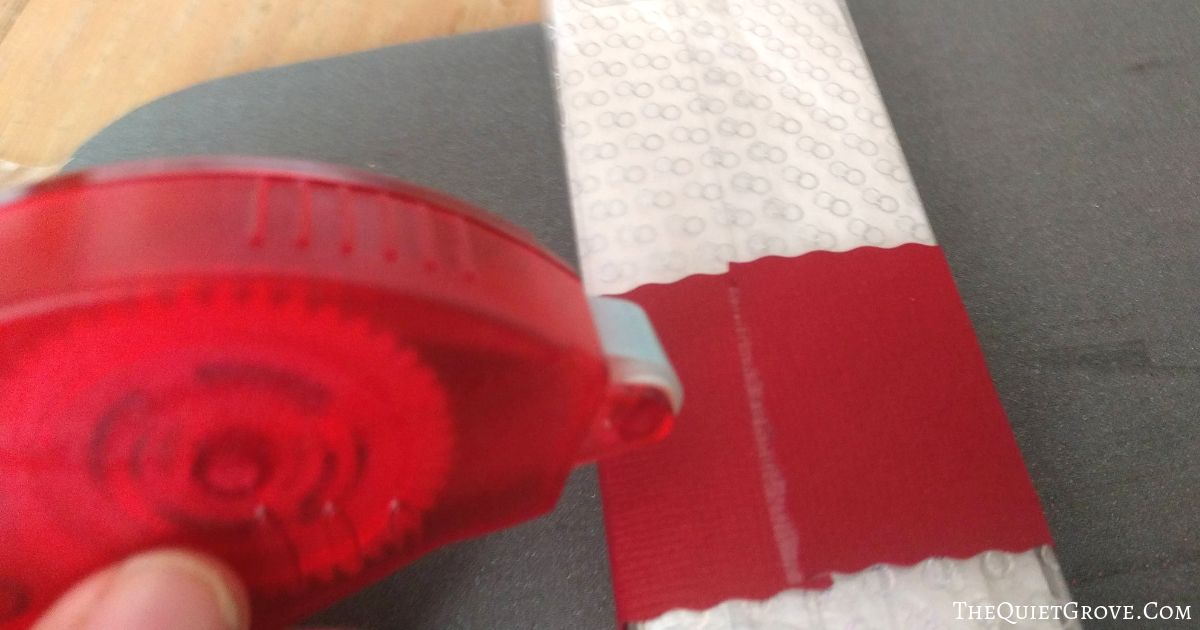
5. Close and wrap with Decorative Cardstock.& Secure wrap closed on the back of the box with adhesive.
And Enjoy! This Many Thanks Utensil box will look lovely on your Thanksgiving Table!
Notes
**The Design for the Acetate Utensil boxes was already designed via Cricut Access. I just customized the design by adding the fun Thanksgiving decorative wrapping.
Recommended Products
As an Amazon Associate and member of other affiliate programs, I earn from qualifying purchases.




DIY "Home Made" Gift Tags

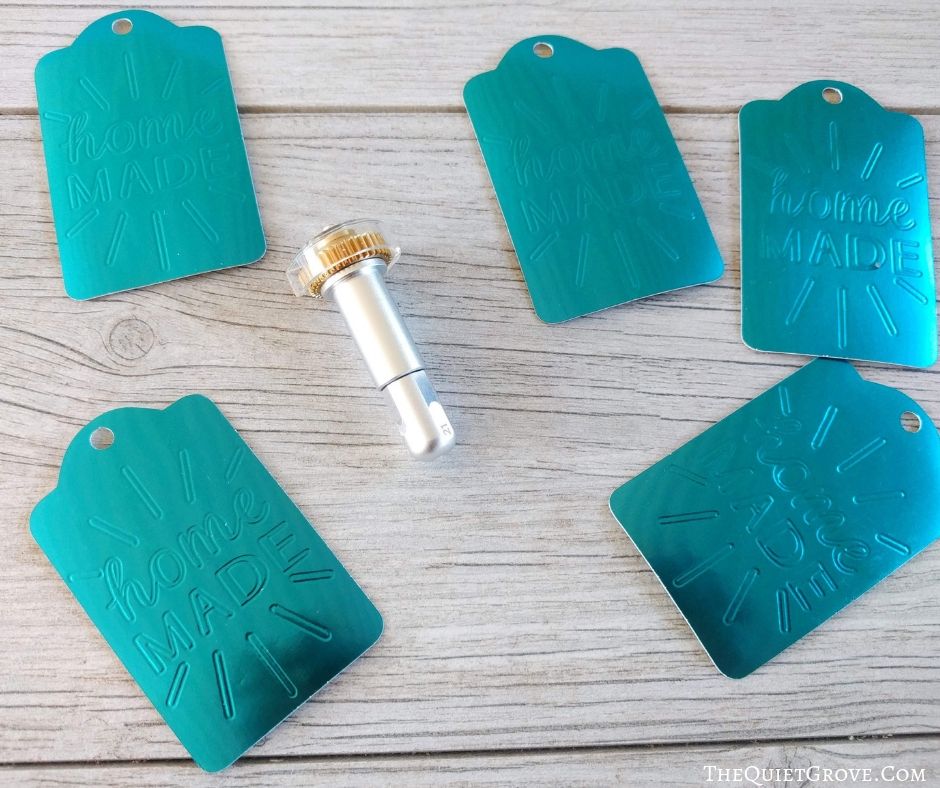
These "Home Made" Debossed Gift Tags are quick and easy to make and are the perfect compliment for those homemade gifts.
Materials
Tools
Instructions
Open Design Space Canvas for "Home Made" Debossed Tags -->HERE<--
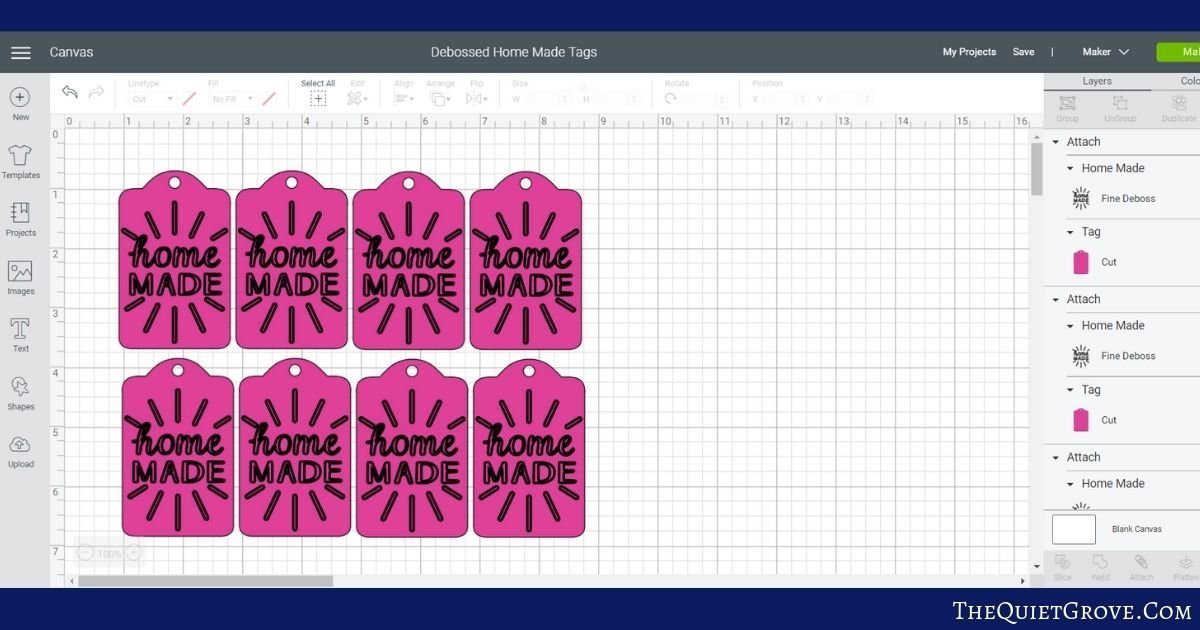
Click to make and select Foil Poster Board as the material& place the debossing tool into the tool holder and load posterboard onto standard grip mat.

After finished debossing switch tool for the fine point blade.
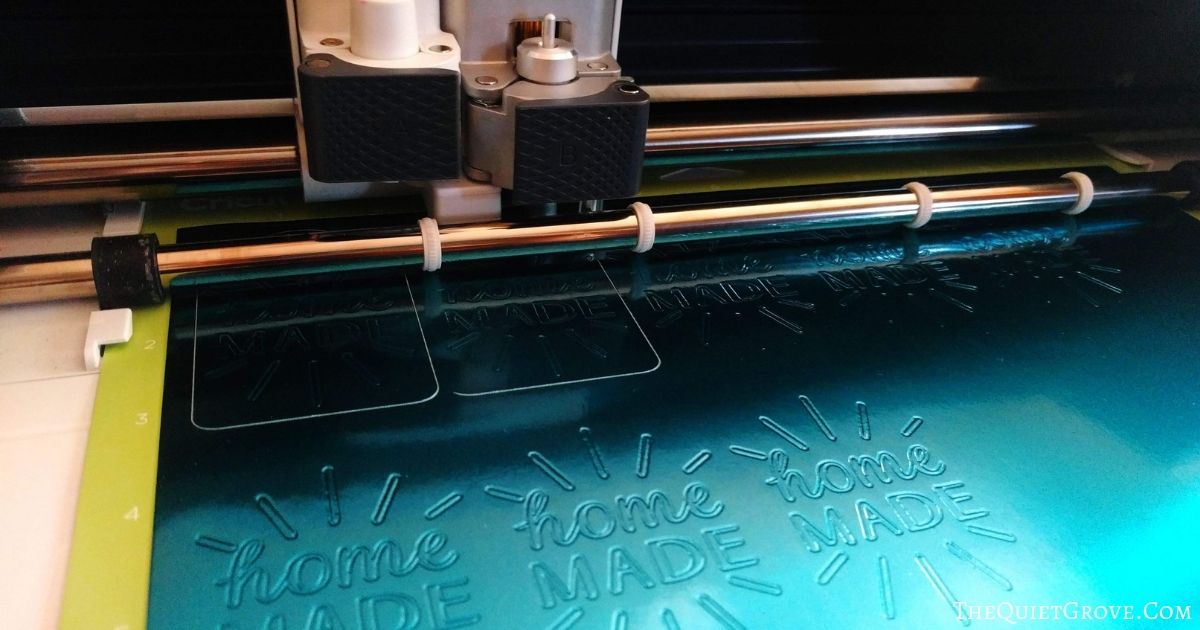
After cutting, use your spatula (from your essential tool kit) to carefully remove the tags from your mat.
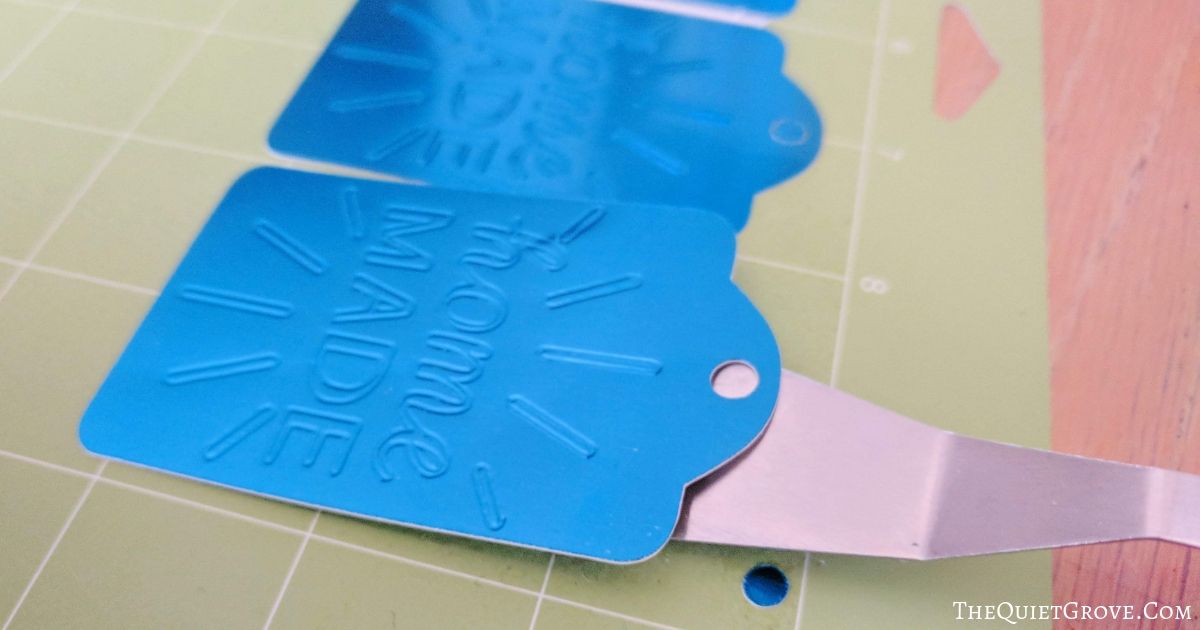
And Enjoy! These embossed gift tags will look lovely on your homemade gifts to friends and family!
Recommended Products
As an Amazon Associate and member of other affiliate programs, I earn from qualifying purchases.


DIY "Laugh, Love & Dream" Journal

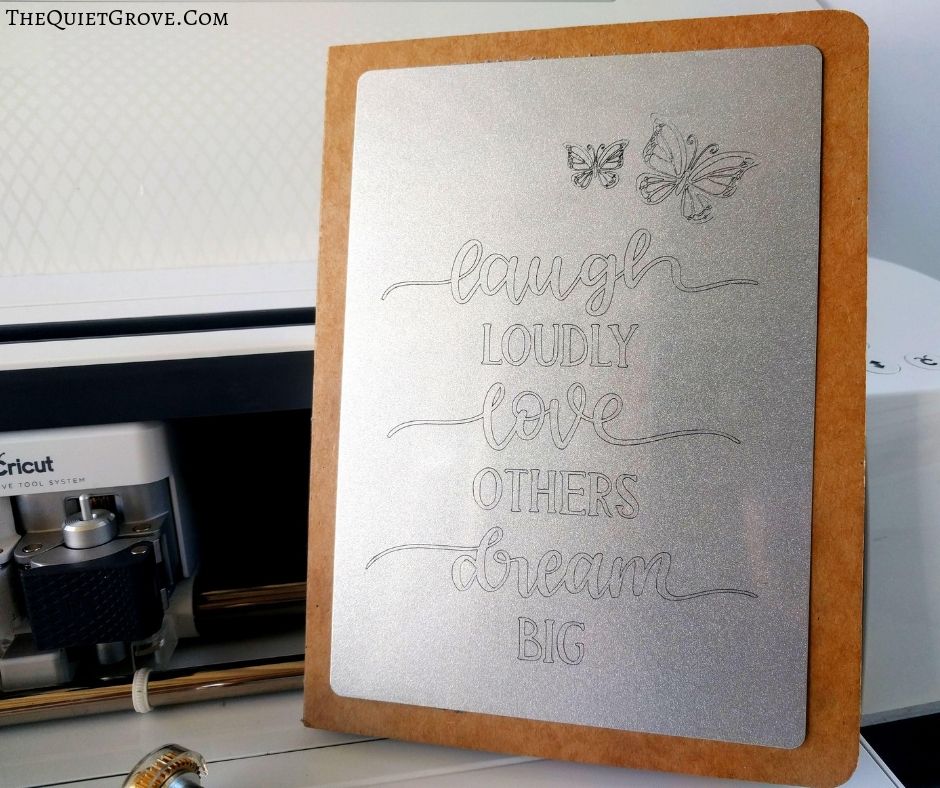
Give your journal a modern look by adding to it's cover an engraved aluminum plate. This DIY is quick and easy using the Cricut Maker and Engraving Tip.
Tools
- Cricut Design Space for "Live Laugh Love" Engraving Design
- Cricut Maker
- Engraving Tip
- Masking Tape
- Strong Grip Mat
- Adhesive
Instructions
Open Cricut Design Space for Journal Engraving Plate cover. -->HERE<--
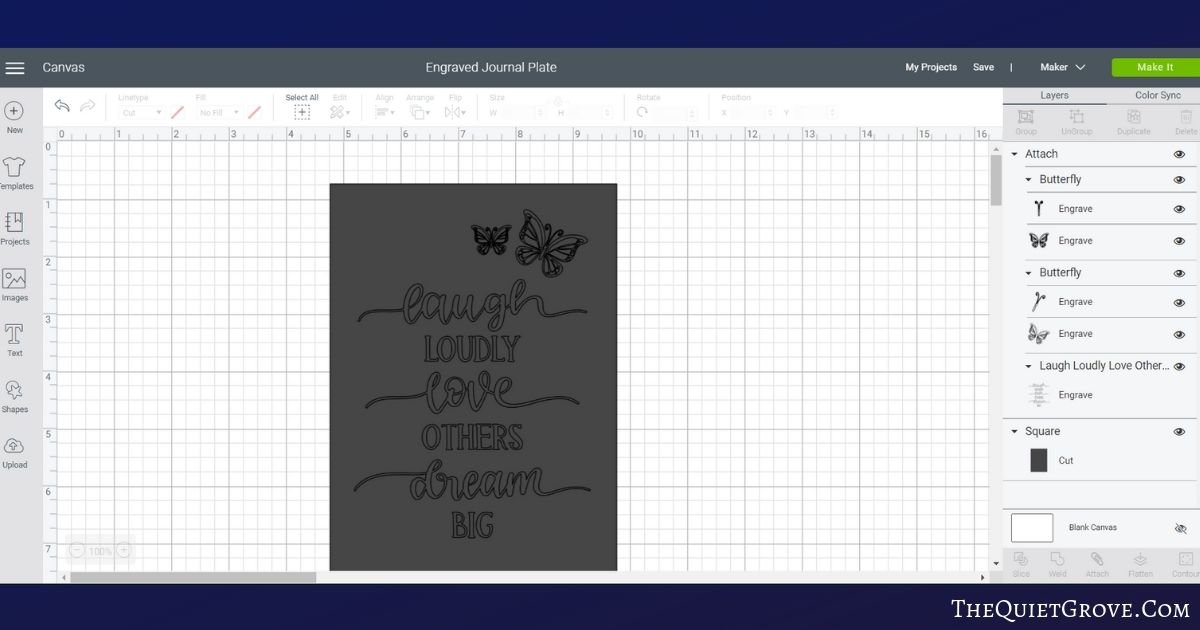
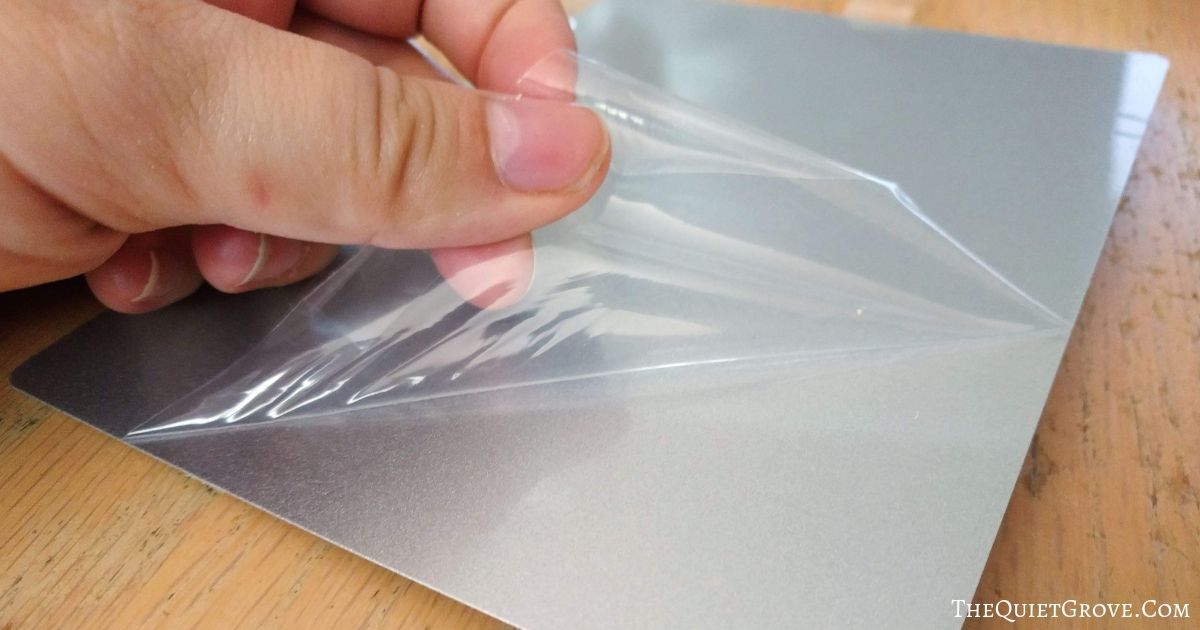
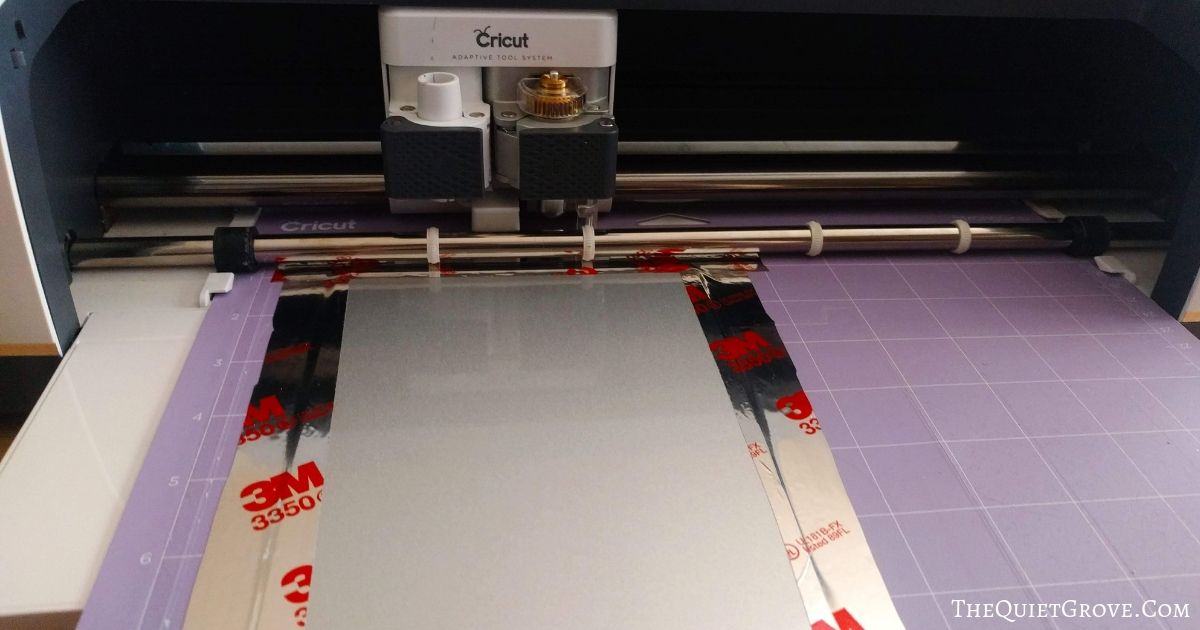
Remove Protective film from Cricut Aluminum Sheets and place on strong grip mat (on the 1x1 spot. & Attach Aluminum sheet onto Strong Grip Mat with masking tape.
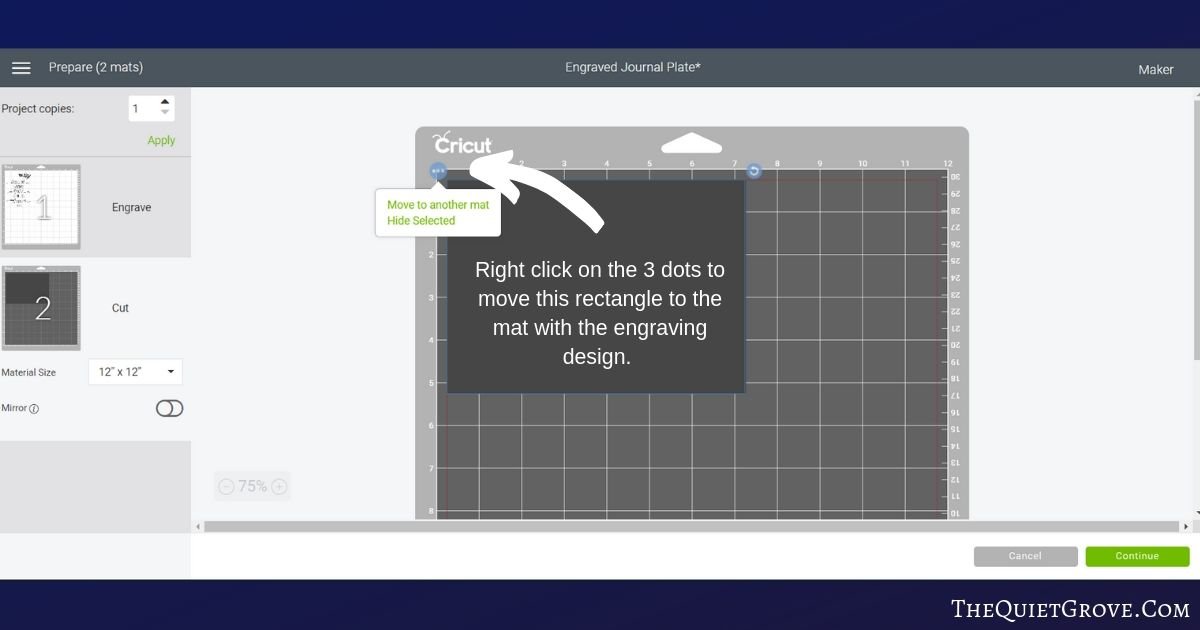
Click to make the design. Move rectangle from 2nd mat to first mat (by right-clicking on 3 dots on the left-hand side),
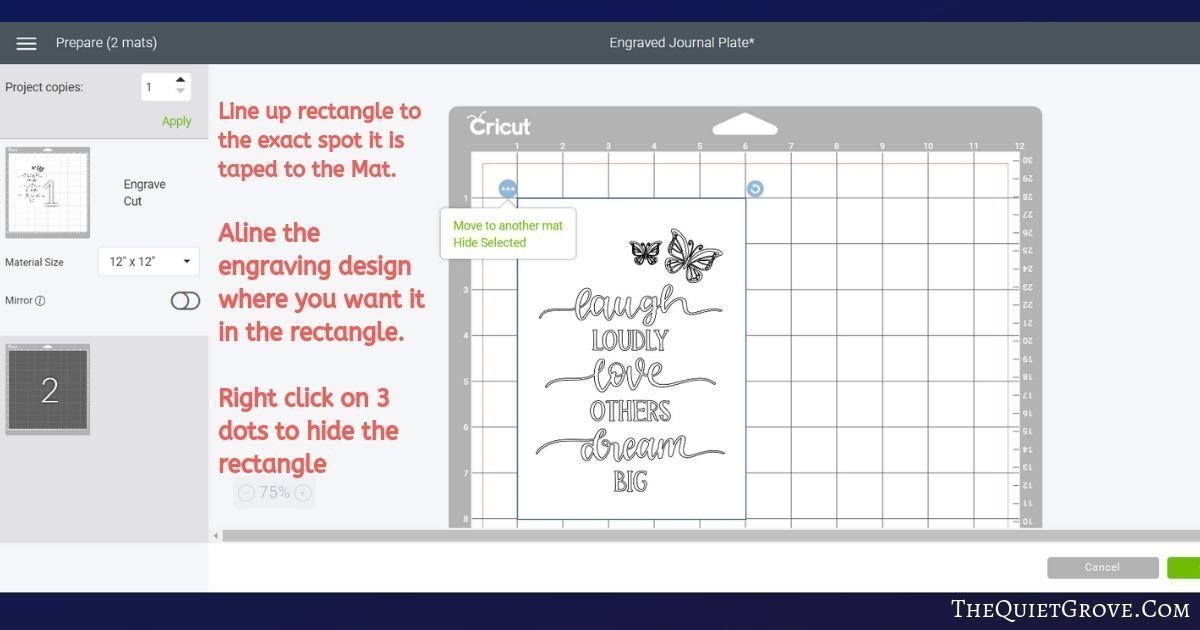
Move rectangle on the digital mat to match where the aluminum sheet is on the actual mat & then line up engraving design over the rectangle. and then hide rectangle (again by right-clicking on the top left 3 dots)
Place Engraving tip tool into the tool slot. and start engraving.
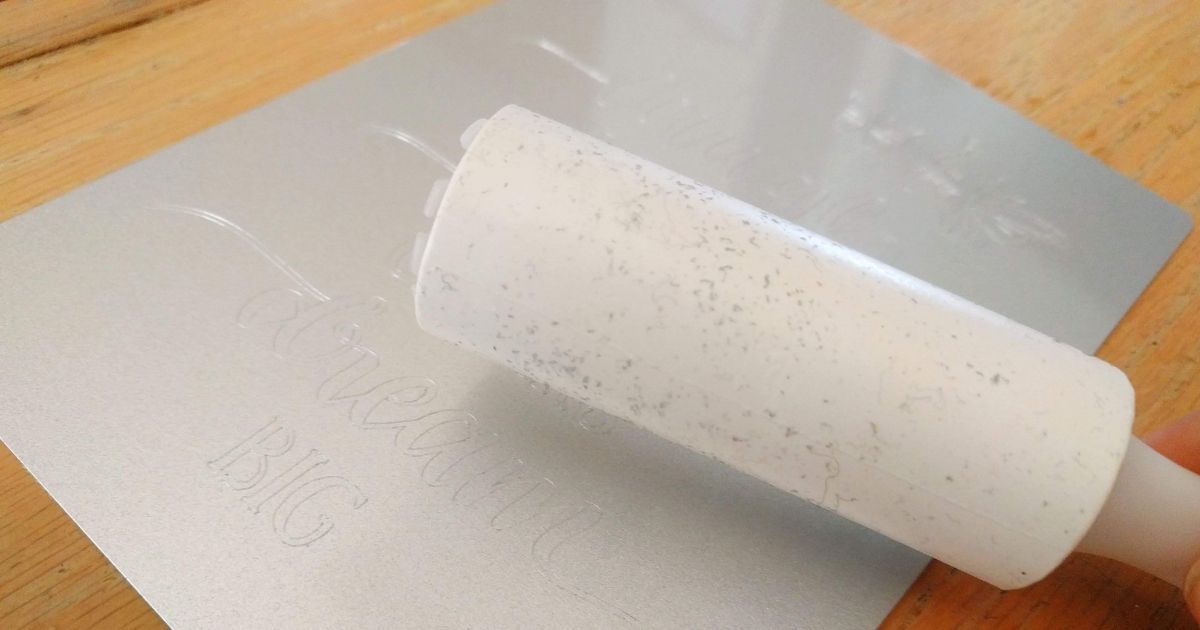
After Engraving, use a lint roller or piece of tape to remove any aluminum shards.
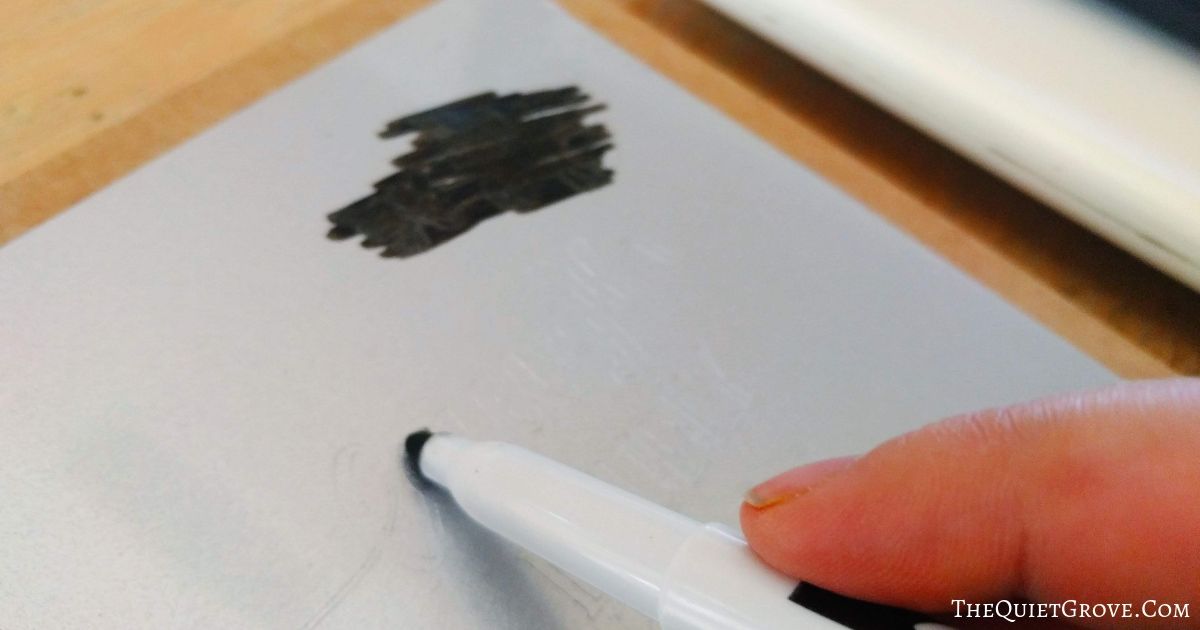
Rub a Dry Erase marker and then wipe off with a cloth (to darken the engraving.)
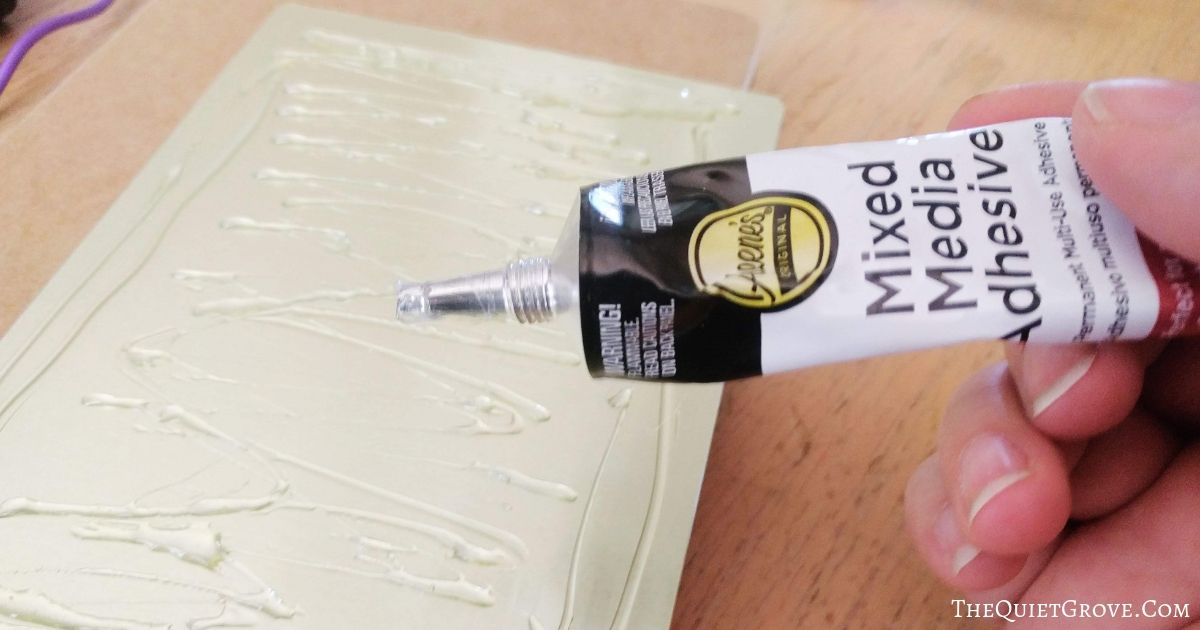
Attach to the front of your Journal using favorite adhesive.
And Enjoy! This fun engraved metal plate will look lovely on your new inspiration Journal!
Recommended Products
As an Amazon Associate and member of other affiliate programs, I earn from qualifying purchases.


DIY Family Movie Night Tickets

Do you like having Family Movie Nights with your kids? Add that touch of fun to the evening with these beautiful movie night tickets (that you can even tear). Made using the Cricut Maker, Perforation Blade, Easypress 2 with Cardstock and Foil Iron-on.
Materials
Tools
Instructions
Cutting Instructions:
1. Open Cricut Design Space for "Family Movie Night Tickets"-->HERE<-
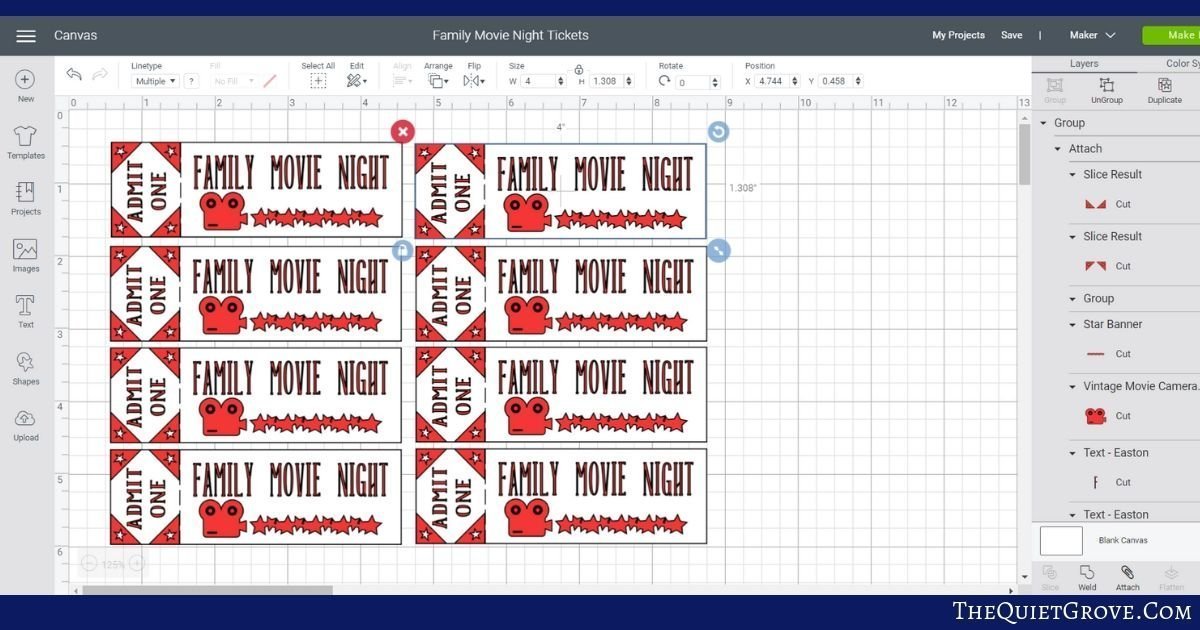
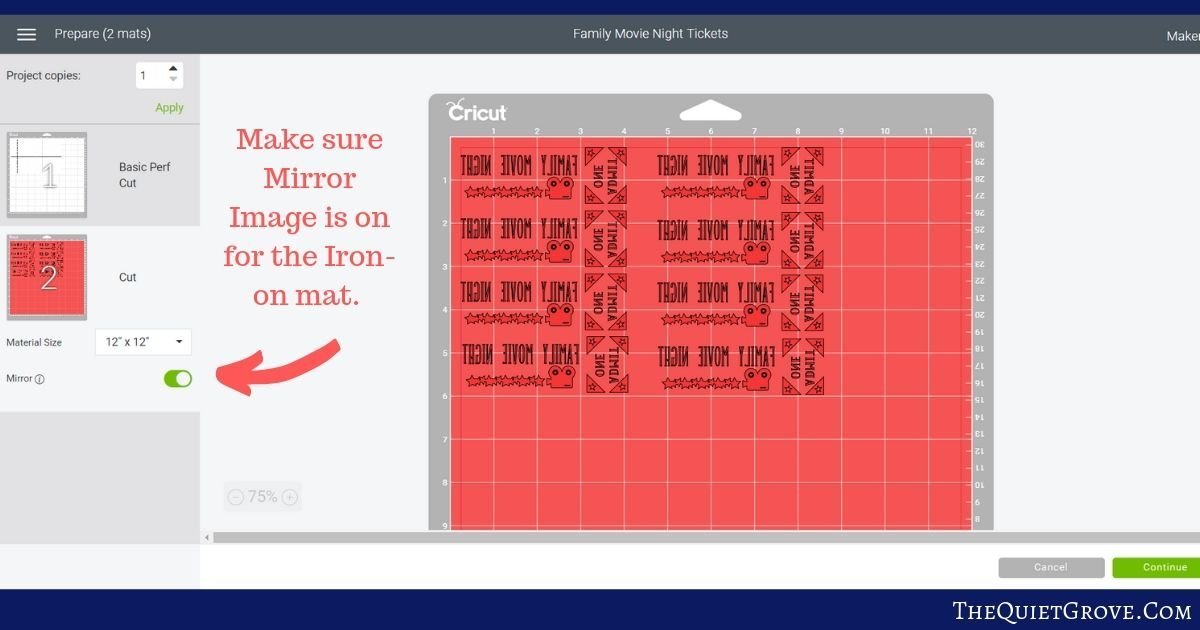
2. Click to make and Mirror Image the mat for the Iron-on.
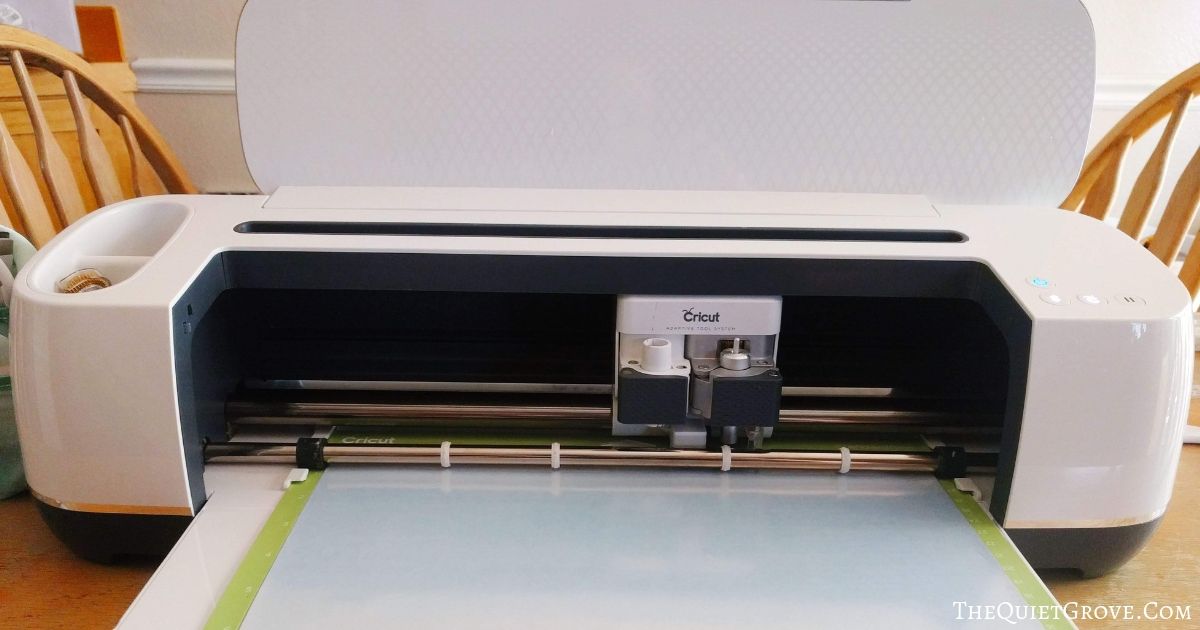
3. Select Cardstock for the material, insert the Perforation Blade into the tool holder & place cardstock on the standard grip mat, and load it into the machine.
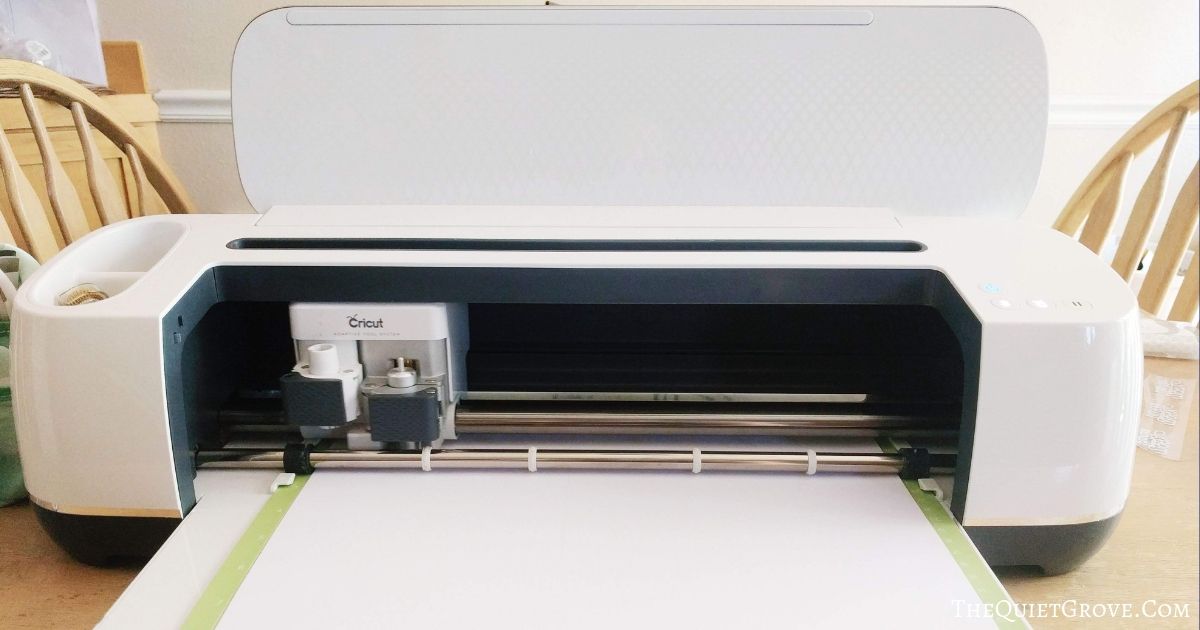
5. Switch to fine point blade to cut. & after cutting the tickets, peel the mat from the cut cardstock.
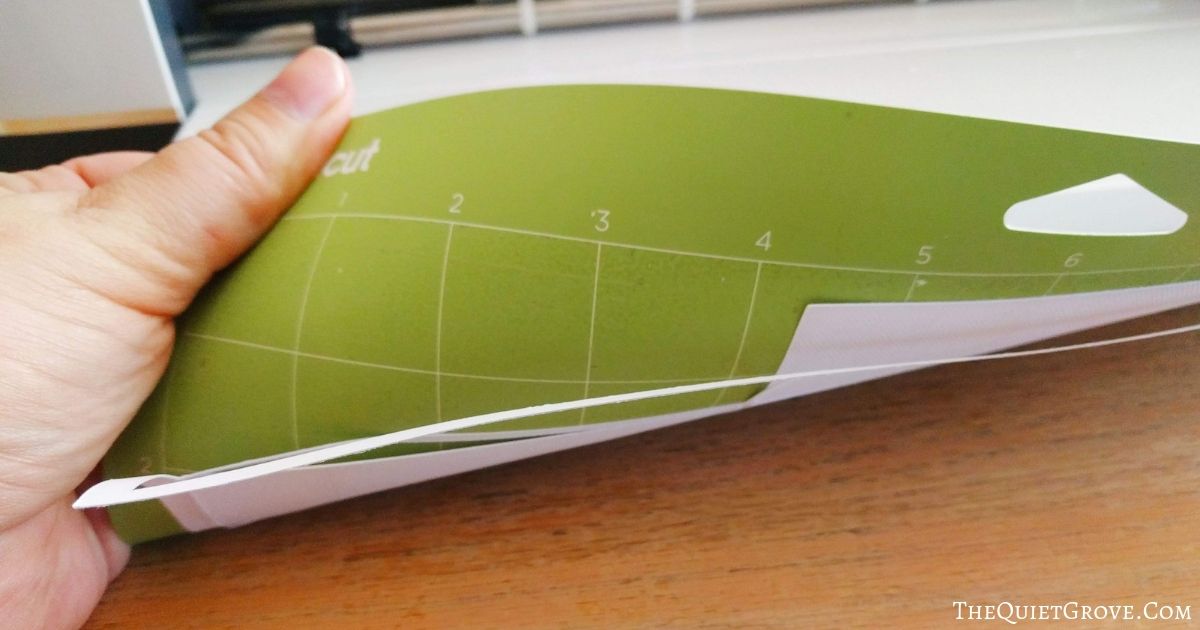
6. Change the material to foil Iron-on. & Load Iron-on onto standard grip mat shiny (colored) side down.
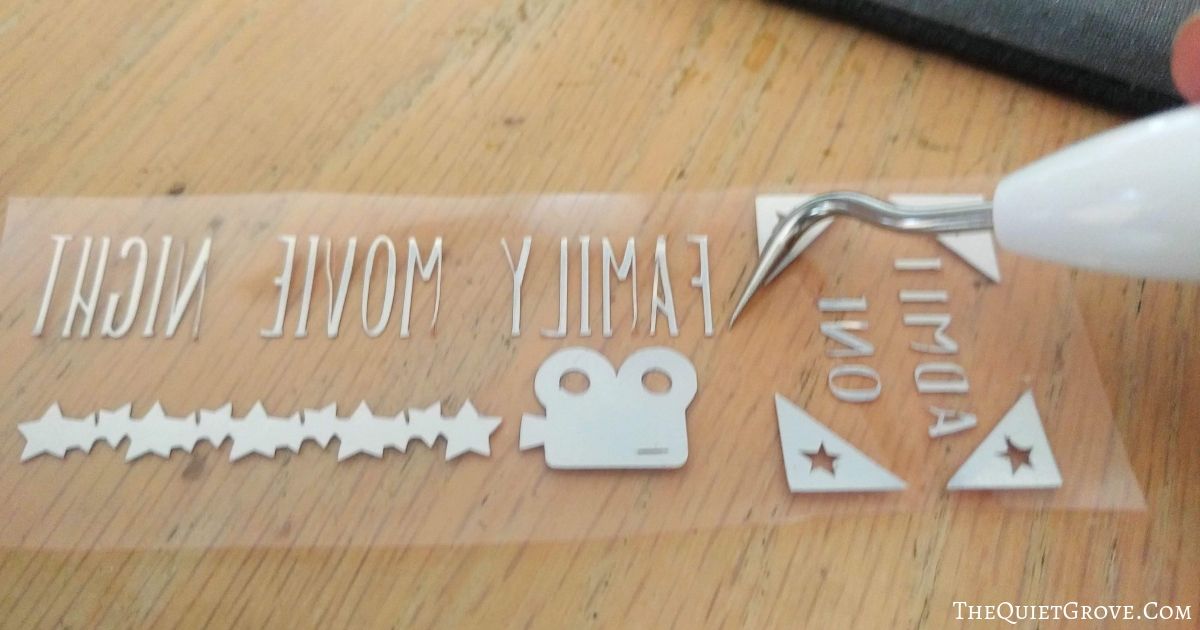
7. After cutting, weed iron-on with the weeding tool (from essential tool kit)
Ironing Instructions:
1. Set your Easypress to 270 and the press time to 30 seconds. then preheat Cardstock for 5 seconds.
2. Carefully place the iron-on design where you want it on the Cardstock Ticket.
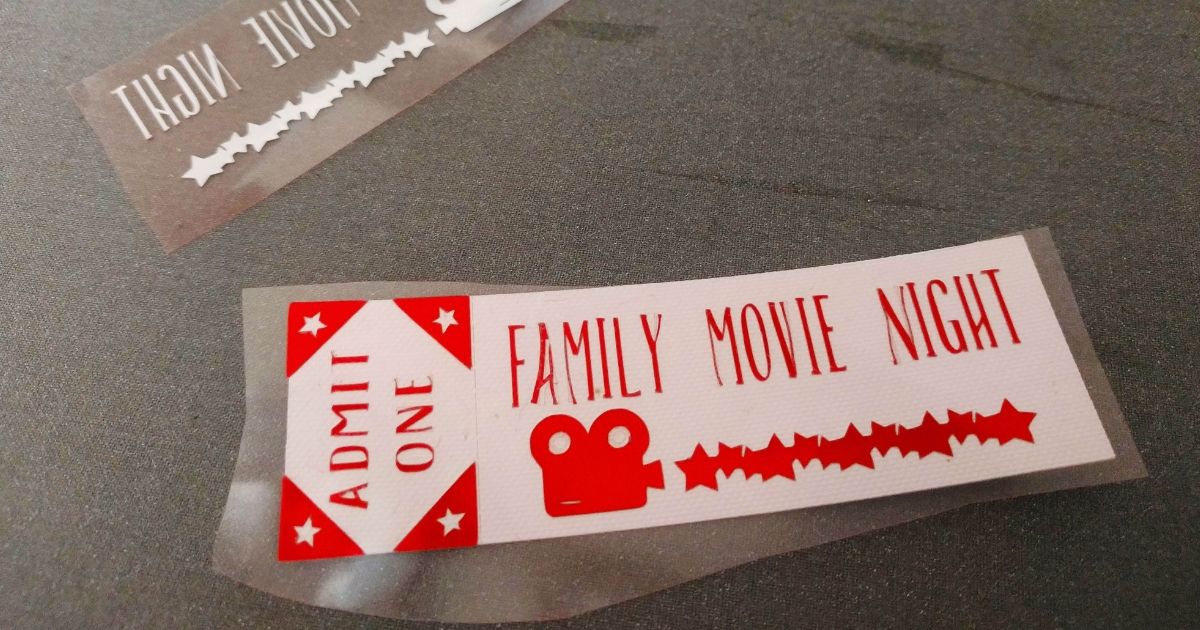
3. Click the Easypress Cricut button to start the timer and press on the design with light pressure for 30 seconds. then flip over and iron for 15 seconds on the backside.
4. peel backing off the design as soon as it is cool enough to touch.
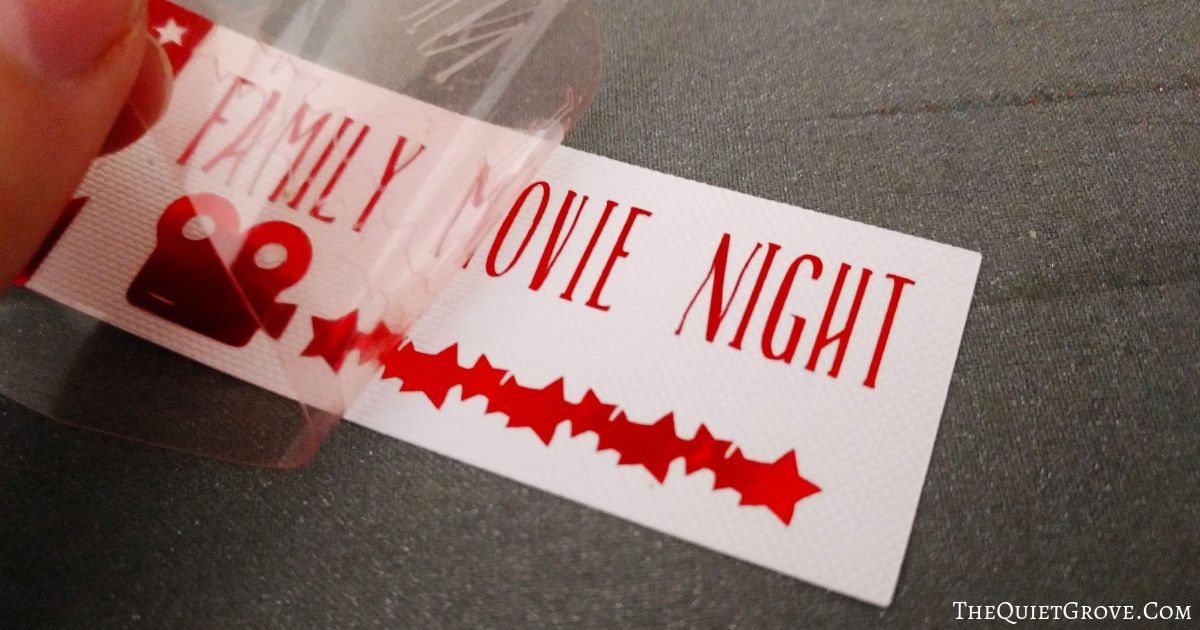
5. Enjoy. The Admit 1 part tears easily away when you use it thanks to the Perforation blade!

Recommended Products
As an Amazon Associate and member of other affiliate programs, I earn from qualifying purchases.


I had soo much fun using the new Cricut Maker tools to take these projects to the next level. I can see I will be using them alot in future projects.

Which of the 4 tools are you most exctited about?

If you liked this post then make sure to check out these: (click on the photo to go to the post)


