
DIY Summer T-Shirts Using a Cricut!

Are you looking for some Summer wear inspiration?
Thanks to how easy it is to use Iron On with my Cricut Explore Air, I decided to take some time this afternoon and design myself a fun Summer t-shirt. When my daughter saw what I was doing she asked to design one herself. She told me what she wanted and I put it together. Before I knew it, I had also made a fun Summer Tee for my mother (who we are staying with) as well.
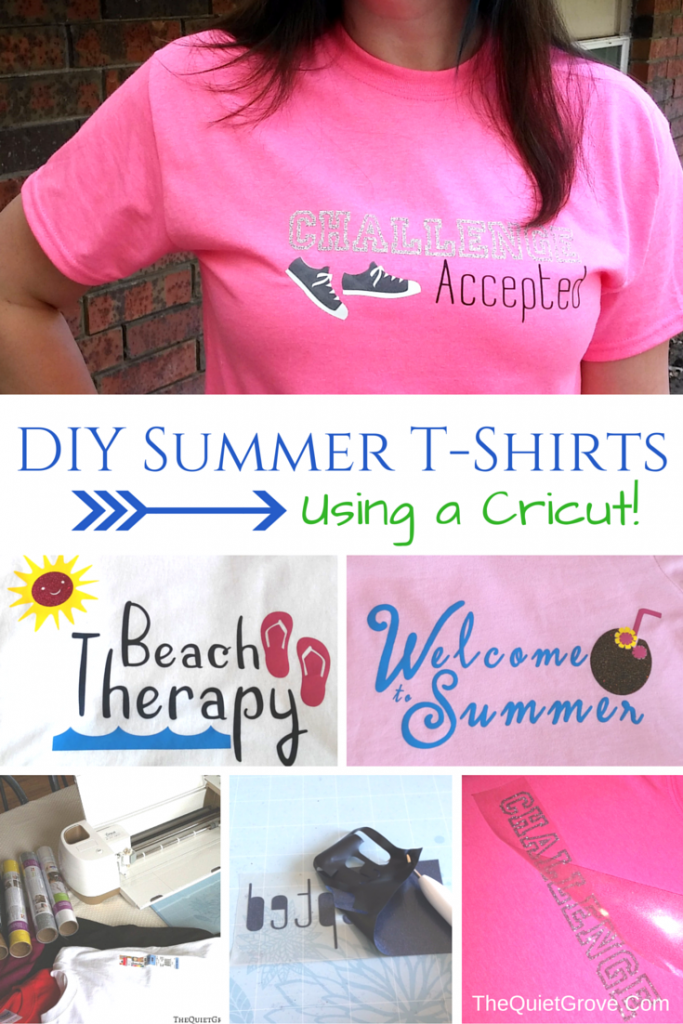
When thinking about what I wanted on my Summer T-shirt I decided to go with a sporty look with the message "Challenge Accepted" with a pair of tennis shoes. Why? because this Summer I am working to get back into shape and embracing life. Too many people look t my overweight self (That's right I still haven't worked off the pregnancy weight from my list baby) and make snap judgement that I am nonathletic and lazy. I got myself a Fitbit a few weeks ago and lets just say I am proving some of my naysayers wrong. This week in the last 5 days I have walked over 91,000 steps.
I used Silver glitter Iron On for Challenge, Black for Accepted, White for the Shoe base and Flocked grey Iron on for the top of the shoes.
 You access view my Cricut Design Space Canvas with the full design HERE.
 You access
My daughter found a silly face coconut cup at the dollar store last month and has been obsessed ever since. So when it came to designing her t-shirt she insisted I design a coconut that looked like the one she loved drinking out of. She then insisted on "Welcome to Summer" as the message on the T-shirt.
We didn't have any Brown Iron On and couldn't find any at the local stores, so we used some black/gold Glitter Iron On for the coconut. Then Pink and Yellow for the flowers, Pink for the Straw, and Blue for the message.

You access view my Cricut Design Space Canvas with the full design HERE.
For my Mother's T-shirt we went with one of her favorite sayings. "Beach Therapy". My mother grew up in Hawaii and misses the beach soo much living in Utah. We went with blue Iron On for the waves, Yellow as well as Pink Glitter Iron on for the Sun, Pink for the flip flops and Navy for the Message.
You access view my Cricut Design Space Canvas with the full design HERE.
 You access
Now for how I made these shirts...
First I designed each t-shirt in Cricut's Design Space. This time I used assets available from Cricut (which is why if you have an account with Cricut you can view and use my actual design file canvas that I have linked for each t-shirt) Like I did with my Trendy T-Shirt Designs HERE. Sometimes I use my own designs which I then import them into design space like I did with my DIY Baby Onsies HERE

Once your design is finished and properly sized then make sure you save it before clicking the OK button to send it to your cricut machine to cut out.

Next make sure you click the reverse image button for each design. Otherwise when you go to apply your Iron On vinyl to your project it will be backwards.

Before clicking "ok" make sure your machine is set to the Iron On setting for the proper cut depth. Then you attach your Iron On vinyl to your cutting mat, Load it into your machine and click the cricut button to start cutting.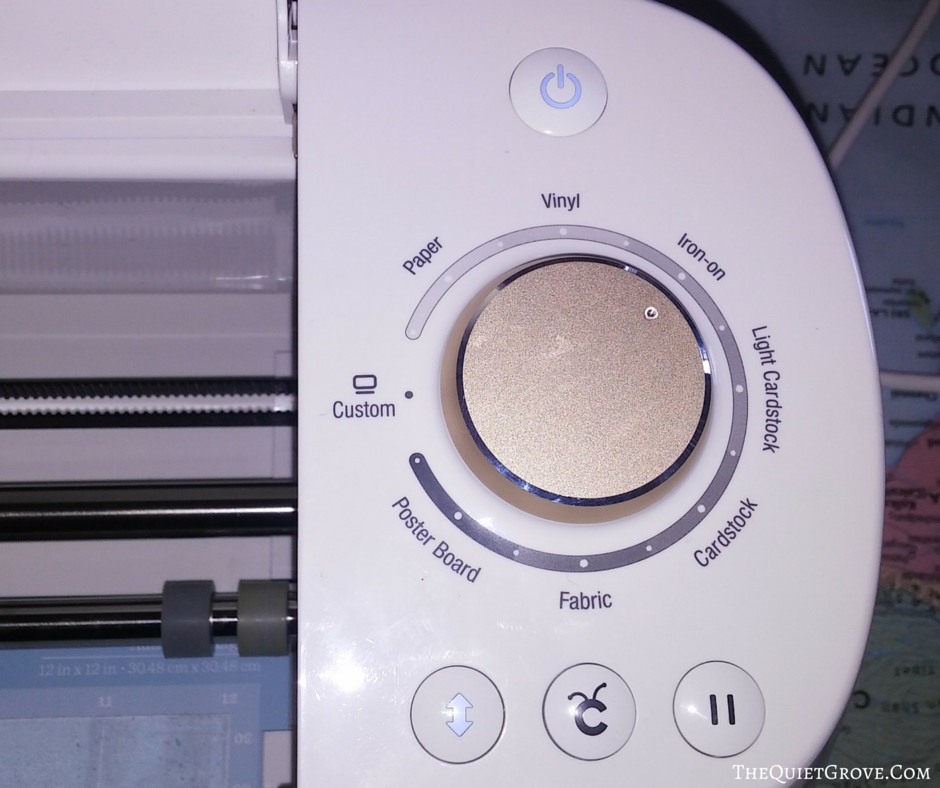
After your Iron On is cut out, Then use your Weeding tool by poking it into a part of the Iron On that you don't care about and then pull up or another words weed out all the un-needed Iron On.

Next place on your t-shirt (you need to do this one layer or item at a time. And use a hot Iron (set to cotton/linen) to attach the Iron On to your shirt. I like to use a white cloth in-between the Iron and the Iron On Vinyl. When done adhering the Iron On to your shirt then peel off the plastic backing.

A few things I learned in working with Iron-on
- Cricut's Design Space defaults to scrunching all the cut out close together to conserve material. If you don't want that (ie you want it spaced out in a specific way) then you need to select each the elements in each color and in the layers tab click the attach button (make sure you do this one color at a time because if you select everything all at once it will flatten it to be one layer/color)
- ALWAYS, ALWAYS, ALWAYS make sure your double check that the box it clicked to Mirror your image before you start to cut.
- Be patient while pealing of and cleaning up your image. this is especially important if you have an intricate design. It helps if you leave it on you mat while doing so,
- Remember nothing will stick to Glitter Iron-on or Flocked so make sure if you are layering that those specialty Iron-on are on top
- When Ironing onto your shirt place a white cloth between the iron and the Iron-on.
- Iron both the front and back side of the shirt for best results.
- Remember to be creative have fun and don't worry it is easier than you think!
If you could make your own DIY Summer fashion what would you design??




One Comment
Comments are closed.