
DIY Patriotic Window Clings Made With a Cricut Explore Air 2


Patriotic Window Clings are the perfect Holiday Decorations for kids to help put up.

I love to decorate for the holidays. I feel it really helps with the spirit of the holidays. My kids normally want to help with decorating and I have found that one of the easiest and fun decorations for my kids is window clings. I was super excited when I learned I could make my own window clings with my Cricut Explore Air 2. Last Christmas I had a blast making these fun Christmas Window Clings using their Christmas Window Cling Sampler. The kids loved decorating the windows at the apartment we stayed in in Athens during our Christmas Holiday.
I love how easy it is to create custom designs in their Cricut Design Space. You can create them from scratch, incorporate/modify images from the access library, and import designs you make or get from Crafty bloggers like me. Before we get to the Tutorial for making these fun Patriotic Window Clings I want to quickly walk you through how easy it is to create your own custom design in the new Design Space. Let me quickly walk you through how I designed the Patriotic God Bless America (map silhouette) Which I have in my Patriotic Window Cling canvas.
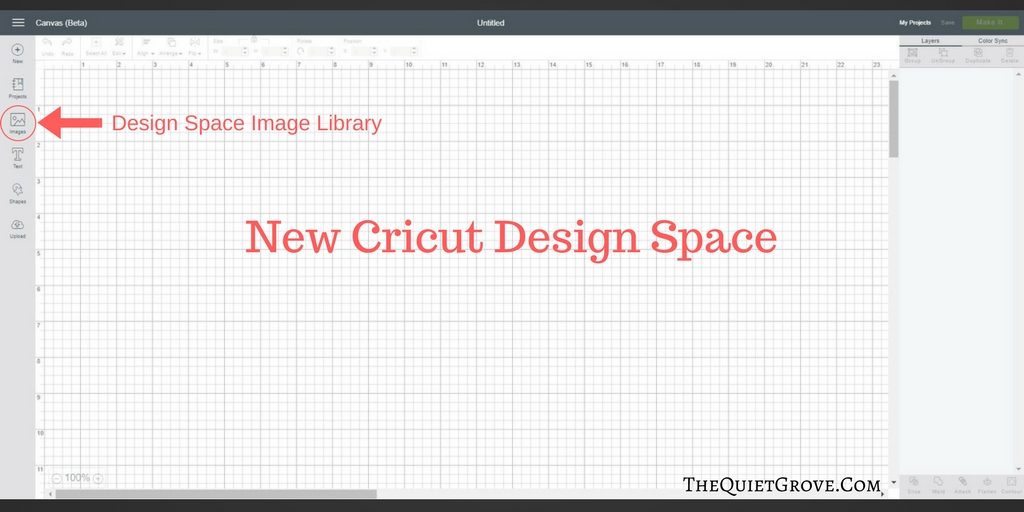
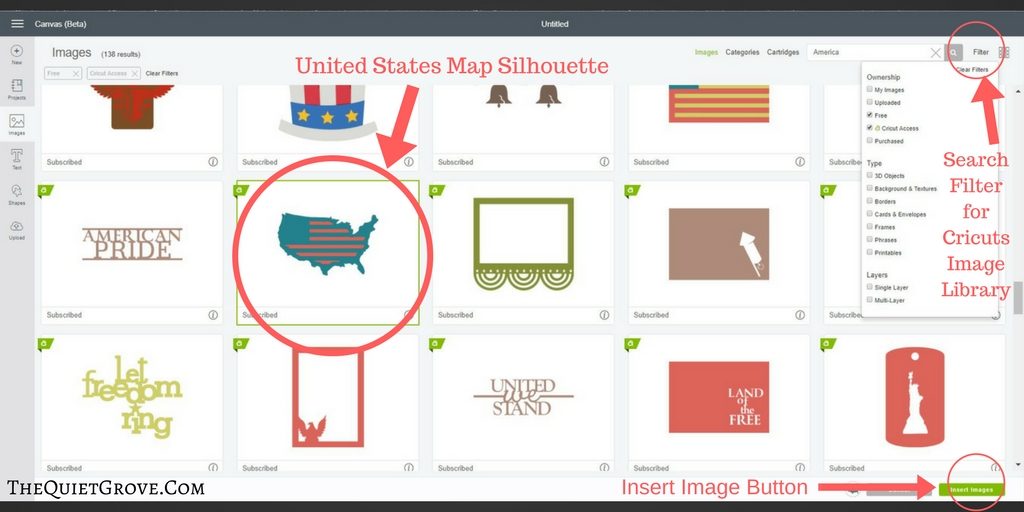
The first thing I did was open Design Space and then click on the Image button on the left-hand toolbar. Then I searched America (since I wanted to find a Silhouette of the United States) to make the search easier I clicked filter and selected Free and Access images. The best United States Silhouette Silhouette I could find was actually a two piece Cut file which I know I could easily modify so I selected it and click the "Insert Image button on the bottom right corner of Design Space.
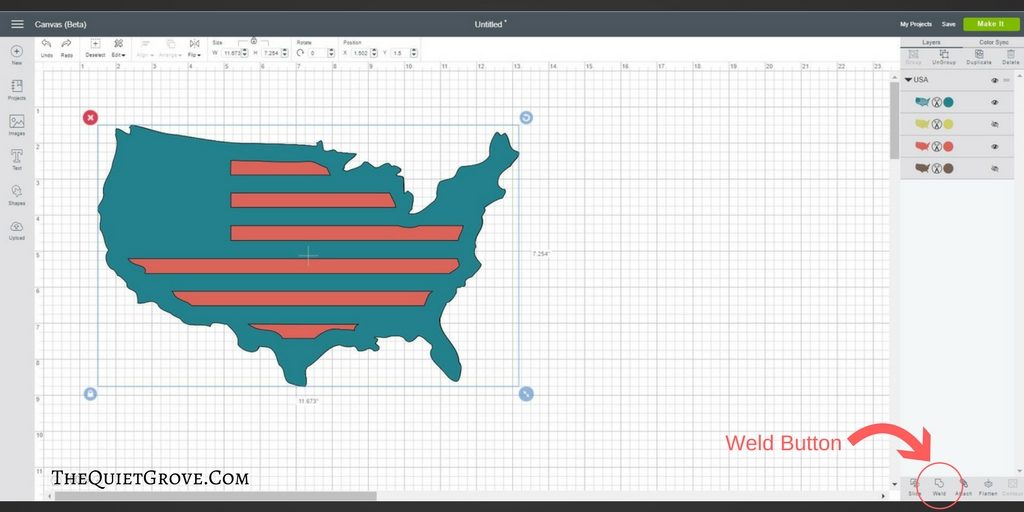
To turn this two-piece cut file into a solid cut file I clicked on the image, then clicked on the weld button on the bottom of the right side toolbar.
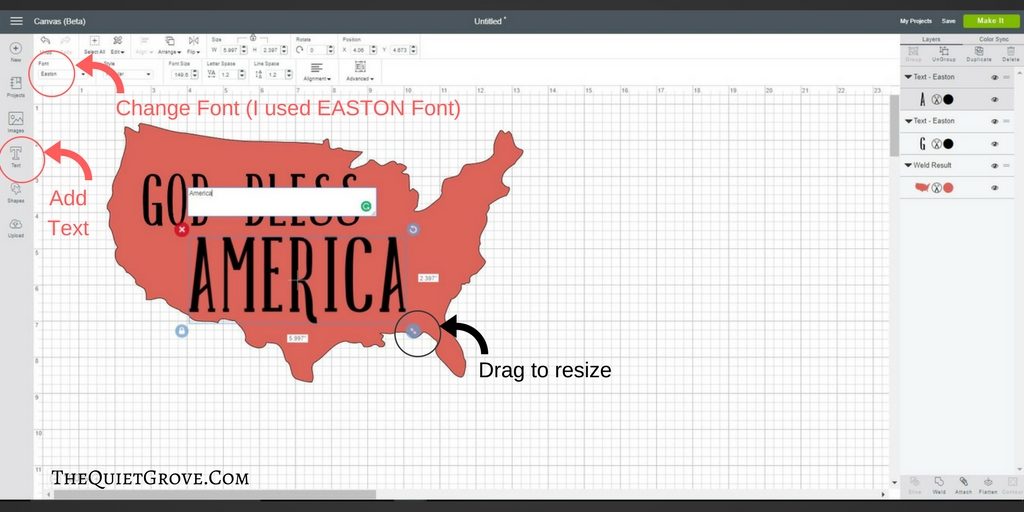
Next, I selected the text option and wrote God Bless. I changed the font to Easton (you can change the font on the left-hand side of the top toolbar) I then added in a new text box America which I also changed to Easton font. I then positioned the words within the silhouette (adjusting the size of the words by dragging the bottom right corner arrows of the text till they looked how I wanted them .)
Once everything is sized and positions Select the America Text and the Map Silhouette, then click the slice option on the bottom of the right toolbar. this will cut the words out of the design. remove the words (which you can delete) then repeat the process for the God Bless Text. (**When you slice an image the image defaults to the top layer. which is why the God Bless text disappeared. Just click on the map silhouette then select the Arrange button on the top toolbar and click on "move to back" at which point the God Bless text will reappear.)
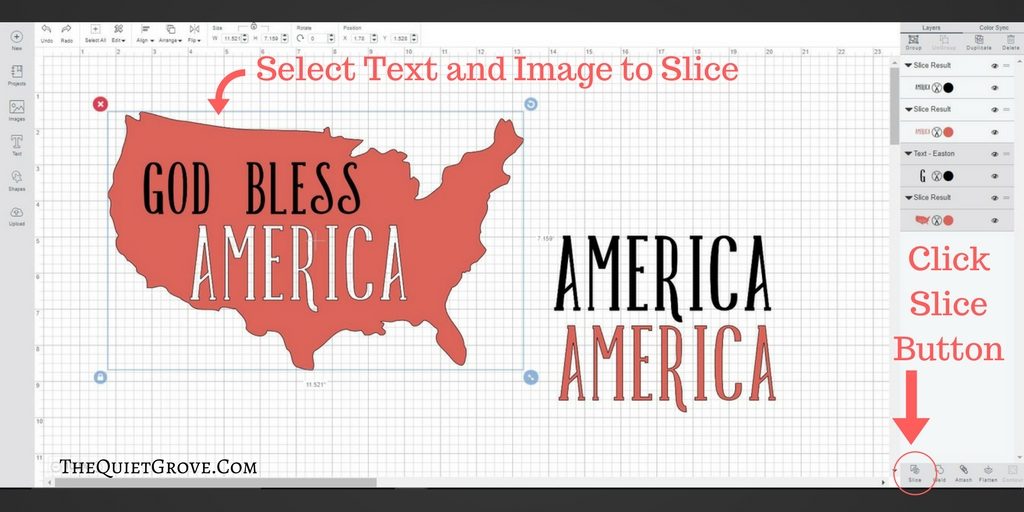
And there you have a custom design in Design Space. Now for how to make your own custom Window Clings.
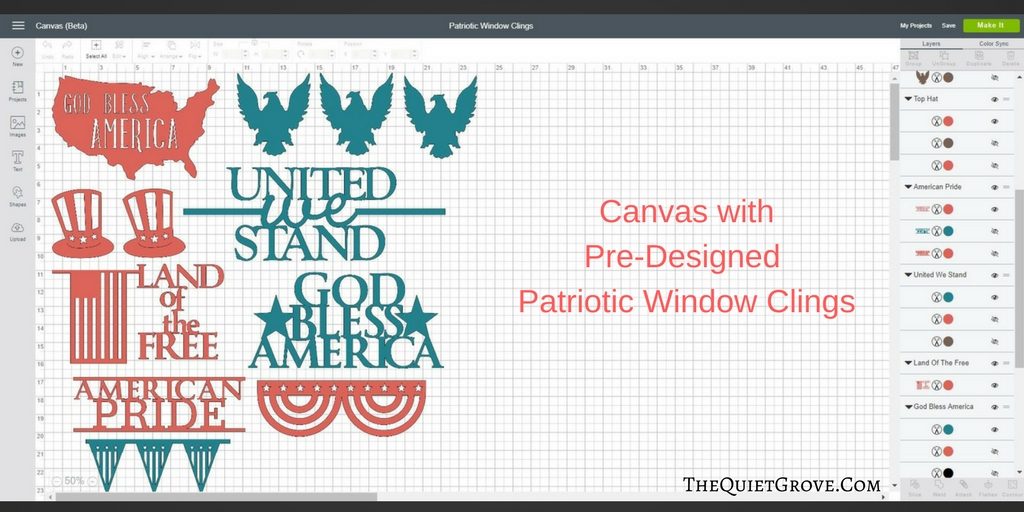
DIY Patriotic Window Clings

Instructions
Open Patriotic Window Cling Design Space Canvas ( or canvas of patriotic designs you created) and click the "Make it" button to send the design to Cricut machine. Make sure the Mat size 12x24 is selected for both colors before clicking continue to send the design to your Cricut Machine.
Set the Cricut dial to Custom for Material Option then on your computer/tablet screen select Window Cling as the custom material.
Place the window cling on your 12 x24 Standard Grip Mat lining up the top corner and load into your Cricut then select the Cricut button on your Cricut to start cutting. (**sometimes the Cricut will cut all the way through the backing but that doesn't ruin the window clings it just means you have to be careful when you weed the design.)
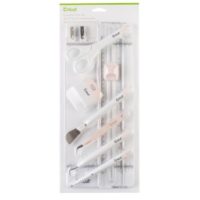
When your window clings are done the cutting. Use your Cricut Trimmer ( from your Essential Tool Kit) to cut off the excess window cling to not waste and then use your Weeding Tool to carefully weed the unneeded window cling.
Then just peel the finished window cling off its backing and carefully place on your window, fridge, mirror or whatever smooth surface you want to decorate!
Notes
For easier application to the window you can always "Mirror Image" The design and then after weeding press design against glass then peal off the window cling backing.
Recommended Products
As an Amazon Associate and member of other affiliate programs, I earn from qualifying purchases.
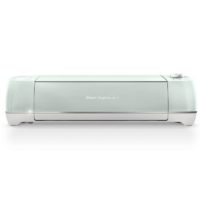


Like I said making your own custom holiday window clings is easy with Cricut. After making these you will totally want to make some for the other holidays too!
If you liked this Tutorial you might also like these (Click on the photo to go to the post)



2 Comments
Comments are closed.