
How to Turn an Inexpensive Composition Book Into a Beautiful Embossed Journal or Diary


Upgrading your inexpensive composition book into a gorgeous embossed journal or diary is easy to do with Cricut's Cuttlebug.
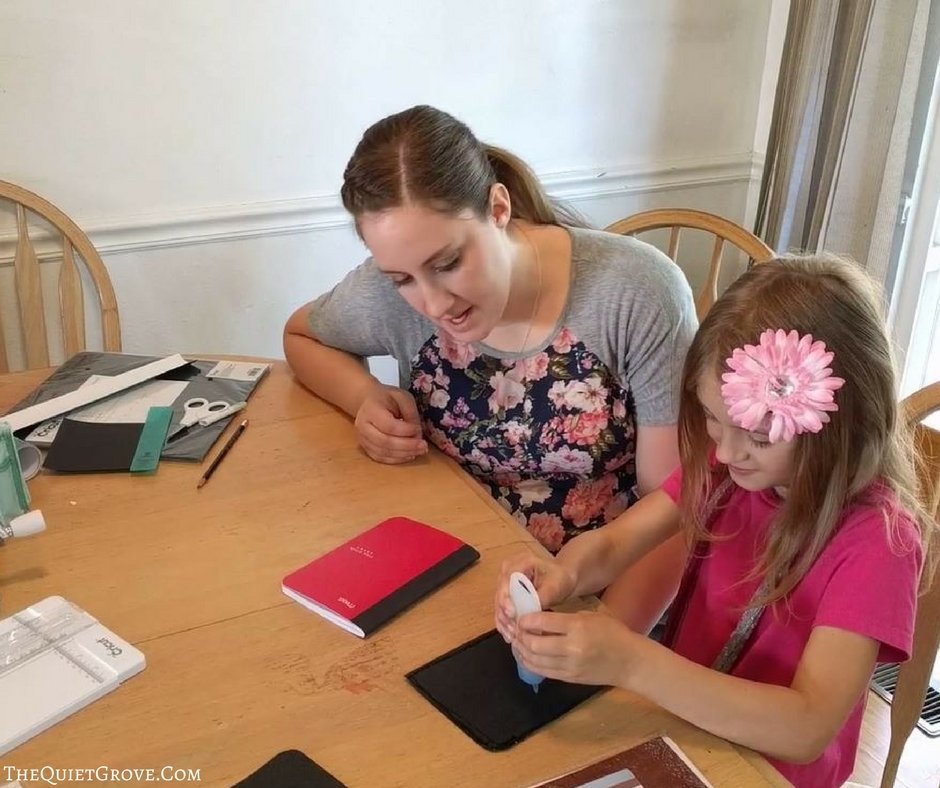
When I got my Cuttlebug a few months ago my 7 year old daughter asked if she could help make a project. I love how much she enjoys crafting (just like me) so of course, I said YES! We looked at the different embossing folders available and talked about different projects we could do and in the end, she decided she wanted me to make her own Embossed Journal. Ok according to my daughter it was a DIARY. She is totally 7 going on 16.
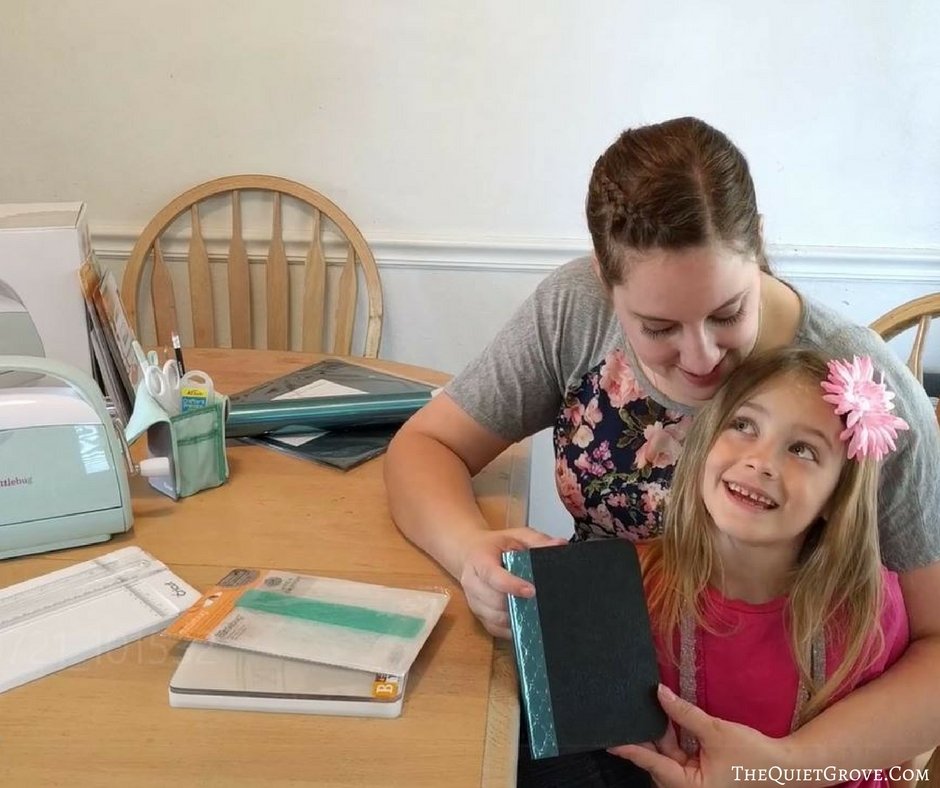
We went to the store and bought a mini composition book that we decided to cover to make into a pretty diary fit for my princess. She decided that she loved the patterns of the Fluted Damask Embossing Folder and Border that I had just gotten. Then, since it was her project I let her go through my materials to choose what colors she wanted for this project. She chose my Black linen cardstock for the front and back to be embossed and my Teal Adhesive foil for the binding. My husband was skeptical about how it would turn out but my daughter and I were both I was excited to see how this project would turn out. So was my daughter. were excited..
In the end, it only took us a few minutes to make her Journal...I mean Diary. And it was as beautiful as we hoped. I totally want to make one for myself now. Here are the easy instructions for you to make one too.
 Materials Needed
 Materials Needed
- Small Notebook (I used a mini composition book)
- Cardstock
- Adhesive Foil
- Cricut Cuttlebug
- Embossing folder
- Essentials Tool Set (Specifically the Paper cutter, the Sicssers and the scraper tool)
- Glue
- Pencil
If you need to order any of these supplies from Cricut.com use Promo Code: QUIETGROVE to get 10% off + free shipping!!
**Note this code does not work on Design Space Access, digital content, machines, EasyPress, Brightpad
Instructions
- Place the Notebook on the Cardstock and using a pencil trace the notebook

- Use the Cricut Trimmer to Cut the Cardstock along the traced lines (using your Cricut scissors to cut the rounded corners.)

- Repeat this to have a precisely cut Cardstock cover for both the front and back of the notebook.
- Next, it is time to emboss the Cardstock: Here are the quick steps for embossing with the Cricut Cuttlebug:
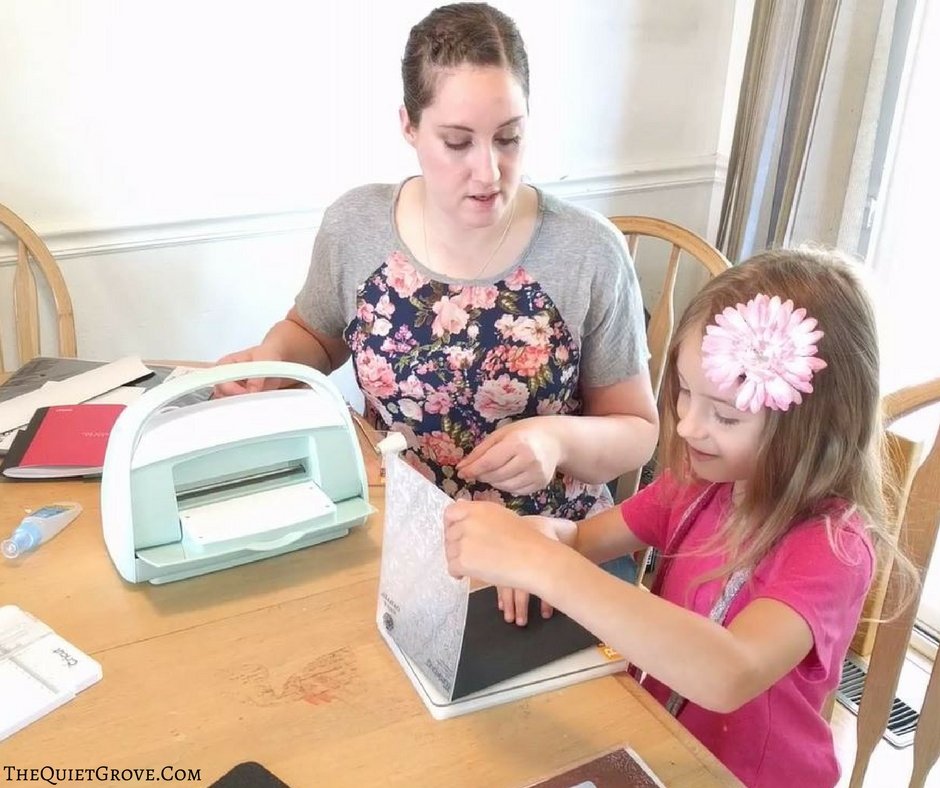
- Start with the A Plate.
- Place one of the B plates on top of the plate.
- Pull out your embossing folder and put your front cover piece in the middle of the 5x7 embossing folder and place the folder on top of the A & B Plates.
- Place the second B plate on top of everything.
- Run the whole stack through the Cuttlebug by turning the handle on the side.
- Take off the top B plate and open the embossing folder to remove the embossed Front cover.
- Repeat process for the back cover piece
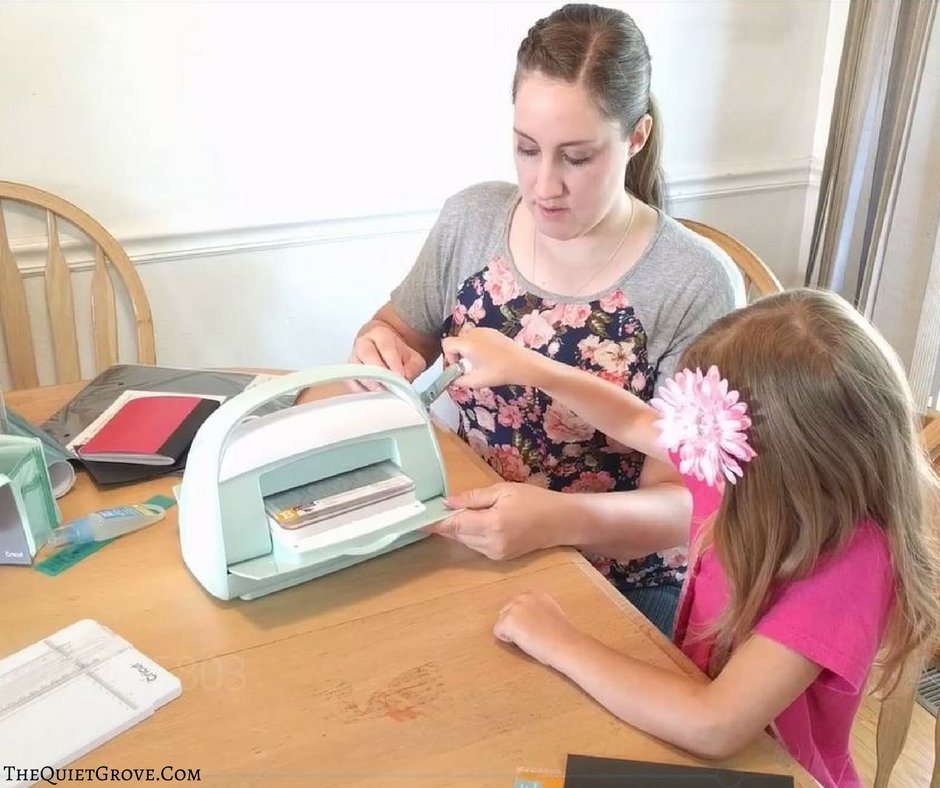
- Now take your roll of Adhesive Foil and Cut a 2-inch wide strip with your Cricut trimmer the length of the composition books binding.
- Using the process above embossing the adhesive foil using the border folder (I had to send it through twice lining up the pattern since the strip of adhesive foil was wider than the border folder.
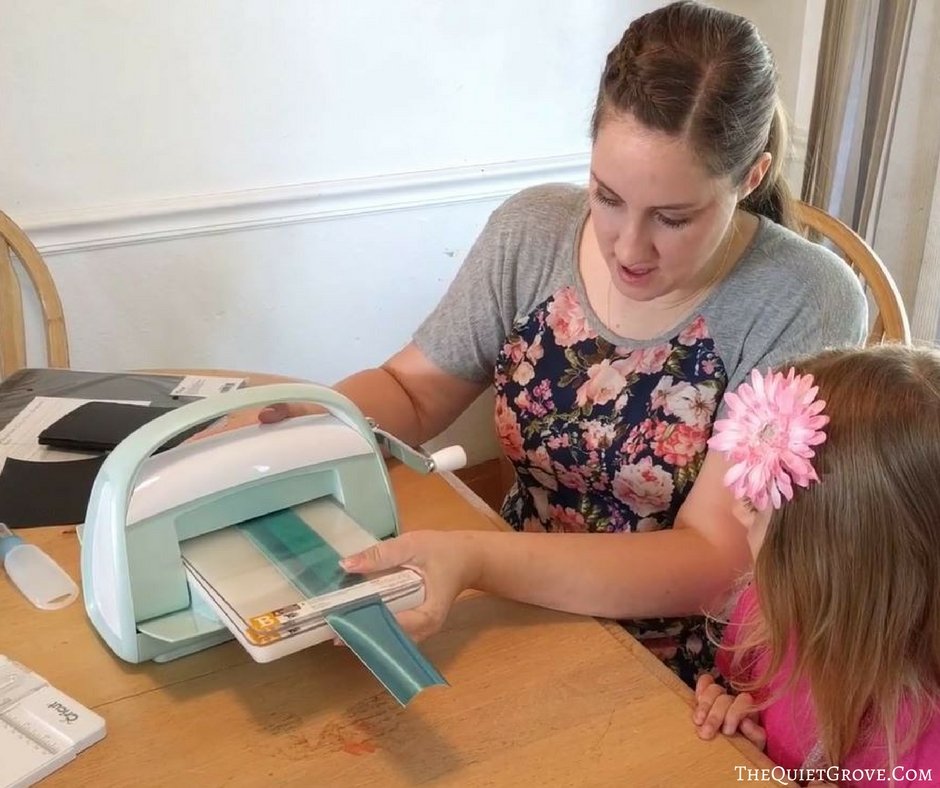
- Using glue attach both the front and back embossed covers to the composition book. (use your Cricut scissors to trim any edges as needed) and let dry
- Peel the backing from the adhesive vinyl and place on the book binding over lapping the edges of the embossed cardstock.

Like I said this project took less than 10 minutes to make and was easy enough for my daughter to do most of it herself. It is the perfect mommy daughter craft. Using your Cricut you can then cut out designs or even your name to put on the front cover in matching adhesive foil. My daughter loved hers as is but I think it would be fun to add her name and maybe a butterfly or something.

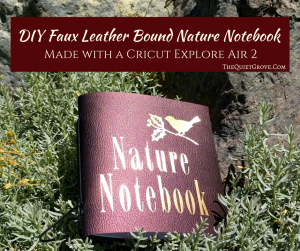
If you liked this post then check out these: (Click on the photo to go to the post)



Love how it turned out!
Thanks! It is such an easy project to do.