
DIY Fall Leaf Garland

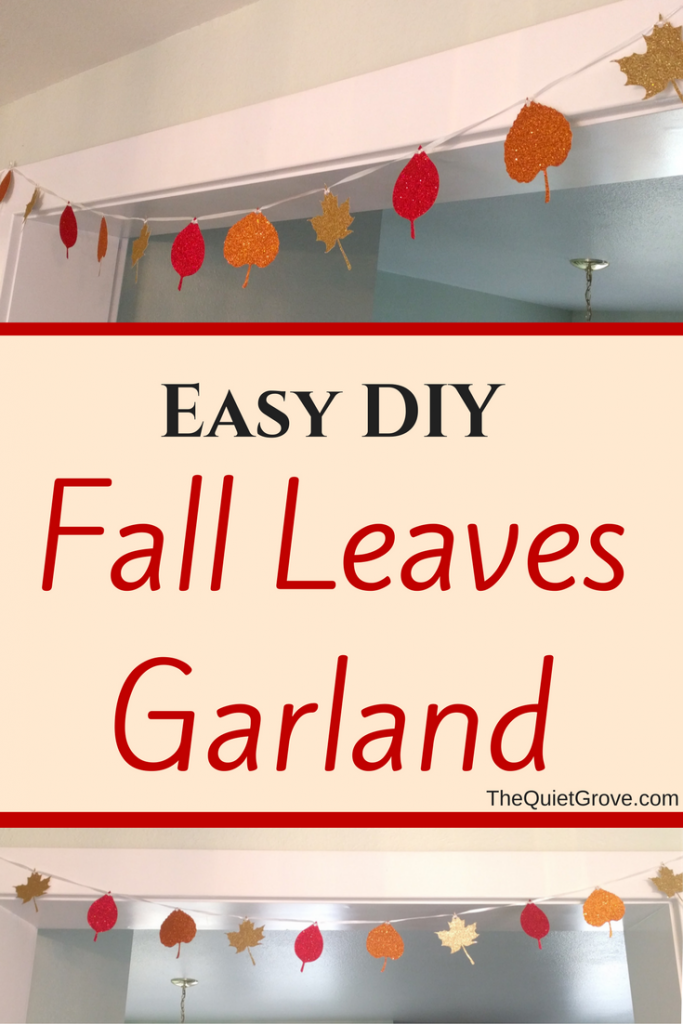

Are you looking for a last minute fall decoration? How about a Fall Leaf Garland?
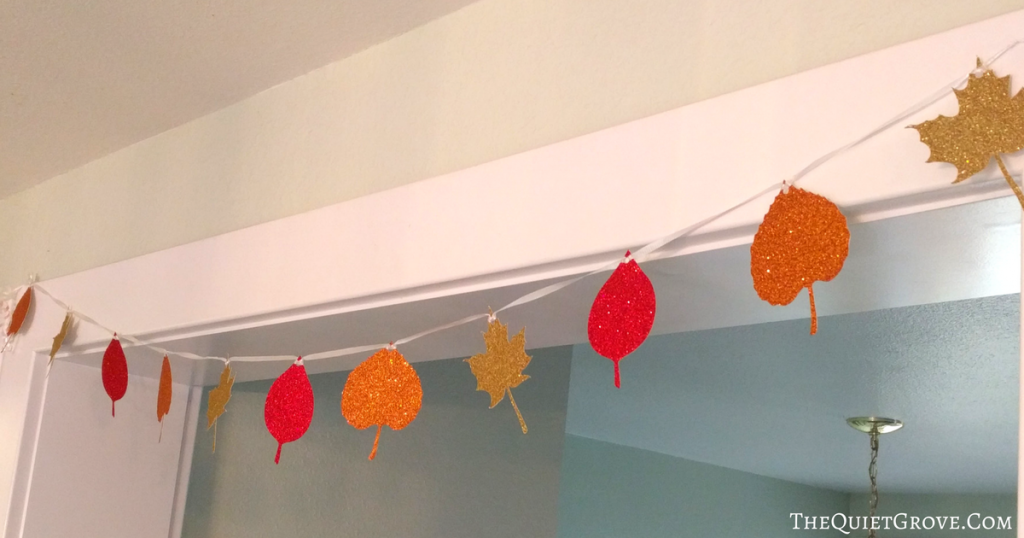
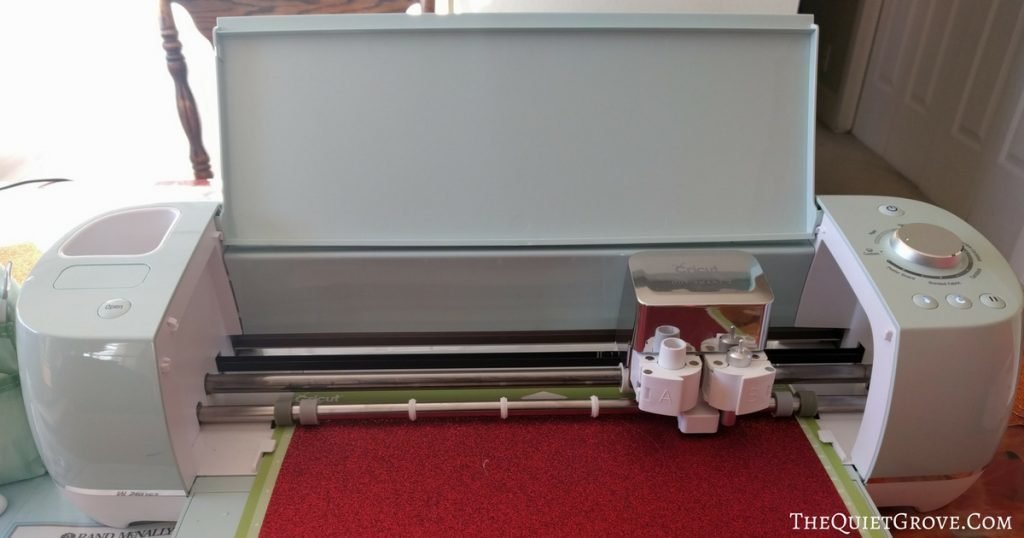
I Love to decorate. While some of my decorations take a while to make others, like this Fall leaf Garland are quick and easy. I wanted to add a touch of color and sparkle to my parents home for Thanksgiving and so I pulled out my trusty Cricut Explore Air 2 and some Fall colored glittered cardstock and made this simple yet charming Fall Leaf Garland. (Get the Design Space Canvas Here)
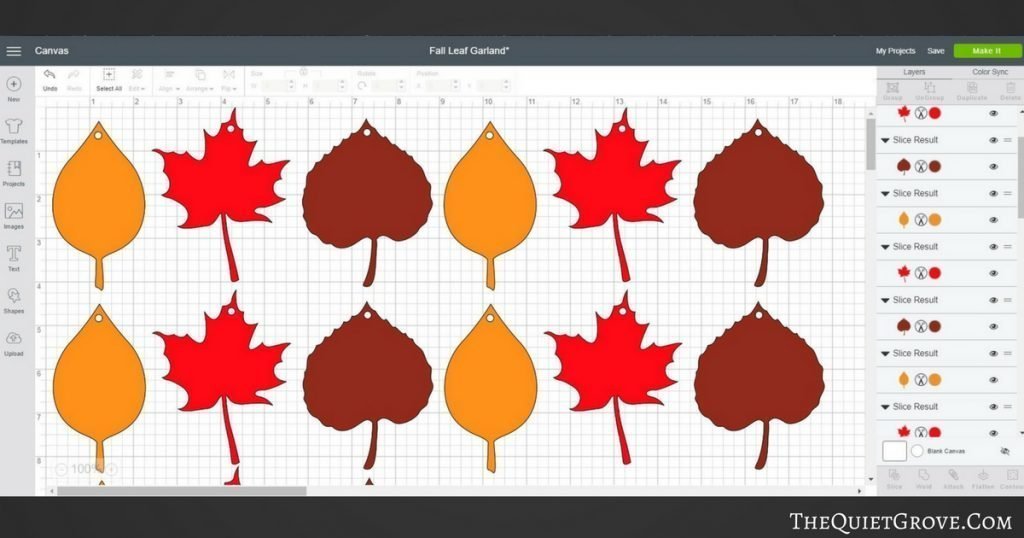
to make it easier to hang the leaves I sliced a small circle in the top of each leaf and then used ribbon to string them up. Ok, my younger sister strung the garland up for me since I made them the same morning I was heading out of town.
Materials Needed:
- Cricut Explore Air 2 (or other Cricut Cutting Machines that work with Design Space)
- Cricut Essentials Tool Kit
- Strong, Standard and Light Grip Mats
- Fine Point Blade
- (12x12) Sheets of Glitter Cardstock
- Ribbon
Instructions:
- Open the Fall Leaf Canvas in Design Space HERE
- Click the make it Button and set the dial to Cardstock (or if you are cutting Glitter Cardstock like I used, then set the dial to Custom and select the Glitter Cardstock option.)
- Place your Cardstock on a Standard cutting mat (lining up the top left corner. of the paper with the sticky part of the cutting mat and load the mat into the Cricut.
- Once cut, peel the mat off the cardstock (using your Cricut crafting tools to help any leaves that don't easily life off.
- String up using ribbon and Enjoy!
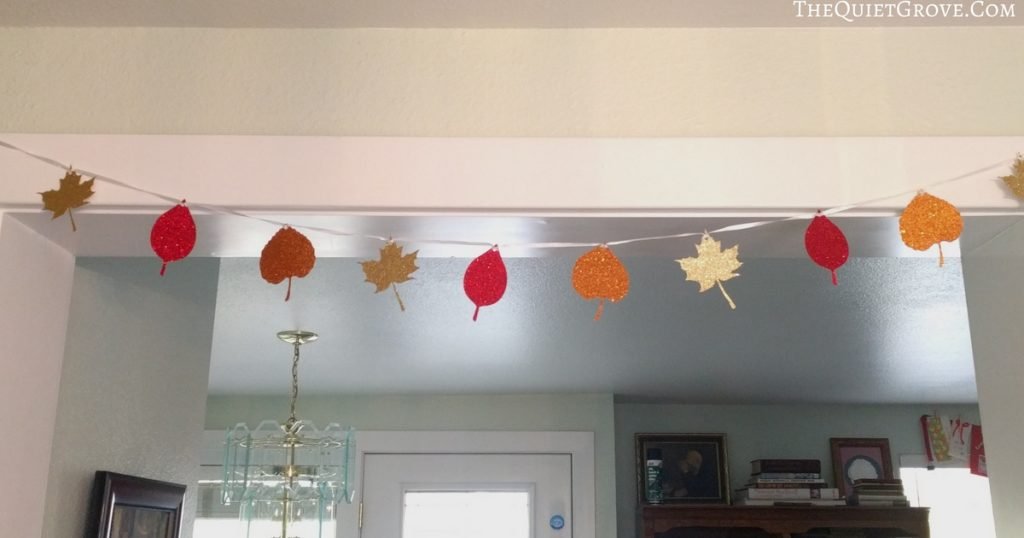
We put our leaf garland over the kitchen doorway. Though with the extra leaves I think I'll make another garland for the living room. My mother loved how they turned out soo much she had me shrink the size a bit to make her matching leaves for our thankful tree this year (leaves that on the back we would write the things we are grateful for and hang from old branches in a vase) Get the Thankful leaves Design Space Canvas here.


