
Creating a Classic Christmas Tablescape with a Cricut Explore Air 2

POST DISCLAIMER: This is a sponsored conversation written by me on behalf of Cricut. The opinions and text are all mine.
READER COMMENT DISCLAIMER: Comments submitted may be displayed on other websites owned by the sponsoring brand.

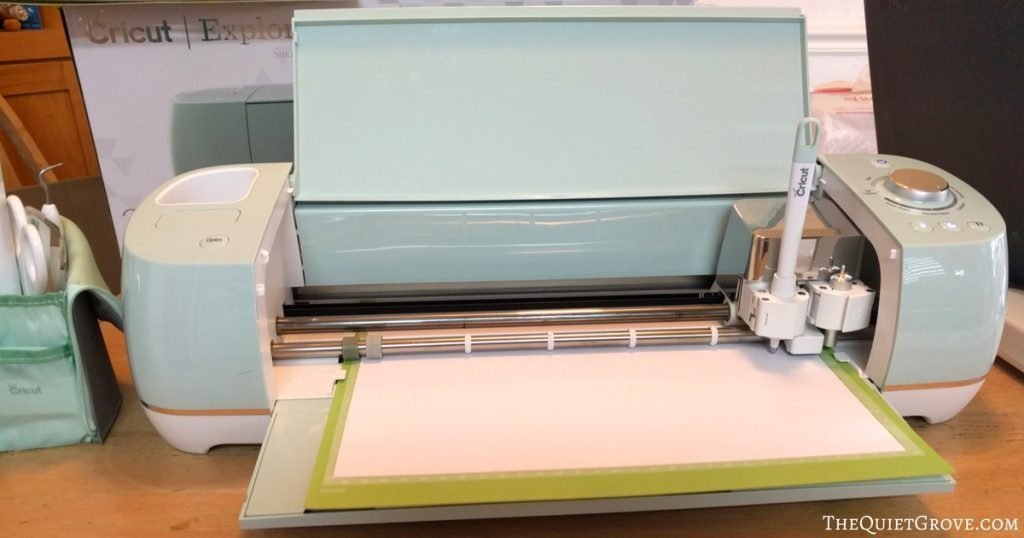
Creating a gorgeous Christmas Tablescape just became easy Thanks to my Cricut Explore Air 2.
2 of my favorite things to do during the Christmas season is to DECORATE and ENTERTAIN! Even better is decorating for special Dinners and Parties. This year I decided to take my Christmas Dinner Decorations to the next level using my Cricut Explore Air 2.
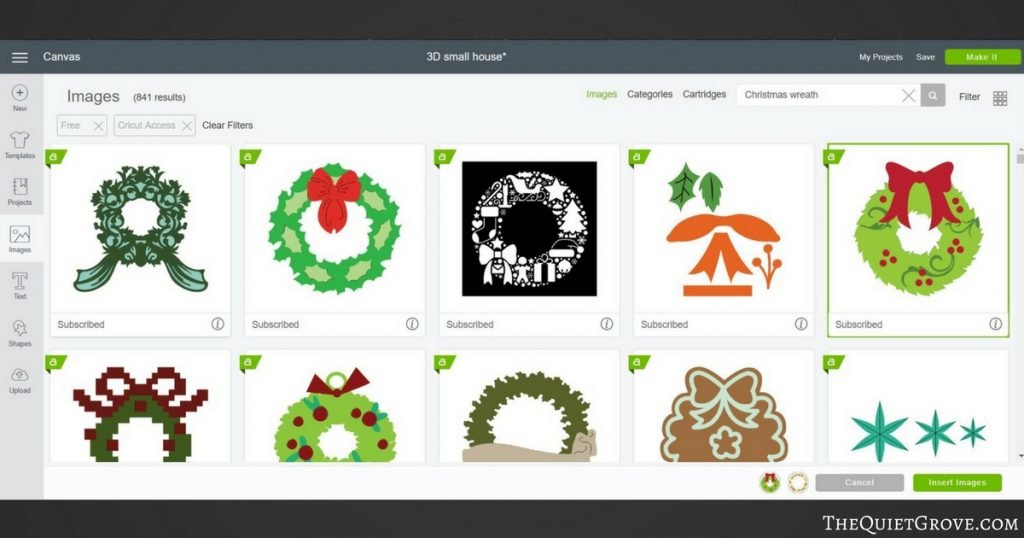
Since I didn't have a lot of time this year to design my tablescape I am glad that I have a Design space Access Subscription for a lot of the elements I used in my projects. Seriously, it was nice to be able to find and use cute assets (for the trees, the little house wreaths, the gift boxes, and the filigree border) to use to spruce up my own Design space designs.
I am a romantic at heart which is probably why my decorations at Christmas time usually have a Classical English Christmas feel. So for my Christmas Dinner, I decided to go with a classic White and Gold and Red Color Scheme (with a few splashes of Greenery to add to the final look.

For my Centerpiece, I designed a small Christmas village (well really it's just a Church and two homes along with 4 3d trees) and placed it on a raised cake plate. Then I placed a simple garland (that you can find almost in every store during the holidays) and decorated the garland with a strand of battery-operated white lights, gold ribbon, and a few gold and red ornaments borrowed from our tree.
Materials Needed for the Villiage:
- Cricut Explore Air 2
- Cricut Essentials Tool Kit
- Strong, Standard and Light Grip Mats
- Fine Point Blade
- 7 (12x12) Sheets of White Linen Cardstock
- 4 (12x12) Sheets of Gold Glitter Cardstock
- 5 (8.5x11) Sheets of Vellum
- 3 (12x12) Sheets of Green Cardstock (for the bottom layer of the Wreath and Trees)
- 1 Sheet Green Shimmer Paper (for top Layer of Wreaths)
- 1 Sheet Red Glitter Cardstock (for Berries and Bows on Wreaths)
- 2 (12x12) Sheets of Green Glitter Cardstock (for the Top layer of Trees)
- Glue Stick
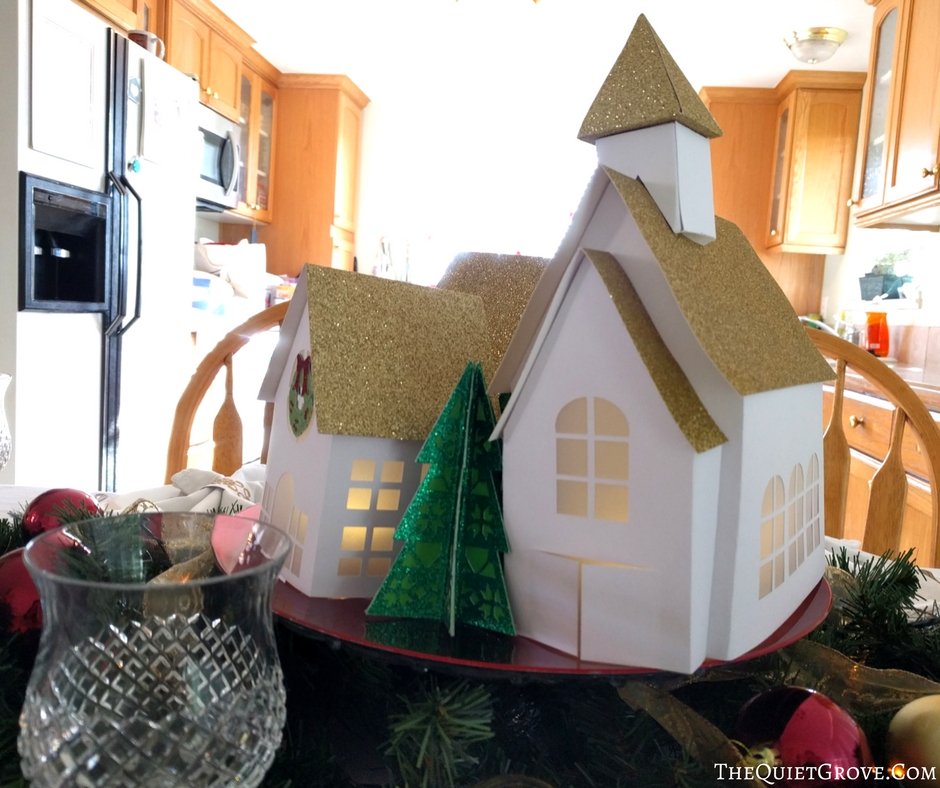
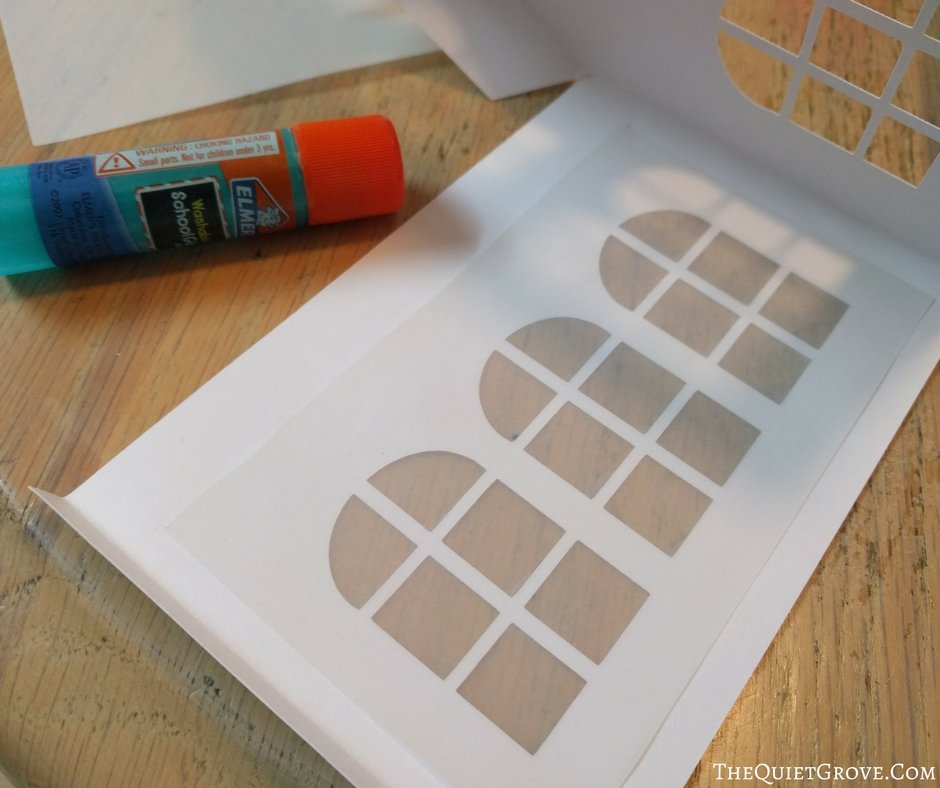
The houses cut and assembled pretty easily. The designs have score lines so you know where to fold then you just glue the vellum to the inside of the windows and doors and then glue the folded flaps together to assemble the building. The last piece to glue on is the roof. For the vellum use the light grip mat, for the Glitter cardstock and shimmer paper use a strong grip mat, and for the regular cardstock use the standard grip mat.
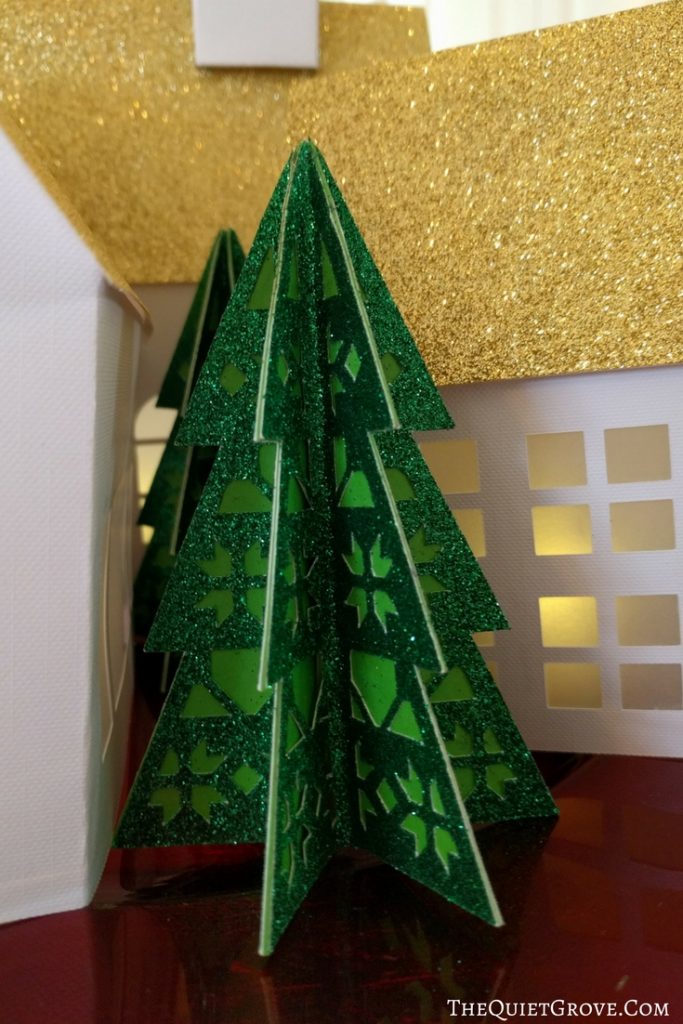
The trees due to their intricate design took longer to cut out but still were pretty easy to assemble. Just take your time and allow the glue to dry for each stage. There are 6 sets of the full intricately cut top and halfbacks per tree. First cold the top in half. Then glue on the backs. Then after the glue has set start gluing the trees together.
Design Space Canvases:
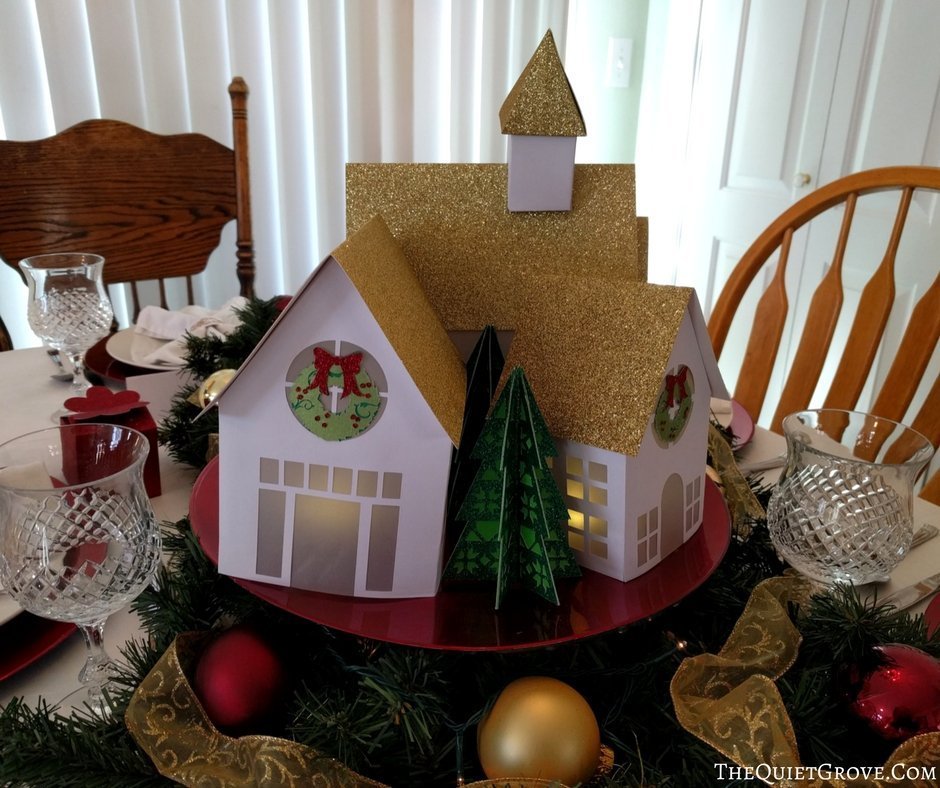
With the Centerpiece just how I wanted it, it was time to focus on the Place Settings. Since I decided to go with a simple White, Gold, and Red Look I decided to use a white tablecloth with Matching white napkins. I teamed those up with crimson red chargers and white plates and my Grandmother's cut crystal goblets.
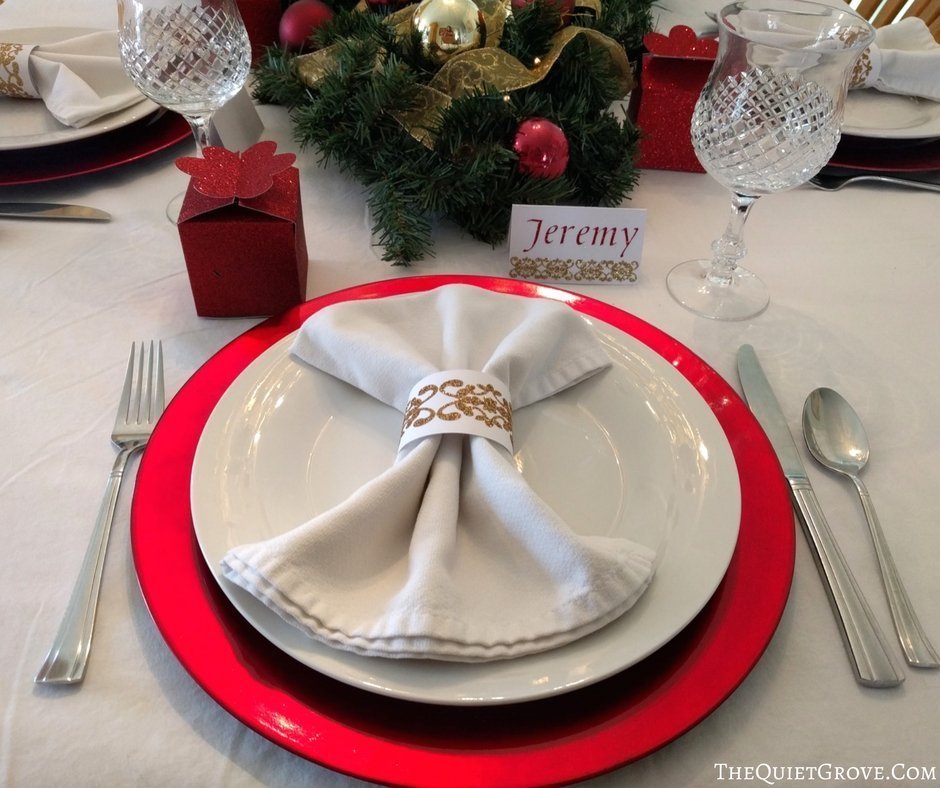
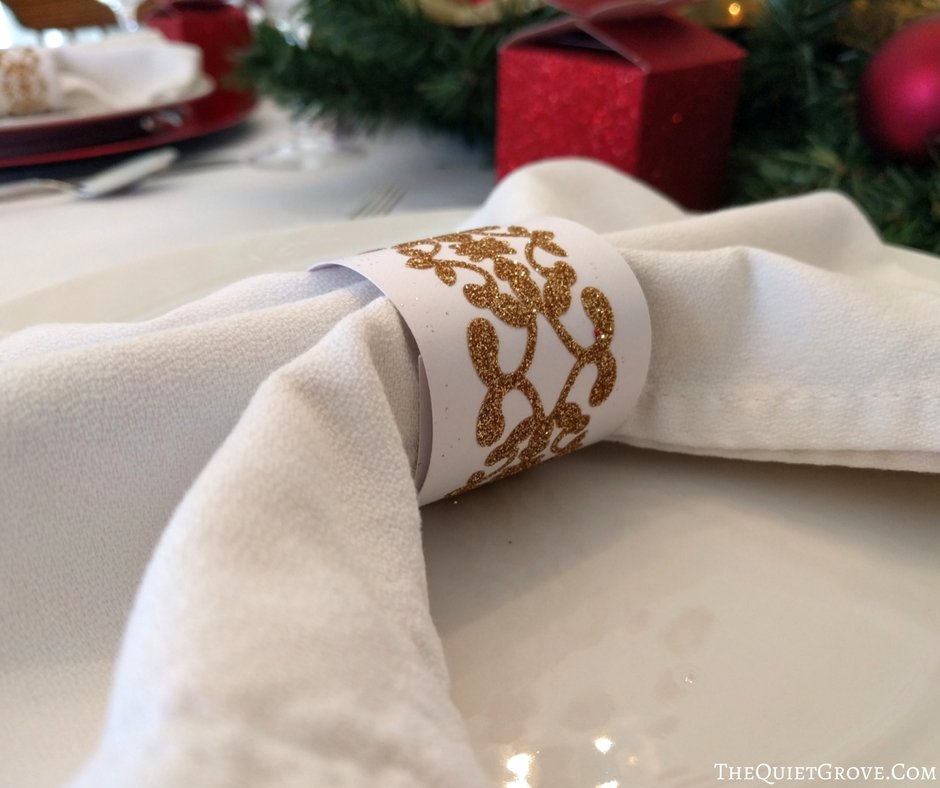
For the final embellishments for my Christmas Tablescape place settings, I went back to my Cricut. I knew I wanted to make napkin rings and place tags with white cardstock (matching my Chrisvillageliage) and I had heard that you can use Iron-on (Heat Transfer Vinyl) with paper so I thought I would give it a try since I had scraps of both Gold and Red Glitter Iron-on from another project that I had saved.
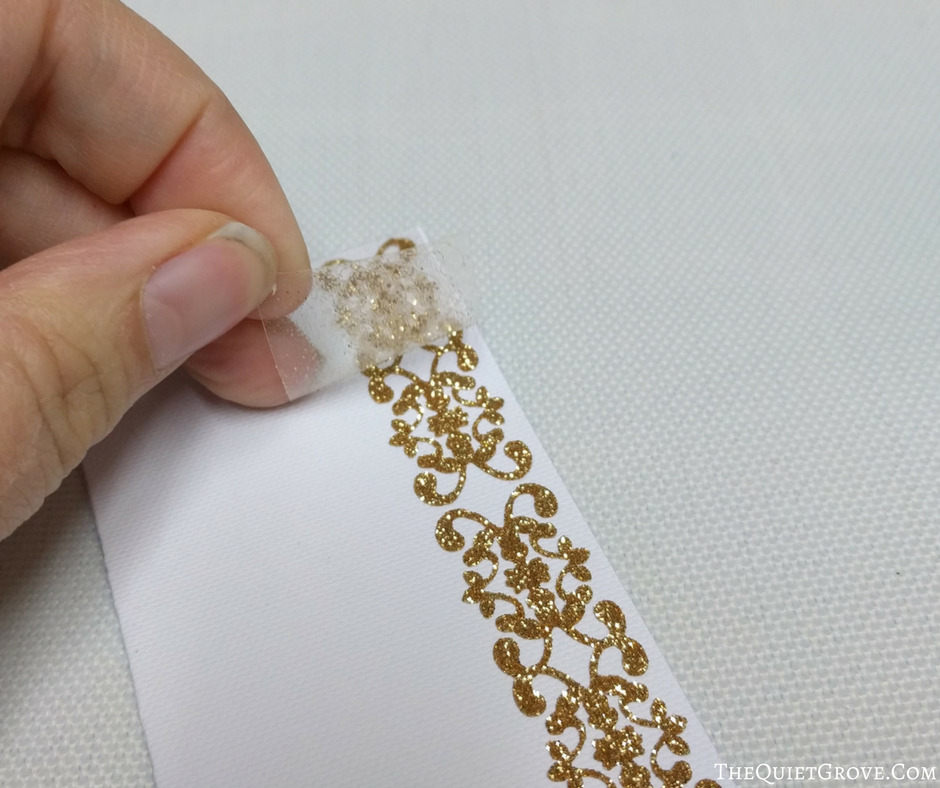
OMW, the Iron-on worked amazingly with the paper. It only took a minute with the Iron to adhere the Iron-on to the Paper and the end results were amazing!!! What a game-changer!!!
Materials Needed for the Place Name tags and Napkin Rings:
- Cricut Explore Air 2
- Cricut Essentials Tool Kit
- Strong, Standard Grip Mats
- Fine Point Blade
- Iron-On Protective Sheet
- 2 (12x12) Sheets of White Linen Cardstock
- Red and Gold Glitter Iron-on
- Iron
- tape (to secure the napkin rings)
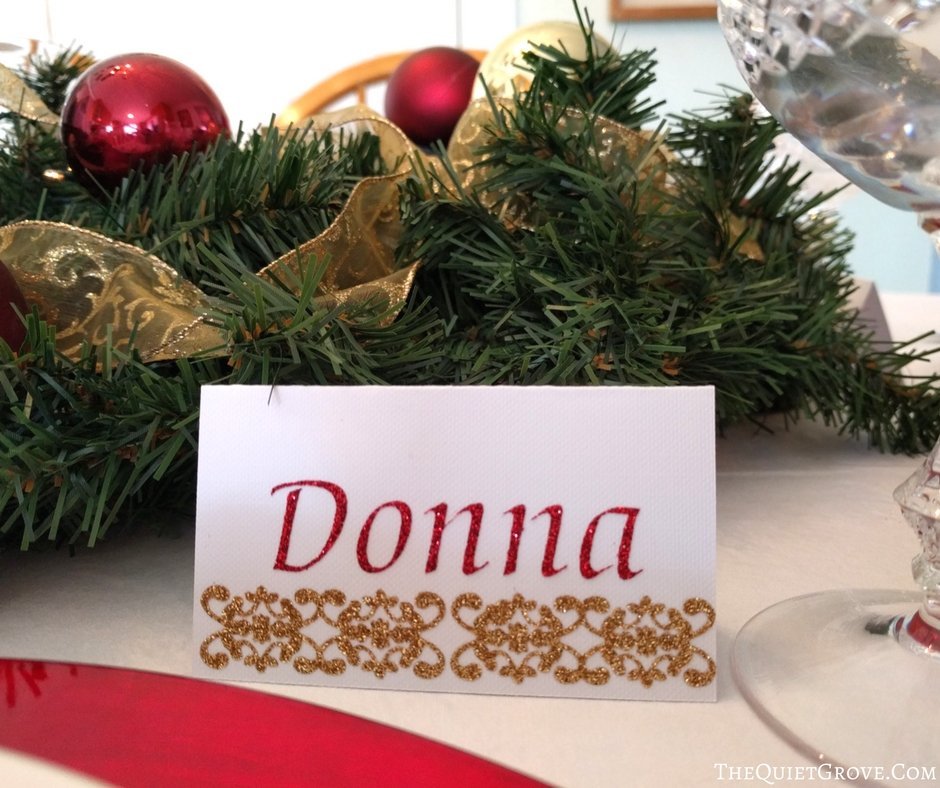
First, cut the tags and napkin ring out of the white cardstock using the standard grip mat. Then cut the Glitter Iron-on with your strong grip mat (placing the iron-on shiny side down. (oh and don't forget to click the button to reverse the image for the Iron-on designs)
Design Space Canvases:
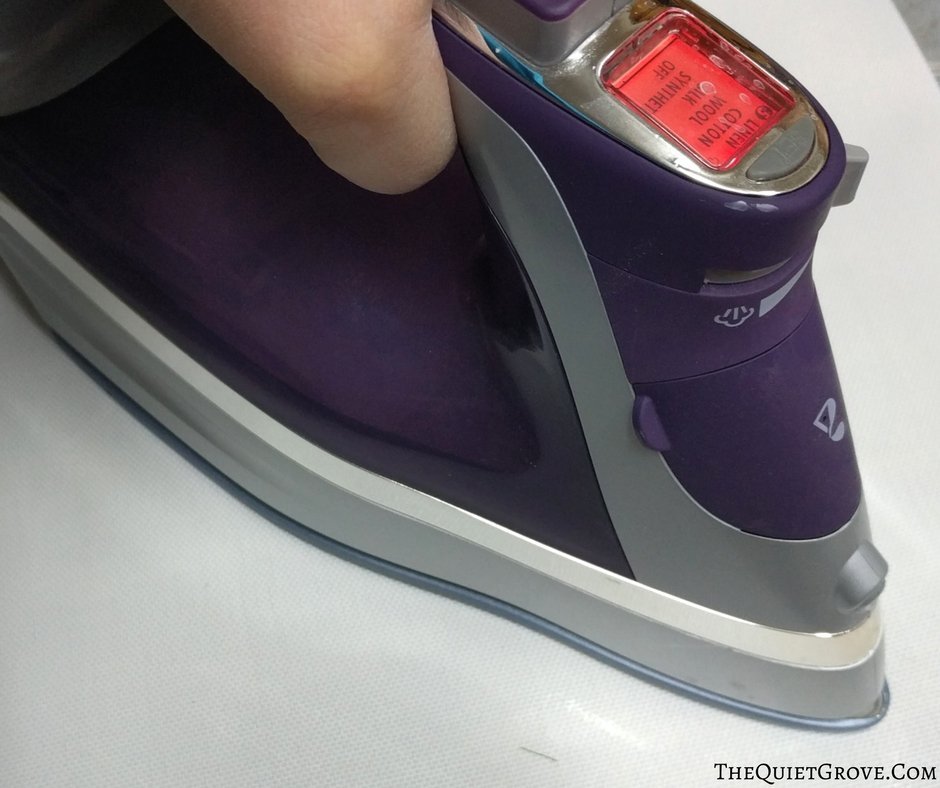
For the Iron-on I just used my normal iron and my Iron-On protective sheet to adhere to the Iron-On to the Cardstock. The end result was an almost embossed look for the napkin rings and place cards.
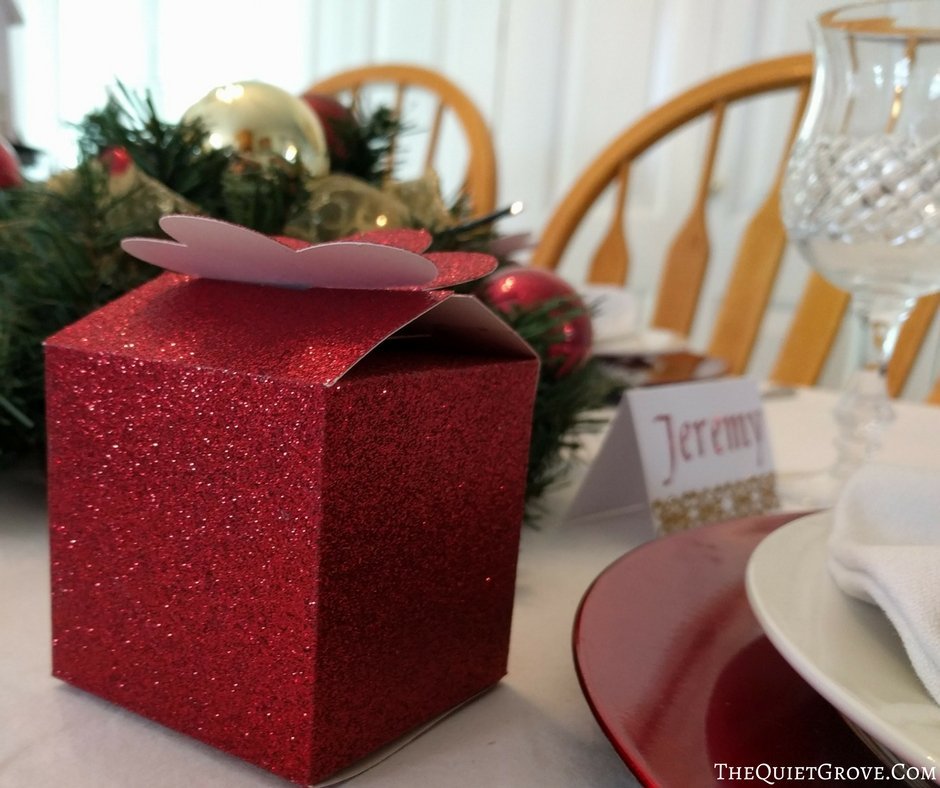
For the final touch for my Christmas Tablescape, I decided to cut out small Christmas gift boxes (for each place setting) in Red Glitter Cardstock. In each box, I will put some yummy sweets for each dinner guest.
Materials Needed for the Gift Boxes:
- Cricut Explore Air 2
- Cricut Essentials Tool Kit
- Strong, Standard Grip Mats
- Fine Point Blade
- 6 (12x12) Sheets of Red Glitter Cardstock
- Glue
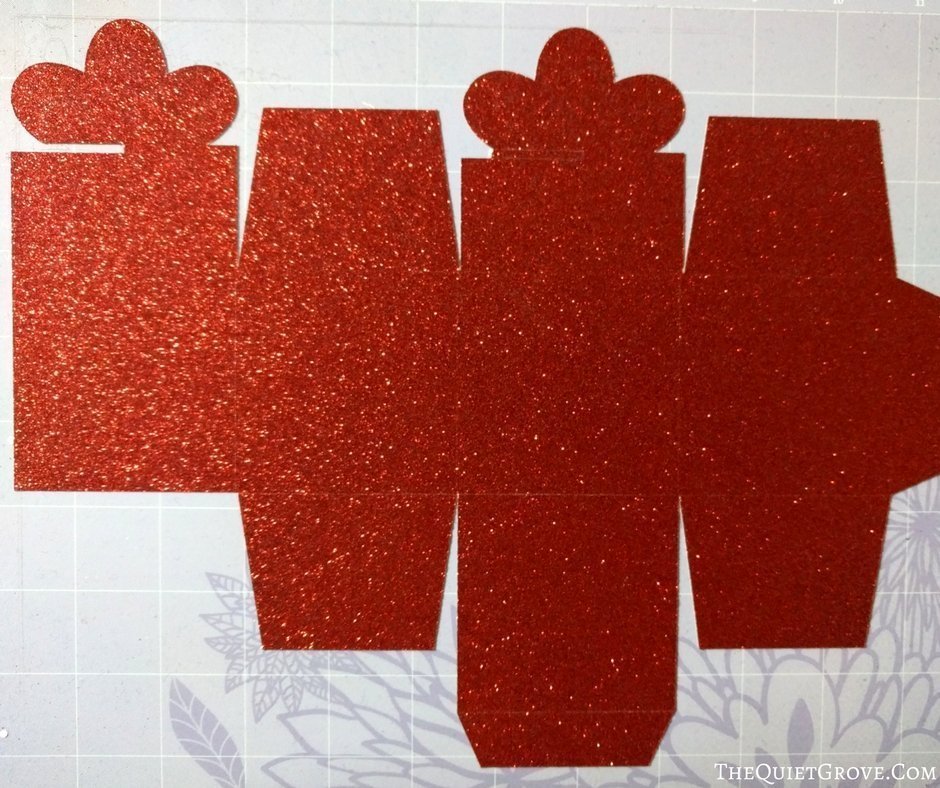
Design Space Canvas:
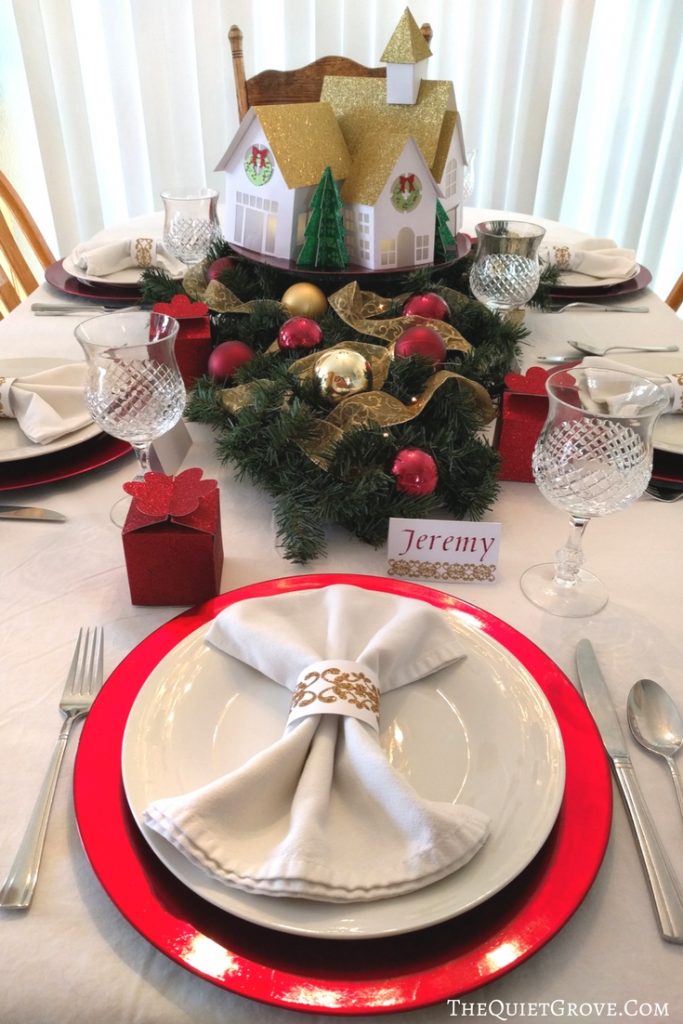
I have to say that I absolutely LOVED how the tablescape turned out this year. It looked soo perfect I had the hardest time taking it down after I did my mock set up and took the pictures. I can't wait to set it up again for Christmas Dinner! What are your favorite aspects of the Tablescape?
This is a sponsored conversation written by me on behalf of Cricut. The opinions and text are all mine.

If you liked this post then check out these: (CLick on the photo to go to the posts)





Gorgeous table set! Thanks for a chance to win!
Thank you! Good luck!