DIY Embossed Bunny Silhouette with 3D Flowers


This Framed Easter Bunny Silhouette with 3D Flowers is Quick and Easy to Make!

For my Easter decorations, I wanted to make a cute Framed Easter Decoration to coordinate with both my Paper Flower Wreath (see tutorial here) and Bunny Butt Bunting Banner (Find Tutorial here). Because of how involved making the flower wreath was,I wanted this project to be quick and simple.
I decided to use the same bunny silhouette that I used for the bunny Butt Banner and then add a few tiny paper flowers to the front. To add a but of detail and texture I pulled out my Cuttlebug and my polka dot embossing folder and embossed the bunny cut out. I adore how this project turned out. And the whole thing took less than 20 minutes start to finish.

Materials Needed:
- Cricut Explore Air 2 (or other Cricut Cutting Machines that work with Design Space)
- Cricut Design Space Canvas
- Bunny Silhouette SVG cut file
- Standard Grip Mat
- Fine Point Blade
- Essential Tool Kit
- Cricut Cuttlebug
- Cricut Swiss Dot Embossing Folder
- 1 (12x12 in) Sheet of White Cardstock
- 1 Sheet of Grey Cardstock
- 1 ( 1.5x3.5 inch scrap) of Purple Cardstock
- 1 ( 1.5x3.5 inch scrap) of Blue Cardstock
- 1 (1.5x8 inch scrap) of Pink Cardstock
- 1 (1.5x3 inch scrap) of Green Cardstock
- 1 (1x1.5 inch scrap) of Yellow Cardstock
- Hot Glue & Hot Glue Gun
- Glue Stick
- 8x10 inch Frame (I got a simple on at the Dollar Store.)
If you need to order any of these supplies from Cricut.com use Promo Code: TheQG10 to get 10% off + free shipping!!
**Note this code does not work on Design Space Access, digital content, machines, EasyPress, Brightpad
Instructions:
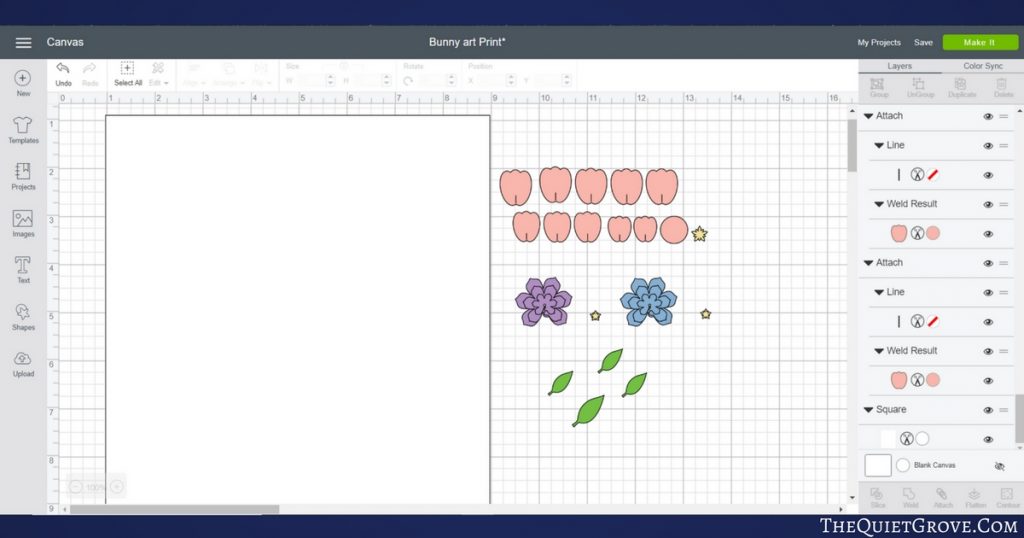
Open my Cricut Design Space Canvas for the Background and Flower designs (already perfectly sized.)
Download my Bunny Silhouette here
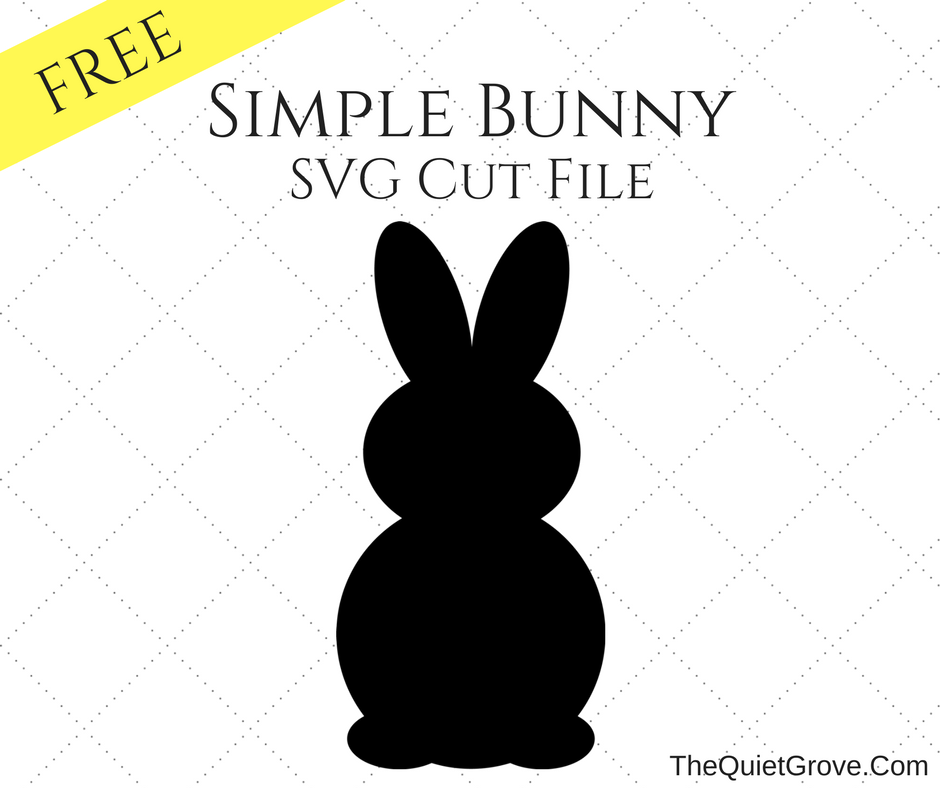
Upload my Bunny Silhouette into the Design Space Canvas

Size the Bunny Silhouette to 4.467 in Wide x 9.082 in High

Click the Make it Button on the Right-hand side of the screen, and load your matt according to the color page indicated on your screen.
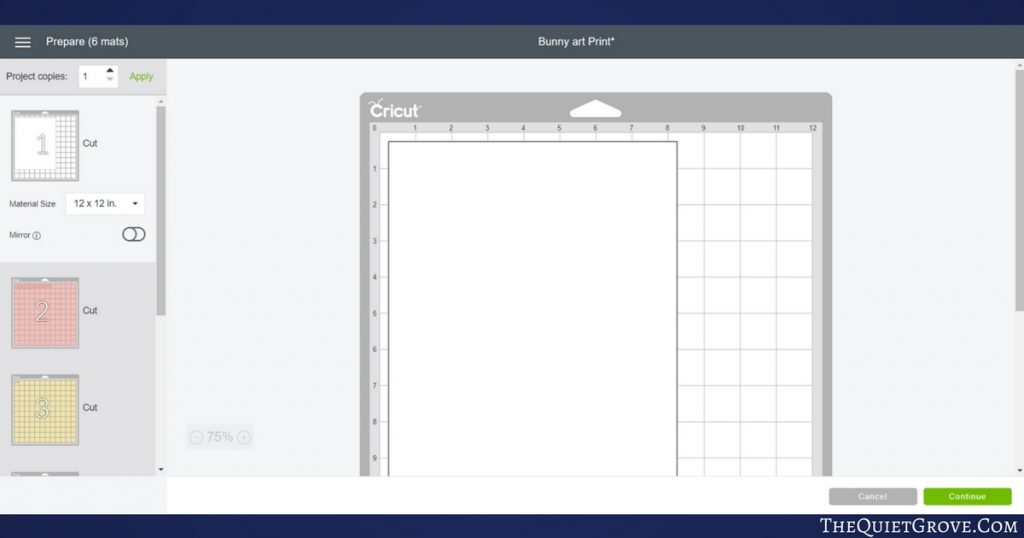
Set the Dial on your Machine to Cardstock, and get cutting!

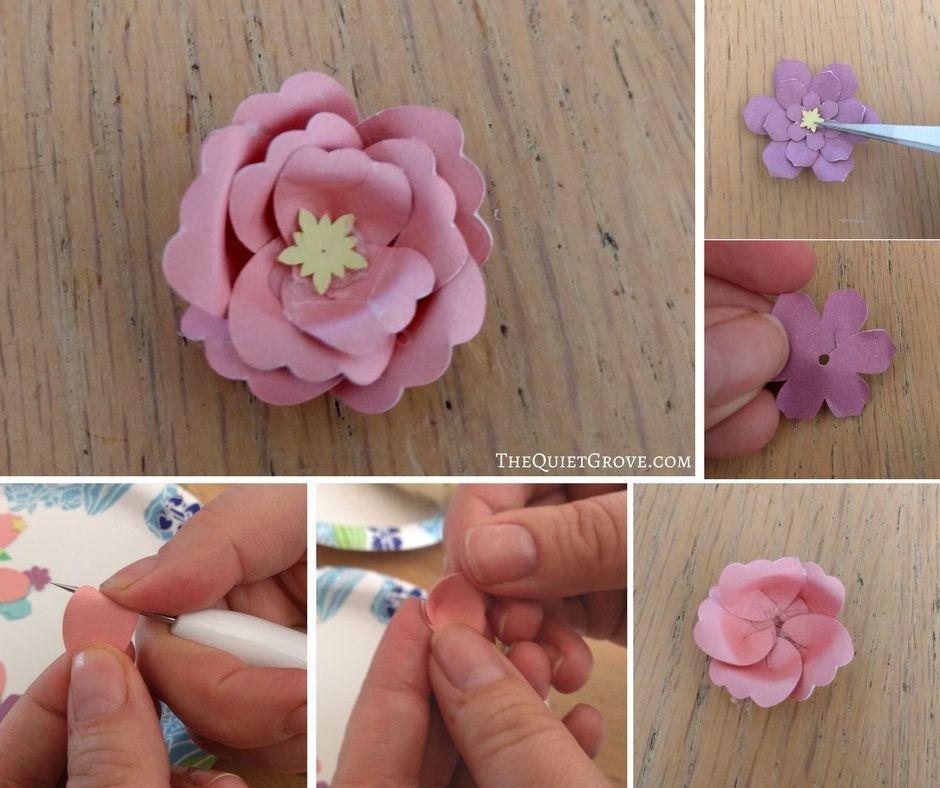
After everything is cut out assemble the Flowers (if you need help knowing how to assemble the flowers you can check out my tutorial in my paper flower wreath post.)
Using your Cuttlebug and Polka Dot Embossing folder emboss your Bunny. ***Note the Bunny was too long to emboss in one go so after embossing one side I flipped my bunny, I carefully lined it up and embossed the other side.

Using the Glue stick, glue the embossed bunny silhouette to the white cardstock background.

Using the Hot Glue Gun (which you used to assemble the flowers) carefully hot glue the flowers to the Bunny.

Open your frame and place your Easter art in front of the glass in the frame (since it has 3d flowers that wouldn't fit behind the glass.)

I totally love how this project turned out. It was a perfect project to do with my daughter and really brings together the Easter/ Spring Banners and Paper flower wreath we made for our Easter decorations for our front living room.
If you love this DIY Cricut project then check out these: (click on the photo to go to the posts)