DIY Hug & Kisses Anniversary Gift Made With a Cricut Maker

POST DISCLAIMER: This is a sponsored conversation written by me on behalf of Cricut. The opinions and text are all mine.
READER COMMENT DISCLAIMER: Comments submitted may be displayed on other websites owned by the sponsoring brand.
Making your own Anniversary Gift is easy thanks to Cricut!

Thanks to my Cricut Maker it is easy to make DIY gifts for those special occasions in my life. Tomorrow is my 10th Anniversary. As an anniversary gift I got a $20 Movie Theater Gift Card (for some movies coming out soon that I know my husband wants to see with me. Date Nights!!) However I wanted to give the gift card in a creative way. So I looked on Cricut's Design Space (they have soo many cool designs in Cricut Access as well as some beautiful make it now projects. It only took me a few minutes to find what I wanted and then a few more to customize it to what I wanted.
Thanks to my Cricut Maker and the adaptive tools (like the scoring wheel which I LOVE) I can work with soo many more materials than with my Explore Air 2.

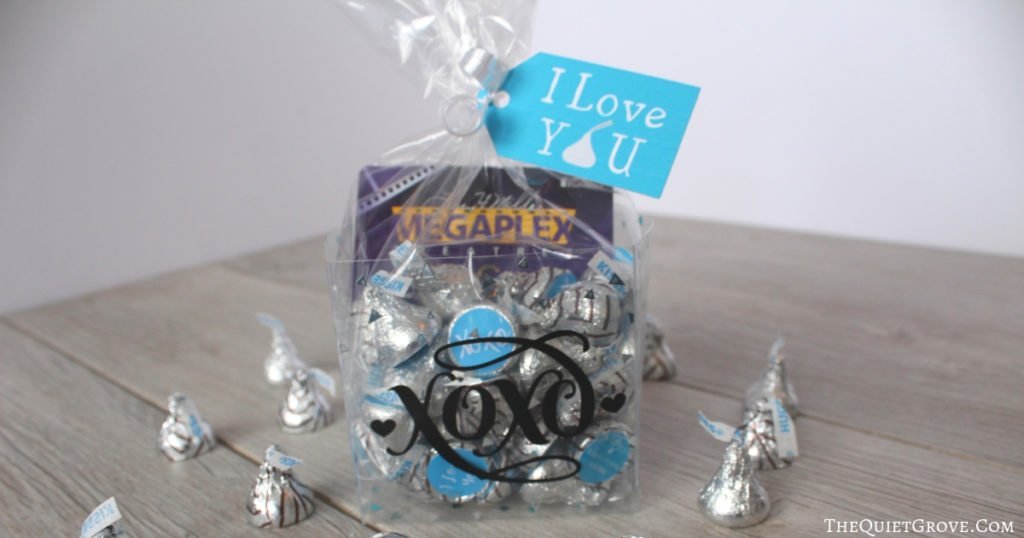
One material I have been wanted to work with for a while is Acetate. I decided to use Cricut's fun Foil Acetate to make a clear box with a clear cellophane bag inside holding a bunch of Hershey Kisses with stickers on the bottom of each one made with printable vinyl. and the gift card stuck on the top. Then a special tag made with printable Cardstock tied to the cellophane bag.

Materials Needed:
- Cricut Maker
- Design Space Canvas for Acetate Box & Printable Tag --> HERE<--
- Design Space Canvas for Anniversary Kiss Stickers --> HERE<--
- 12 x12 Standard Grip Mat
- Fine Point Blade
- Scoring Wheel
- Cricut Essentials Tool Kit
- Foil Acetate
- Printable Vinyl
- White Cardstock
- 8.5x11 White Cardstock
- Color Inkjet Printer
- Glue/Glue Gun
- Ribbon
- Hershey Kisses
If you need to order any of these supplies from Cricut.com use Promo Code: TheQG10 to get 10% off + free shipping!!
**Note this code does not work on Design Space Access, digital content, machines, EasyPress, Brightpad
Instructions for Acetate Box & Tag:
- Open the Cricut Design Space Canvas for Acetate Box and Printable Tag -->HERE<--

- Click to make it, and send the print and cut tag to your printer **Remember you need to use an inkjet printer.
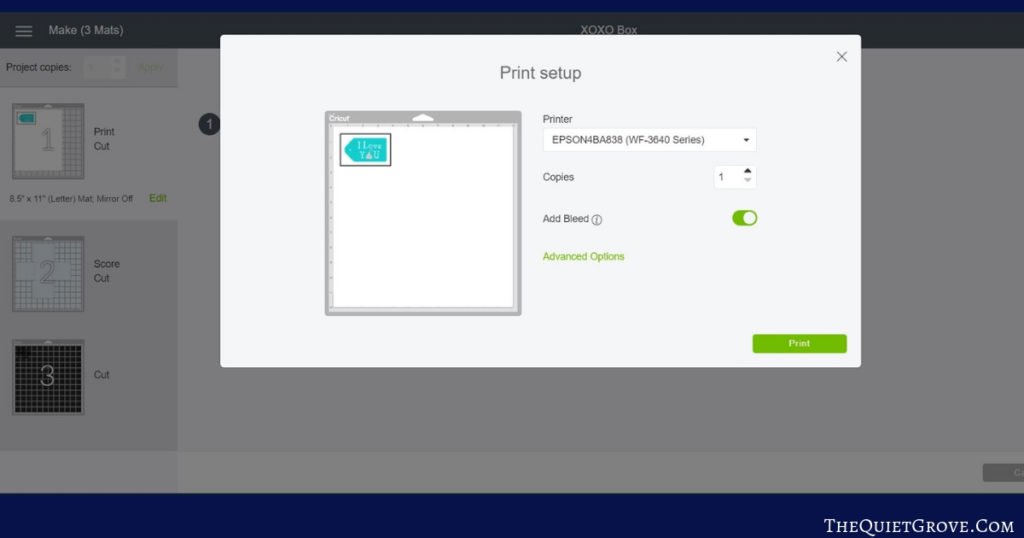
- After the tag is printed select cardstock as the material to cut. Then place the printed cardstock carefully on your standard grip mat.
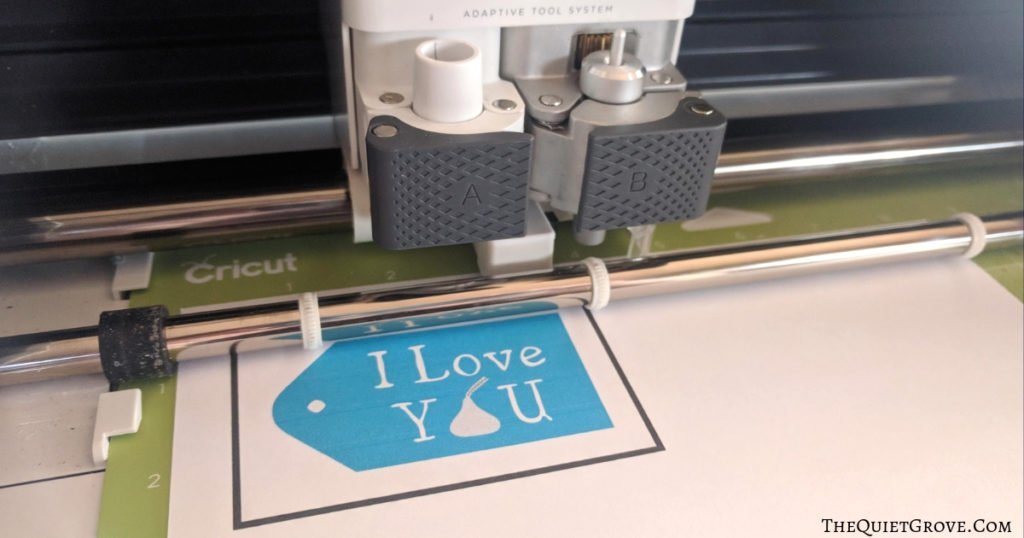
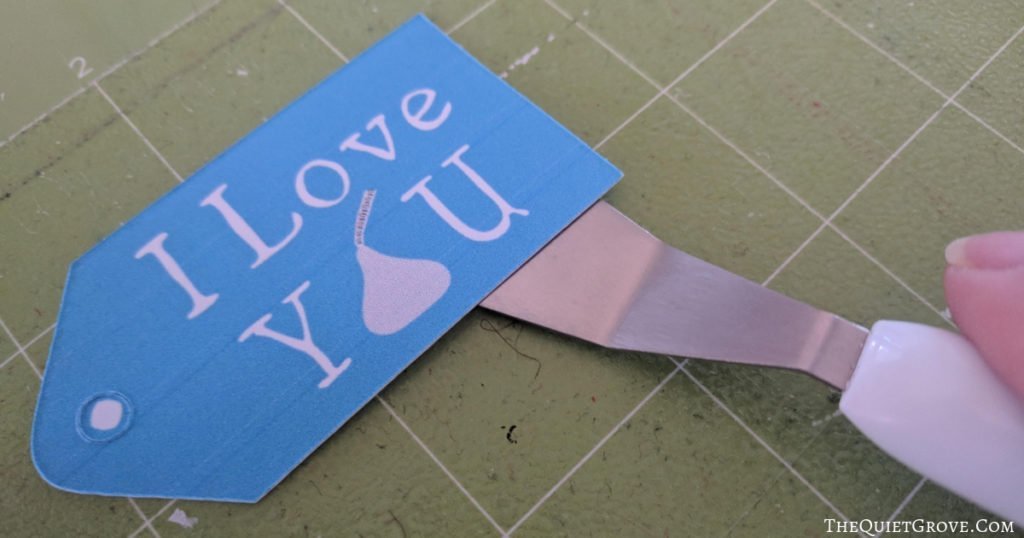
- Use your spatula from the Essential tool kit to remove the cut tag from the mat and set aside.
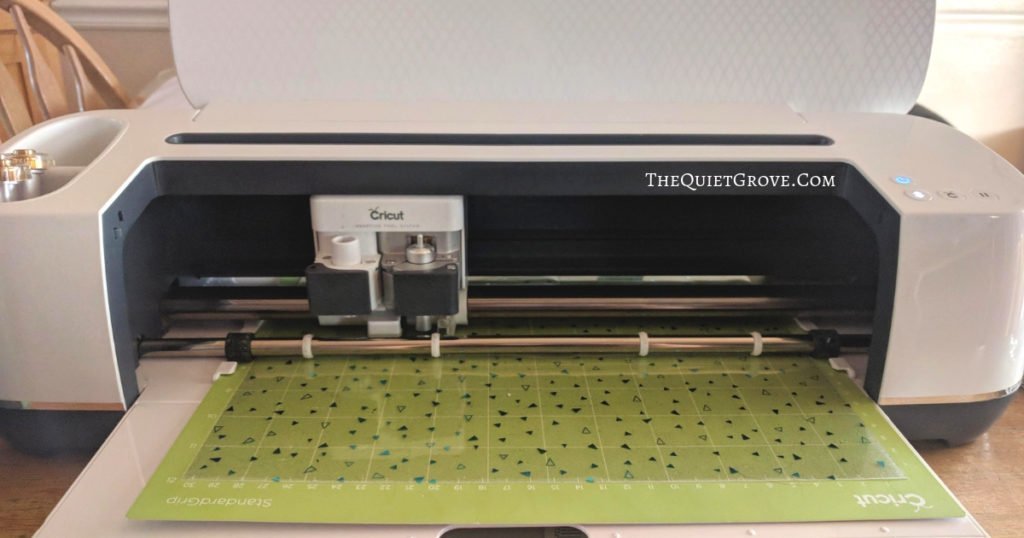
- Next, select foil acetate from the materials list and switch your blade for the scoring wheel on your Cricut (the maker ALWAYS scores first then cuts.)

- Load your acetate onto a standard grip mat and get scoring then cutting (don't worry you will be prompted when to switch the scoring wheel for the fine point blade to cut.)
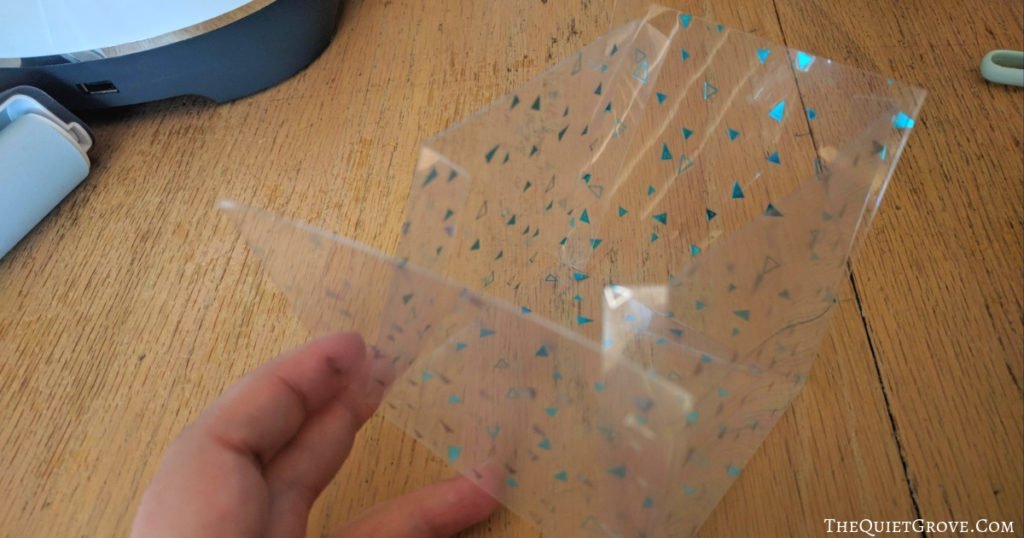
- After cutting carefully remove Acetate from the mat and fold on all the score lines.
- Next set your material to premium Vinyl and cut.
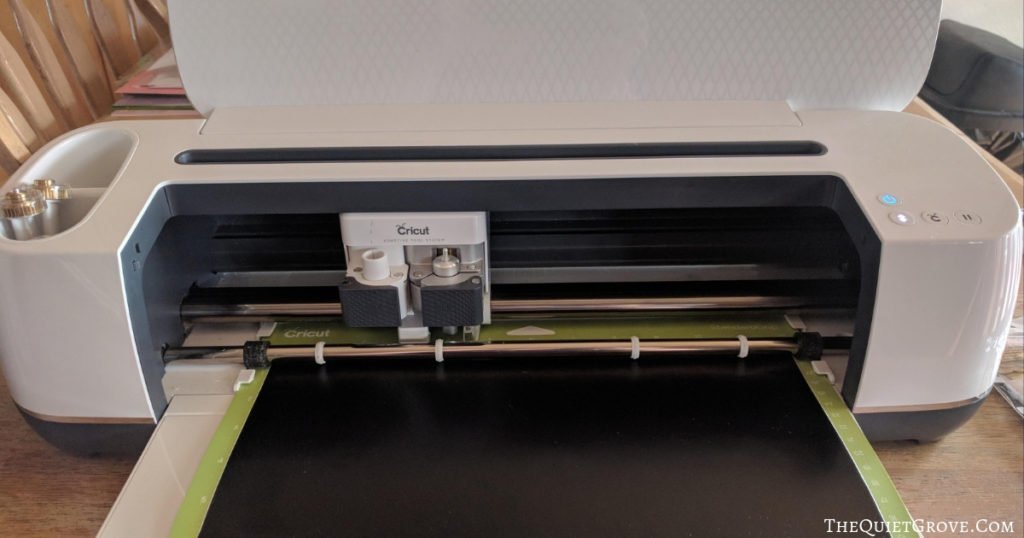
- After cutting the vinyl use the weeding tool from your essential tool kit to weed out unneeded vinyl.
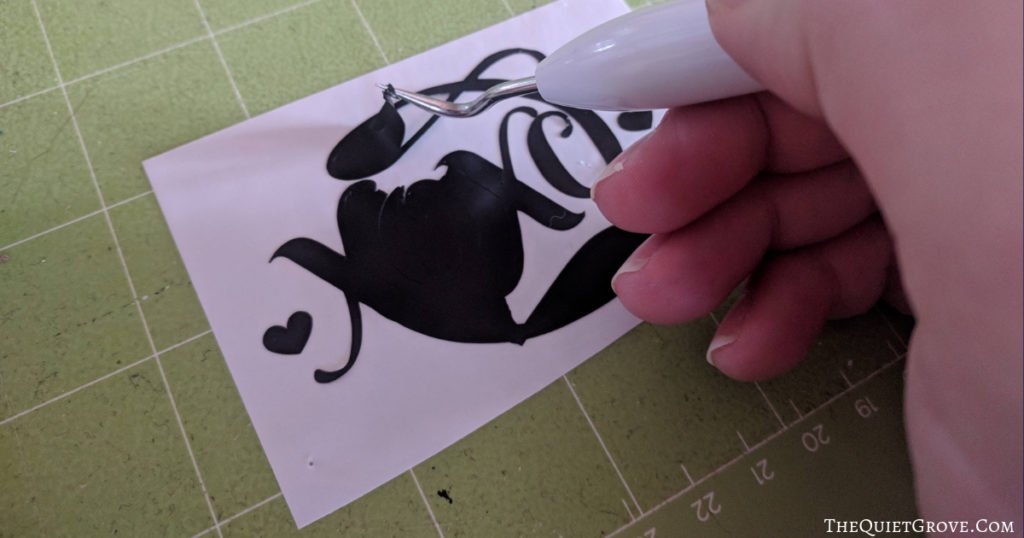
- Cut a piece of transfer tape large enough for the design and place over the weeded design. (I normally use my scraper tool from the essential tool kit to make sure the transfer tape is firmly attached.)

- Peel off the vinyl backing and place on the acetate cut box and press firmly over the design to make sure it is attached before peeling the transfer tape off.

- Use glue to assemble the acetate box. I used hot glue which worked great.

Instructions for Hershey Kiss stickers:
- Open Cricut Design Space Canvas for Anniversary Hershey Kiss stickers -->HERE<--
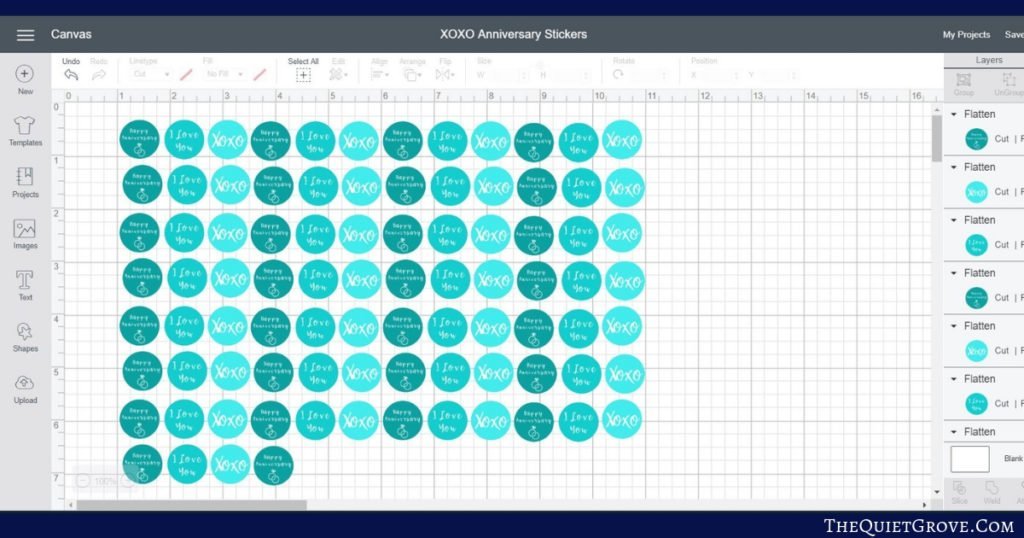
- Click make it and send the kiss stickers mat to your inkjet printer
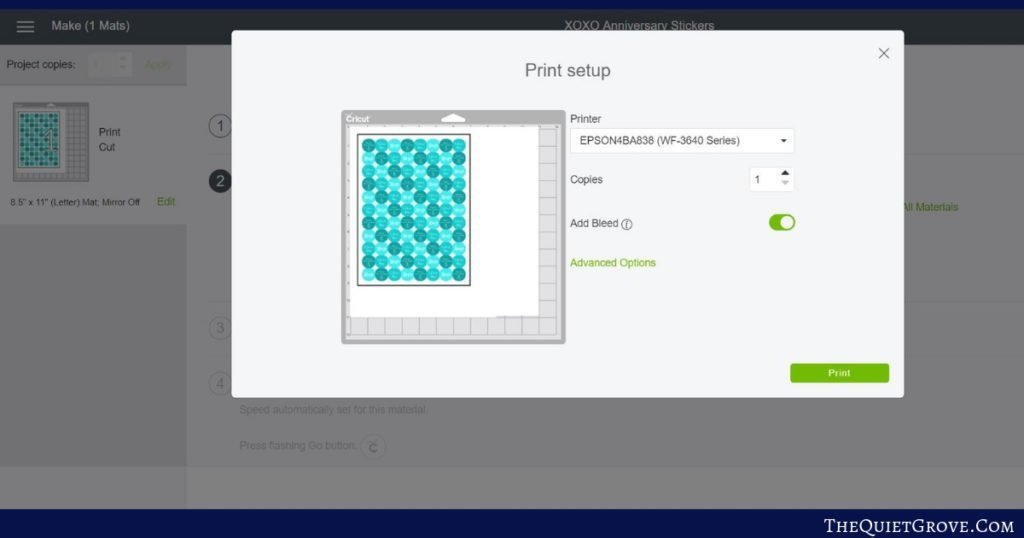
- After printed select Printable Vinyl as the material. Carefully place on Standard Grip Mat and insert into the Cricut to cut.
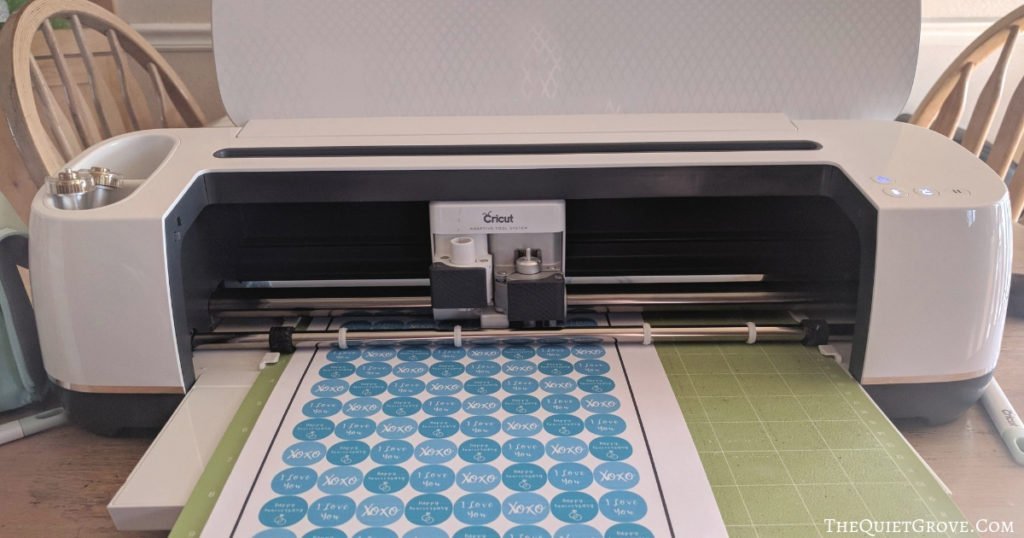
- After cutting peel off individual stickers and place on the bottom of select Hershey Kiss Hugs & Kisses.

Pssss... If you want to make your own Kiss Stickers just make a .75in Circle in Design Space, change the circle to your desired color, place your desired text or image on top the circle, select all the layers and click flatten.
Once everything is made, place a clear cellophane bag inside the Acetate box and fill with Chocolate Hugs and Kisses placing the gift card on top facing front.

Then Tie the bag with a white ribbon and the I LOVE YOU tag!
Ok full disclosure. I meant to fold my box so the blue foil flecks we faced outward but I got distracted by my son and folded it silver side out. The good news is it still looks good. lol.

I adore how my first acetate box turned out and the Hershey kiss stickers as always turned out great as well. I can't wait to give this gift to my hubby for our anniversary tomorrow!
If you like this post then check out these: (CLick on the photo to go to the post)


This is a sponsored conversation written by me on behalf of Cricut. The opinions and text are all mine.