
DIY #MomTired Shirt Made with The Cricut Maker & EasyPress 2!

POST DISCLAIMER: This is a sponsored conversation written by me on behalf of Cricut. The opinions and text are all mine.
READER COMMENT DISCLAIMER: Comments submitted may be displayed on other websites owned by the sponsoring brand.
Working with Iron-on got a whole lot nicer thanks to the new EasyPress 2's

At the end of this last month, Cricut Announced at their annual Mountain Make-a-Thon that they were releasing the next generation of EasyPresses. Not only does the EasyPress 2 heat faster (60 Seconds or Less) Have a better (ceramic coated) heat place that gives a more flawless heat transfer, and heats all the way up to 400F it also comes in 3 convenient sizes (6x7, 9x9, and 12x10) perfect for every project!

Other cool features of the new EasyPress 2 units are their updated insulated safety base (streamlines to better protect your crafting surface, easy to read digital display (for temperature and time) and this is new a USB port (for firmware updates), and for those who pay attention to the colors it comes in this luscious raspberry color.
I Loved my EasyPress (such an upgrade from the regular Iron I had been using before) and the EasyPress 2 is even better! I am glad Cricut cares enough about their customers to always be looking at how to improve their products.
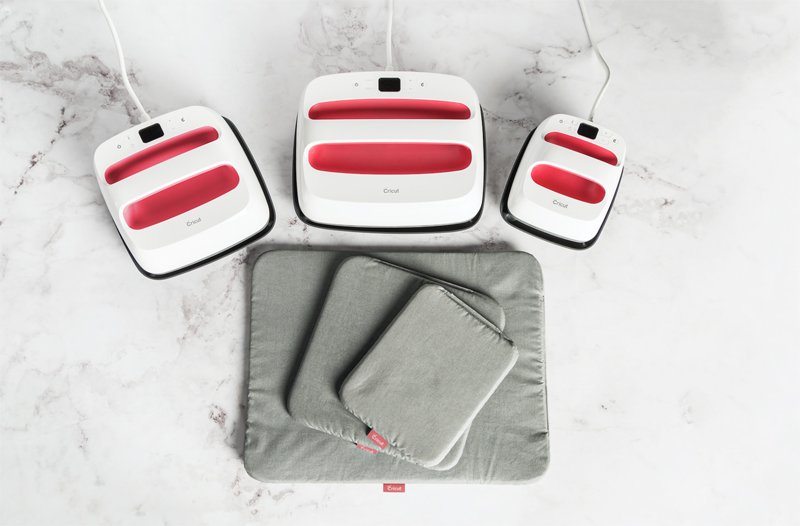
Like I said, the new EasyPress 2 comes in 3 sizes. The small size (6x7 inches) is perfect for baby onesies, hats, paper crafting and other projects that have smaller surfaces. The Middle Size (9x9 inches which is the same size as the original EasyPress) is perfect for bags and Shirts. Personally, if you can only get 1 size right now this is the size I would recommend because of its mid-size it is more versatile for projects. The Large size (10x12 inches) is great for those well larger projects (like adult shirts, blankets etc) where you don't want to have to move your EasyPress to get your whole project.
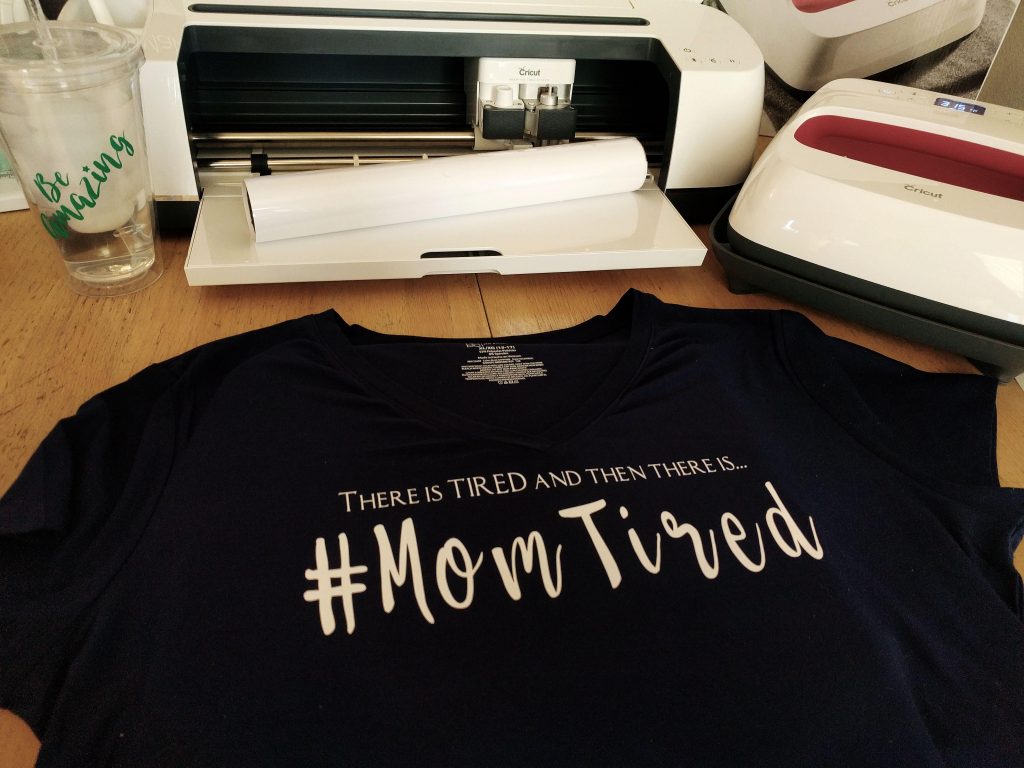
To Show how easy the new EasyPress 2 is to use with Cricut Iron-on I made this fun #MomTired shirt using my new Cricut Maker and the 9x9 inch EasyPress 2 it. Check out the tutorial below:

Materials Needed
- Cricut Maker (or other Cricut Cutting Machines that work with Design Space)
- Cricut Design Space Canvas for #TiredMom Shirt –>HERE<–
- Standard Grip Mat
- Fine Point Blade
- Essential tool kit
- White Iron On Lite (Heat Transfer Vinyl)
- EasyPress 2
- EasyPress Mat
- Women's Navy Blue T-shirt (Mine was the sized XL)
Instructions
- Open my #TiredMom Cricut Design Space Canvas –> HERE<–
- Size design for the shirt you are putting them on. (the sizing in the canvas is for a Women's sized XL V-Neck shirt or 9.9 inches wide)
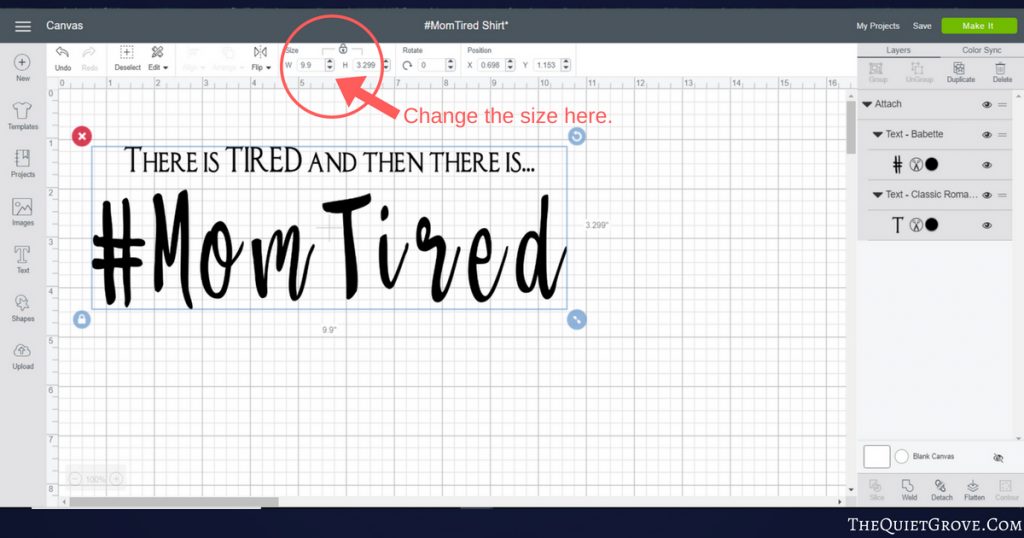
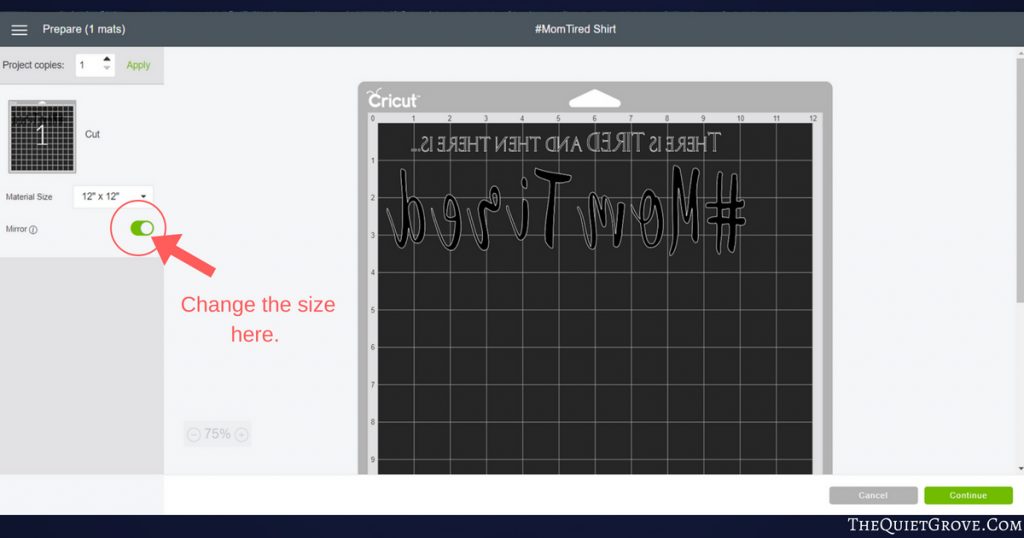
- Make sure to click the Mirror Image button for all the Mats before cutting them out.
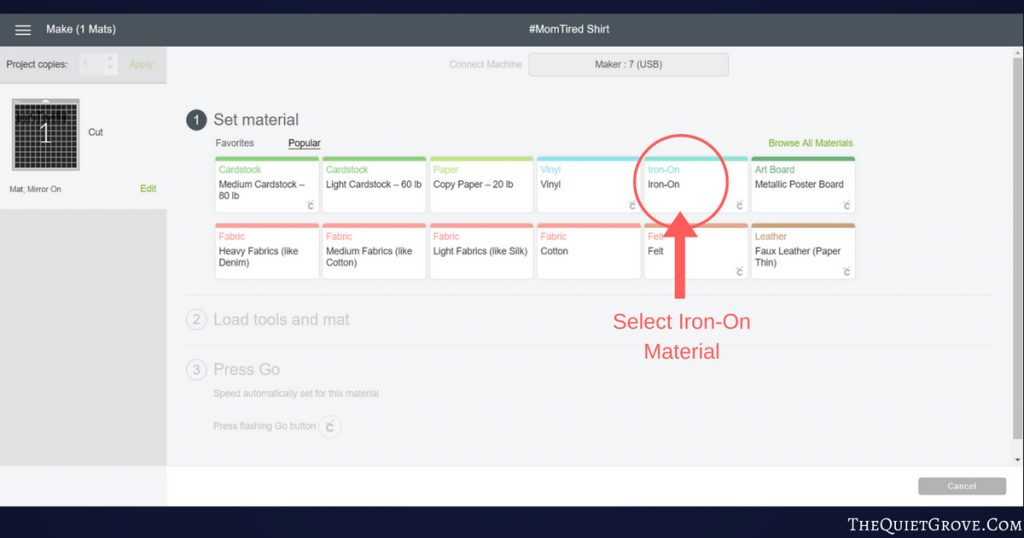
- Set your Cricut Machine to Iron-On and load your Iron-on shiny side down on your standard grip mat.
- After cutting use the weeding tool found in the Essential tool kit to weed out unnecessary iron-on
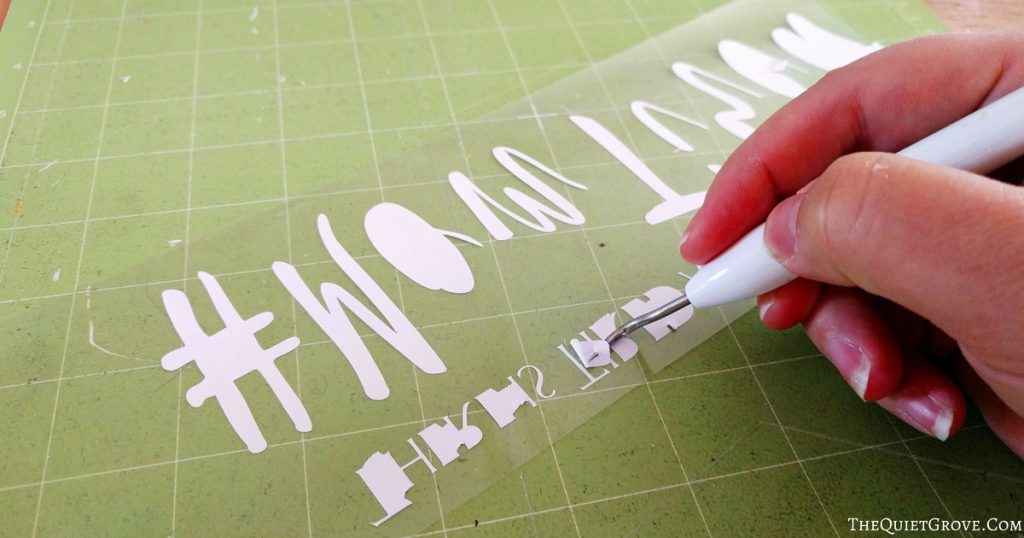
Now for the EasyPress 2 Instructions.
- Place shirt on EasyPress Mat ** The EasyPress Mat is Cricut’s newest tool to use with their Easypress. It shields your work surface from damaging heat (so you can use your table without damaging it) It helps eliminate moisture and directs the heat (from the Easypress) to your Iron-On Design creating a better meld to your fabric!
For my shirt which was 90% Polyester and 10% (That I got at Walmart for $4) The Temperature/Time instructions per the Cricut Website was:
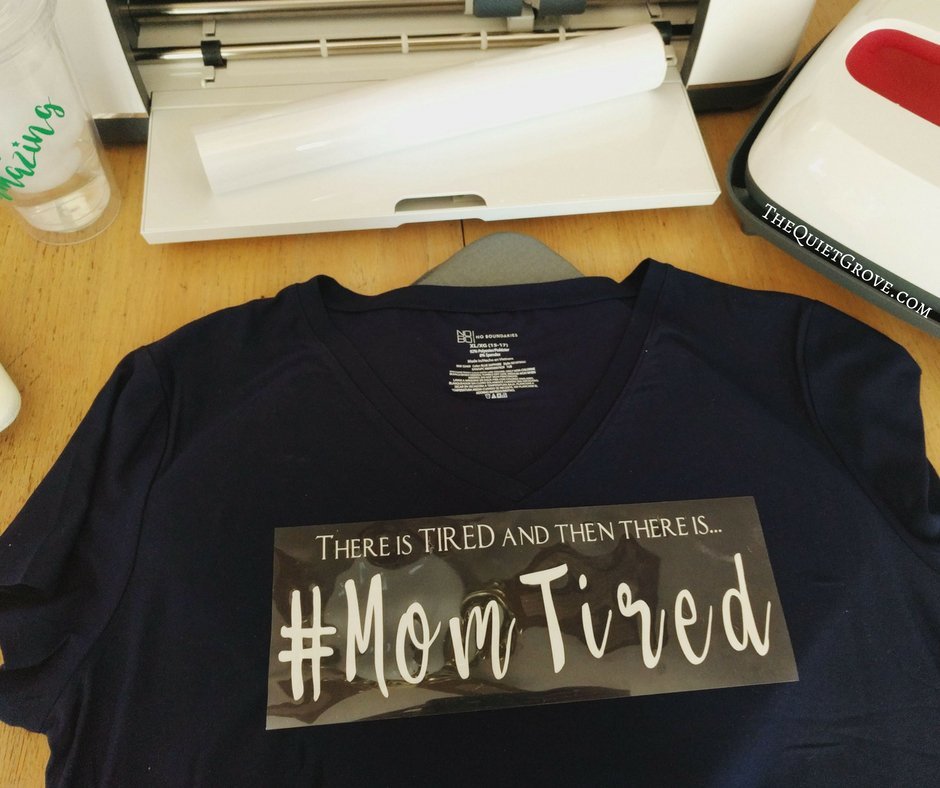
- Set the EasyPress 2 to 315°F / 157°C.
- Pre-heat the area of the Shirt that the design will go for 5 seconds.
- Because the Shirt is not cotton but rather a Polyester material Cricut advised using a barrier between the EasyPress 2 and the Iron-on liner. (I used the Cricut Iron-on Protective Sheet which worked perfectly.)
- Place the Iron-on Design on your shirt. I placed mine about ¼ inch below the V-neck of the Shirt.
- Firmly press the EasyPrress 2 for 30 seconds. (again using your Protective Sheet)

- Flip the Shirt over and Heat the Back (leaving the Iron-on liner on) for 15 seconds. (again using your Protective Sheet)
- Warm Peel
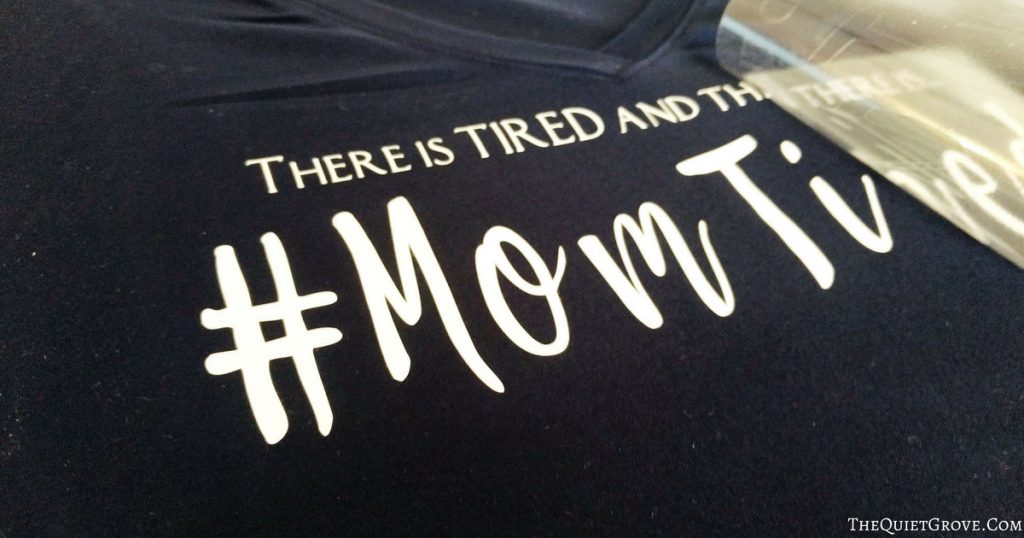
I never really understood the difference between TIRED and Mom TIRED until I had kids of my own. I am surprised how well I have been able to keep functioning even when I get soo little sleep. For those in the same boat as me, I hope you enjoy this shirt. 🙂
If you liked this post, then check out these: (Click on the photo to go to the link)

This is a sponsored conversation written by me on behalf of Cricut. The opinions and text are all mine.



One Comment
Comments are closed.