
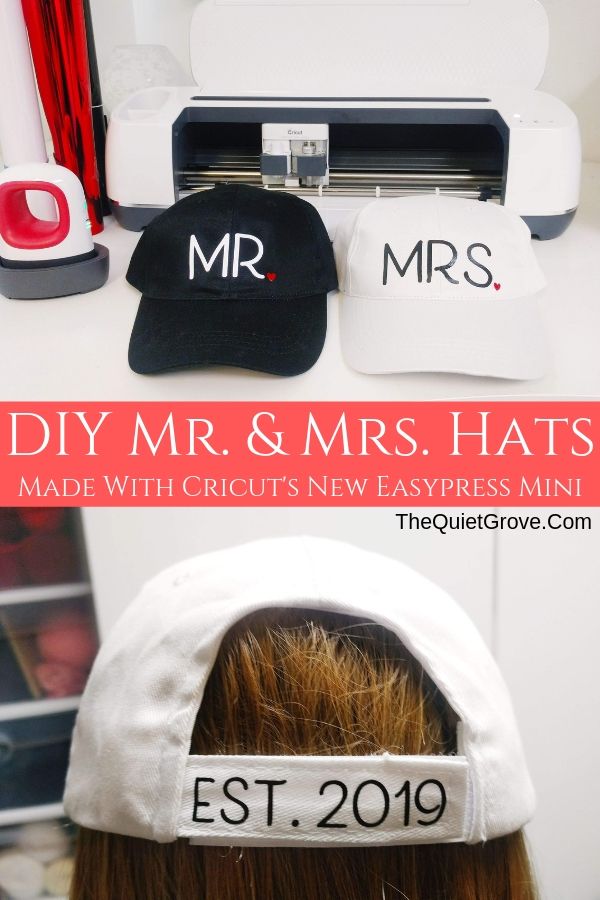
DIY Mr. & Mrs. Hats Made With Cricut's New Easypress Mini

This is a sponsored conversation written by me on behalf of Cricut. The opinions and text are all mine.
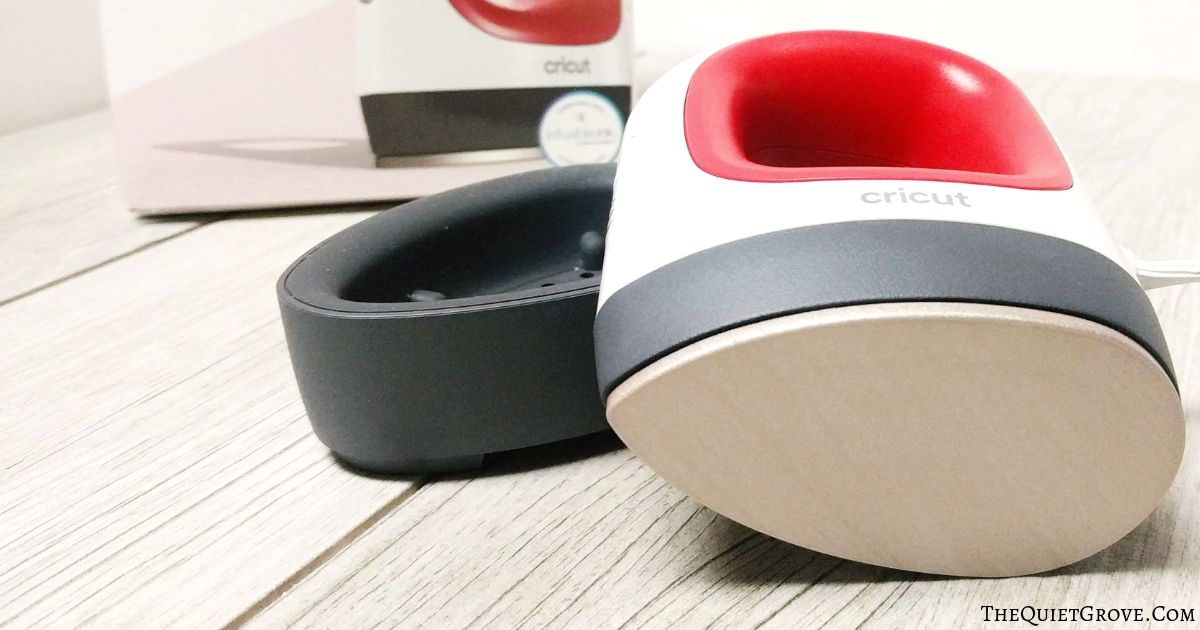
Have you seen Cricut's Easypress 2 Mini?

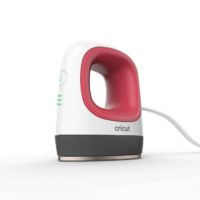
A couple of weeks ago Cricut announced they were coming out with a new addition to the Easypress family. This new Easypress was designed to work with those previously difficult tight places like hats, shoes, pockets, sleeves & stuffed animals! Today this new Easypress Mini is available to buy.

I have to say I am soo excited for this newest Easypress Mini. I have the other 3 sizes which I love but I do a lot of projects that are small, delicate or in those hard to reach places that the Easypress Mini is going to be a lifesaver.

Like the other 3 Easypress machines the new Mini has the same quality even heat plate which is a must for working with both iron-on as well as infusible ink on projects. To make the Mini easy to use it has 3 heating levels (one specifically for Iron-on and one for Infusible ink.). To get those really tight spaces, corners and creases one side of the Mini is even pointed. I can't tell you how happy I am about this. --> BUY HERE<--
The first project I did using my new Easypress Mini was some itty bitty box labels (using Iron-on with Cardstock,)I love how thanks to its size I was able to keep my design from shifting at all as I did the initial press (which can happen with those really small intracate designs when they start lifting from the protective backing while weeding.

This new tiny Easypress was perfect for that delicate project. Today I used my Easypress Mini to make a Mr & Mrs hat set for a wedding gift. Follow the tutorial below to make them right away or save them to a Pinterest board for Cricut DIY tutorials to make them later!

DIY Mr & Mrs Hats

This Mr & Mrs Hat set makes for the perfect wedding gift and is made easy with a Cricut & Iron-on. Especially when using the new Cricut Easypress mini.
Materials
Tools
Instructions
Cutting Instructions:
Open Cricut Design Space for Mr & Mrs Hat set -->HERE<--
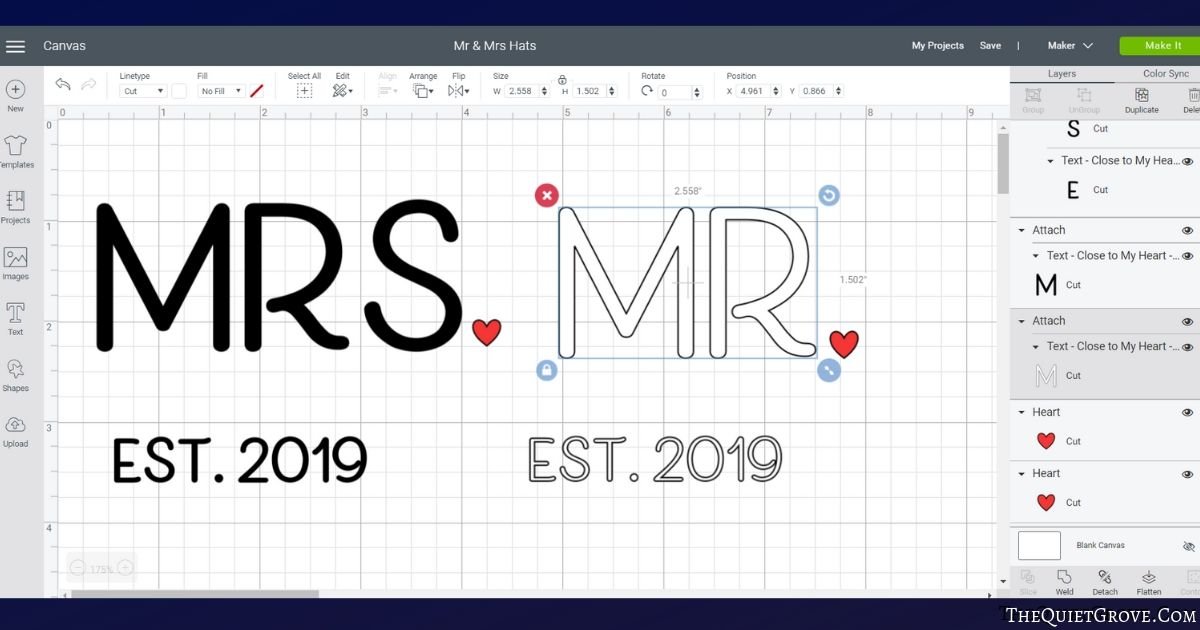
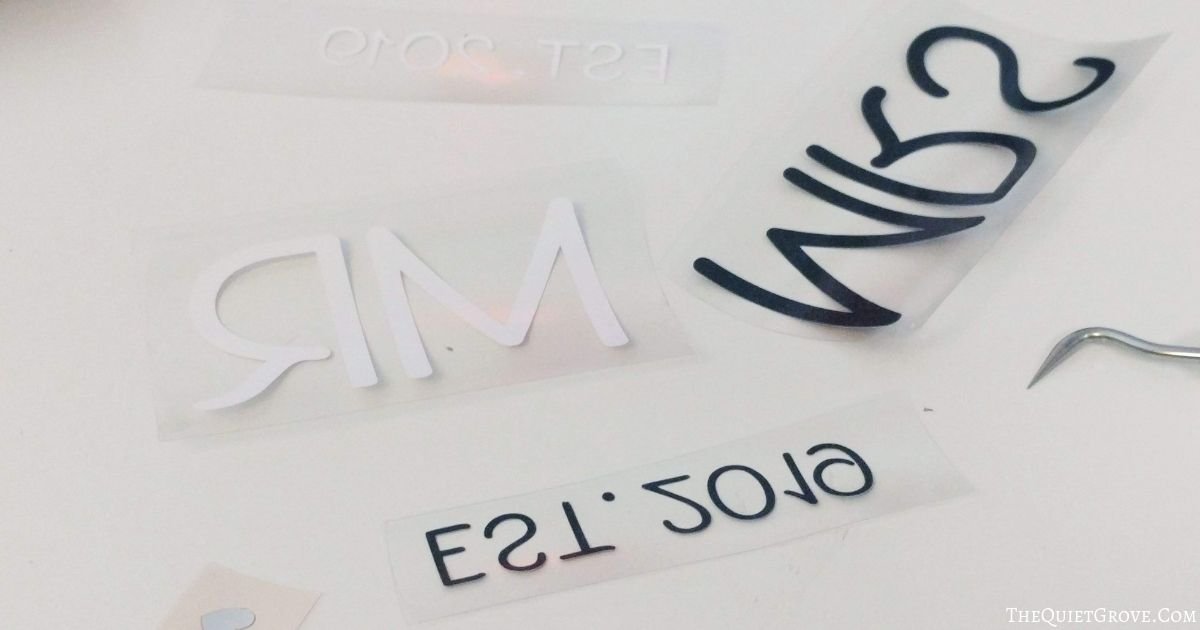
Click to make and make sure you click to reverse Image on all mats.
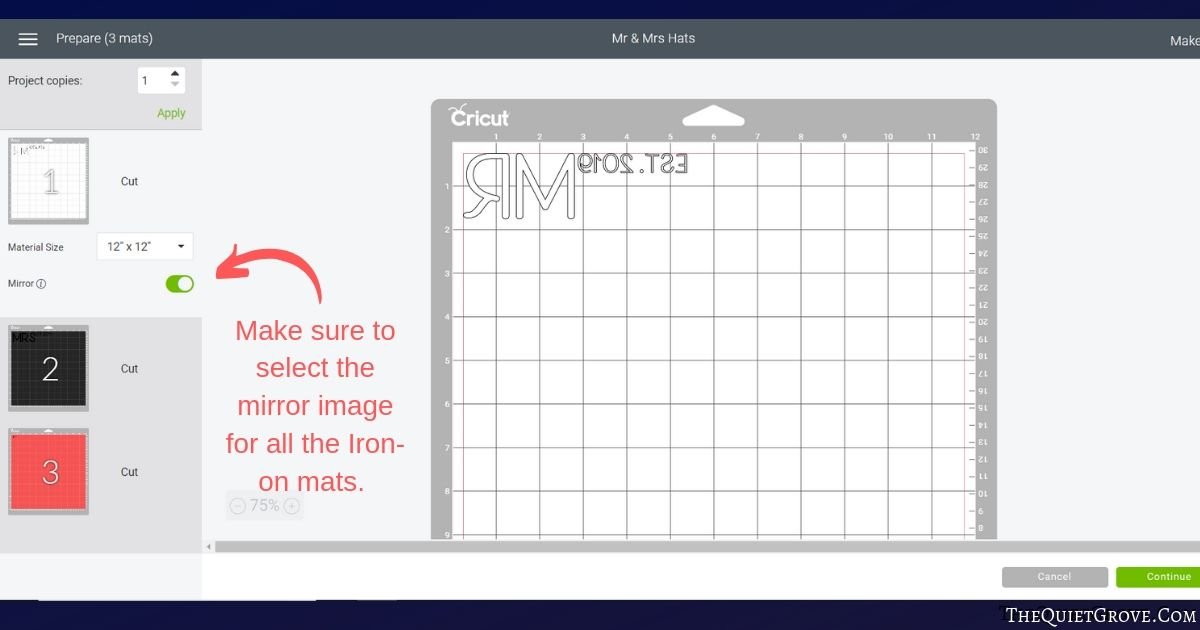
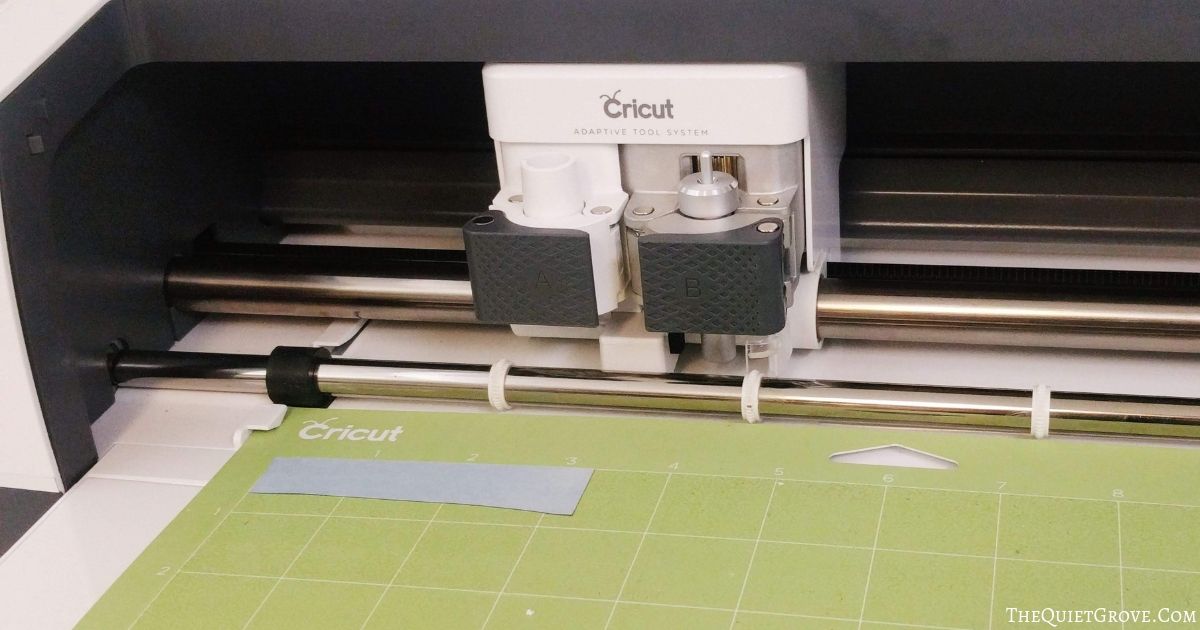
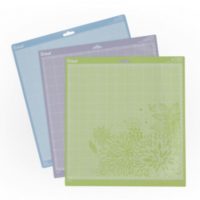
Select Iron-on as the material and place Iron-on shiny side down on standard grip mat and insert into Cricut.
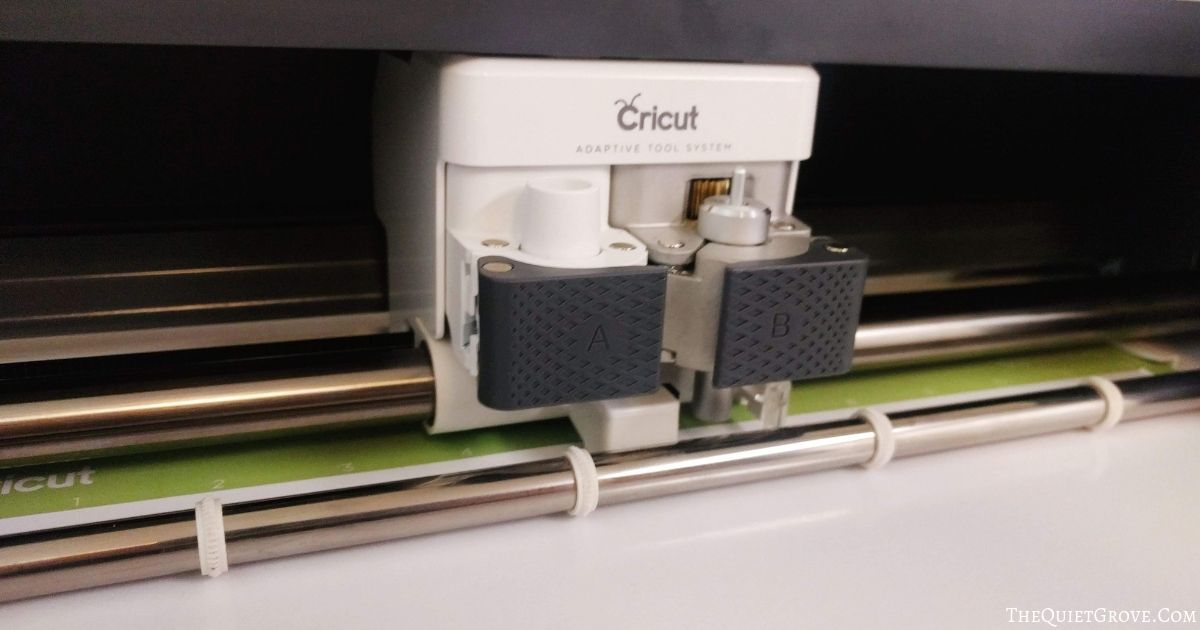
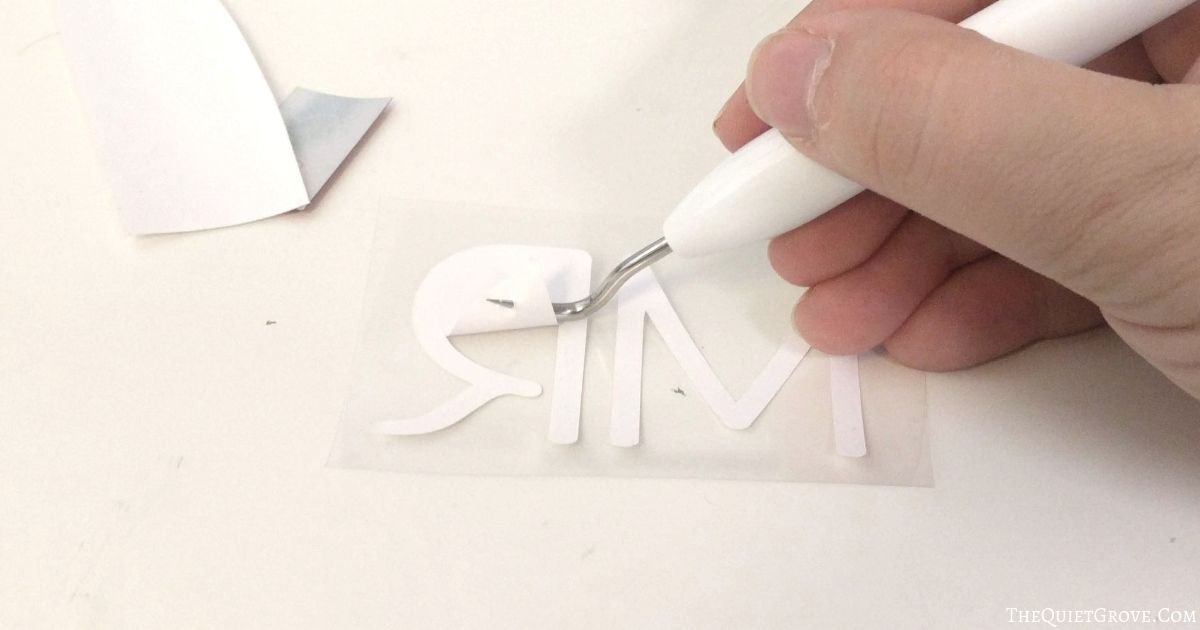
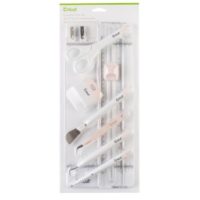
After cutting use weeding tool from the essential tool kit to weed excess iron-on.
-->REPEATE FOR BLACK IRON-ON
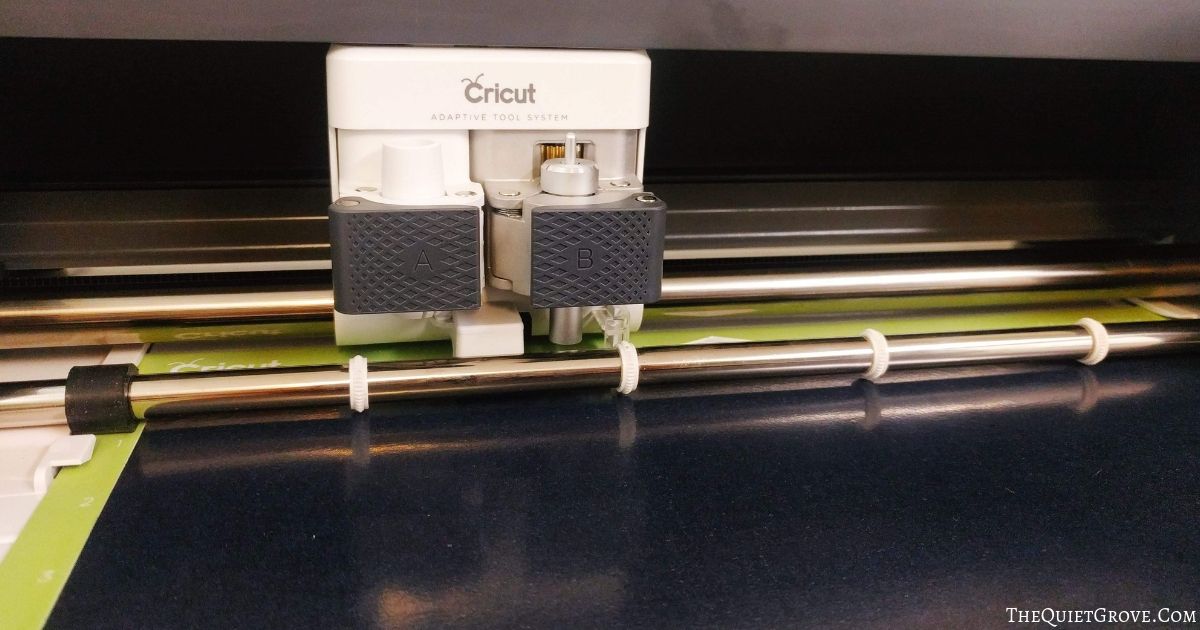
Change material to Foil Iron-on and place Red Foil Iron-on and place on standard mat shiny (red side) down.
After cutting use weeding tool from the essential tool kit to weed excess iron-on
Ironing Instructions:
Select middle heat setting and let Easypress mini heat up.
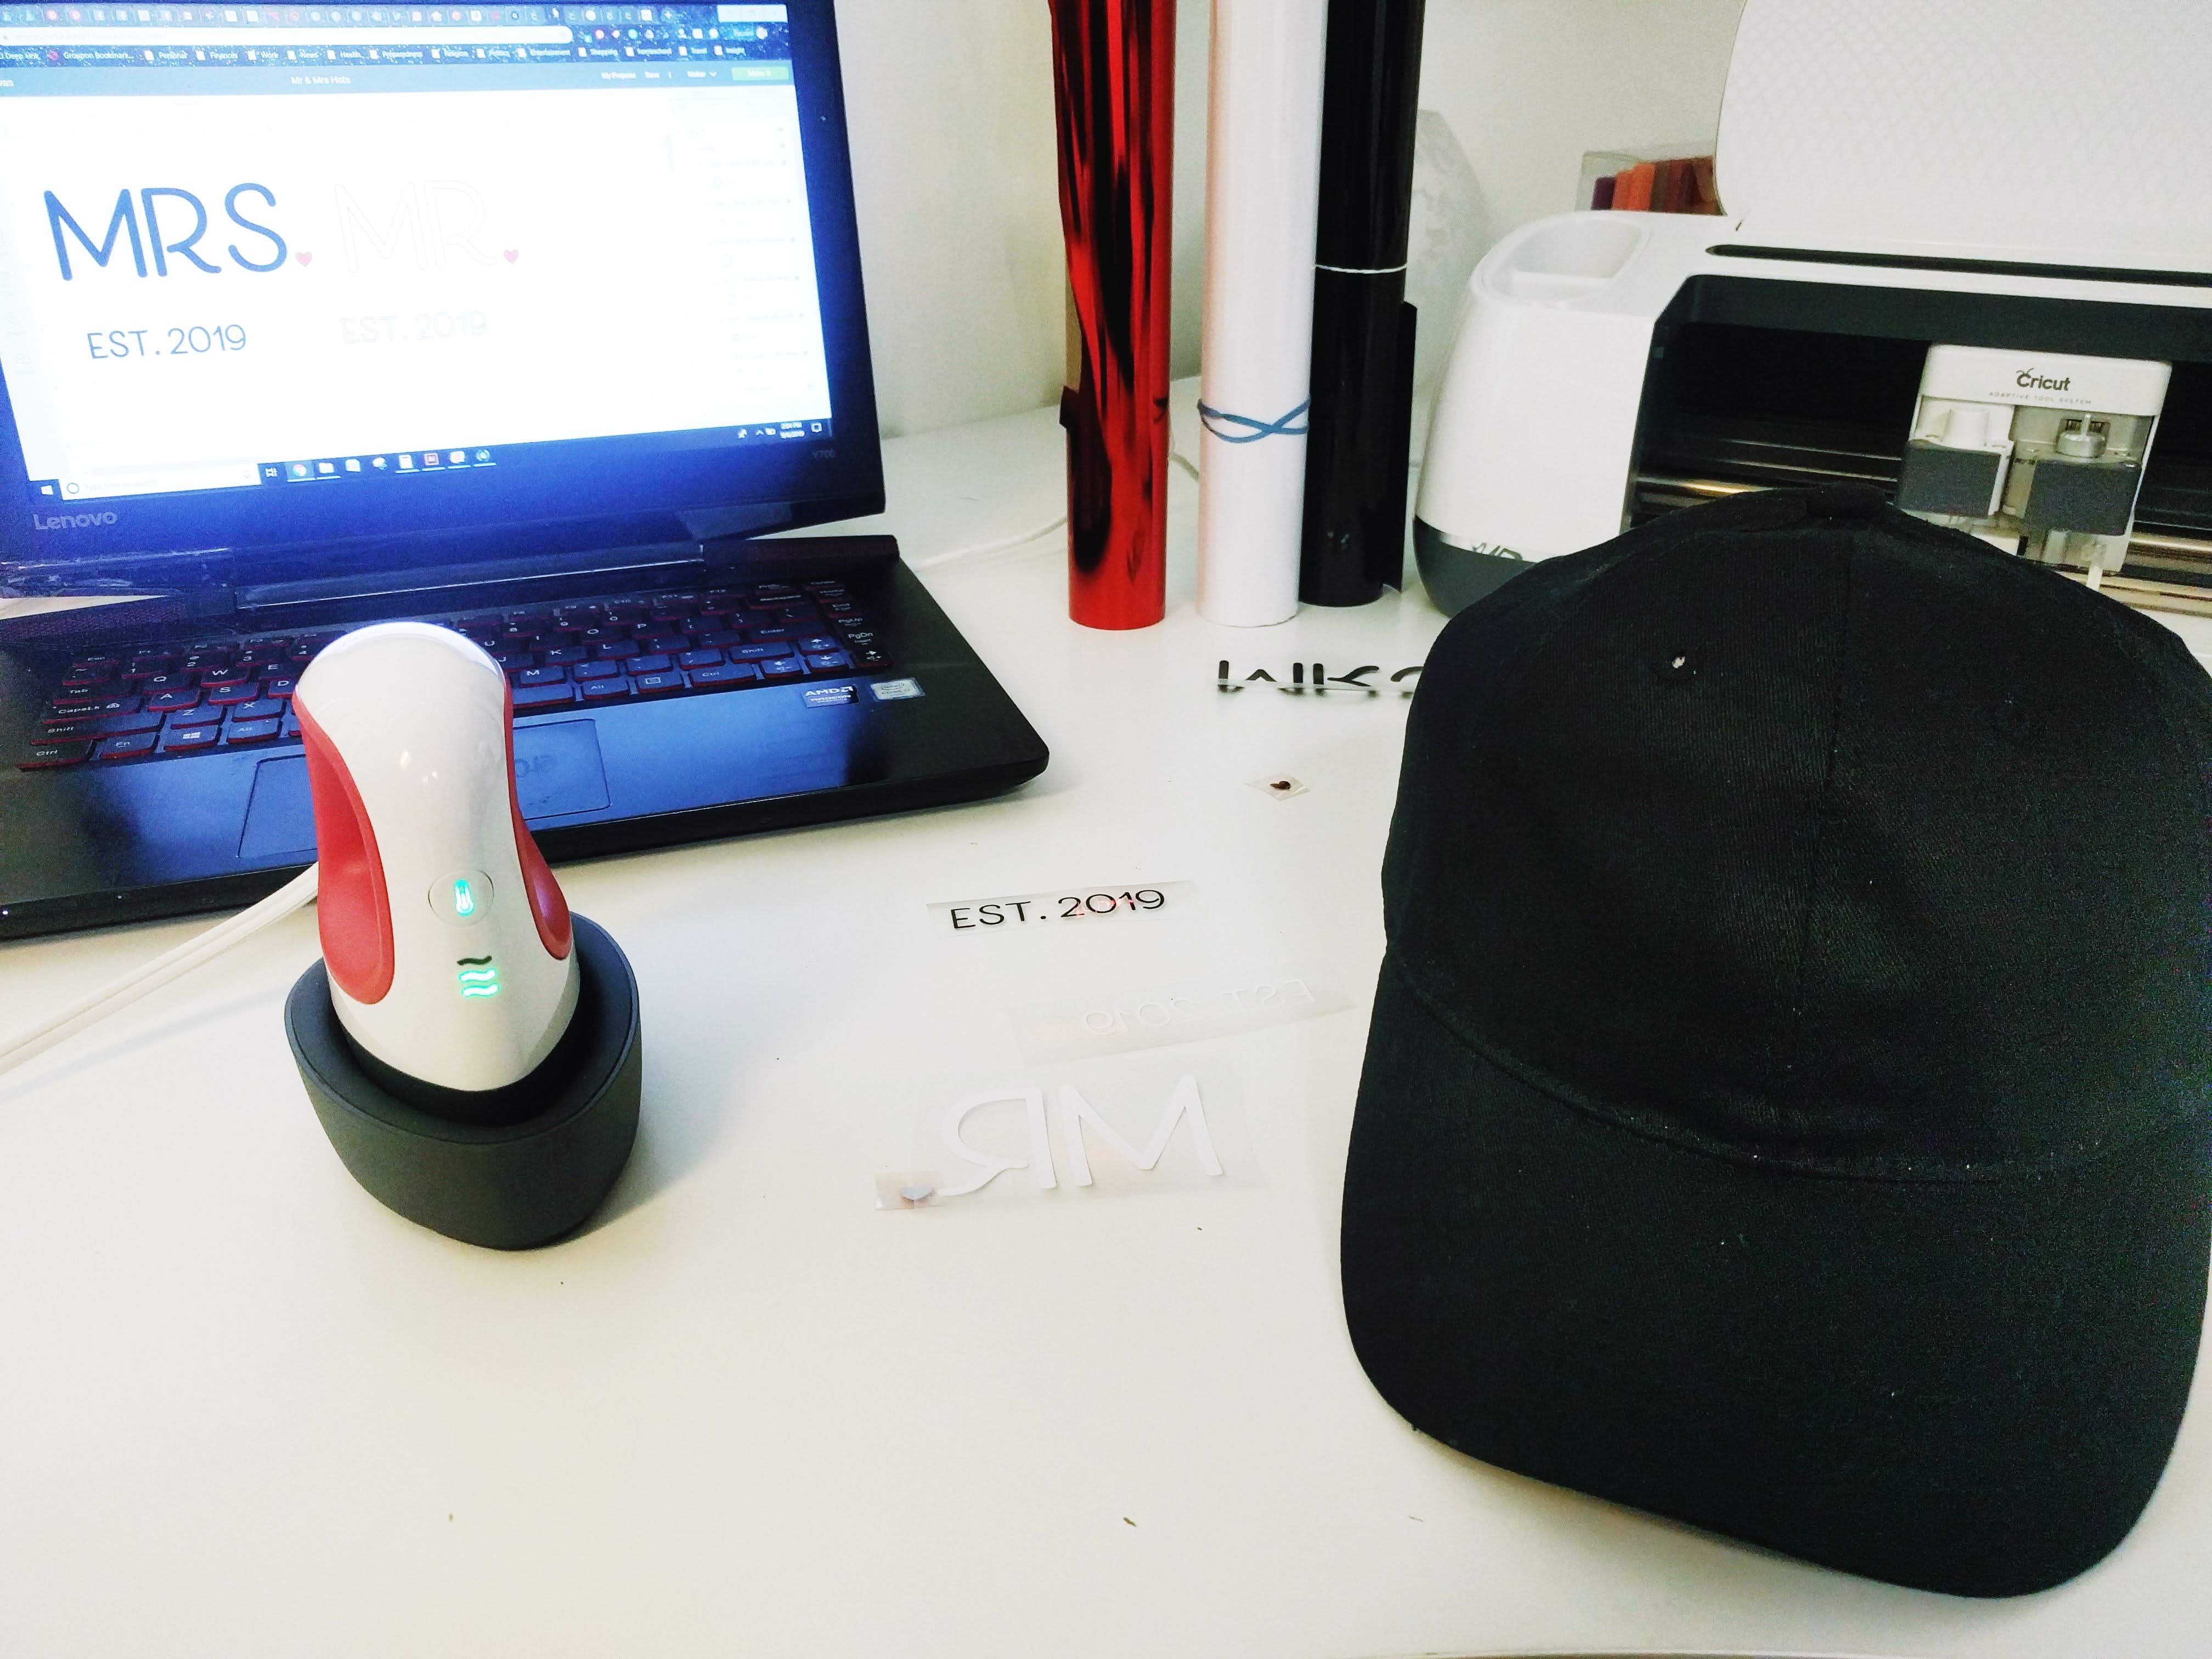
Place hat form or rolled-up towel inside the hat (to keep it's shape) and heat with Easypress mini for 5 seconds.

Start a (separate) timer for 30 seconds and move Cricut EasyPress Mini continuously across design until the timer reaches 0. Cover all areas of design including center and edges and allow heat plate to extend approximately 0.5" (13 mm) beyond all edges of the design.
Flip base material, and heat back side of design for 15 seconds.
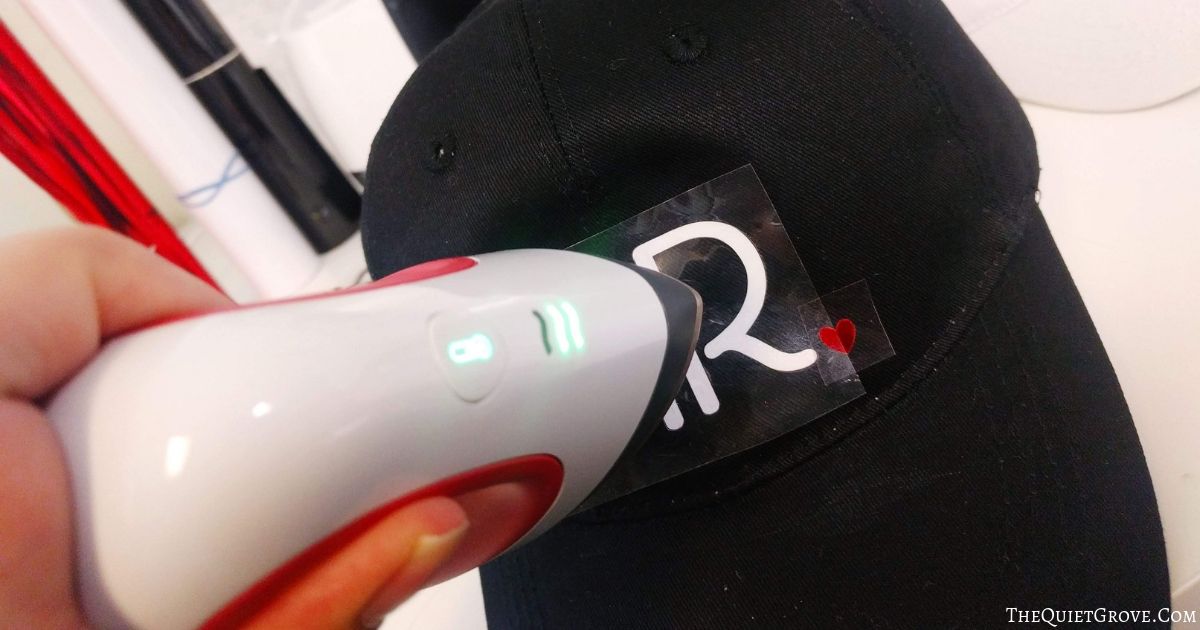
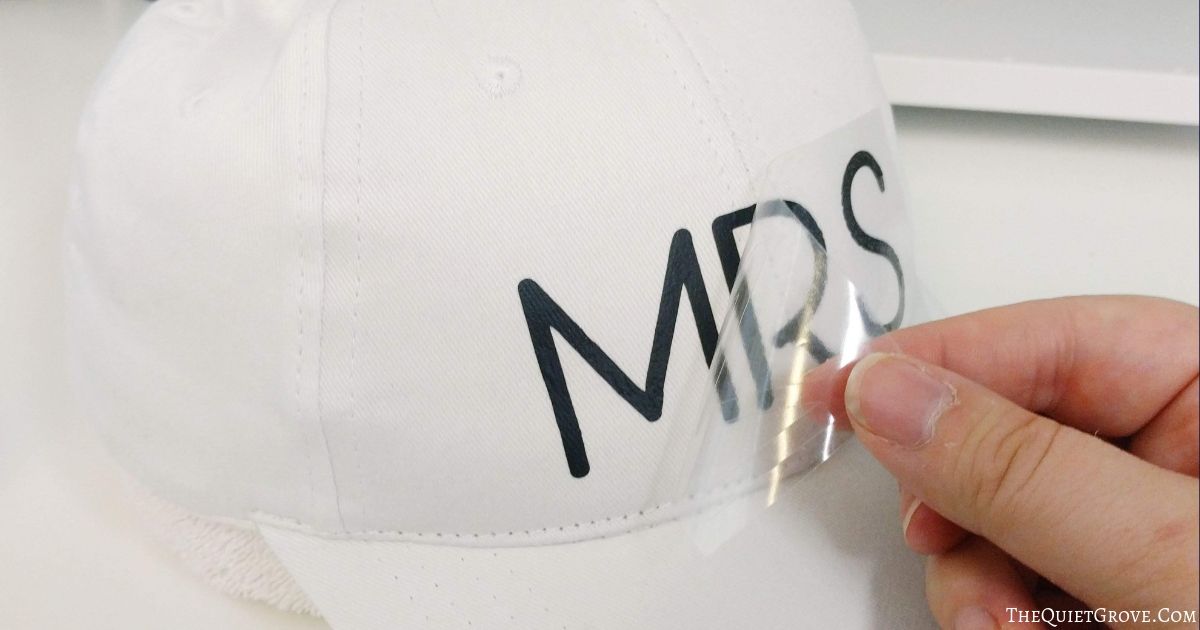
Let cool & peel backing
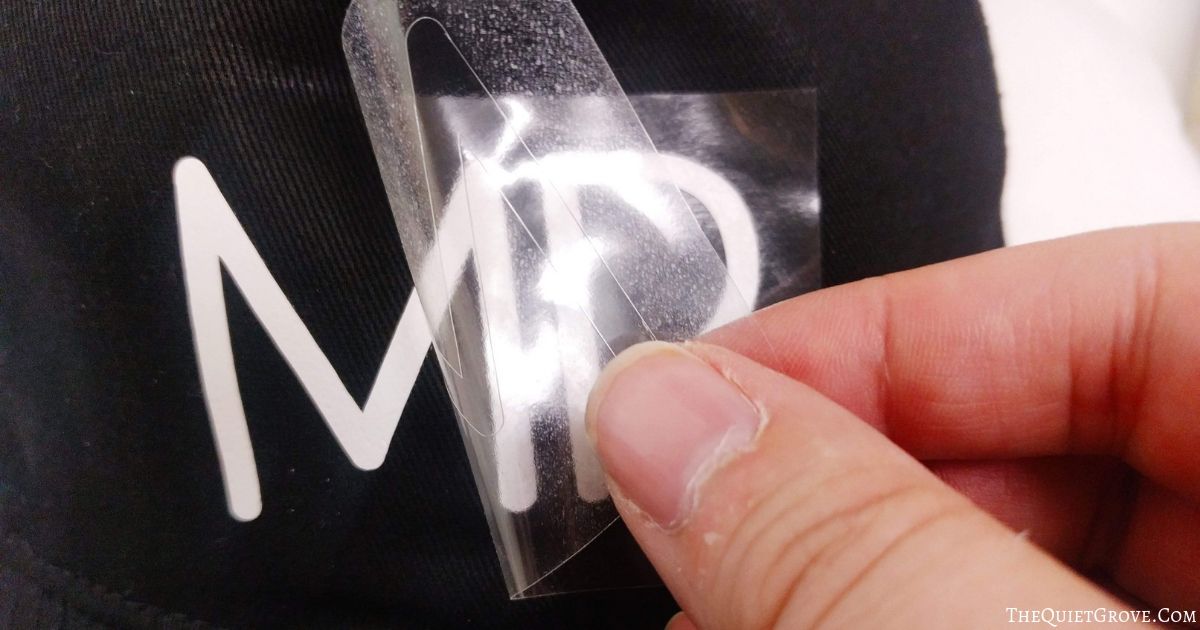
Place the red heart on a hat and then cover Mr with the large piece of backing (to protect the already pressed iron-on) then press.
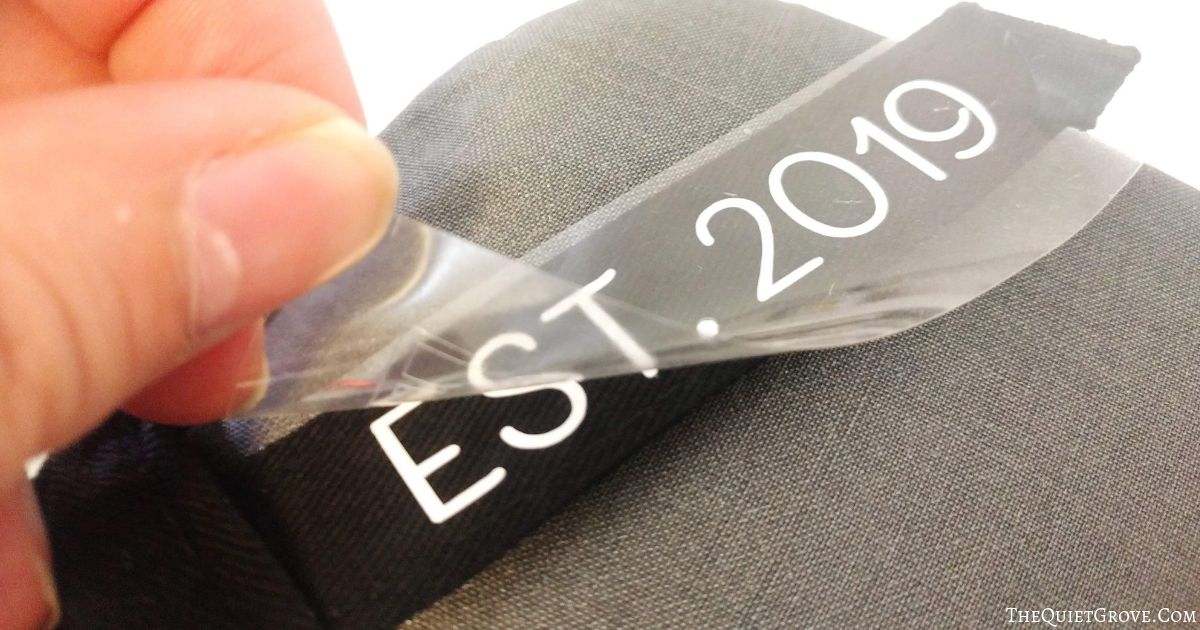
For the Est. 2019 that I put on the back adjustable strap of the hat, I used the Easypress Mat to press the Iron-on on.
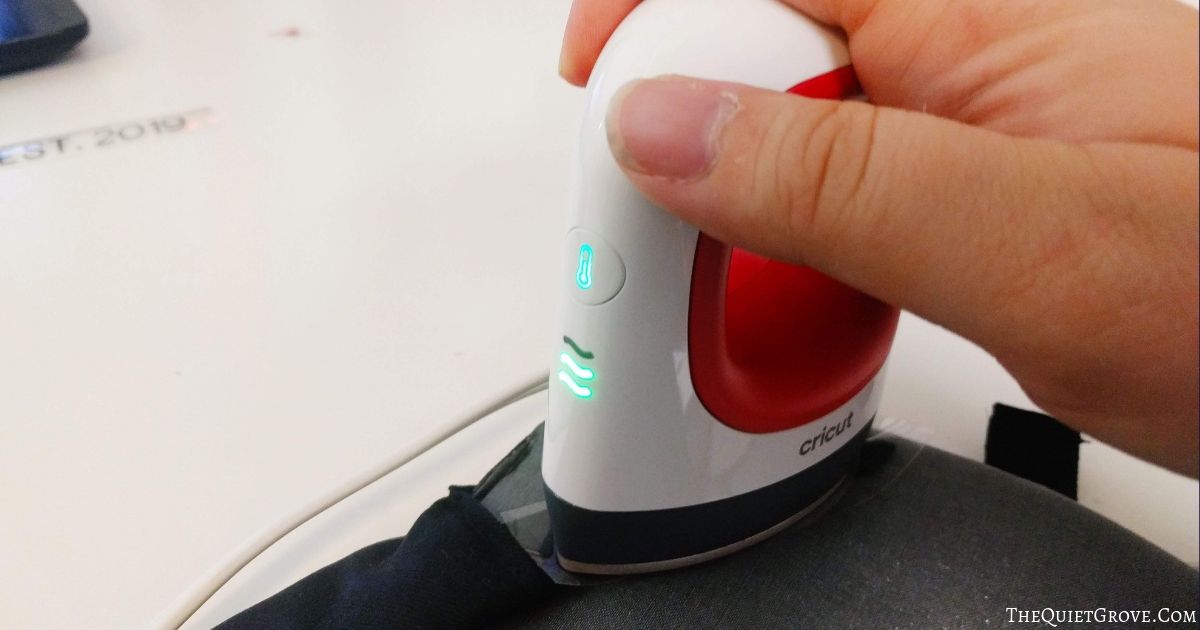
After pressing let cool and peel.
-->Repeate for the second hat<--
Notes
The Easypress Mini doesn't have a bult in timer so you will have to set a separate timmer for pressing.
Recommended Products
As an Amazon Associate and member of other affiliate programs, I earn from qualifying purchases.



I love how this hat set turned out and using the Easypress Mini really made working on the hats easier. I think I am going to make some custom hats for my family...What should I put on my hat?
If you liked this post then check out these: (click on the link to go to my post)


