
DIY Superhero Diaper Cake for Twin Boys

Are you looking for a fun Diaper cake to make as a gift for Twin Boys?

This last weekend was my sister-in-law's baby shower. She is having twin boys. Even though she already has two boys we all agreed that she should have a baby shower to celebrate having twins (and so we could all help her get ready for when she practically doubles her family. For this shower, everyone was asked to bring either a freezer meal or some diapers. I opted for the diapers, but wanted to do more than just bring a box of diapers. So I decided to make a Diaper Cake (along with some cute DC superhero baby onesies. (Get the tutorial and SVG cut files -->HERE<--).

I hadn't done one in years but remembered the basics. Since my brother-in-law had mentioned to my husband that they were going with a Superhero these for their nursery I decided to make the Diaper Cake superhero themed to match.
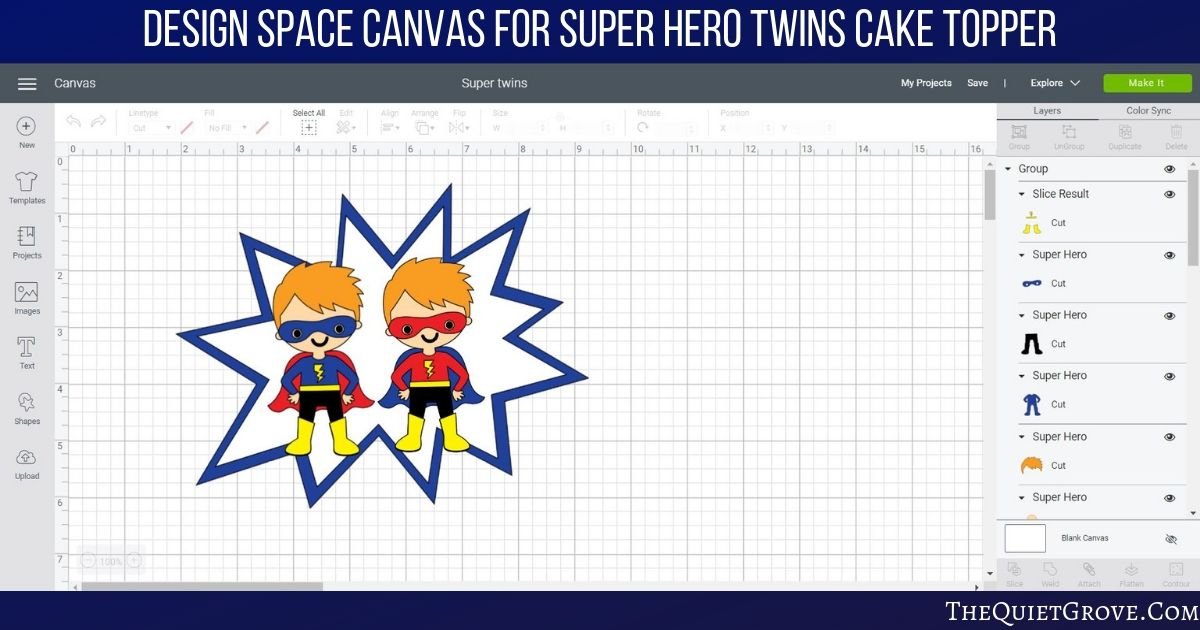
I found the cutest little layered superhero design in Cricut Design Space (access) which I modified to make into an adorable Twin superhero Cake topper. Then for the main cake, I kept it simple and cut out old school action bubbles (Pow!, Zap! and Bang! ) that I placed over the posts that I glued the red, blue & yellow ribbons that I placed around the diapers for each layer of the cake.

This week had been pretty busy, and I was heading down to my sister's house to work on my younger brother's wedding cake, so I brought my supplies with me and we stayed up together after our kids were asleep to make the cake together with my other younger sister. I love how Cricut Design space works on a cloud server so I was able to pull up my designs to use with her Cricut as easily as if I was at home.
DIY Superhero Diaper Cake for Twin Boys

This tutorial is for making a Twin boy superhero-themed diaper cake using the individually rolled diaper method and a Cricut to cut out the decorations.
Materials
- 1 Box Diapers (I used Luvs Size 1 diapers for my cake)
- 2 bottles of baby lotion (for the center of the bottom and middle cake layers)
- Wide Ribbon in Red, Yellow & Blue (to wrap around each layer of Diaper Cake)
- Cardstock (in White, Black, Red, Blue, Yellow, and Peach)
Tools
Diaper Cake Decorations
- SVG cut files for superhero actions to decorate the cake
- Cricut Design Space for Twin Superhero Cake Topper
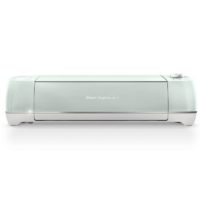
- Cricut Explore Air 2
- Fine Point Blade
- Essential Tool Kit
- Standard Grip Mat
- Glue Stick
Diaper Cake Assembly
- Hot Glue & Gun
- Wood Dowels (I used skewers that I blunted the tips
- 1 package of clear elastic bands
- 6 Large Rubber bands or sturdy string
- Round cardboard cake circle (to place the Diaper Cake on)
- Tape
- 3 sizes of cake pans (or other pans in sized you want each layer)
Instructions
To Make Cardstock Decorations & Cake topper for Diaper Cake.
1. Open Design Space Canvas for Twin Superhero Cake Topper -->HERE<--
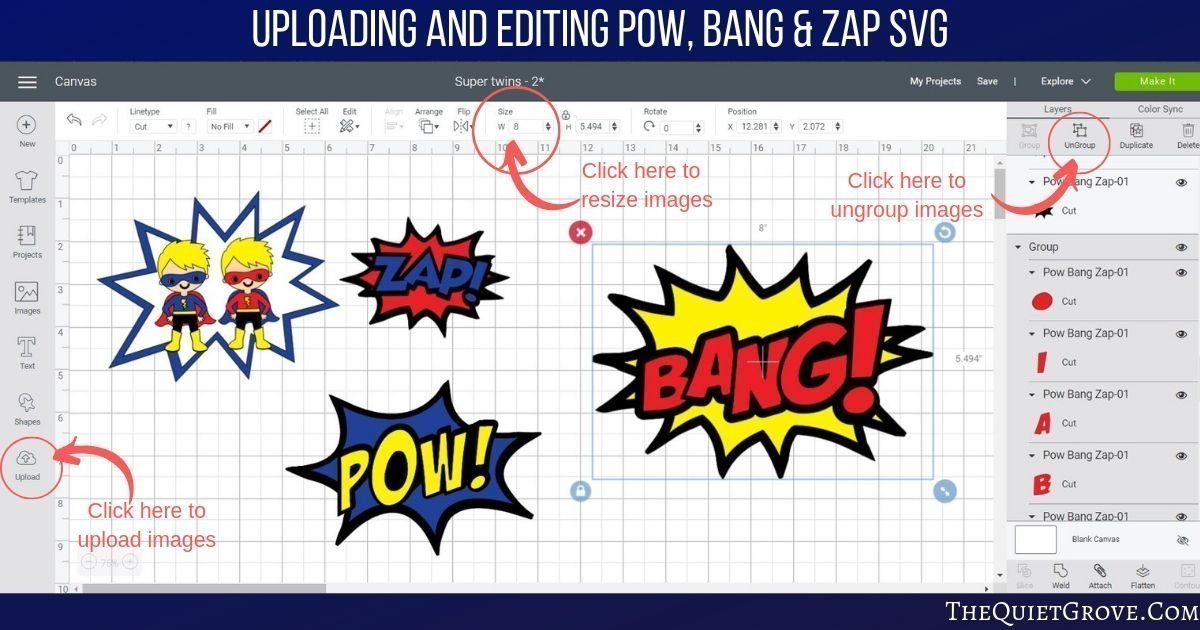
2. Upload the Pow, Bang & Zap file into Design Space Canvas. (get SVG -->HERE<--)
3. Ungroup action SVG and size them for the cake. (I sized the Bang at 8 inches wide for the base cake layer, the Pow at 6 inches for the middle layer and the zap at 4 inches for the top later of the diaper cake. However, you can switch up the sizes however you want.)
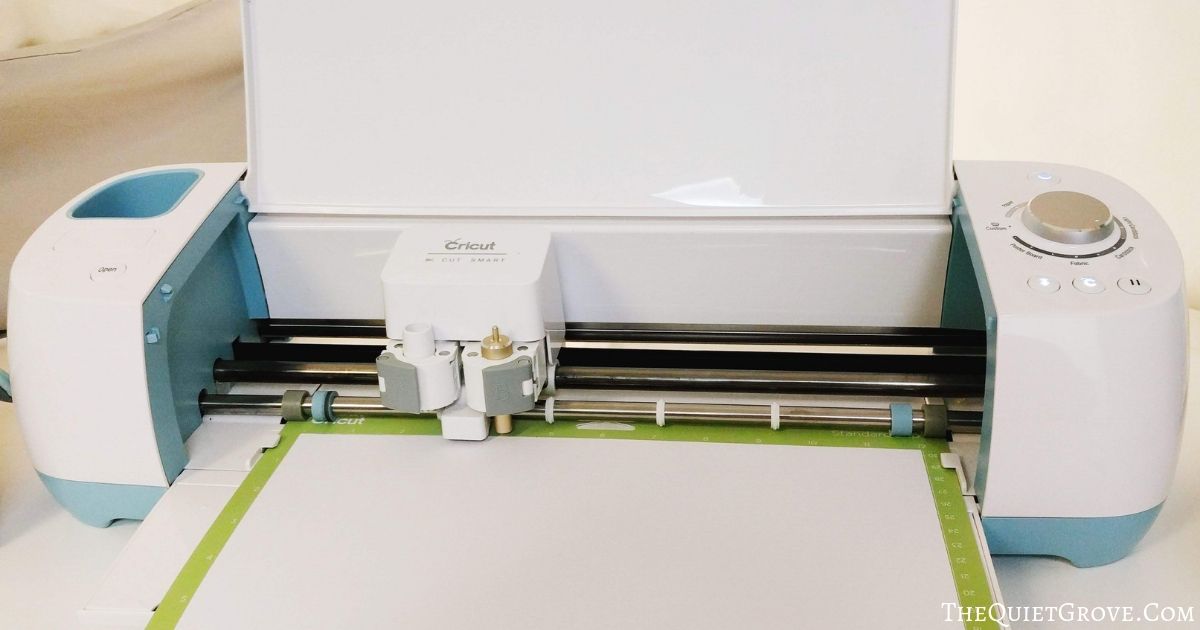
4. Click to make it and turn your Cricut Explore Air 2 dial to cardstock (or if using a maker select Cardstock for intricate cuts for best results.)
5. After cutting each sheet of cardstock using the spatula from your essential tool kit to carefully remove the cut cardstock from the mat.
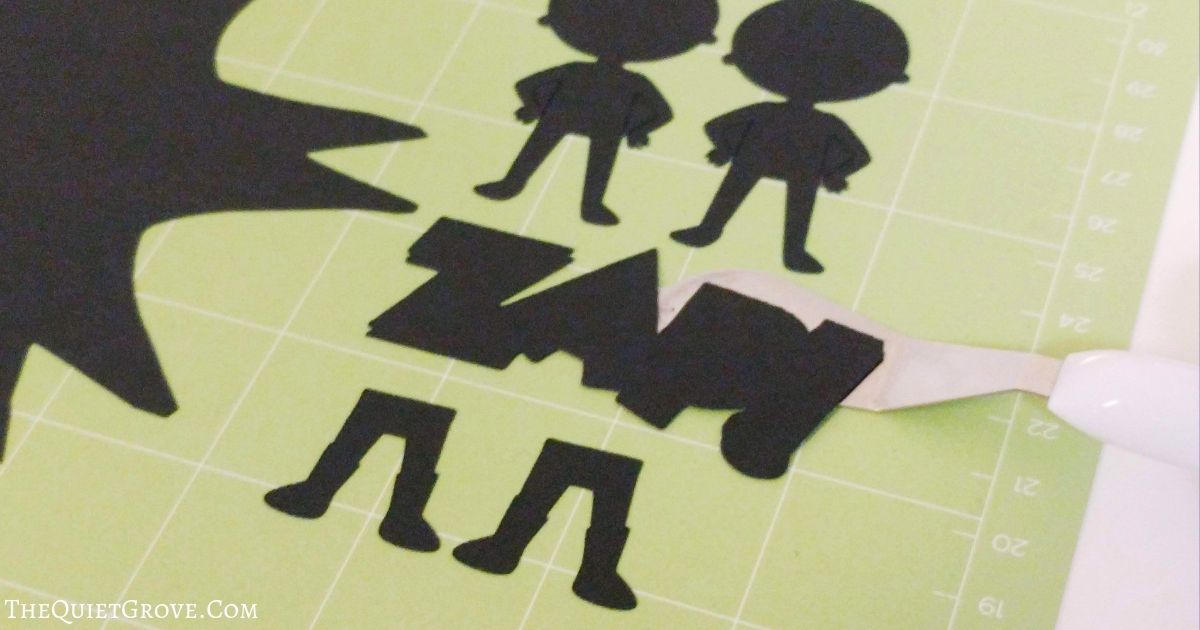
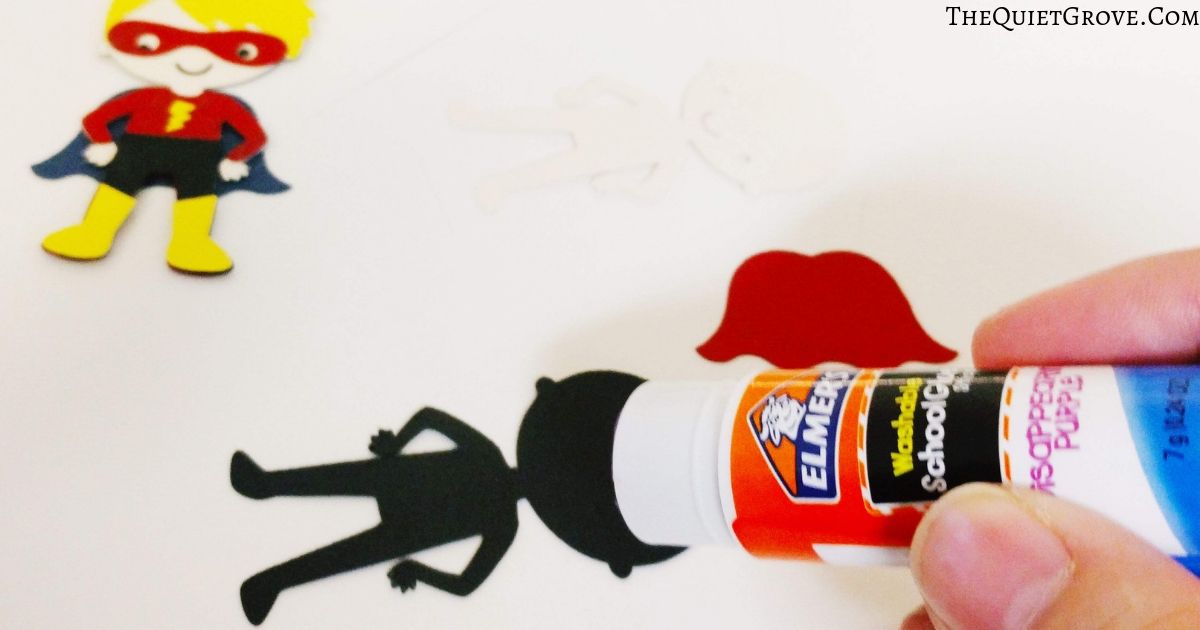
6. Use a gluestick to carefully glue each layer together. (I usually go back to the Design Space editing screen to look at the design and know what to glue where.
Assemble the Diaper Cake
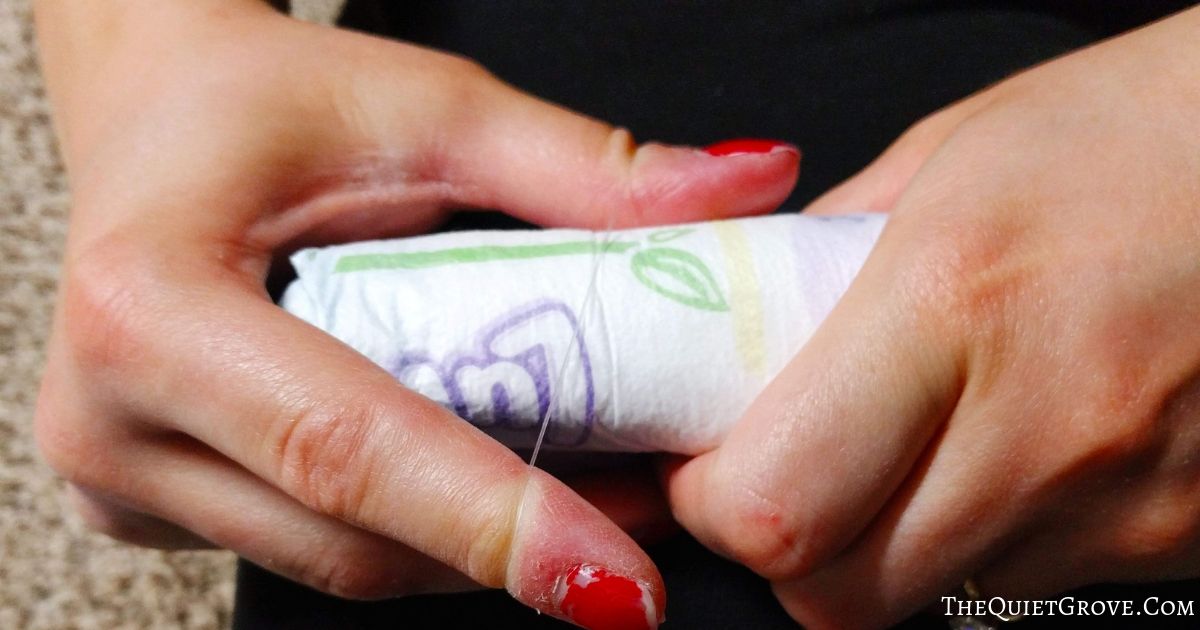
1. Open the box of Diapers and roll each one individually and secure with a hair clear band.
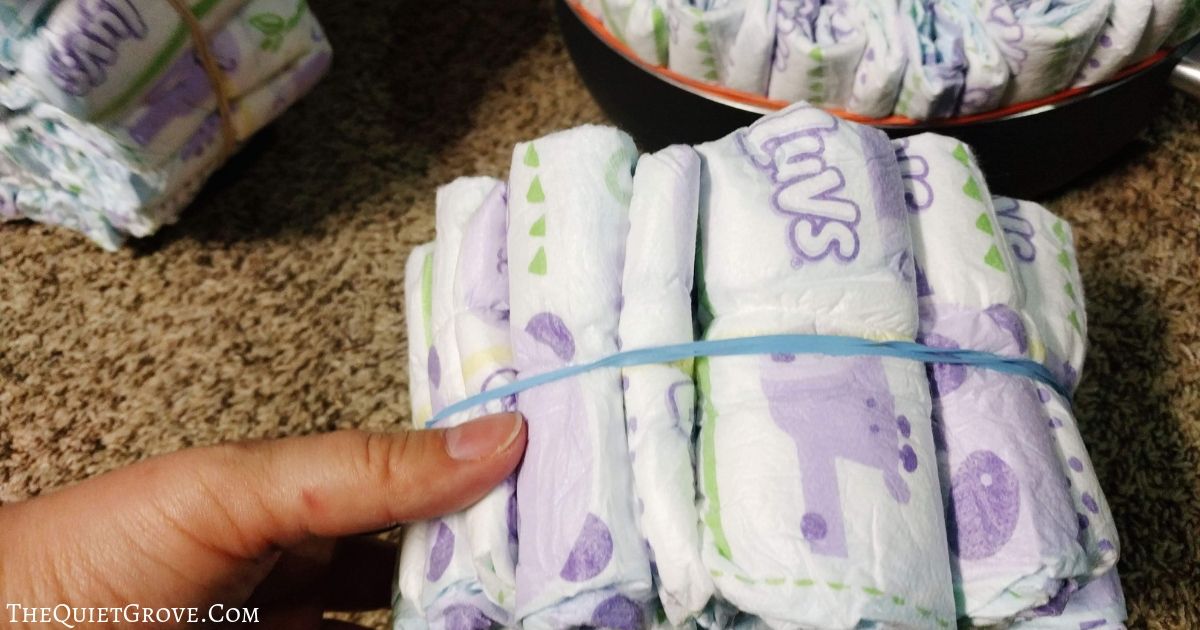
2. Place diapers as tightly as you can into each of your pans. (We didn't have 3 sizes of cake pans so we used a deep dish pan for the bottom layer)

3. Once all the diapers are tightly wedged in each pan, place 2 large rubber bands around all the diapers & then remove from the pans.
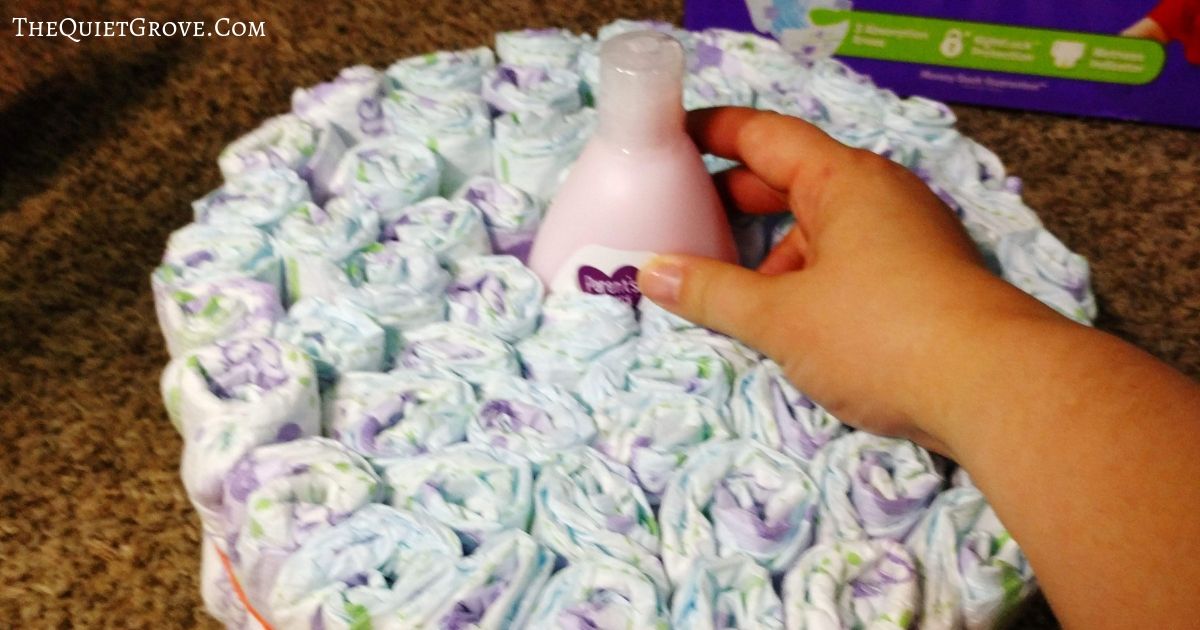
4. Place the bottles of lotion in the middle of the diapers in the bottom & Middle layers. (with the bottle faced up in the bottom layer and faced down in the middle layer.
In my rush to get the cake done, I later realized that I totally forgot to take photos of the following steps but they are pretty self-explanatory.
5. next wrap the wide ribbon around each diaper tier to hide the rubber bands/string. Use hot-glue to secure the ribbon (making sure not to get any on the diapers.)
6. Hot glue the cardstock (pow, bang & zap) decorations over where you glued the ribbon.
7. Use wood dowels/blunted skewers to motor firmly secure the three cake layers together (carefully to make sure you don't puncture any of the diapers.
8. Tape the cake topper to another skewer then carefully stick down into the cake from the center of the top layer.
Notes
If you don't have any large rubber bands to place around the diapers to hold each tier together you can tie a string around them instead.
Recommended Products
As an Amazon Associate and member of other affiliate programs, I earn from qualifying purchases.
-
 Cricut Explore Air™ 2, Mint
 -
Cardstock 12x12 Linnen Cardstock
-
FIne Point Blade
-
Essential Tool Kit
-
Cricut Mats
-
Elmer's Disappearing Purple School Glue, Washable, 12 Pack
-
Luvs Triple Leakguards Diapers Size 1 252
-
Wilton Cake Boards, Set of 12 Round Cake Boards for 10-Inch Cakes (2104-102)
-
Goody Women's Ouchless Multi Clear Polyband Elastics, 250 Count
-
DUOQU ⅞" Single Face Satin Ribbon 50 Yards (25x2yd) 25 Colors Assorted
-
Hot Glue Gun
-
100 Bamboo Skewers 12 Inch Wood Wooden Sticks


For those who haven't made a diaper cake before (don't worry they are super easy) keep reading for the tutorial, SVG cut files and Design Space Canvas to make this fun Twins Super Hero cake!
If you like this DIY then check out these: (Click on the photo to go to the link)


