
Easy DIY Embossed Happy Birthday Banner
 Making this gorgeous Happy Birthday Banner is easy thanks to Cricut!

I have to admit I adore making banners. They are quick and easy and really help to set the theme for any special occasion. Using a Cricut machine to cut out your banner just makes it all that much easier. A banner is an easy project that even those new to crafting and Cricut can make. If you want to take your banner to the next level and add a bit of pop to it, the easiest way is to add some texture. You can do this two ways but utilize various textured material and by embossing.

Growing up, my experience with embossing was doing it by hand using little embossing plates a light source and hand tracing the designs with a special embossing tool. The end results if done right was always great but it took a lot of time. Thanks to the Cricut Cuttlebug embossing is quick and easy and the results are stunning. Now for the instructions to making this fun Embossed Happy Birthday Banner...
Materials Needed:
- Cricut Explore Air 2 (or other Cricut Cutting Machines that work with Design Space)
- Cricut Design Space Canvas for Happy Birthday Banner -->HERE<--
- Standard Grip Mat
- Fine Point Blade
- Essential Tool Kit
- Cricut Cuttlebug
- 2 Cricut Embossing Folders
- 4 ( 12x12) Sheets of Green Cardstock
- 2 (12x12 in) Sheets of White Cardstock
- 1 ( 12x12) Sheet of Blue Cardstock
- Glue Stick or favorite adhesive
- Twine or Ribbon
If you need to order any of these supplies from Cricut.com use Promo Code: QUIETGROVE to get 10% off + free shipping!!
**Note this code does not work on Design Space Access, digital content, machines, EasyPress, Brightpad
Instruction:
- Open my Cricut Design File for the Happy Birthday Banner. --> HERE <--

- Set the dial on your Cricut Machine to Cardstock and load your first sheet of cardstock (according to the color directed on design space) onto a standard grip matt.
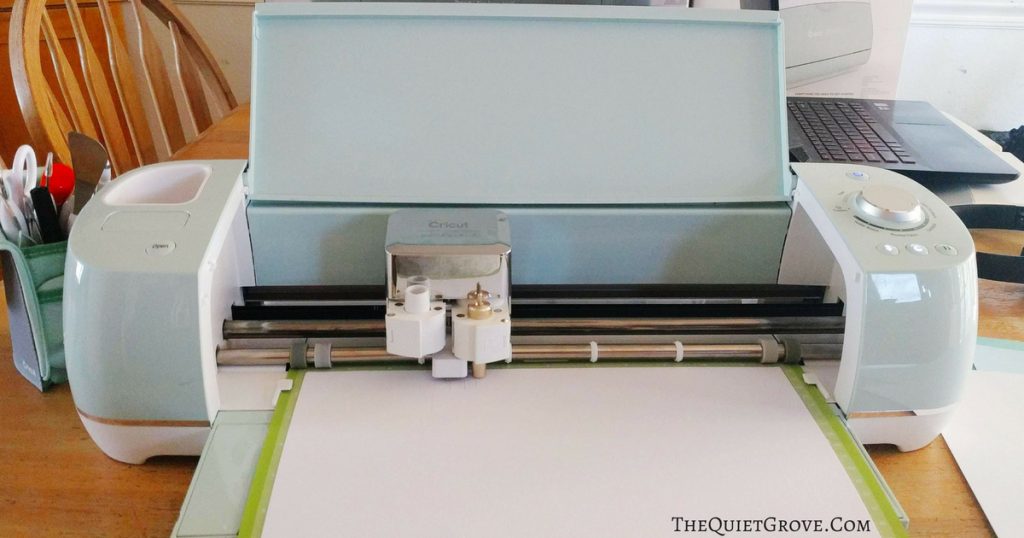
- Using your spatula in the Essential Tool Kit carefully remove the cut designs.
- Using your Cuttlebug emboss your Pennants and the top layer of the birthday cake design. (I used a different Embossing folder for the pennant than the Birthday Cake Top)
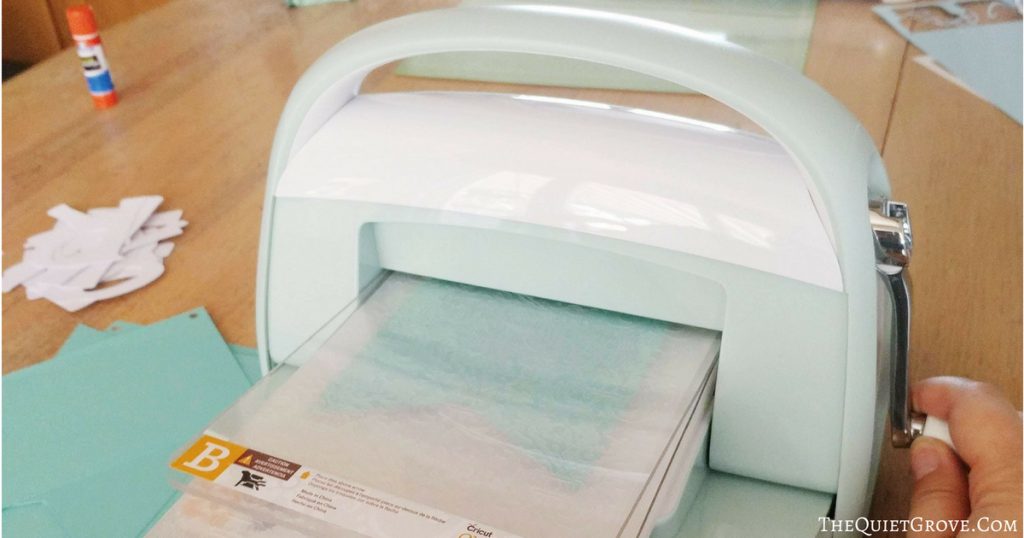
Embossing Instructions:
- Place your "B" Plate on top of your "A" Plate This makes your base for your embossing projects.
- Open your embossing folder and place a cardstock pennant or cut design in the folder.
- Place the second "B" Plate on top of the cardstock sandwiched in the embossing folder and make sure all the Plates are lines up.
- Put the stack into the opening of the Cuttlebug and turn the handle to move the plates through the Cuttlebug.
- After the plates are through the Cuttlebug open the folder and pull out the cardstock.
- Glue the letters and birthday cake designs to the pennants.

- Hang the Banner using string or twine (I used twine) & Enjoy!

If you want to really take this easy banner to the next level try using white corrugated cardboard for the letters and glitter cardstock for the base layer of the birthday cake design. We did this when making this Banner as the hands-on project for my recent class at the Cricut Mountain Make-a-thon and it turned out awesome!

**If you decided to make the version of the Banner we made at the Make-a-thon here are a few things you need to remember.
- You use the Strong Grip Mat for Corrugated Cardboard and Glitter Cardstock
- You will need to select Corrugated Cardboard and Glitter Cardstock as the cutting materials when cutting those mats (to make sure the designs are properly cut out.)
- Make sure both sheets of Corrugated Cardboard are placed on the mat in the same direction (so that all the letters for the banner are cut with the grooves going in the same direction.
- Place the Corrugated Cardboard smooth side against the mat.
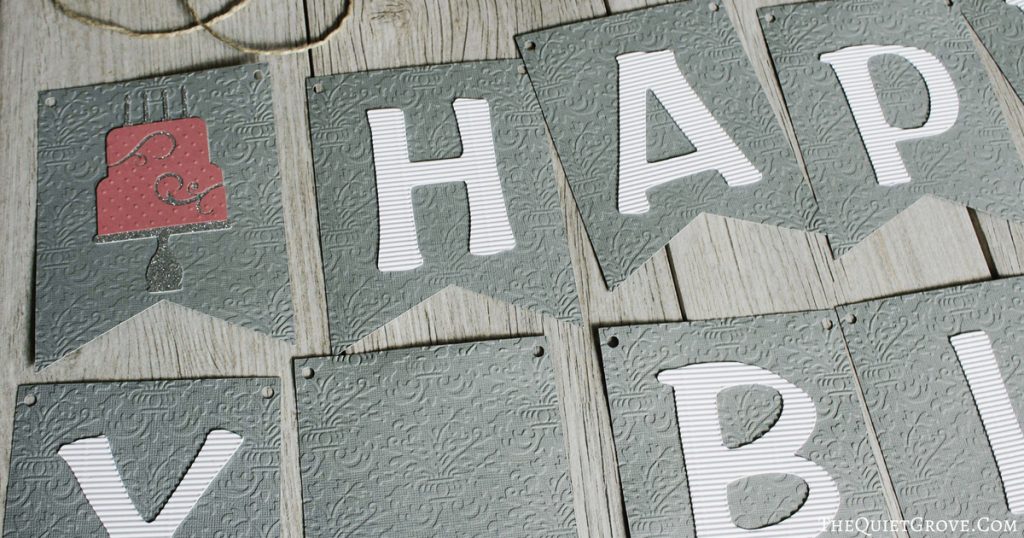
Depending on what color materials & embossing folder design you choose to use the end results of your banner can be drastically different to fit any party theme. I totally recommend experimenting.
If you liked this post then check out these: (click on the photo to go to the link:


