
How to throw a Paris & Poodle Party

 Looking for Ideas for how to throw a fun Paris & Poodle Party?


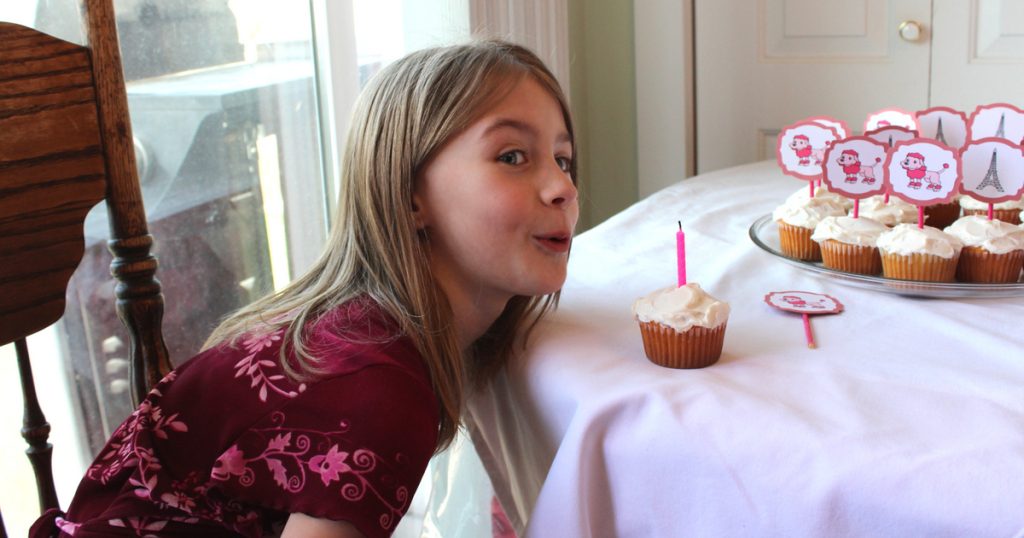
This year my oldest daughter turned 8. Such a magical age. She has long been obsessed with both Paris and Poodles. I blame introducing her to Fancy Nancy Books when she was younger to her love of all things Paris. And I am sure her love of poodles stems from my husband and I getting her a pink beanie baby poodle for Christmas while we were overseas traveling a year and a half ago. Either way, I was not surprised that for her birthday party she requested a Pink Paris and Poodle party this year.
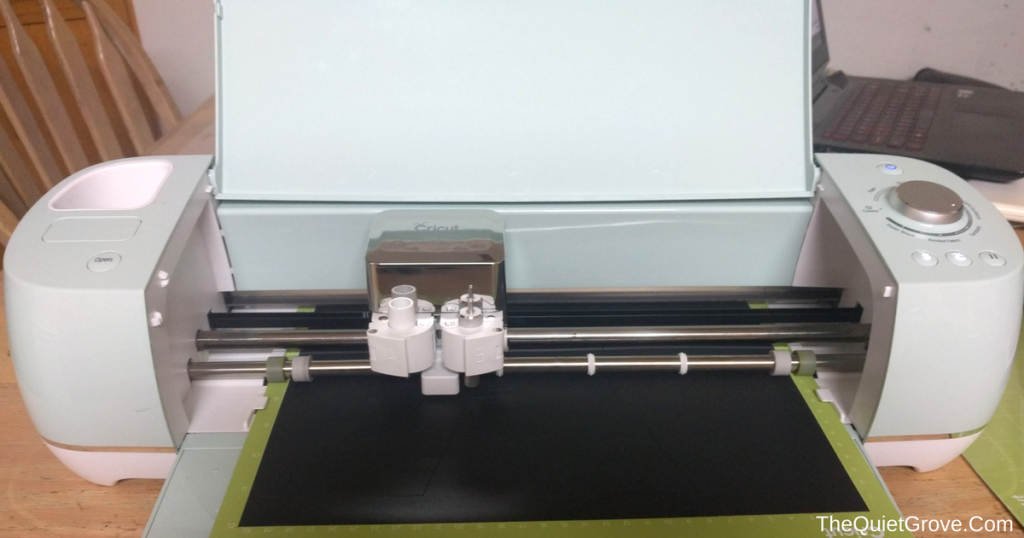
Thanks to my trusty Cricut Explore Air 2 creating the perfect party decorations to please my little princess was a piece of cake! The first thing I did when planning the party was to have my husband draw me up a Pink Poodle (to match my daughter's stuffed one) as well as an Eiffel Tower. With these two illustrations, I was able to create the Design files for all the party decorations.
I wanted to keep things simple (well as a themed party could be) since I didn't have a ton of time to put it all together. Thankfully my Printer and Cricut Explore Air 2 did all the heavy work, and putting everything together took less than an hour. First, let me show you the party then I'll post the DIY instructions with free (SVG, PNG & PDF) files for those who want to throw a Paris and poodle party for their girls.
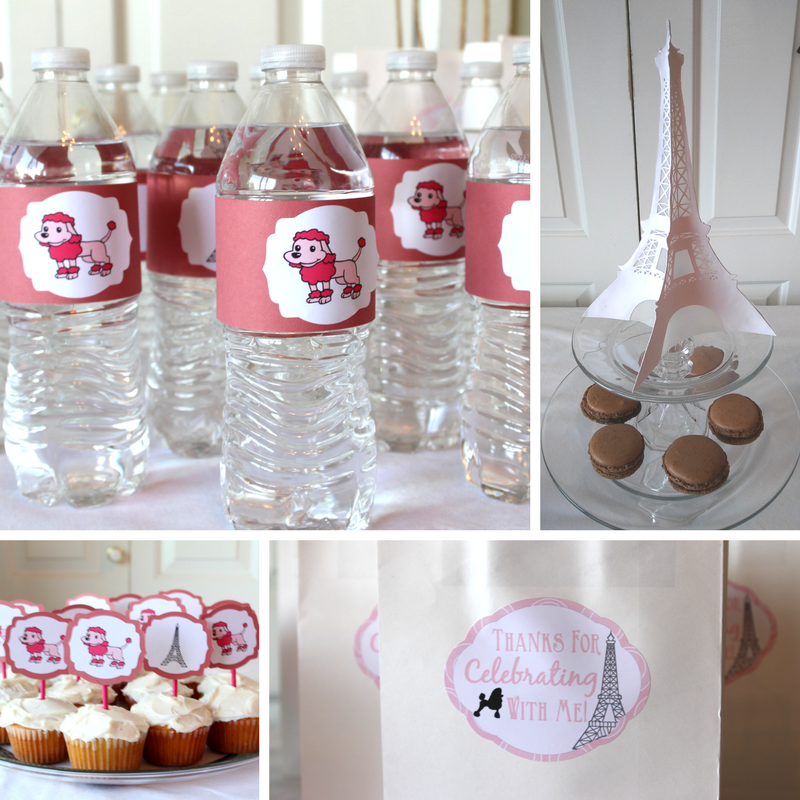
I kept the decorations for this party simple, but I love how they turned out. I Made a 3 ½ foot Eiffel Tower out of Black Cardstock that I used for decoration behind the food table along with a Bonjour Banner in Pink and Black. The other decoration was a small 3D Eiffel Tower (Get the Tutorial & SVG Cut File here) that I placed on a two-tiered Dessert tray (see the tutorial to make here) that I put the Macarons on.

For the Food at our party, we had Lemon Cupcakes with buttercream frosting Cupcakes, Water bottles and Macarons made by my sister. For the party favors, I took White paper bags with custom "thank you" sticks on the front and I put various treats and small party favor toys in.
We had 3 Activities at the party:
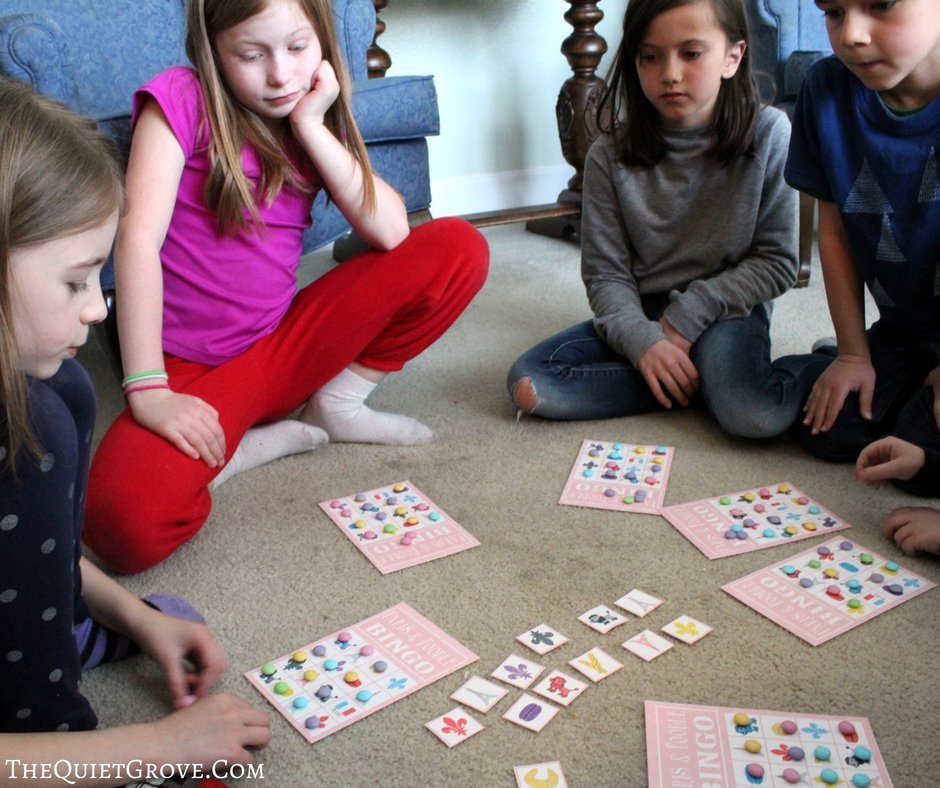
For the first activity, I designed a fun Paris and Poodle themed Printable BINGO game that we used original M&M's as tokens for. The kids loved it sooo much fun that we ended up playing 6 or 7 rounds. (Click here to get the Free Printable Paris & Poodle Themed BINGO)
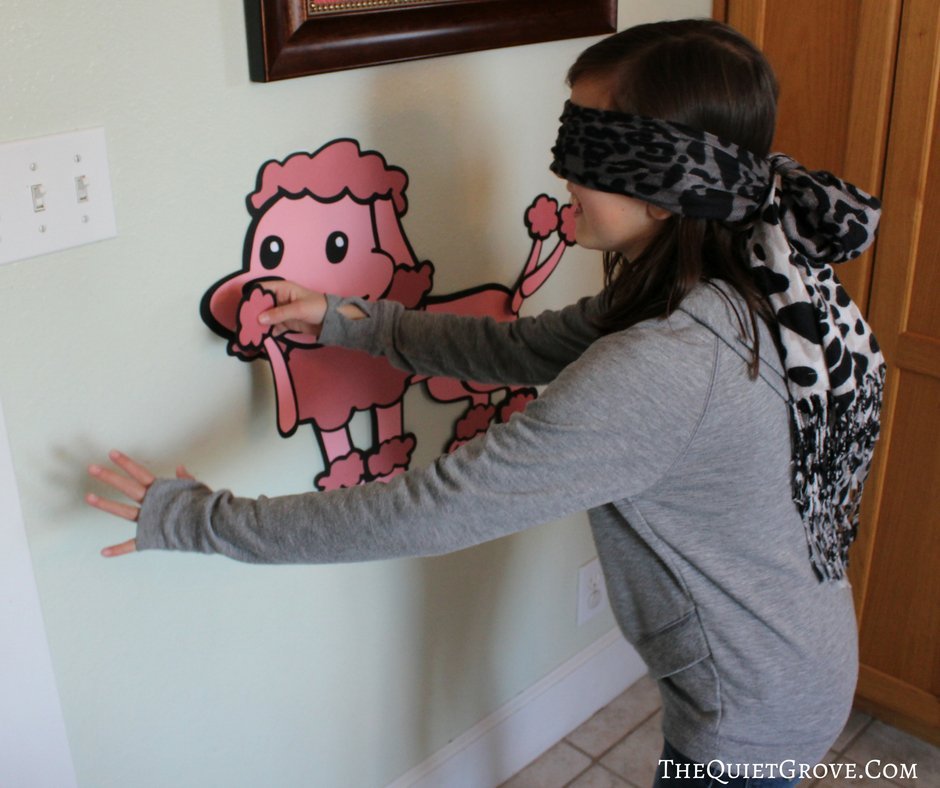
The Next Activity was a Pin the Tail on the Poodle game. This was an activity that my daughter specifically requested. It was fun watching the kids try to get their poodle tails on the right part of the large poodle.
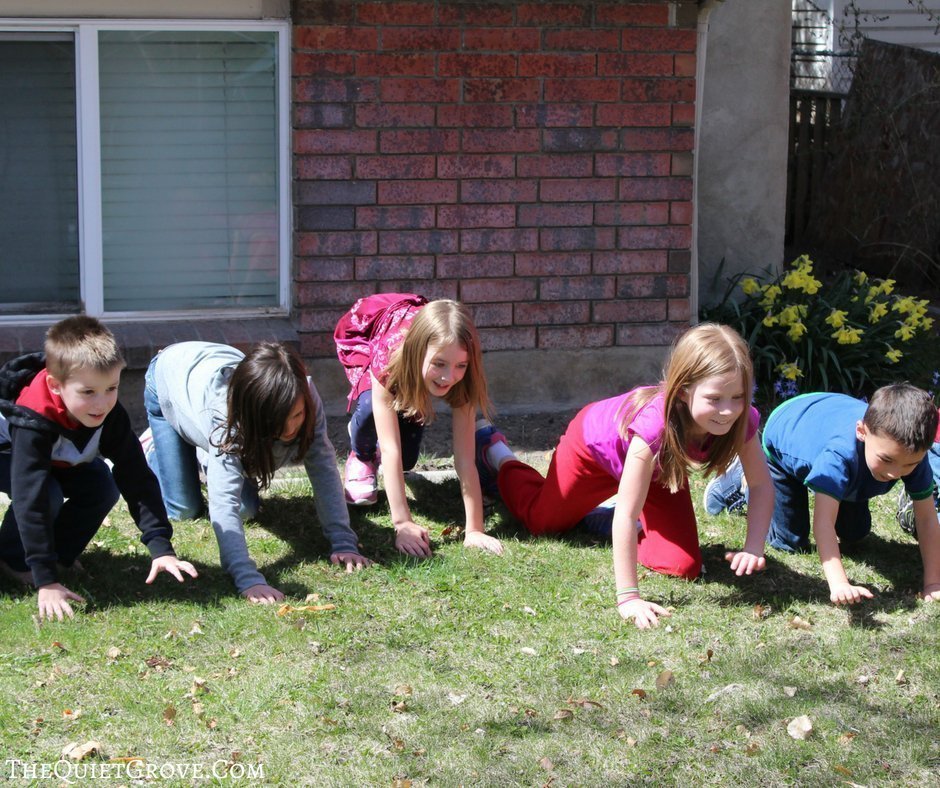
The last game was a poodle race outside where all the kids had to run the race on all fours. The grass was a little pokey at places but the kids still had a great time.
This was definitely one of the easier parties I have ever thrown, but my daughter and her friends absolutely LOVED it! Yey!! I also love that after the party my daughter took the decorations (as well as the Poodle with its tail attached) and decorated a corner of her bedroom.
Materials Needed to replicate this party:
- Cricut Design Space Canvas For Cupcake Toppers and Water Bottle Wrappers
- Cricut Design Space Canvas For Bonjour Banner
- Paris & Poodle Party PNG (Print & Cut files) set
- Paris & Poodle SVG (cut files) Set
- Cricut Explore Air 2 (or other Cricut Cutting Machines that work with Design Space)
- Standard and Strong Grip Mat
- Fine Point Blade
- Essential Toolkit
- 10 Sheets (12x12) Light Pink or Rose Cardstock (for Poodle, Banner, Waterbottle Wraps & Cupcake Toppers)
- 15 Sheets (12x12) Black Cardstock (For Large Poodle, Tails, Eiffel Tower & Letter for Banner)
- 2 Sheets (12x12) Dark Pink Cardstock (for Large Poodle)
- 5 Sheets Printable Vinyl (for Cupcake topper, water bottle wraps, & party favor bags)
- Color Printer (I used the Canon MG7720)
- Glue (to assemble the Characters)
- Tape to hang decorations
- String (for Banner)
- White Paper Gift Bags
Instructions:
Bonjour Banner:
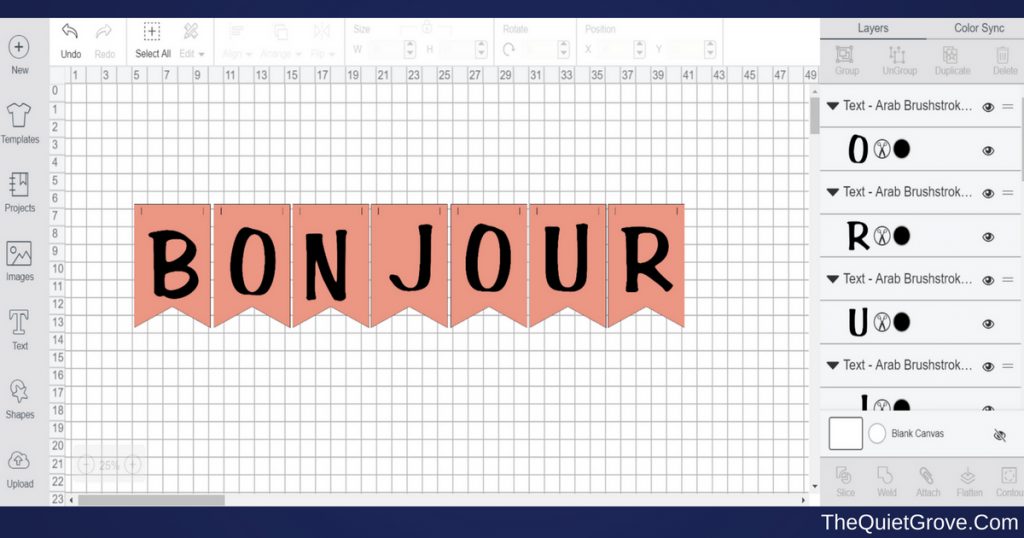
- Click on the link for my predesigned banner in Design Space --> HERE <--
- Set your Machine to Cardstock and Load your Mat to start cutting. **The Banner requires 1 Sheet of Black Cardstock and 4 Sheets of light Pink Cardstock.
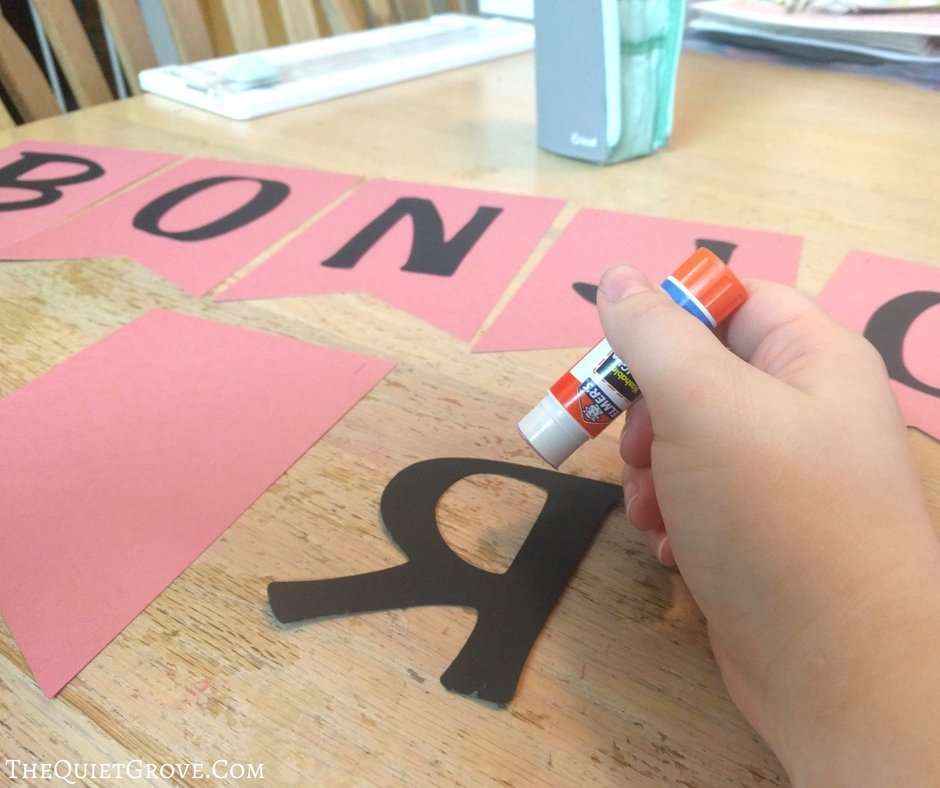
- Glue the Cut Letters to the Banner then string the banner up
Cupcake Toppers and Water Bottle Drink Wrappers:
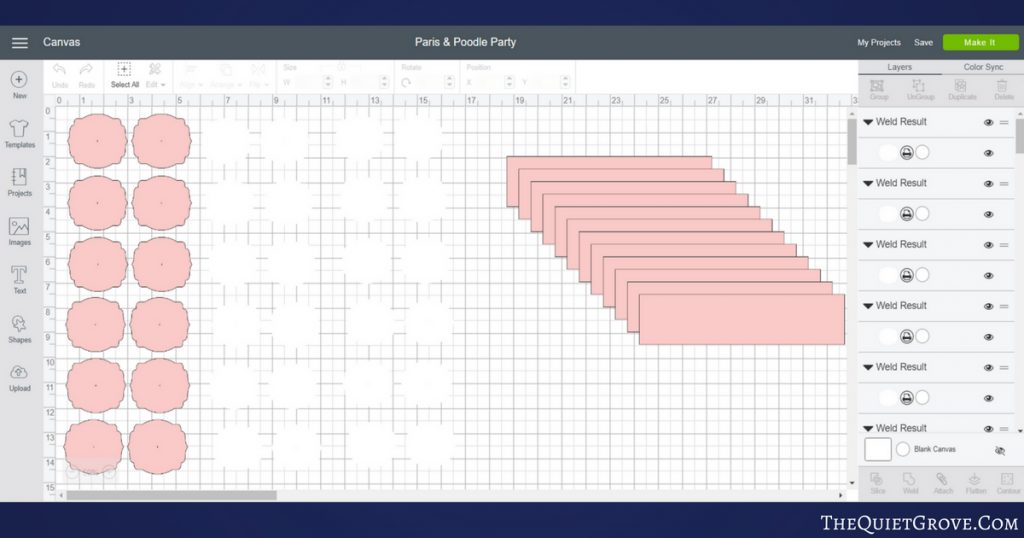
- Click on the link for the Design Space Canvas for the toppers and Wrappers
- Upload the Eiffel Tower and Poodle PNGs (from the Paris & Poodle PNG (Print &Cut files) Set.
- Size and place an Eiffel Tower on half the White shapes and the poodle on the other half. Then select both the white shape layer and the Tower or Poodle Design Layer then click the Flatten button (to make a print and cut design)
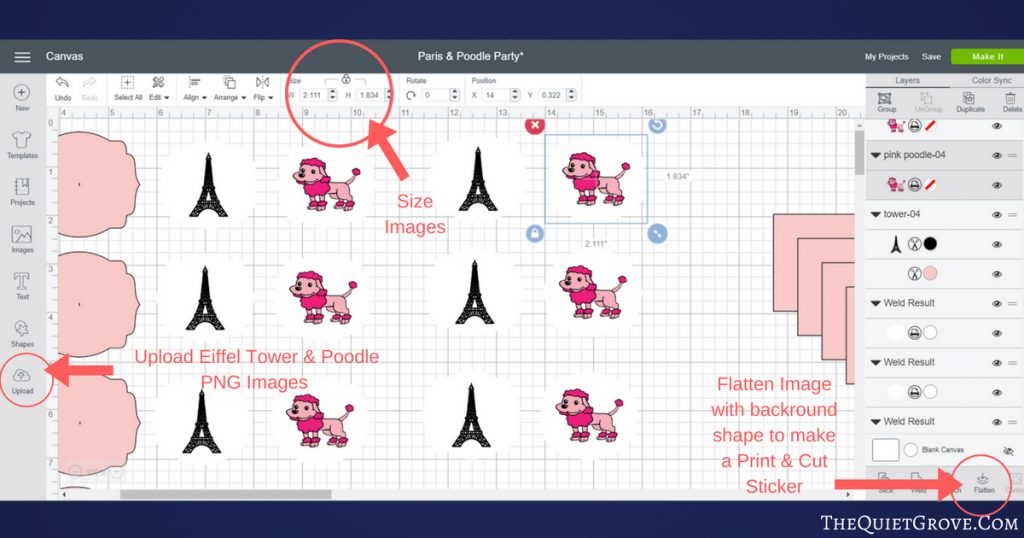
- Set your machine to Custom and from custom materials select from custom Materials list Printable Vinyl.
- Send the page to your printer (where you have already loaded your printable vinyl.
- After printing, place the page carefully on your mat and get cutting.
- Next set your Cricut to Cardstock and load your light pink Cardstock onto your mat to cut.
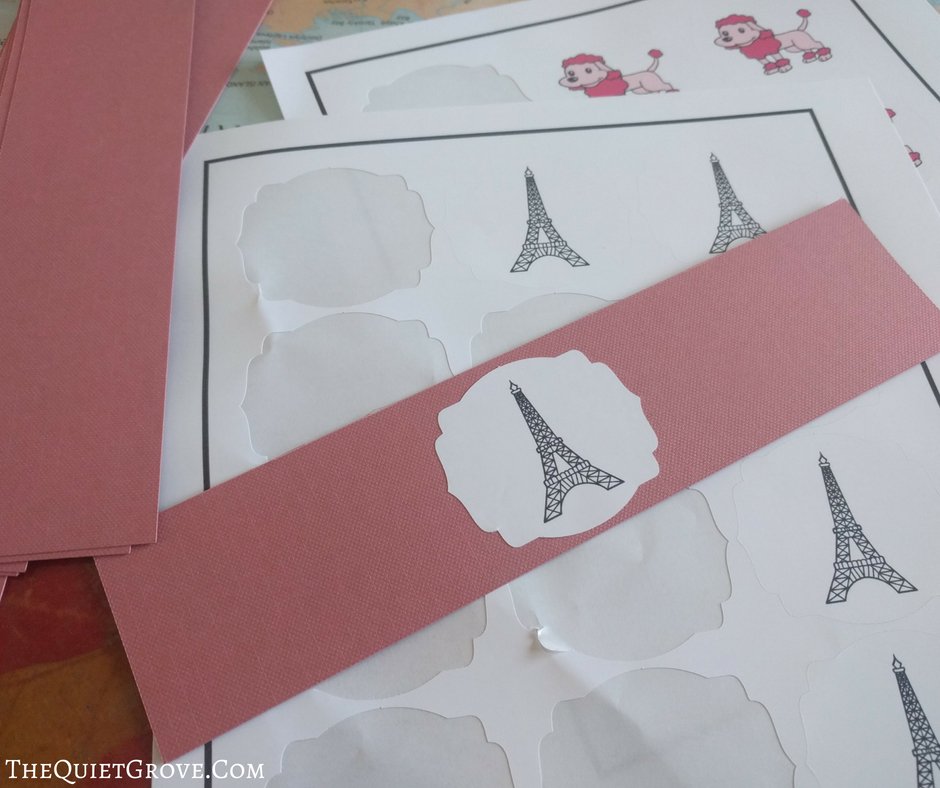
- Place Eiffel Tower and Poodle Stickers in the center of the cut cardstock for the cupcake toppers and water bottle wrappers.
- Use tape to secure the wrappers on your water bottles and to stick your toppers to toothpicks to stick in your cupcakes.
31" Tall Eiffel Tower
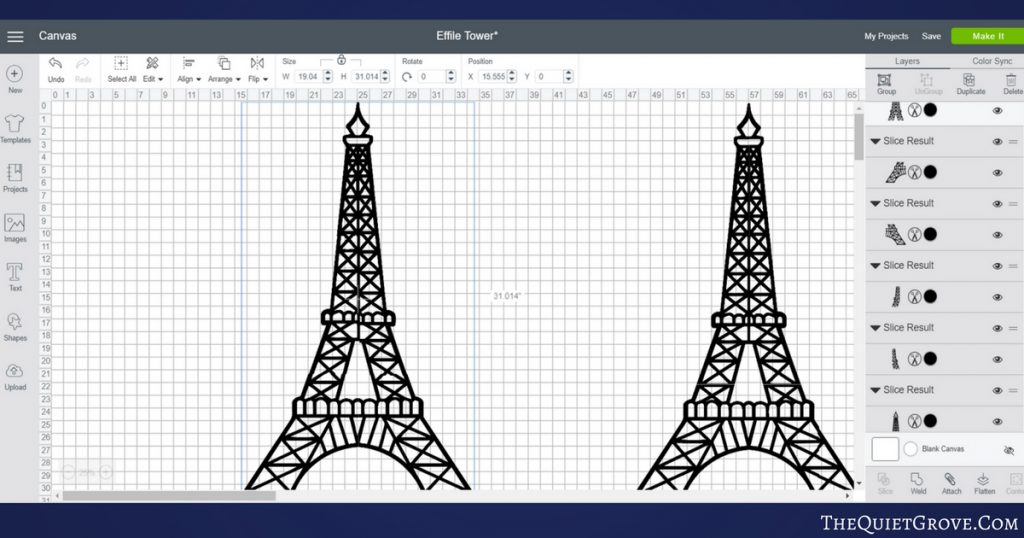
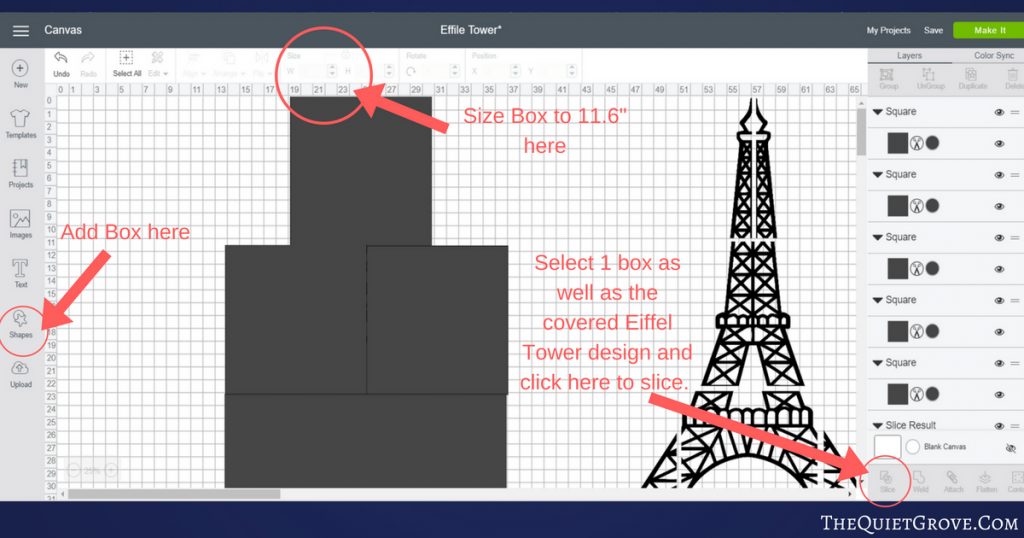
- Download the Paris & Poodle SVG cut file set. Then upload the Eiffel Tower SVG into Design Space. Size the Tower to 31" high then copy (so you have 2)
- Slice design into mat size pieces. **For this, I added a square that I sized 11,6" . I copied the square till I had enough to cover the whole tower. Then I selected one box as well as the Eiffel tower base at a time and sliced the tower using the slicing tool. Then I repeated the process with the second Eiffel tower slicing at different spots than the first.
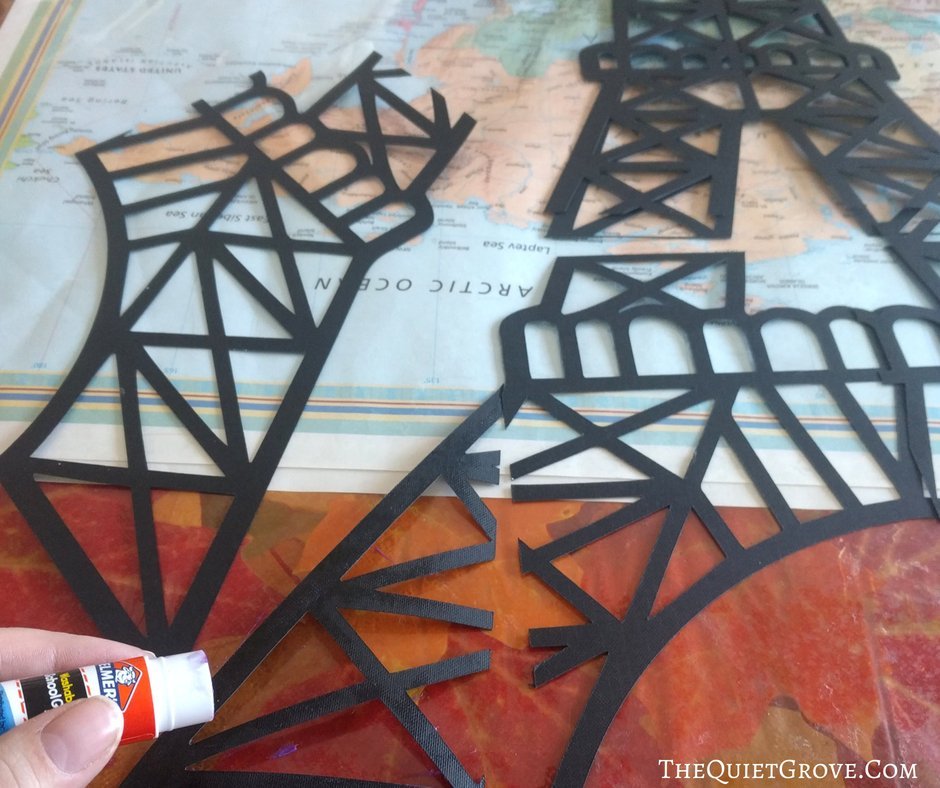
- To assemble I laid out both Eiffel towers then glued one on top of the other. Because each design was sliced in different places when I glued the first design to the second it made 1 sturdy 2-layer-thick Eiffel tower.
Thank You Bags
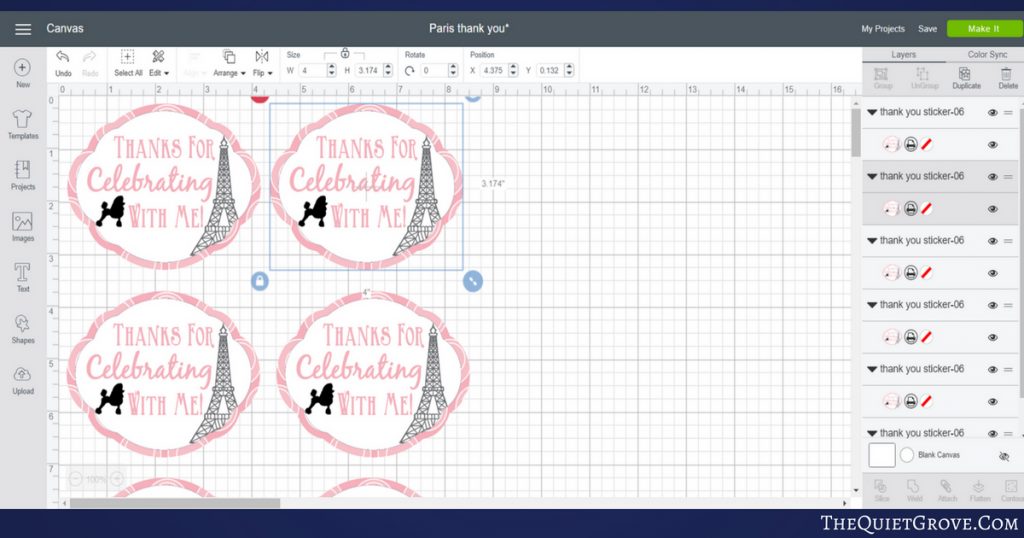
- Upload the Thank You Sticker PNG (found in the Paris & Poodle PNG files) and size to 4" Wide
- Set your machine to Custom and from custom materials select from custom Materials list Printable Vinyl.
- Send the page to your printer (where you have already loaded your printable vinyl.
- After printing, place the page carefully on your mat and get cutting.
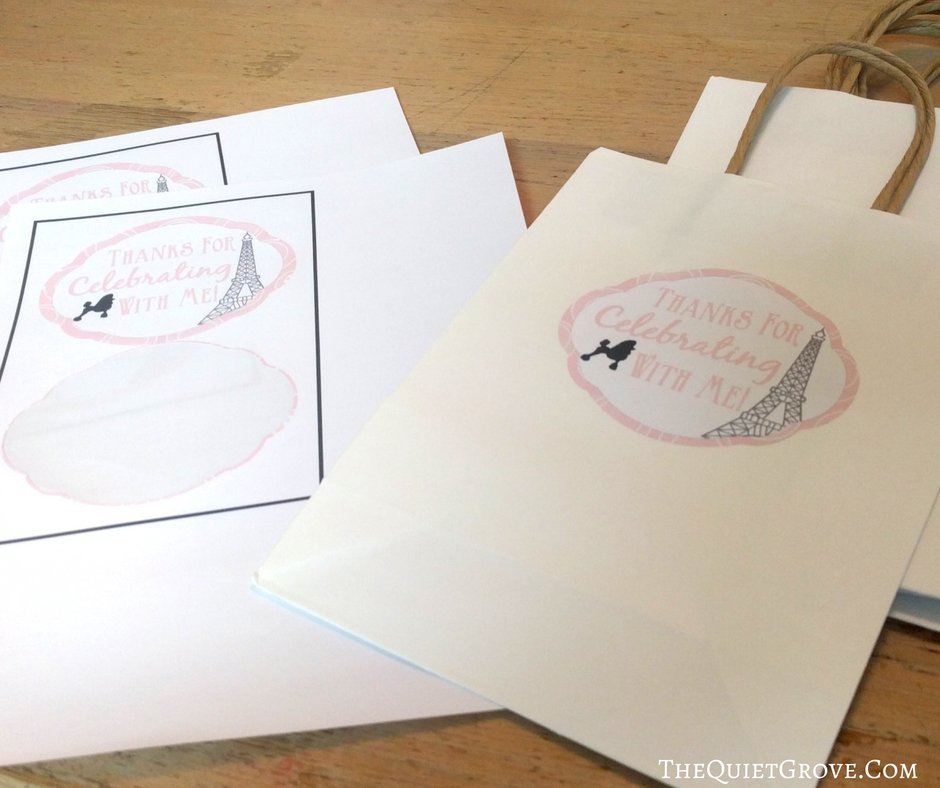
- Place sticker on the front of your Paper gift bag. (I got mine at Oriental Trading) and then fill with yummy treats and toys.
Pin the Tail on the Poodle
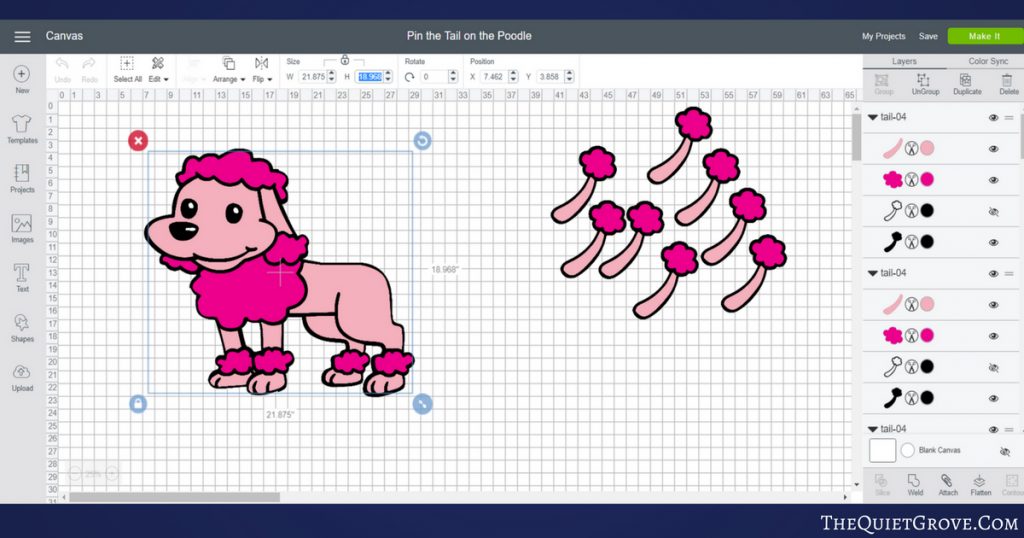
- Download the Paris & Poodle SVG cut file set. Then upload the Poodle (with the tail) Design as well as the Poodle Tails. Size the poodle to 21.875" wide X 18.968" high. Size the tails to 5.468" wide x 6.114" high.
- Click to ungroup the pieces for the poodle, then hide all but the black back. Then using the same instructions as the Eiffel tower slice the Poodle Background into mat sized pieces. Thankfully at this size, you won't have to lice any of the top design pieces.
- Set your Cricut to Cardstock and cut your cardstock according to the color prompted you in design space.
- After the poodle and tails are all cut. Take the Black Poodle background pieces, and lay them out (like a puzzle) then tape them together (with the tape on the back side of the poodle.
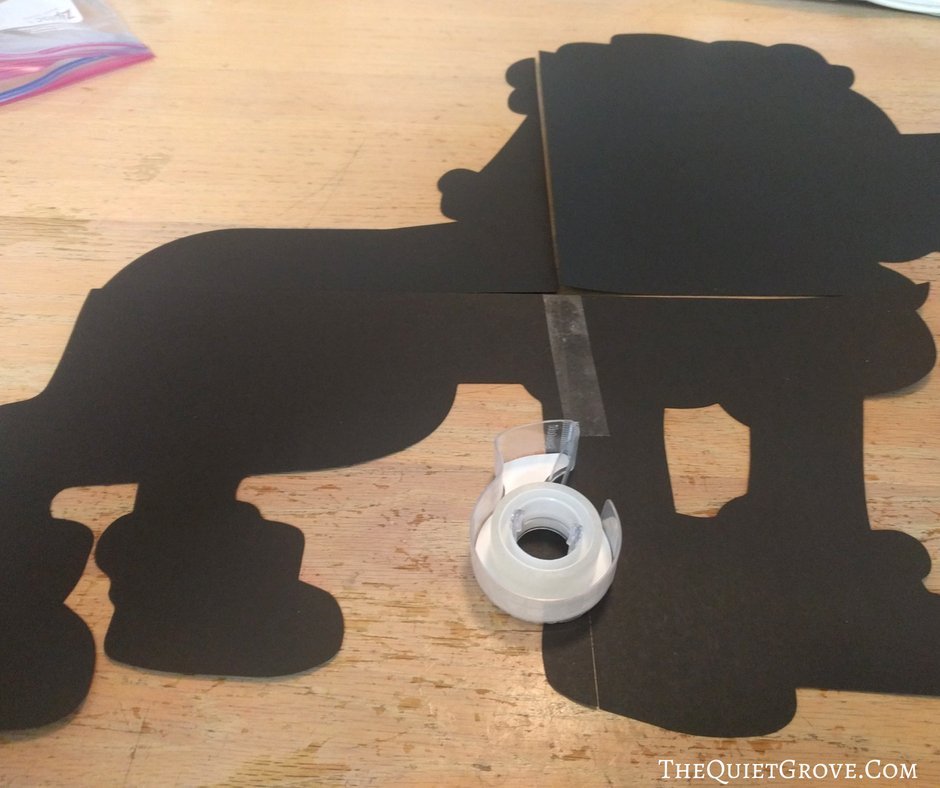
- After the back is assembled lay all the top pieces on the poodle in their proper place. **Thankfully since most of the pieces are large this part of the process is pretty quick.
- Use a glue stick to stick all the top pieces to the poodle.
- After poodle is completely assembled, assemble all the tails.
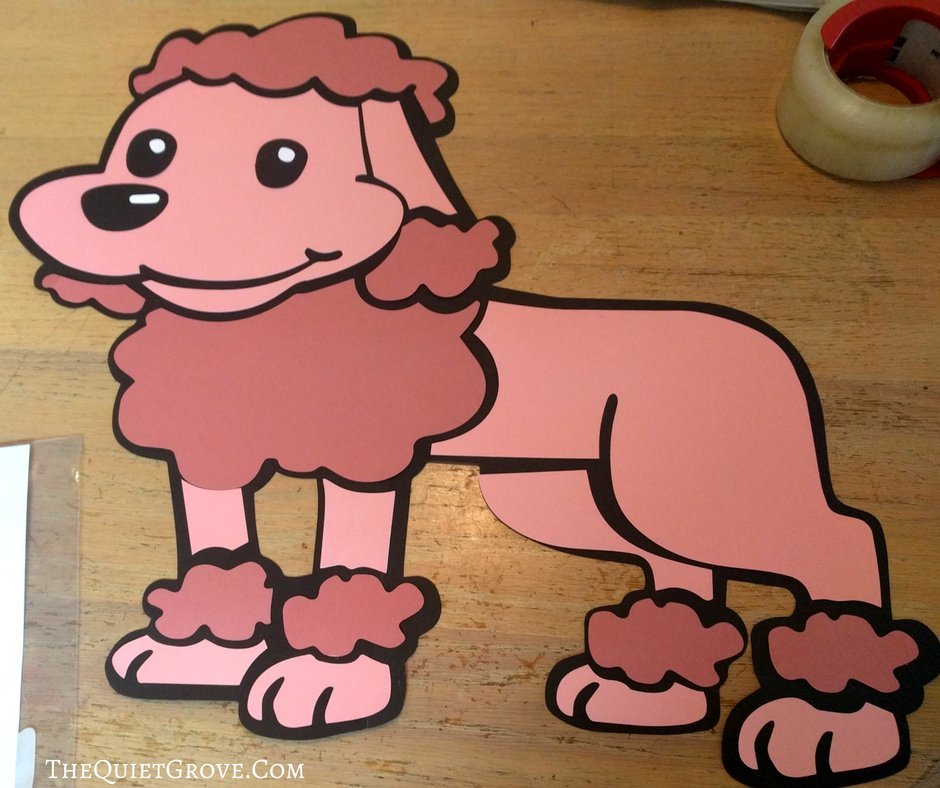
**For those who just want to make a large Poodle for decoration (not for a game) I have included in the Paris & Poodle Zip file an SVG with the full Poodle (tail and all).
Like I said this party while very cute really was quick to put together. (my husband got me the designs the day before. The night before I used my Cricut Explore Air 2 to cut all the decorations, and I assembled them all the next day at my parent's house where we held the party. (assembly and set up for the party took an hour.
If you liked this post then check out these: (CLick on the photo to go to the post)




Awesome party! The Eiffel Tower cut out and tower are amazing and a must for a Paris & Poodle Party!
I am glad you like them. I had soo much fun designing them with my hubby for my daughters party.