DIY Legend of Zelda Extra Wallet Party Favors

Aren't these Zelda Extra Wallet Party Favors Super Cute?

This last week my husband and I threw a Zelda themed Birthday party for my son's 6th Birthday party. It was a lot of work but turned out amazing and the kids loved (so did the parents), For the party favors I wanted to make something that really fit with the game. My husband suggested that I make some Zelda Extra Wallet (or as my kid's call them: Rupee bags) and fill them with treats.
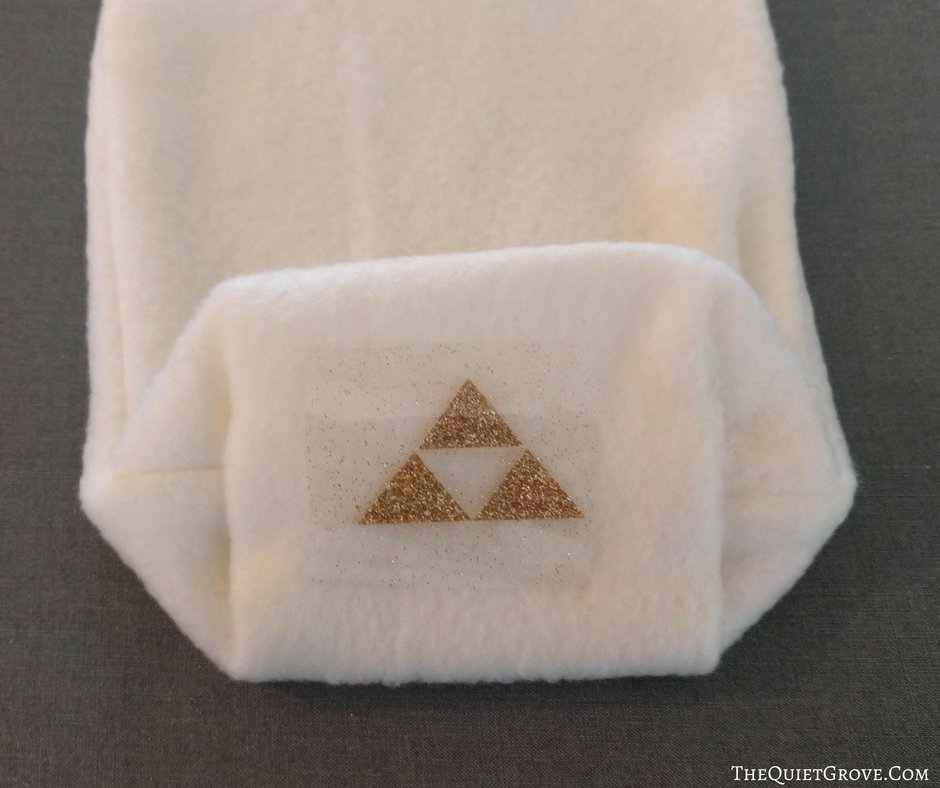
Since I am not really familiar with Zelda (other than the main characters) game, I had my husband show me what the Extra Wallet Bags looked like. Once I did, I saw that these would be super easy to make and would look really cool for the party. While I figured out how I wanted to sew up the bags, my husband drew up the design to put on the bags. In addition to the Extra Wallet design for the front of the bags, he thought it would be cool to put a hidden Triforce on the bottom of the bag. I agreed that it would look really cool.

I totally Love how they turned out! So did all the kid's (which totally made all the effort to make them worth it! Since I was making these bags as party favors, I wasn't worried about being super exact in the measurements. I basically cut the first one to how big I wanted it and then used that first one as the template for the rest.
Materials needed
- Fleece Fabric (each bag is about 8inches x 16 inches)
- Sewing Scissors
- Sewing pins
- Thread
- Sewing Machine (mine is a Brother Cs6000i which I LOVE)
- Cricut Explore Air 2 (or other Cricut Cutting Machines that work with Design Space)
- SVG cut file for design on front and bottom of the bag
- Standard and Strong Grip Mat
- Fine Point Blade
- Essential Toolkit
- Gold Glitter Iron on (Heat Transfer Vinyl)
- Black Iron on Lite (Heat Transfer Vinyl)
- EasyPress
- EasyPress Mat
- Waxed Cotton Thread
If you need to order any of these supplies from Cricut.com use Promo Code: QUIETGROVE to get 10% off + free shipping!!
**Note this code does not work on Design Space Access, digital content, machines, EasyPress, Brightpad
Instructions to Make the Bag:
- Cut 8in X16in rectangle out of fabric for bags.
- Fold both of the large pieces of fabric in half widthwise. Pin sides
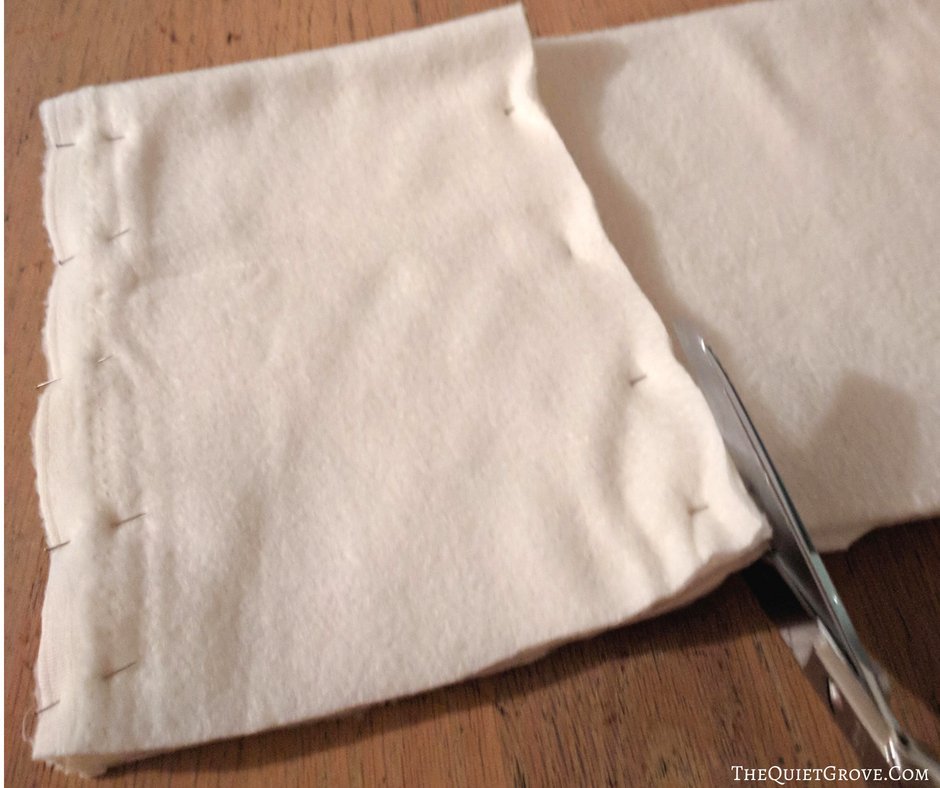
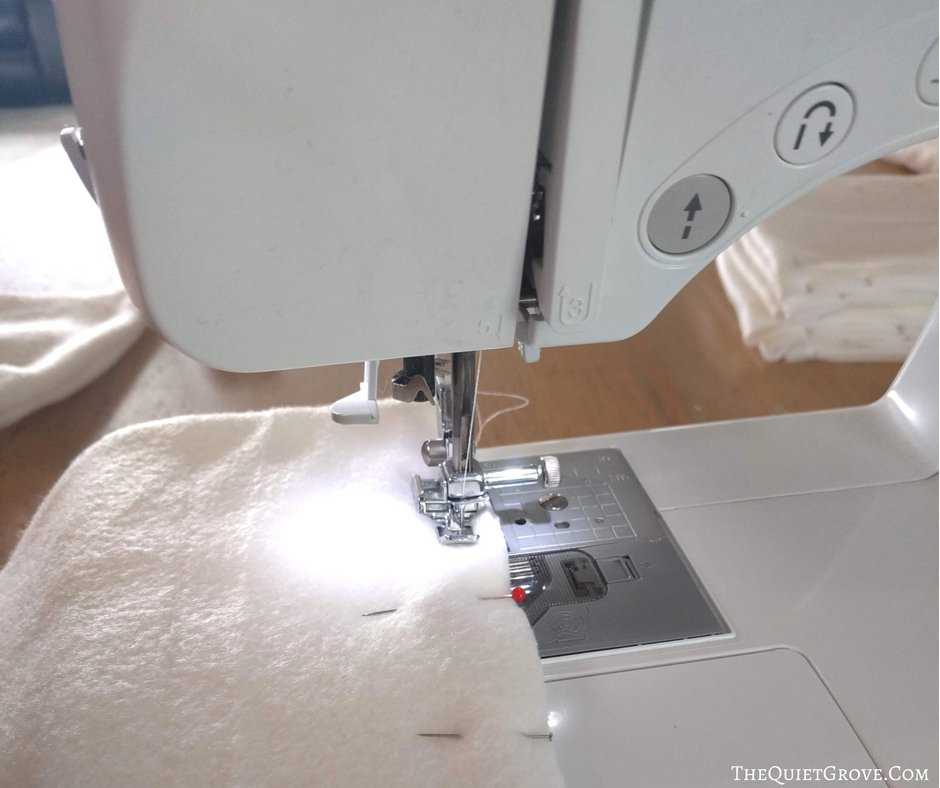
- Sew ½" seam allowance from fold to edge.
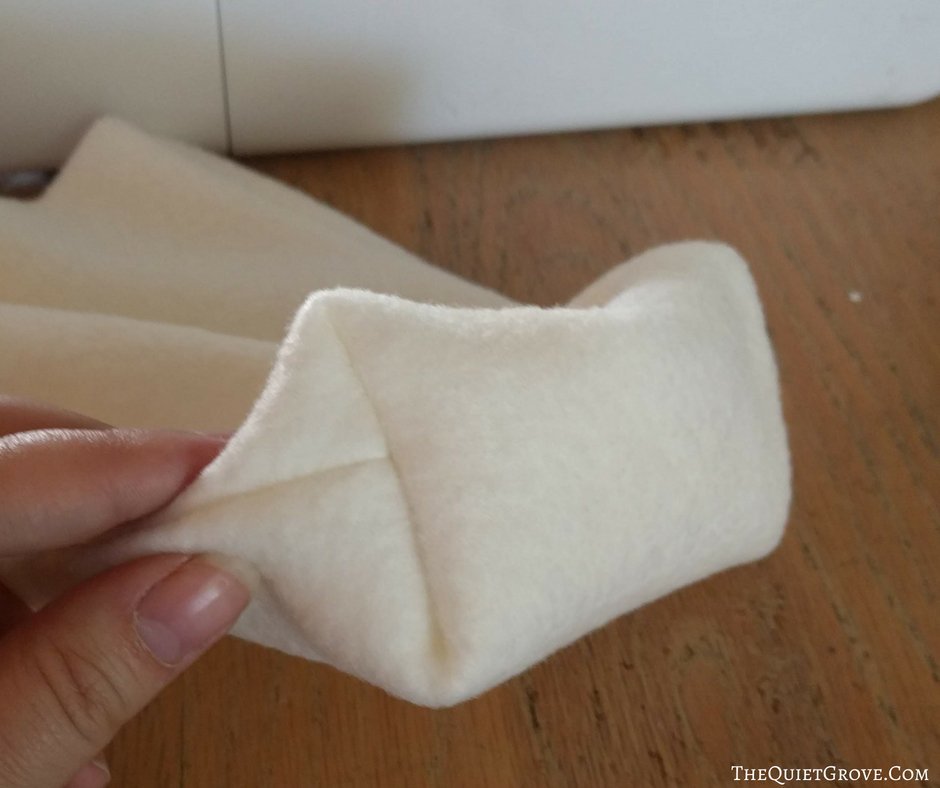
- Press the side seams open so they come to a point and the seam runs down the center of the point.
- Pin about 2 inches up from the point of the triangle. Repeat on the opposite side. (The further up you pin the bigger the box at the bottom of your bag will be.)
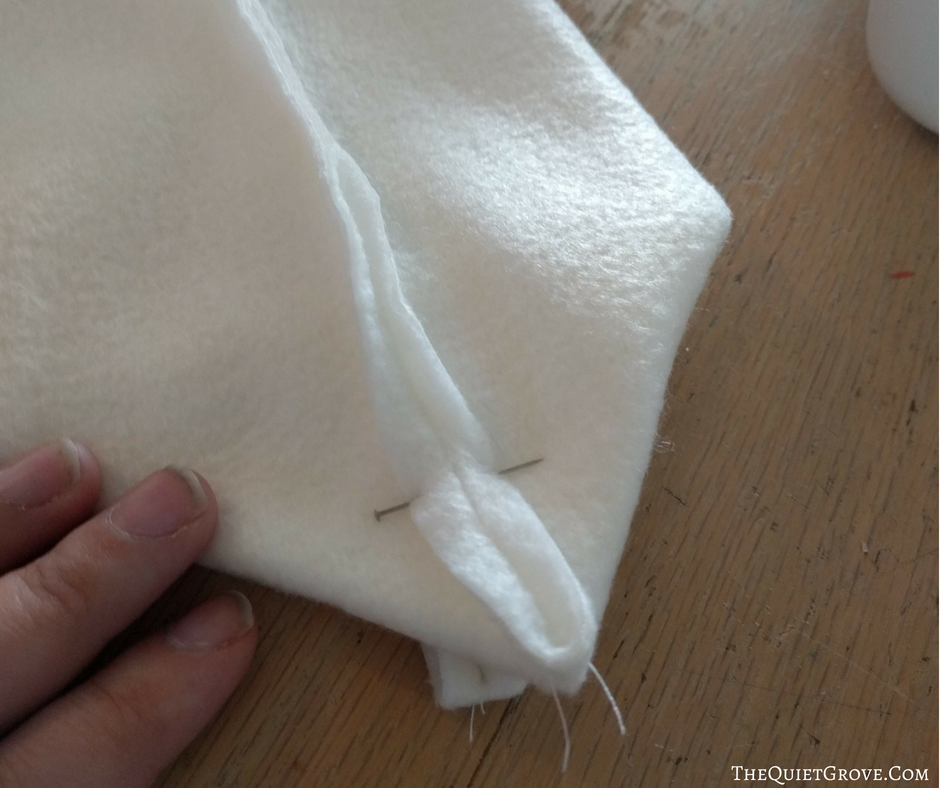
- Stitch along the width of the pouch where you pinned.
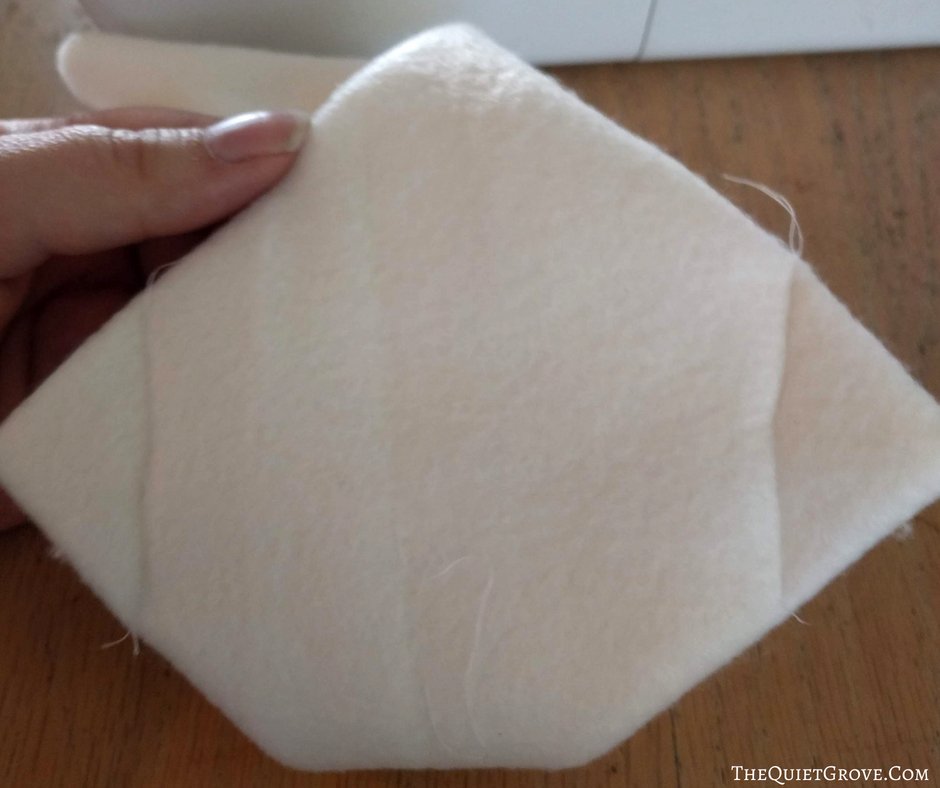
- Turn the pouch right sides out.
Instructions for Bag Decorations

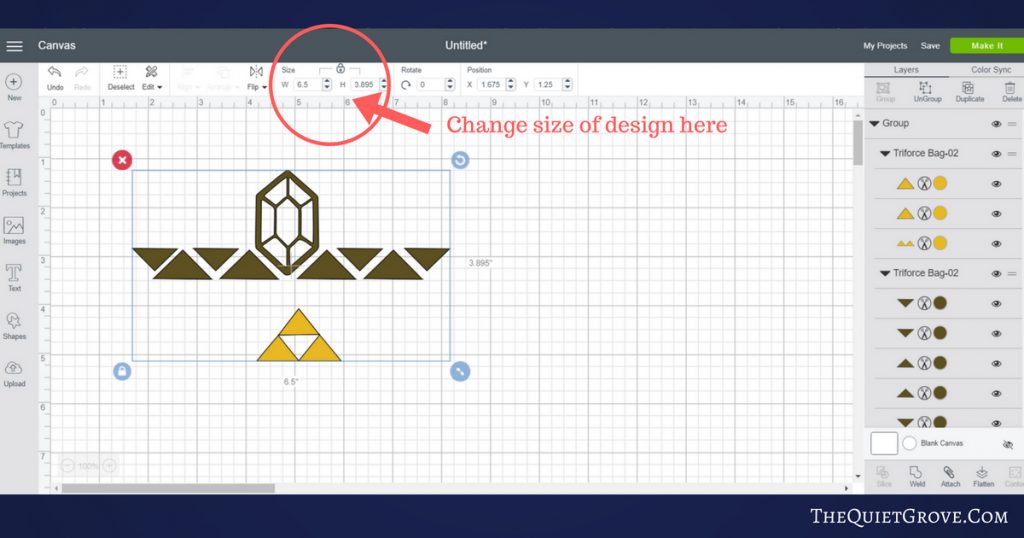
- Upload Design file into Design Space. and size to fit the front of your bags (should be about 6 ½ inches wide)
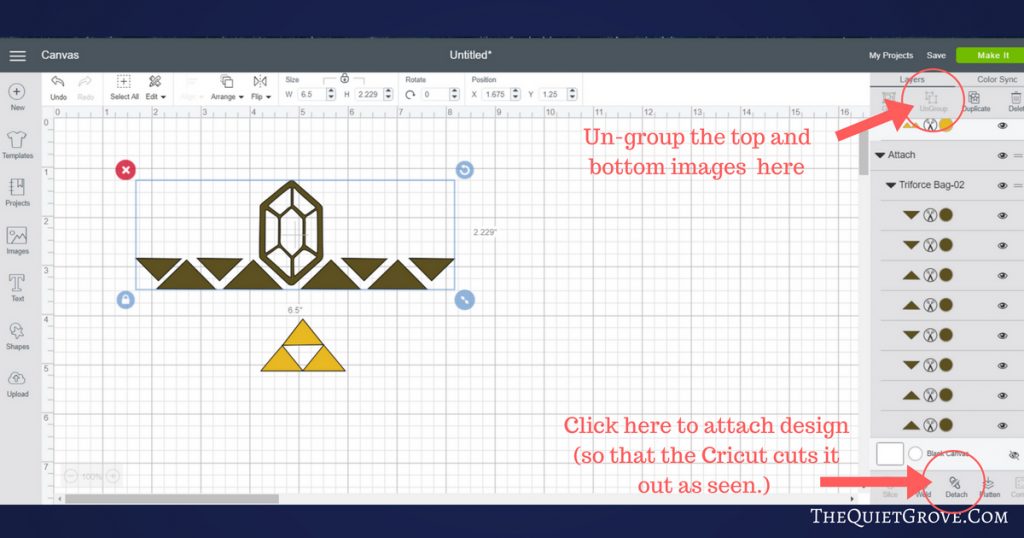
- Click to ungroup and then attach the main bag design and attach the Triforce design then copy for as many bags as you are making
- For the main Rupee Design use Cricut Black Iron-on. Click reverse Image, Set machine to Iron-on, and load Iron-on onto standard mat shiny side down to cut. **For the Triforce design for the bottom of the bag use Gold Glitter Iron-on. Set machine to custom and select Glitter Iron on from custom materials. Then load Iron-on onto standard mat shiny side down to cut.

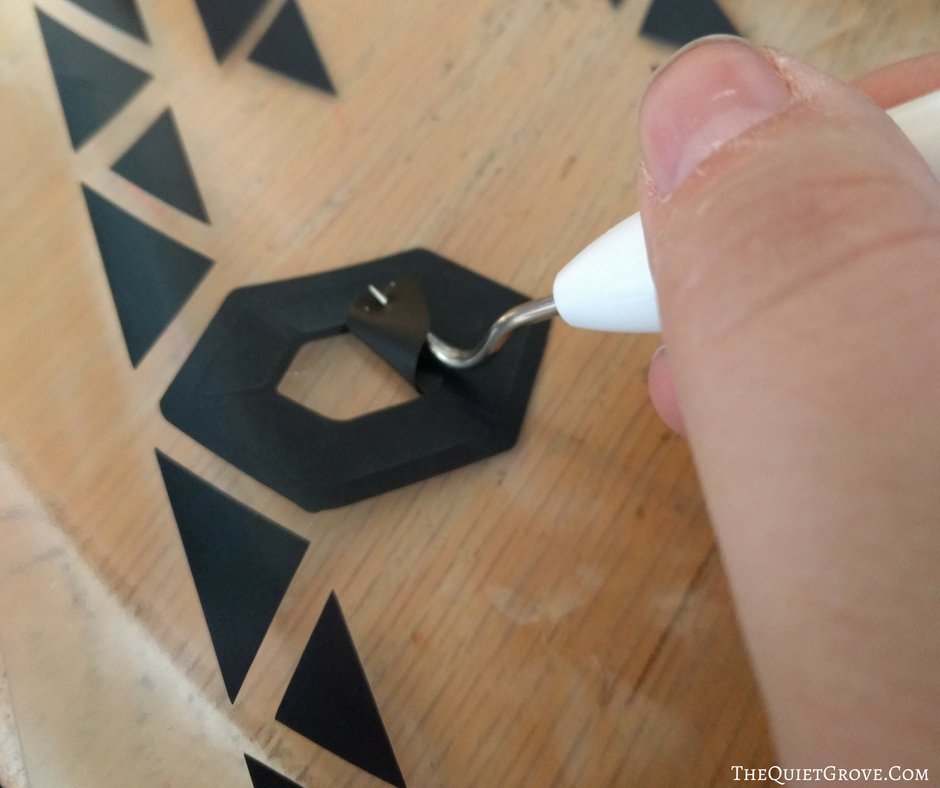
- After you are done the cutting, use your weeding tool to weed out the excess vinyl.
- Place Bag on EasyPress Mat ** The EasyPress Mat is Cricut's newest tool to use with their Easypress. It shields your work surface from damaging heat (so you can use your table without damaging it) It helps eliminate moisture and directs the heat (from the Easypress) to your Iron-On Design creating a better meld to your fabric!

- Preheat the area of your bag that you will be putting your design (5-10 seconds) then place the Iron-On Design where you want it on the bag.

EasyPress Ironing Instructions
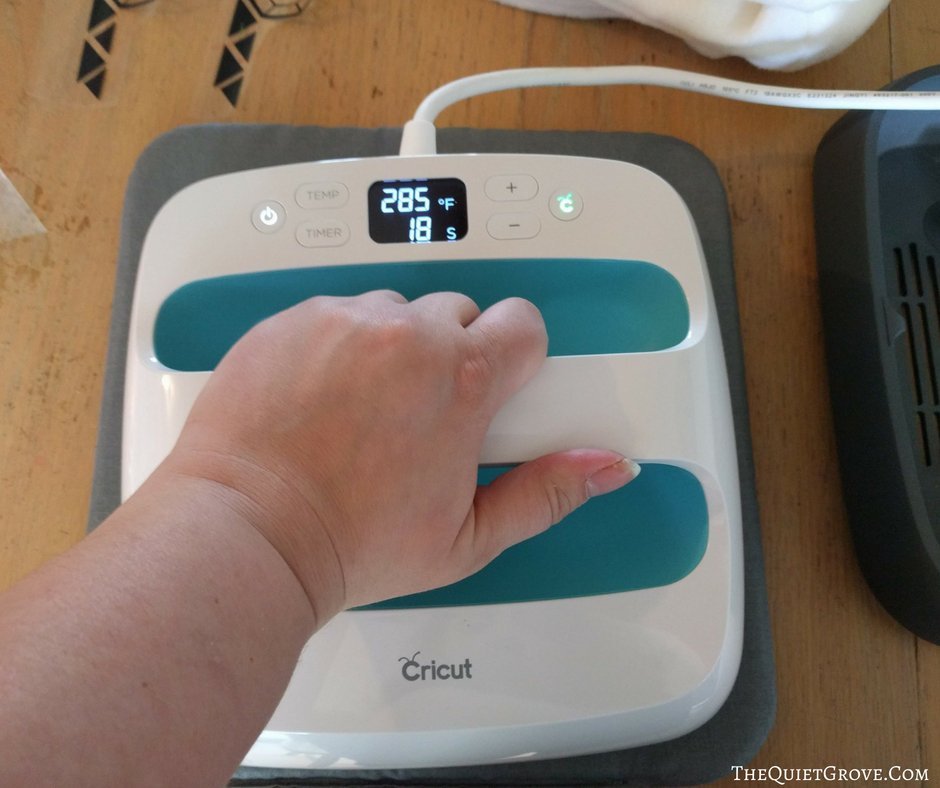
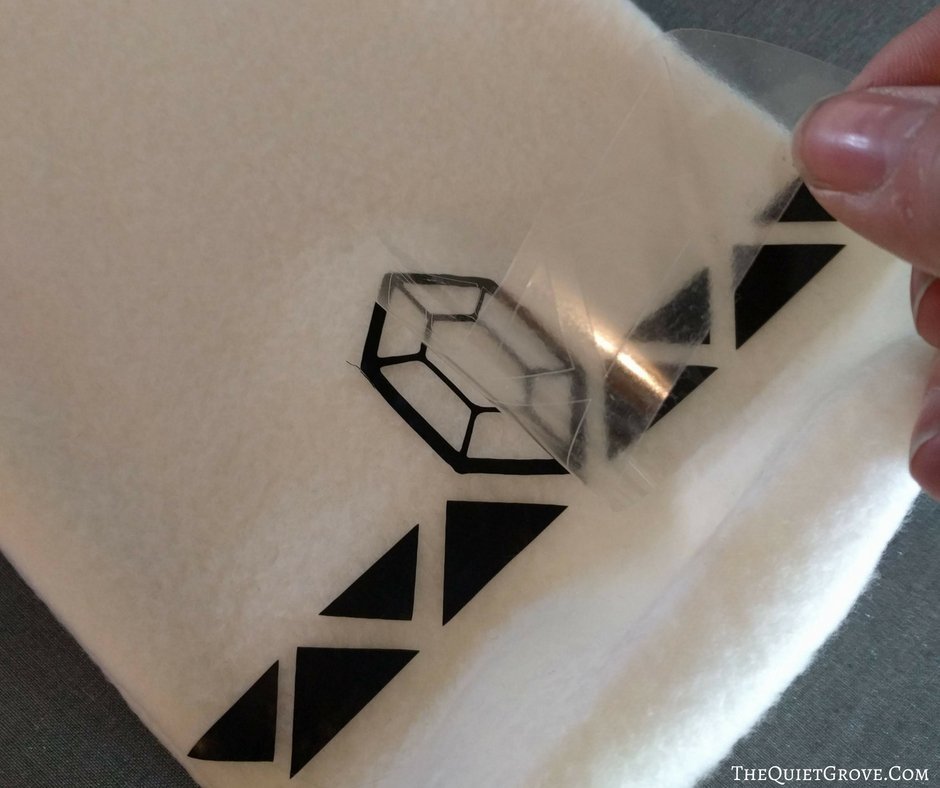
- For the Black Iron-on for the front of the Fleece bag set your EasyPress to 275 F and Press Iron-On design for 20 seconds on the front of the garment using medium pressure. Warm Peel.]
- For the Gold Glitter Iron-on for the bottom of the Fleece bag set your EasyPress to 285 F and press Iron-On design for 20 seconds on the front of the garment using medium pressure. Warm Peel.
Regular Iron Instructions (for those who don't have an EasyPress Yet.)
- Set your iron to the hottest setting. Make sure the steam setting is OFF for steam irons.
- Place the weeded image, liner side up, onto the preheated material.* Apply medium pressure with the iron for 25-30 seconds.
- Flip the material over and apply medium pressure with the iron to the back of the material for an additional 25-30 seconds.*
- Warm Peel to Remove lining.
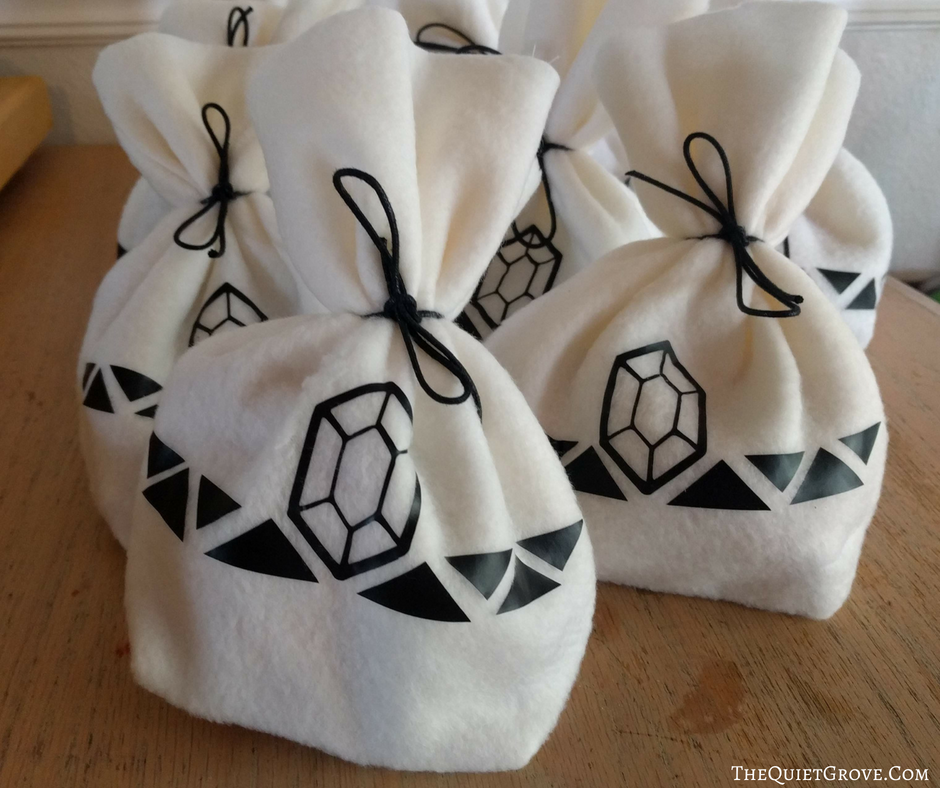
Once bags are made and decorated, just fill with your desired party favors and tie closed with dark Waxed Cotton Thread
If you liked this post, then check out these: (Click on the photos to go to the posts)