
Thrift Store Makeover: DIY Halloween Frame Art


Make this fun DIY Halloween Framed Art Cheaply by Using a Thrift Store Frame!

It's that time again where I join with some of my favorite crafty bloggers to share with you a DIY project for the Inspire my Creativity Challenge. This month's theme is Thrift store makeover. So I went to my local thrift store to see what I could find. I saw a few possibilities as I walked down the isles, but knew what I wanted to do when I saw a long rectangle picture frame (that was only $2). I was going to make a Halloween Framed Art Decoration!
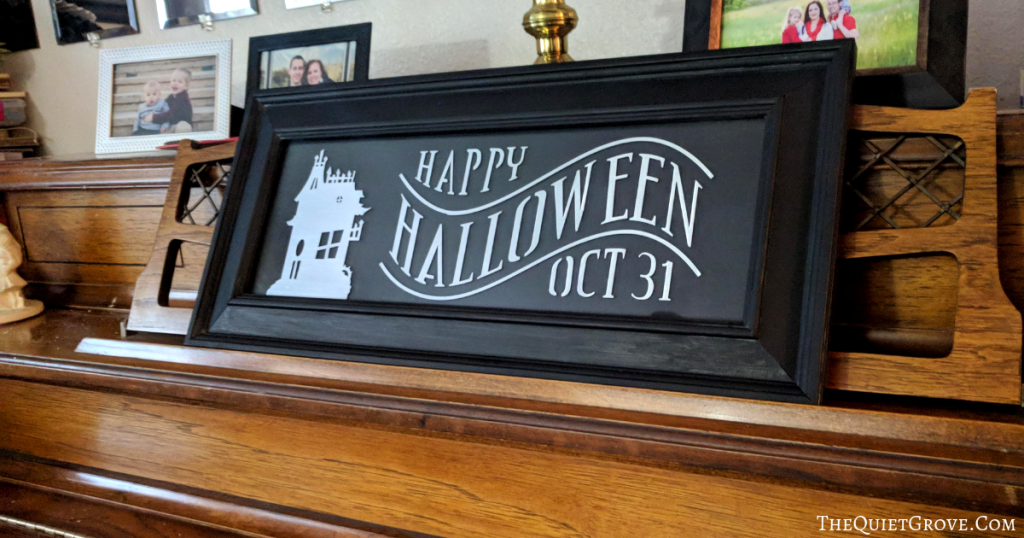
I have been soo busy this year I haven't gotten around to decorating much for Halloween. Right now all I have up is the Halloween Rosettes I made last week (find the tutorial here). So I decided to turn this dated frame and picture into a fun Halloween frame art using black acrylic paint and some silver Adhesive Foil I had left over from a different project and Cricut Access images.
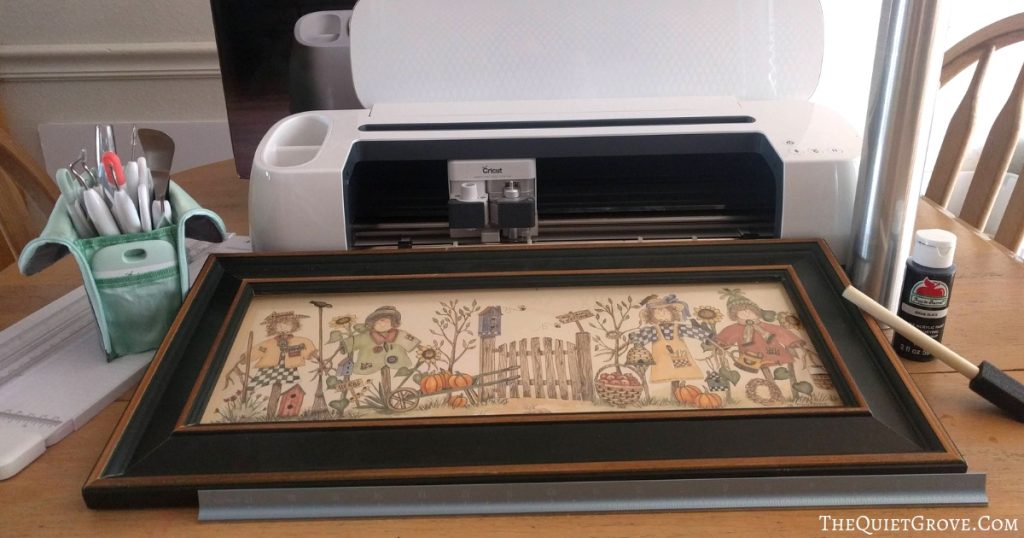
Materials Needed:
- Cricut Maker (or other Cricut Cutting Machines that work with Design Space)
- Cricut Design Space For Halloween Frame Art. –> HERE <–
- 12x24 Standard Grip Mats
- Fine Point Blade
- Cricut Essentials Tool Kit
- Silver Adhesive Foil
- Ruler (I used my Cricut Cutting Ruler)
- Transfer Tape
- Long Rectangular Picture frame (I got mine from the Thrift Store.)
- Black Acrylic Paint
- Paint Brush
If you need to order any of these supplies from Cricut.com use Promo Code: QUIETGROVE to get 10% off + free shipping!!
**Note this code does not work on Design Space Access, digital content, machines, EasyPress, Brightpad
Instructions:
- Carefully remove the Glass, picture, and backing from the frame and throw away the picture. (**My frame backing was cardboard. If your frame backing is another non-paintable material I recommend cutting black cardstock to put inside)

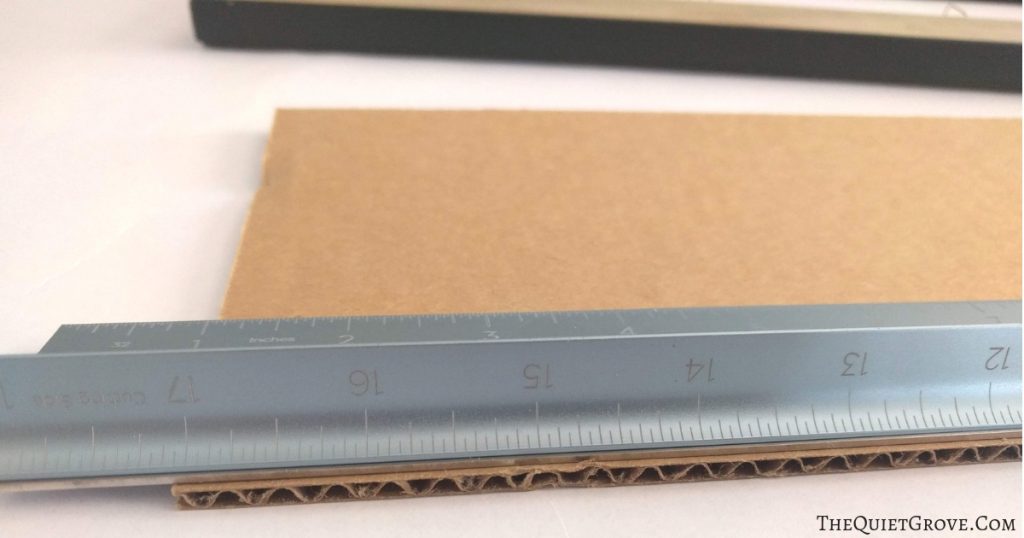
- Measure the size of the Glass/Backing to what to size your Halloween design to for the frame. I used my Cricut cutting ruler for this. (**My Glass was 17x6inches so I sized my design to be slightly smaller.)
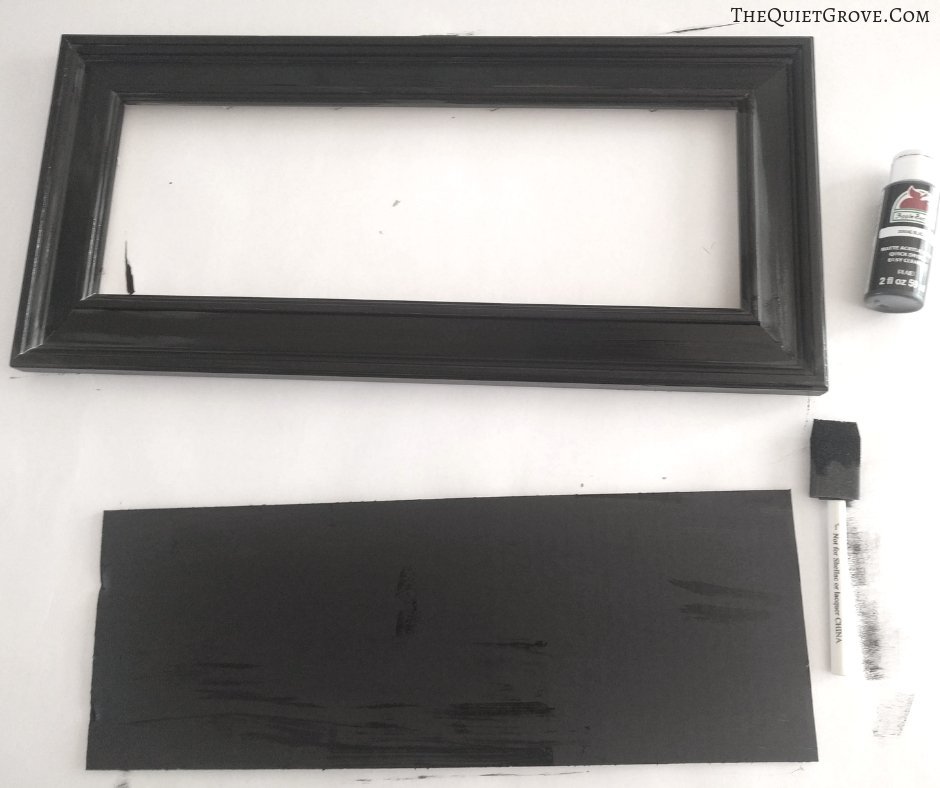
- Using black acrylic paint and a foam brush paint both the frame and one side of the cardboard backing and let dry.
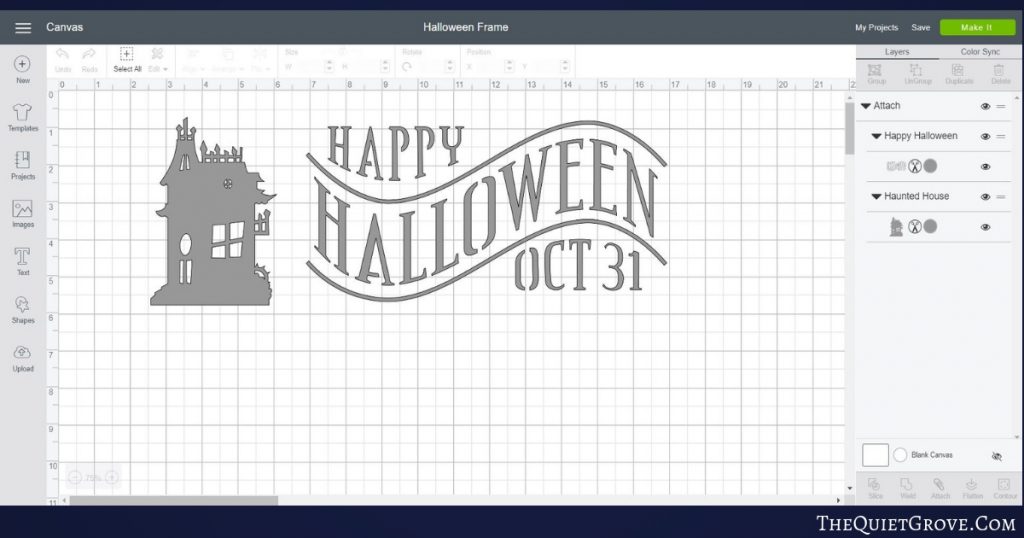
- Open Cricut Design Space Canvas (Design is sized for a 1x-6in glass size.)
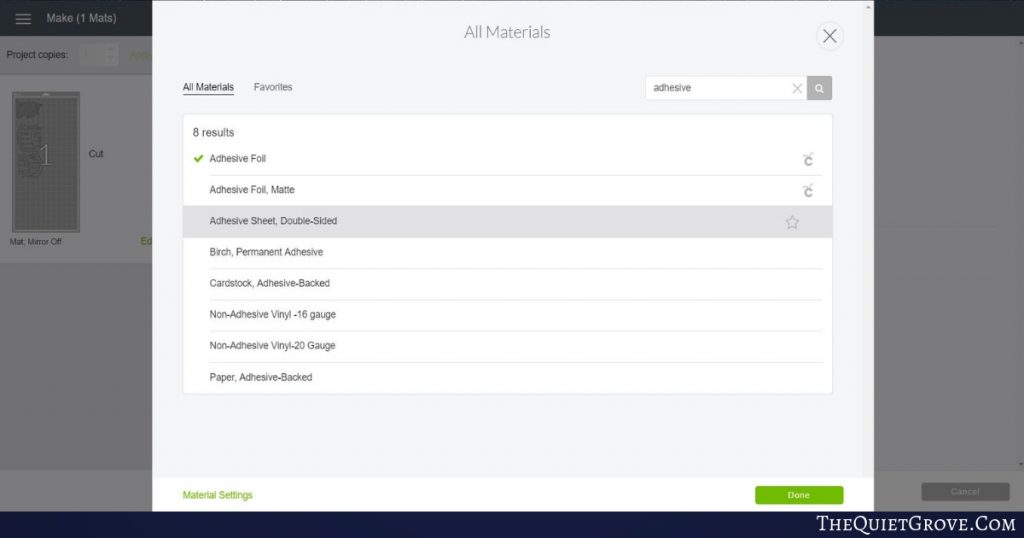
- Set material to Adhesive Foil and cut on a 12x24 inch standard Grip Mat.
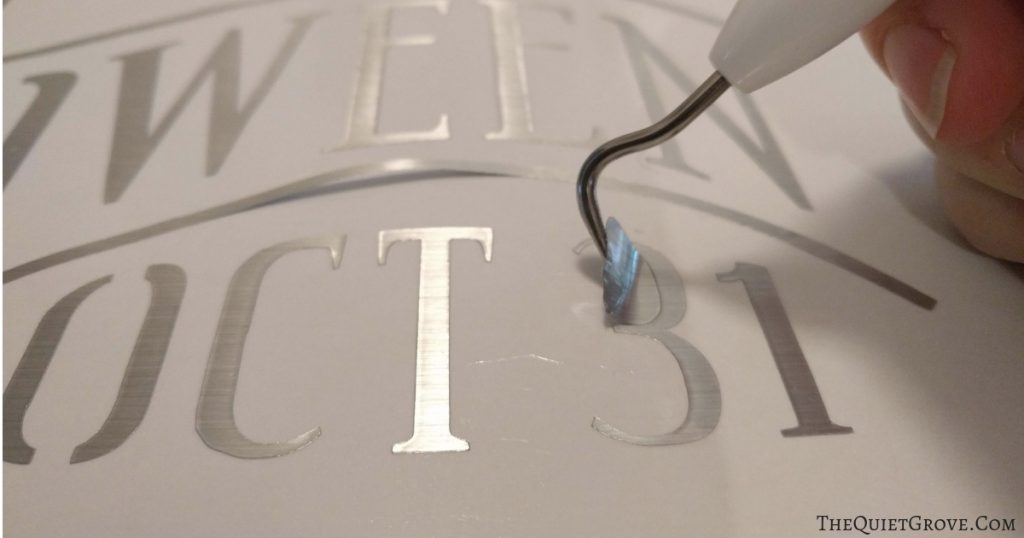
- After you are done cutting the Adhesive foil use your weeding tool to weed out the excess foil.
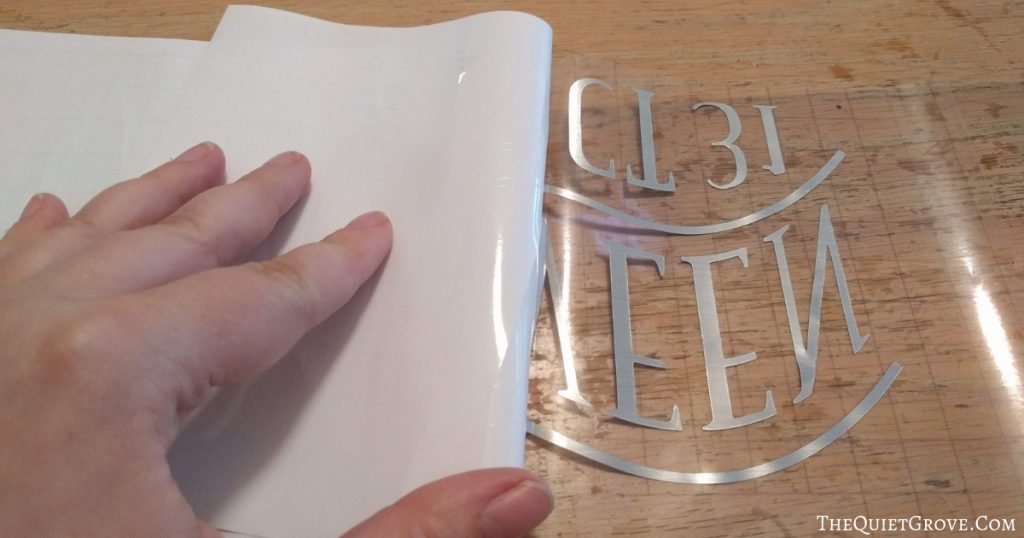
- Cut a piece of transfer tape large enough for the cut design and using the scraping tool firmly stick the transfer tape to the top of the Adhesive Foil Design.
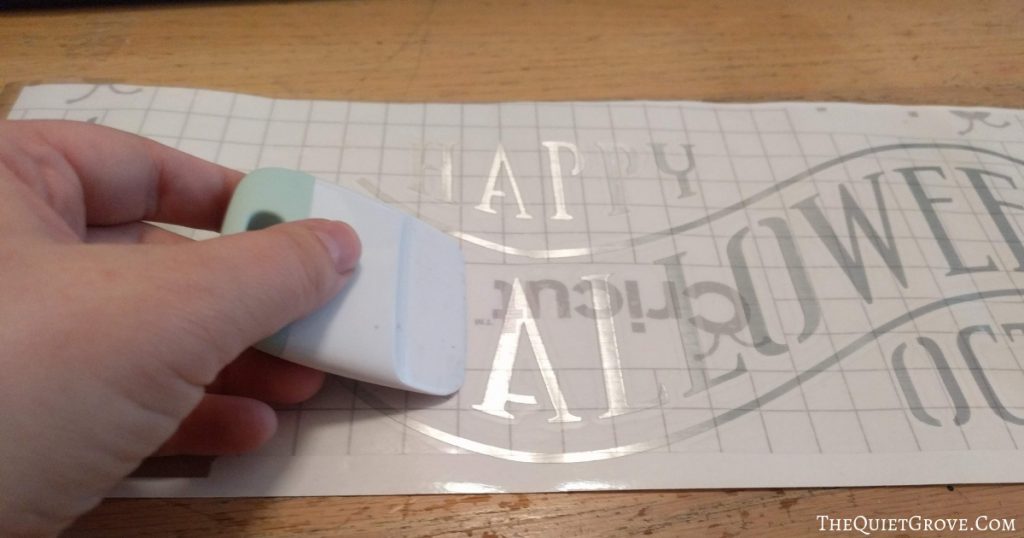
- Peel the foil backing off the design.
- Carefully replace the glass and the backing (black side forward) into the frame and then Place the Adhesive Foil design on the Picture frame glass making sure to keep it center.
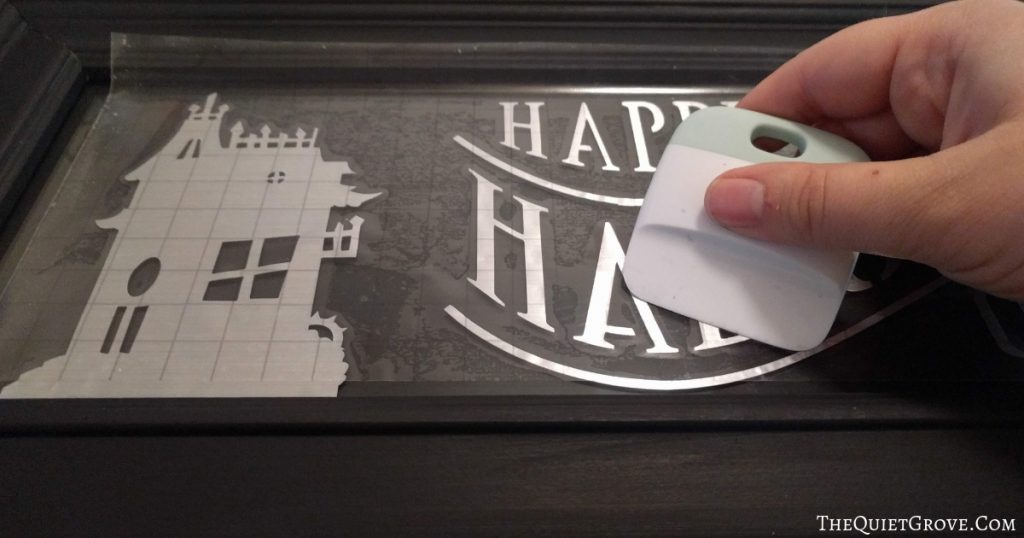
- Again use the Scraper tool to firmly press the design onto the glass then peel the transfer tape off.
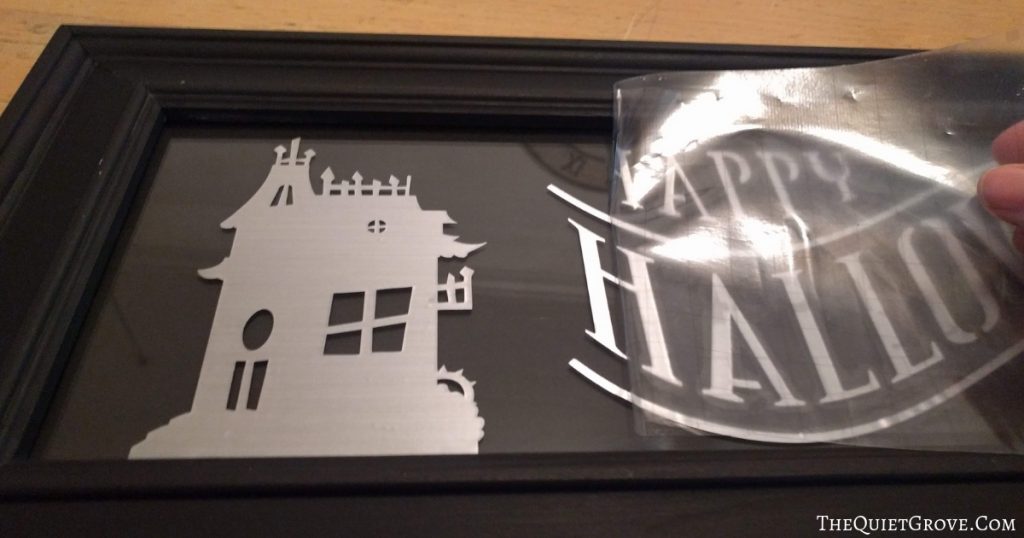
Serious I know that looked like a lot of steps but in actuality, it only took a few minutes to do it all (+ drying time for the paint) and the end result is super cool.

I hope you liked this fun Thrift Store Makeover DIY Halloween Project. I love how easy it was and that it only cost me a few dollars to make. As in months past I am co-hosting the Inspire My Creativity link up along with some of my favorite fellow crafty bloggers on the 2nd Wednesday of each month! Make sure to check out the other great Thrift Store Makeover projects for this months link up (found at the end of the post) and don’t forget to share your own projects with us.


Next Month’s theme challenge is going to be DIY Gifts. I can’t wait to see what everyone is inspired to create! I invite you to check back on the 2nd Wednesday in November (November 14th) to see what I will be making for my Inspire My Creativity Craft. Oh, and you are welcome to join in the fun and link up your craft as well. I would love to see it!
If you liked this post then check out these: (Click on the photos to go to the post)





The silver pops off the black and looks amazing. What a great idea for a Halloween Sign!
Great makeover! Love holiday-specific art. Visiting from Inspire My Creativity party.
I posted a similar project- great minds think alike! 🙂 I love the design you chose! Great job!
What a darling project! I love the shape of the frame and design - so much fun. The silver looks great with the black too. Love it!