
DIY Valentine Mailbox Made with the Cricut Maker & Knife Blade

This is a sponsored conversation written by me on behalf of Cricut. The opinions and text are all mine.

Check out how cool this 3D DIY Valentine Mailbox is!

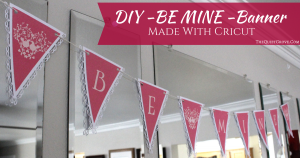
Today I am teaming up with Cricut to share with you a fun Valentine DIY. Really there are soo many fun DIY Valentine's Day projects you can make with your Cricut. If you are a teacher you can make your own Valentine's Classroom Decor. If you are a parent you can help your child make DIY Valentines or Valentine Boxes. You can make custom Valentine T-Shirts like the P.S. I Love you Shirt I made 2 years ago. You can even make your own DIY Valentine Decore for your own home like the fun Be Mine Banner I made Last Year.
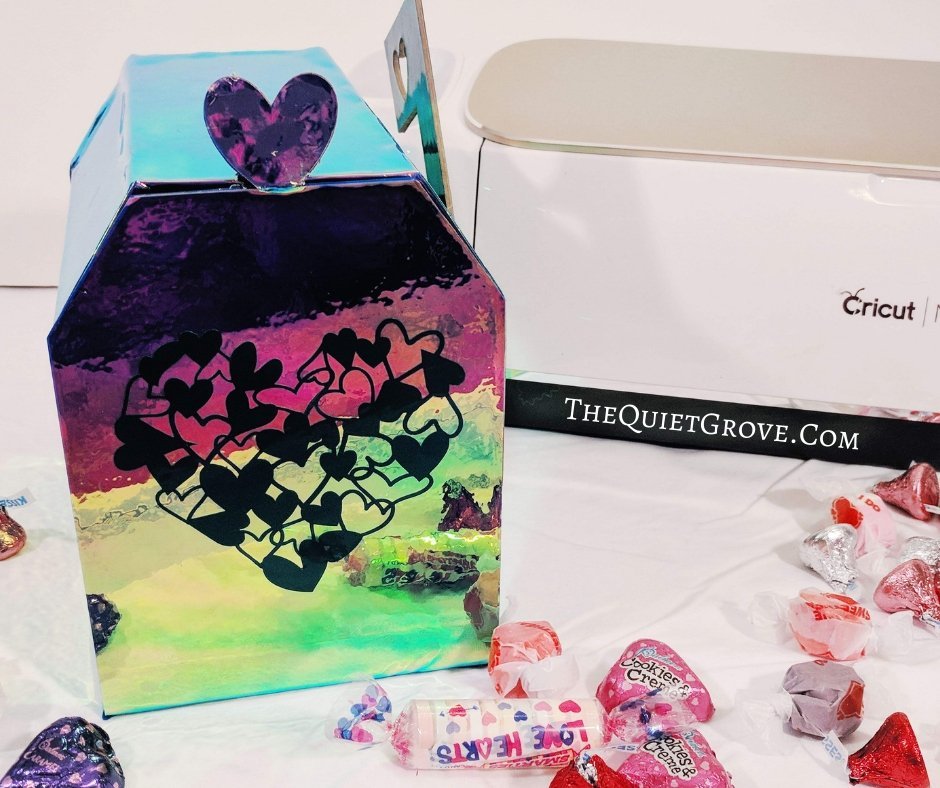
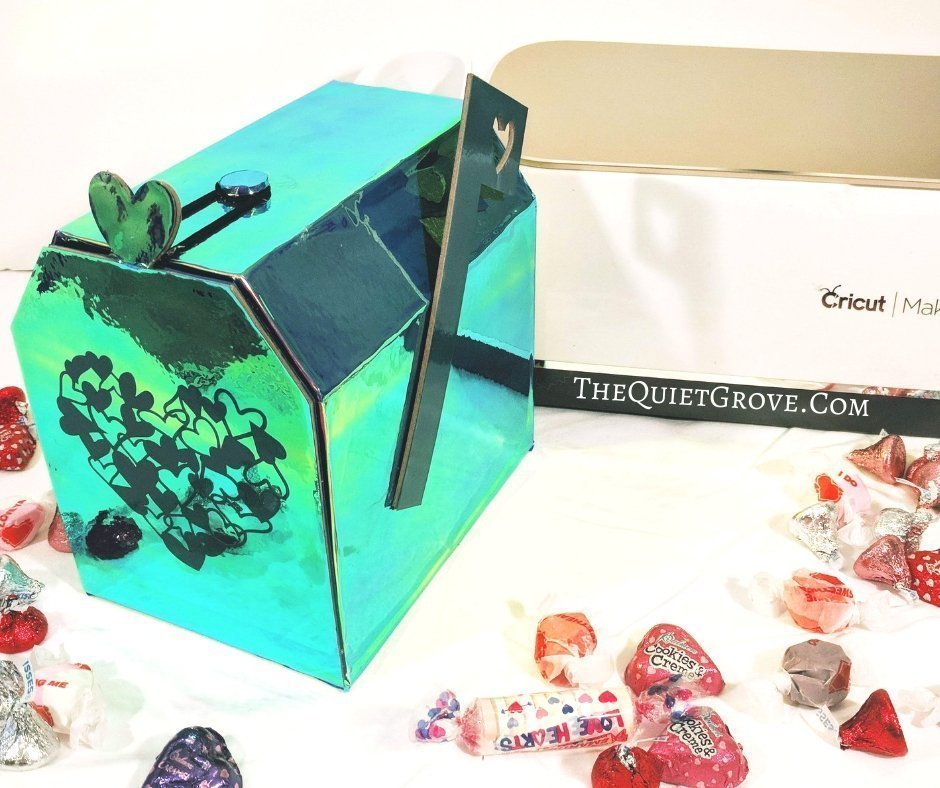
For this project, I decided that I wanted to utilize my new Cricut Maker and adaptive tools to make something that I previously couldn't make. After much thinking I decided to make a fun 3D DIY Valentine's Mailbox using Heavy Chipboard (which I can now cut thanks to the Maker's Knife Blade) and then decorating it with Holographic and everyday vinyl. I have always wanted my own personal Mailbox ever since I read Little Women when I was in my teens and this seemed like the perfect excuse to make one!
Materials Needed:
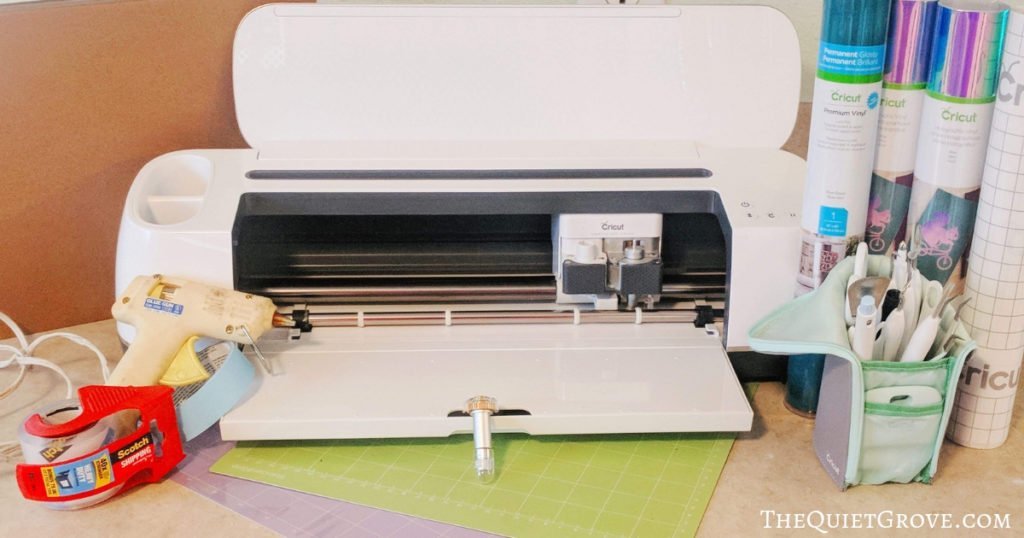
- Cricut Maker
- Design Space Canvas for Valentine Mailbox --> HERE<--
- 12x12 Strong Grip Mat
- 12x24 Standard Grip Mat
- 12 x12 Standard Grip Mat
- Knife Blade
- Fine Point Blade
- Cricut Essentials Tool Kit
- Heavy Chipboard
- Blue Holographic Vinyl
- Dark Blue Green Permanent Vinyl
- Transfer Tape
- Brayer
- Hot Glue& Gun
- Tape
Instructions:
- Open Cricut Design File for Valentine Mailbox -->HERE<-
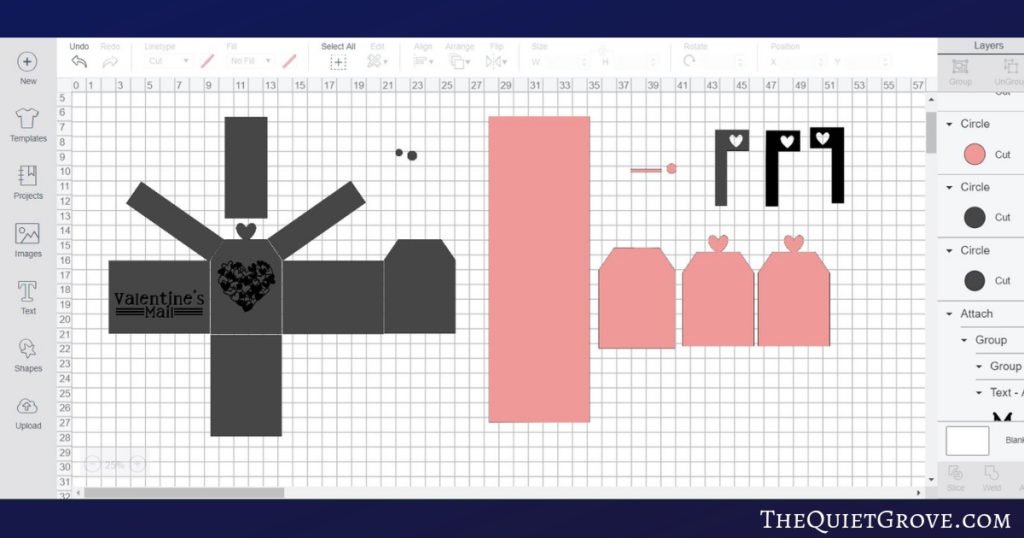
- Click to make and select Heavy Chipboard as the Material and as instructed insert the Knife Blade into the tool holder.
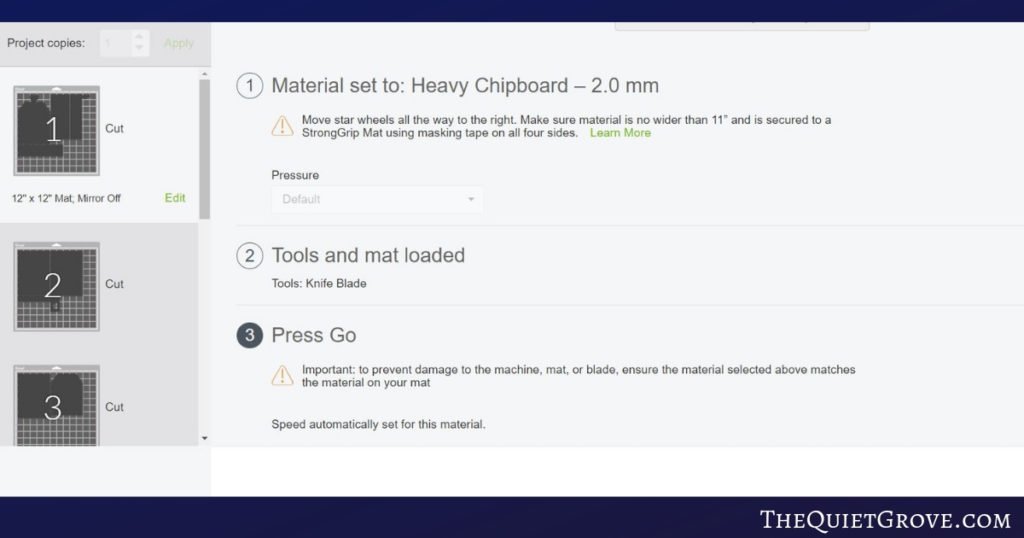
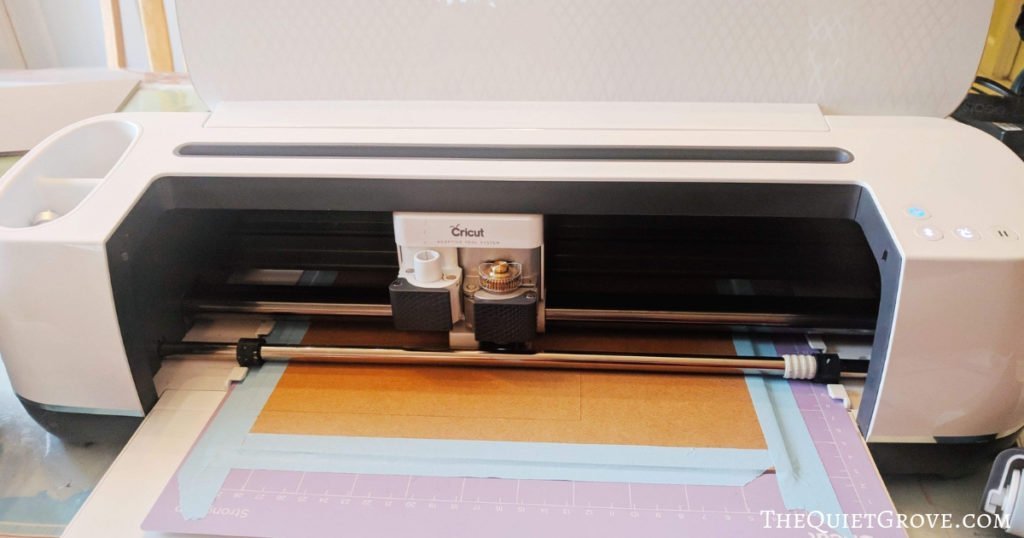
- Firmly attach a square of heavy chipboard to a Strong grip Mat using the brayer and then masking tape. Then load into the Maker (making sure to move the feed wheels to the side first so they don't score the Heavy Chipboard. **Note: To cut Heavy Chipboard with the knife blade the Cricut makes several shallow cuts. The process gives great end results but takes time to do.
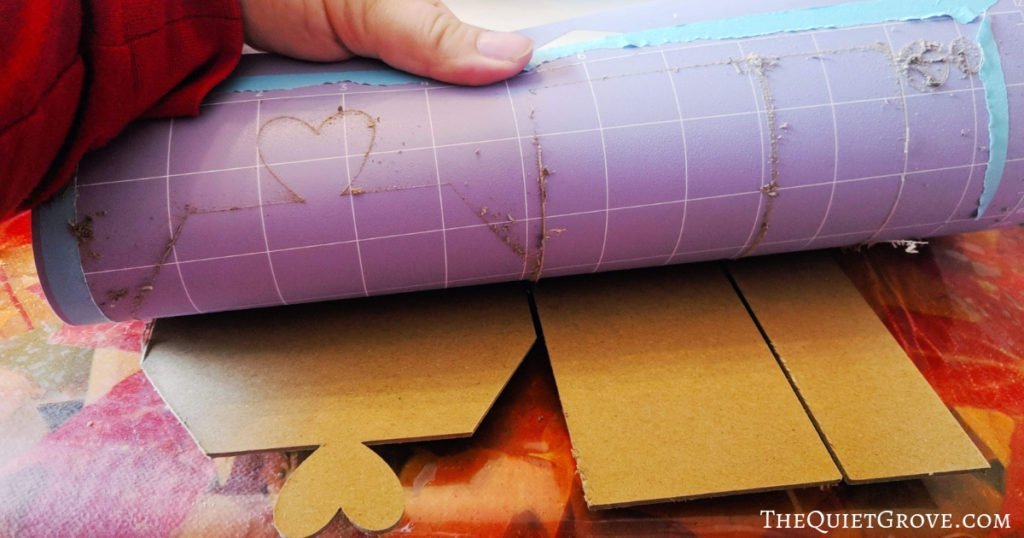
- Peel Mat from Chipboard, then repeat Process until all the chipboard is cut.
- Select Premium Outdoor Vinyl from the materials list, set the pressure to More and switch knife blade for fine point blade.
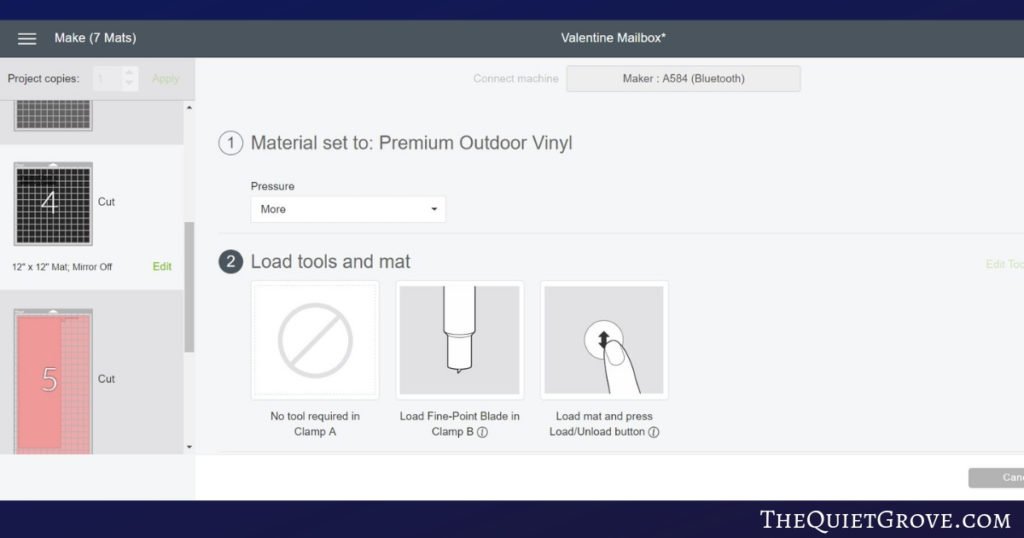
- Load the dark blue vinyl onto your standard grip mat and load into your Cricut.
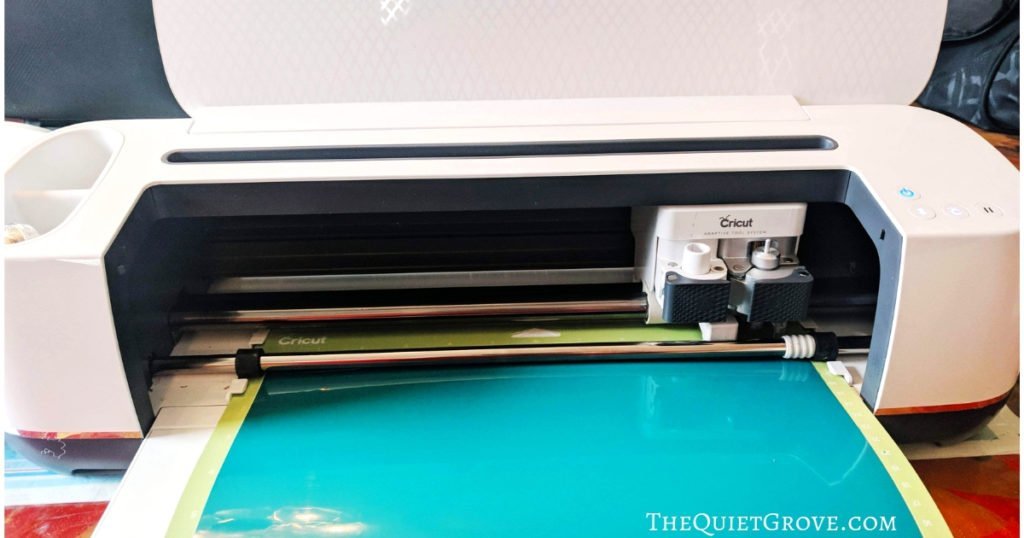
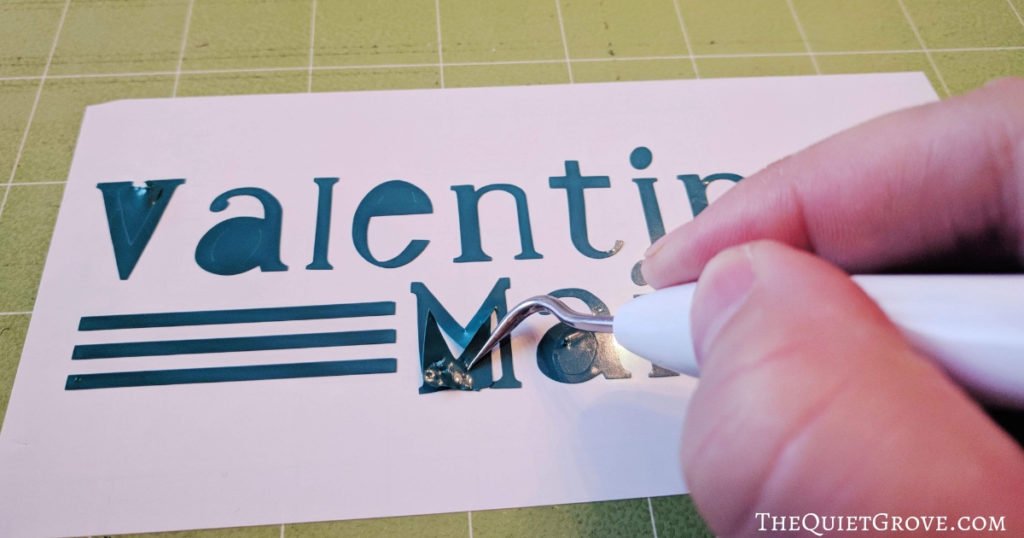
- After cutting use your weeding tool from your essential tool kit to weed out unneeded vinyl.
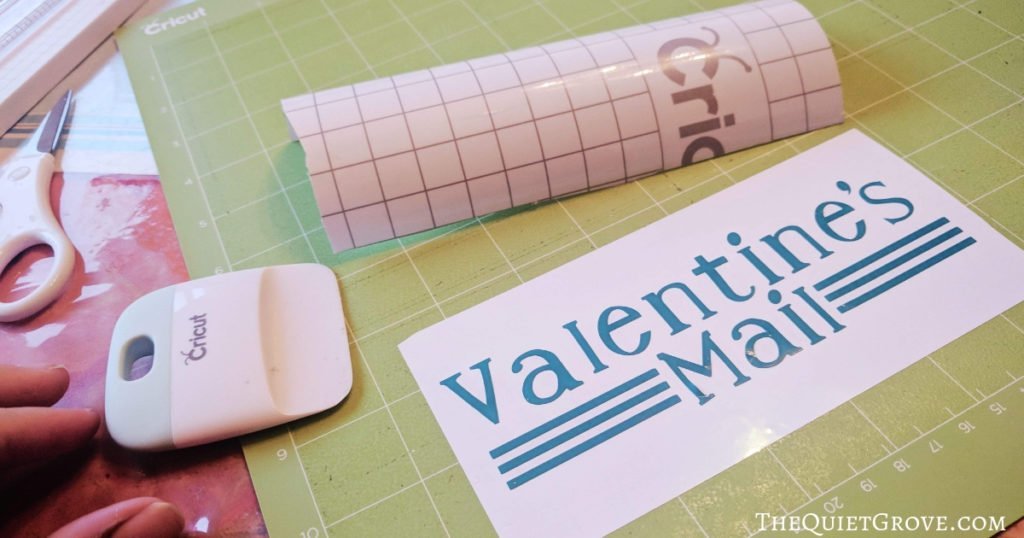
- Cut a section of Transfer tape to fit the size of both designs.
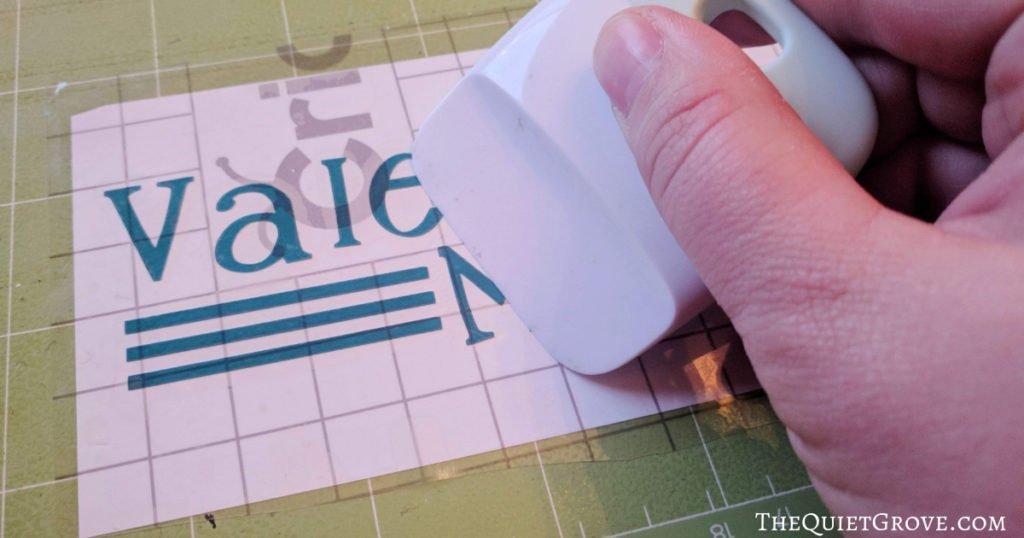
- Use the scraper tool from the essential tool kit to firmly adhere the transfer tape to the Vinyl.
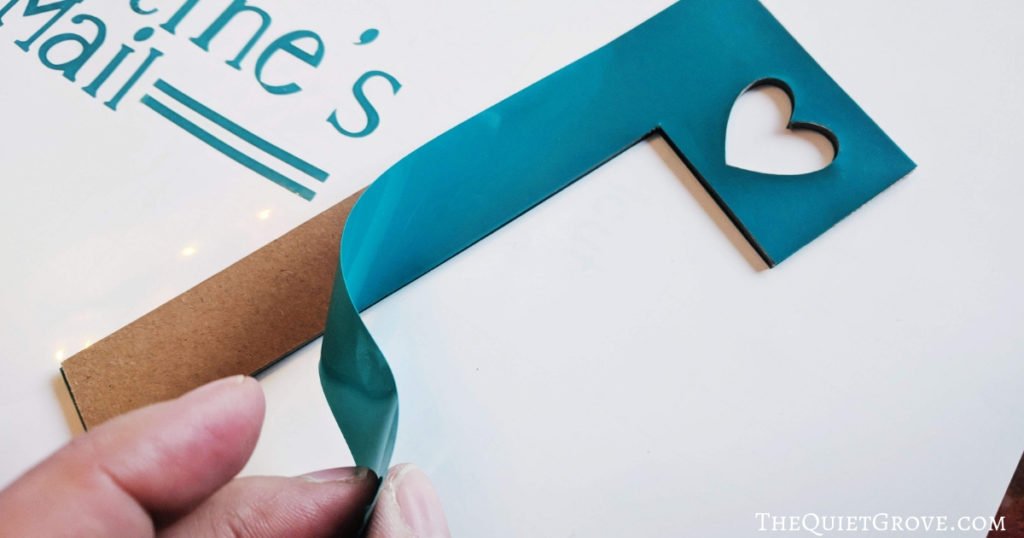
- Peel off Mailbox Flag Vinyl and like a sticker place carefully over Chipboard Flag.
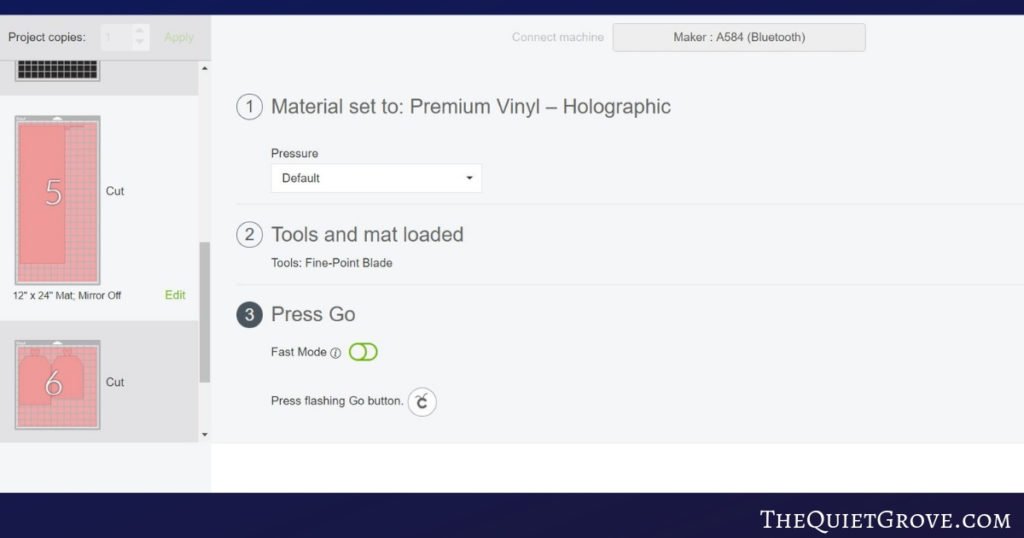
- Set Materials to Holographic Vinyl.
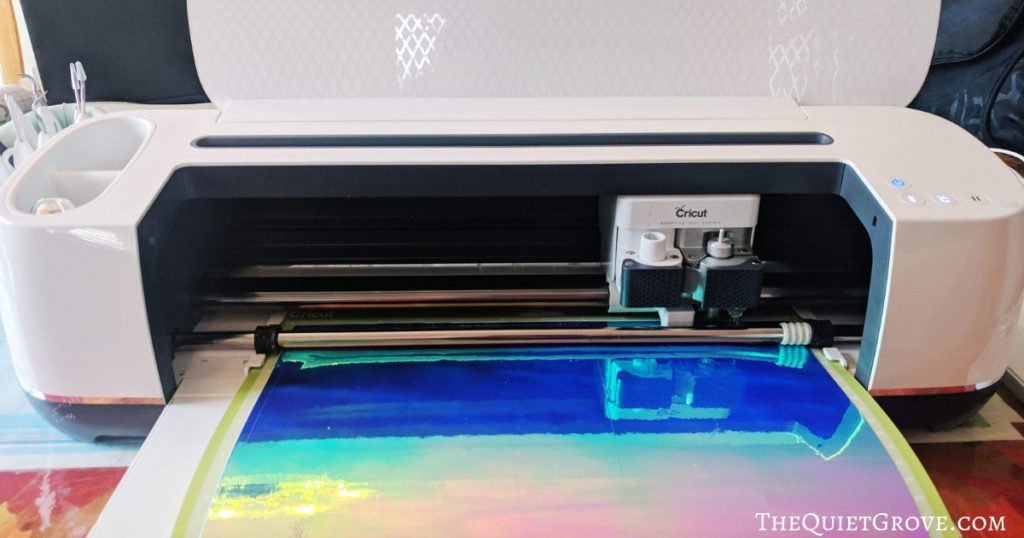
- Load your Holographic vinyl onto your Standard Gip Mat (the long piece will require the 12x24 mat.) and load into your Cricut.
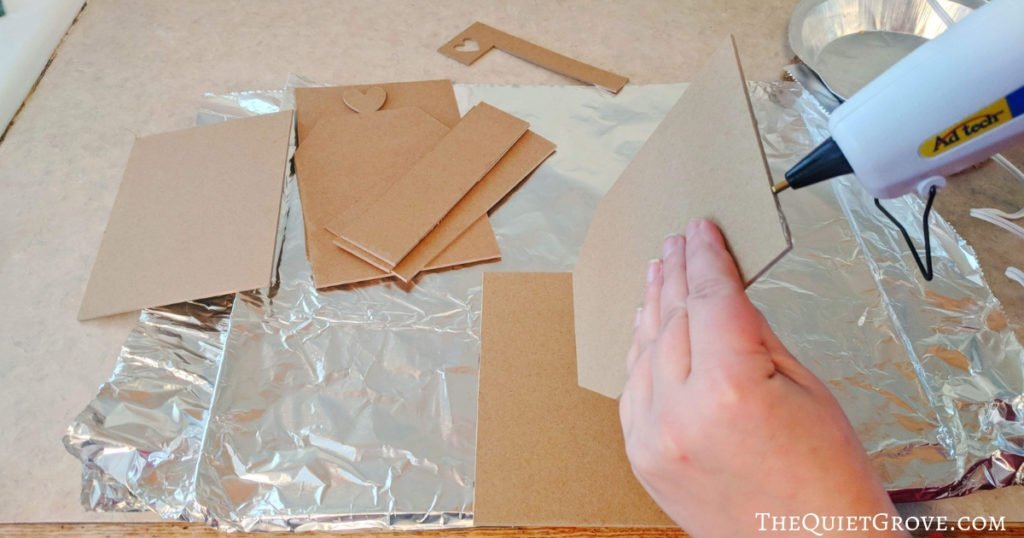
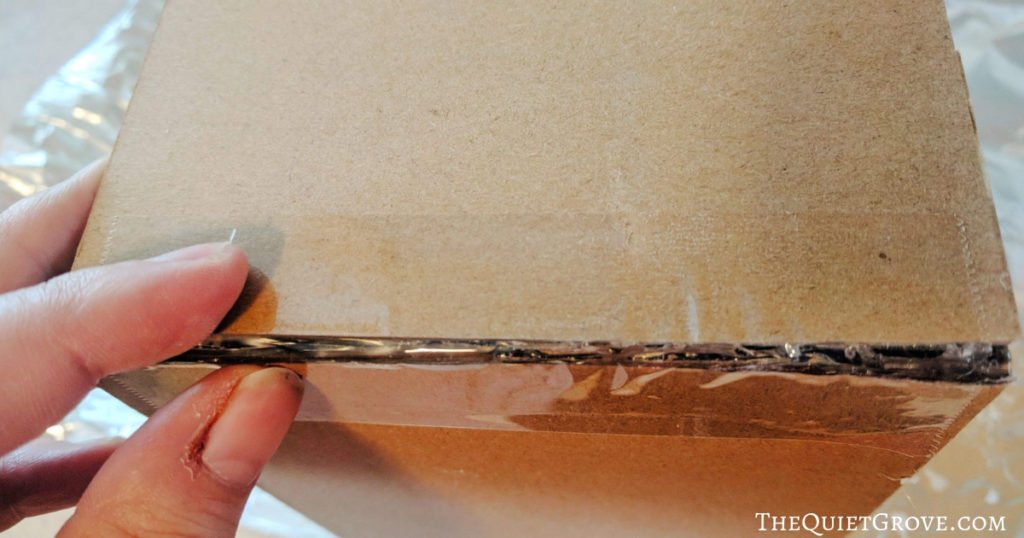
- Use Hot Glue to assemble all but the front door of the mailbox. (Glue the back and side walls to the base, then the top sections to the walls and the back piece.)
- Attach the Front door to the Mailbox using tape. **I place the tape on the inside of the door when it was open and on the outside of the door when closed so that you could open and close the door.
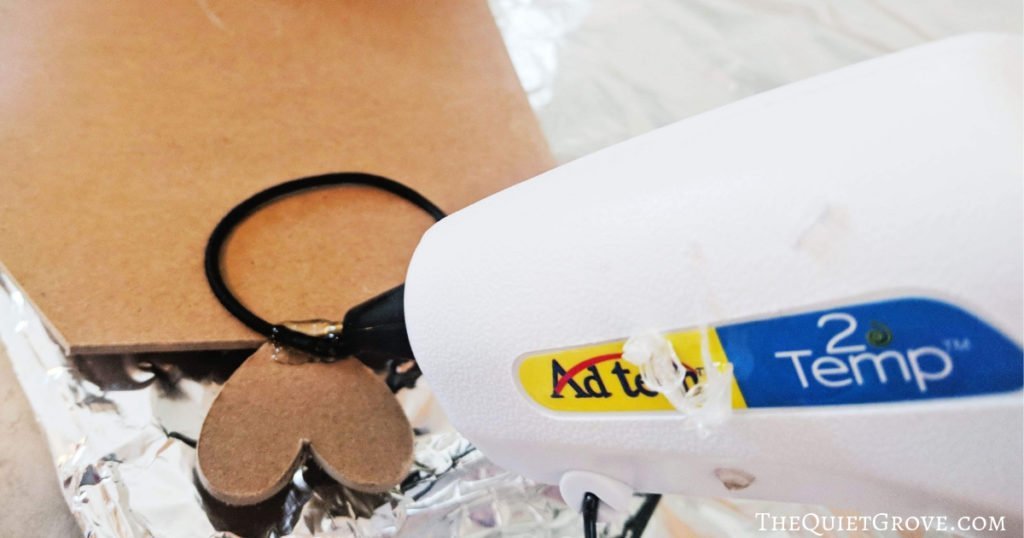
- Attach a rubber band to the inside of the Heart on the top of the door with hot glue.
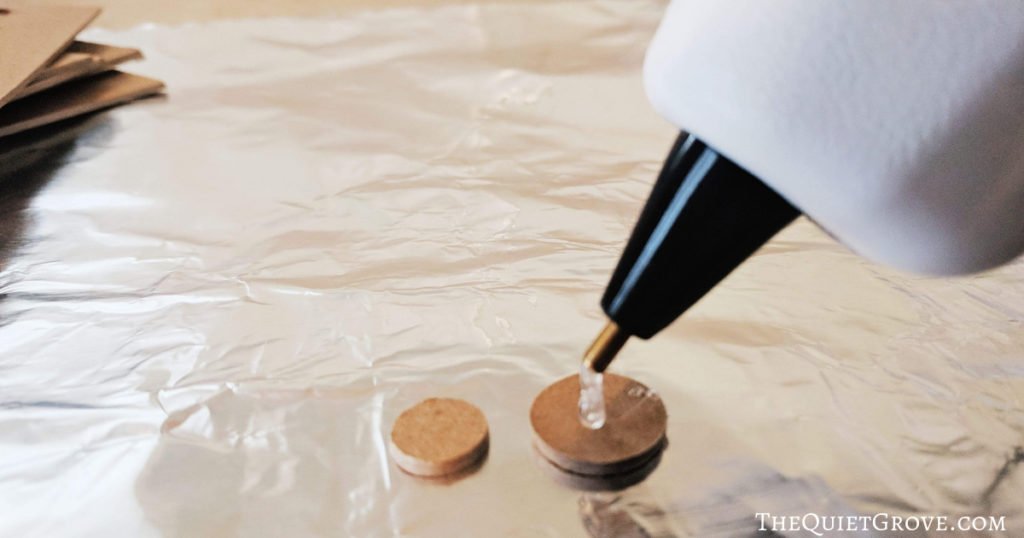
- Hot Glue the two circles together.
Once the mailbox chipboard frame is all assembled start applying the Holographic Vinyl!
- Start with adding the Holographic Vinyl to the inside of the door making sure the band is sticking out. And then to the outside of the door. folding the extra length of Vinyl under the mailbox.
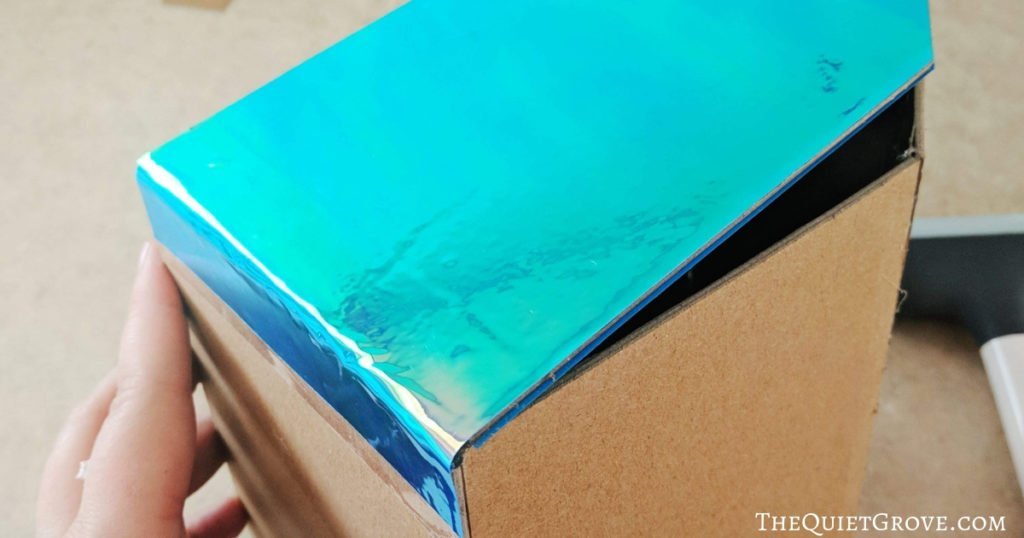
- Add the Vinyl back piece. Again I made it a bit bigger to account for the added size from the Hot glue. Any excess you can just snip with at the corners then wrap onto the sides of the Mailbox.
- Lastly, add the long rectangular piece of Holographic vinyl which is to wrap all the way around the mailbox starting at the bottom *I made the vinyl a bit longer than needed to account for the hot glue. and so that you could fold into the inside lip of the opening.
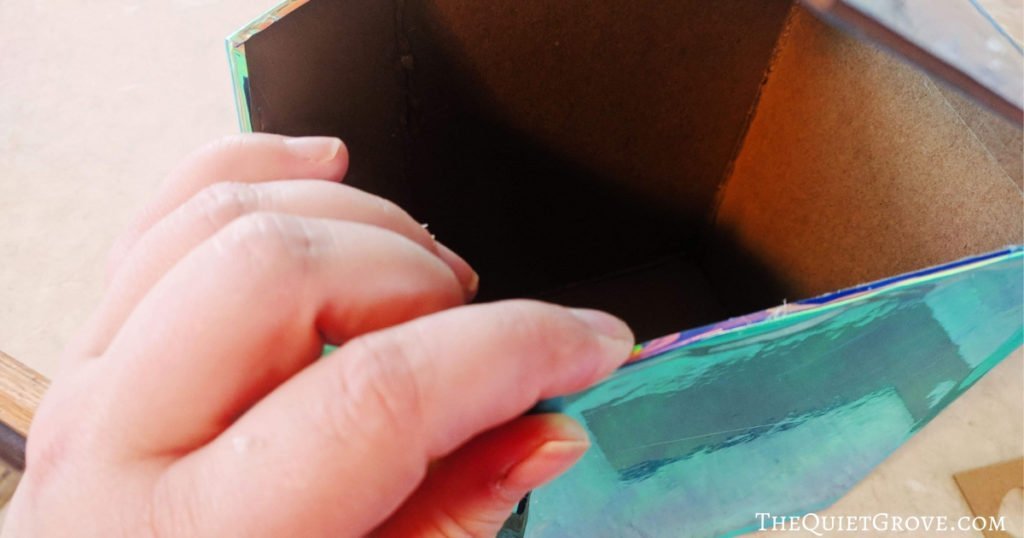
- Lastly, add the holographic vinyl to the larger circle's top and sides and hot glue it to the smaller circle.
- Glue the circles to the top of the mailbox close enough that the rubber band can loop around it to hold the front door closed.

Now to add the decorations:
- Place the Valentine Mail design on the left side of the mailbox and use the scrapper to make sure the vinyl is fully attached.
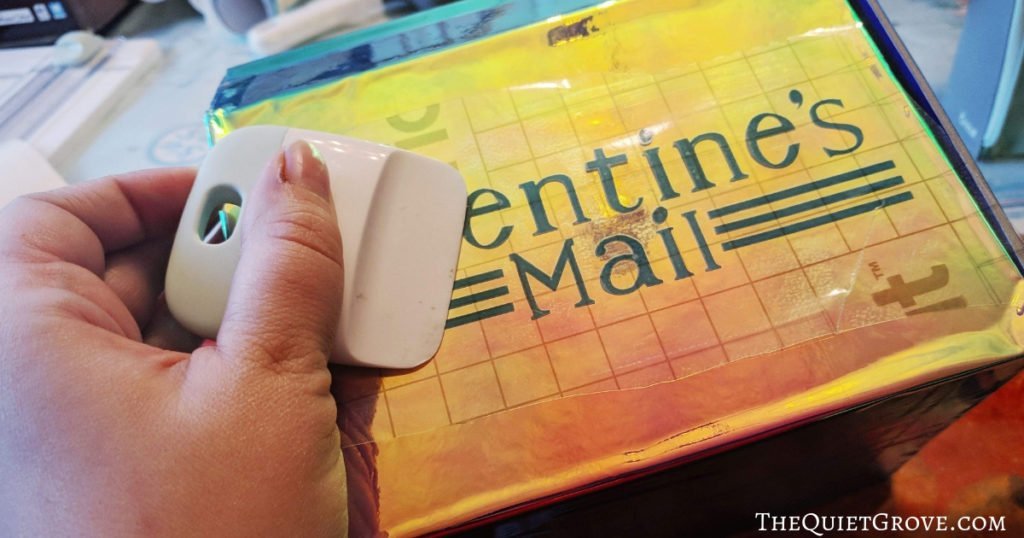
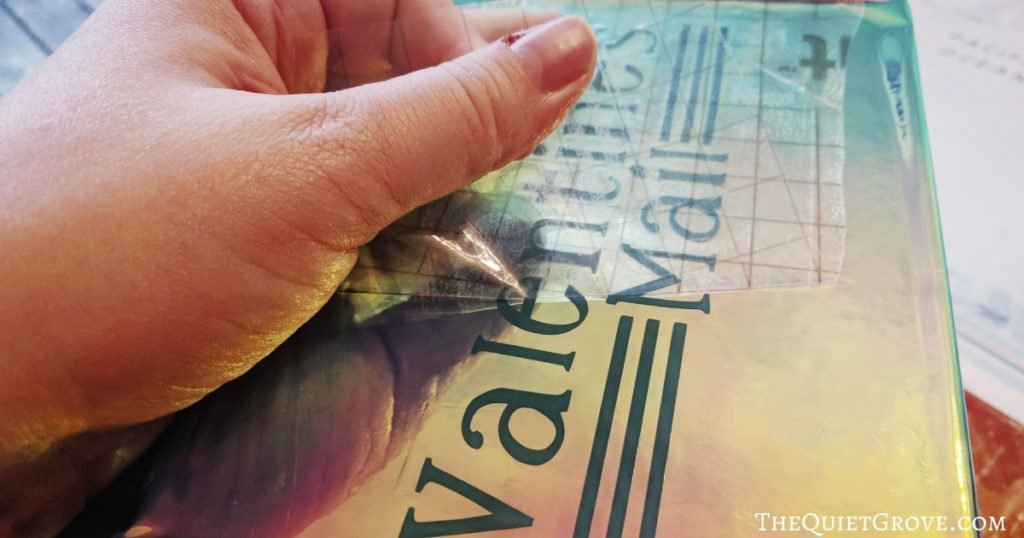
- Carefully peel off the transfer tape. then repeate with the heat design on the Mailbox door.
- Hot glue at an angle to the right side of the Mailbox.

This Valentine Mailbox is perfect for holding your child's Valentines from school and friends, and then later can be used to leave special notes and gifts to your child. Just like in Little Women!
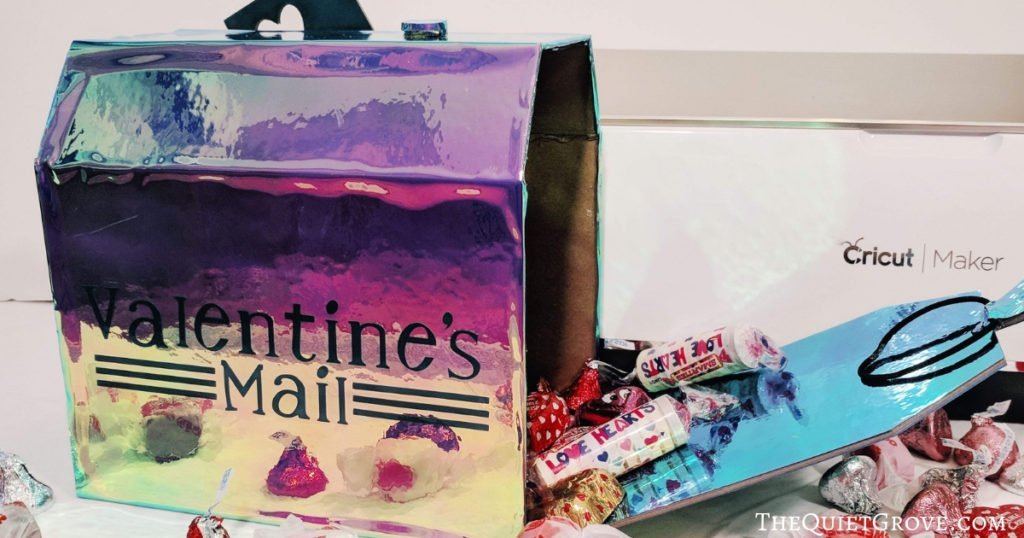
I love how sturdy the Mailbox turned out thanks to using Heavy Chipboard. I also love how the colors shift and change depending on the angle you look at the mailbox thanks to the Holographic Vinyl. I had soo much fun making this project that was only made possible thanks to my Cricut Maker.

Honestly, I have to say the more I use my Cricut Maker the more I am in LOVE with it. It can do everything my Cricut Explore Air 2 can and soo much more thanks to its sweet adaptive tools (Knife Blade, Rotary Blade & Scoring Wheels) Seriously the sky is the limit and my creativity runs wild with the possibilities.
If you liked this post then check out these: (Click on the photo to go to the posts)





This is such a fantastic idea 🙂 And so cute too! I will have to give this a try. What a nice touch.
Thanks! It is actually really easy to make. and it looks soo cool.
This is such cute craft! The holographic vinyl really makes it pop.
My daughter insisted we use it. We both love that with the holographic vinyl how the colors change depending on the angle you look at it.
That is so cute! I didn't realize this machine could tackle such thick material. That opens up some possibilities!
The Cricut Maker is amazing. With its adaptive tools, it can cut delicate materials like fabric, felt and crepe papers as well as thick/hard materials like leather, Balsa wood and heavy chipboard. The sky is the limit with what you can do.
Awe this looks like such a wonderful idea. Valentines Day is one of my favorite holidays so I'm always looking for ways to celebrate.
Thanks. It's one of my favorites as well!
This is so creative! I love all the details you added so I will have no problem recreating with my daughter. Awesome!
Thanks. Whenever I do a DIY I try to make it so even a beginner can follow along and make it.
This is a great project to do with your children ahead of Valentine's Day. It can surely get them excited for the love holiday.
I actually made this for my daughter. She can't wait to use it to store all her Valentine Cards.
Lovely ideas. And a lovely DIY I will say. I wish I could be so creative.
One of the great things with the Cricut is there are soo many designs all ready for you to use (via their design space and crafty bloggers like me). So you dont have to be "Creative" to make creative things.
Ah Valentine's Day was my favorite in elementary school because of the mailboxes! I may have to make one for myself with these ideas! -Tonya Morris
You really should!
Awww! how cute is that! Absolutely adorable idea for this sweet holiday! I wish it was of use for me but my Valentine's this year will be on the road
What a lovely DIY - perfect for Valentines Day and a great way to celebrate! The Cricut machine is such a great tool!
Such a fun craft for Valentine's Day! I absolutely love this idea.
What a great device. My girlfriend has a Cricut machine and makes wonderful items.
My girls would love to have this be their mailbox for their classroom valentine's! What a hit!
Such a cute and a fun idea. I really can't imagine that we are all now preparing for Valentines Day. So creative!
I didn't know you could make so much with the Cricut. that's awesome!
What a fun DIY project for Valentine's Day! I really love the holographic mailbox. xo, Suzanne
What a great idea for a valentines project
this looks adorable and so well made! Of course, I don't hope to obtain the same result as I am helpless at crafting 🙁