
DIY "Midnight Kisses and New Year's Wishes" New Years Party with Cricut!

POST DISCLAIMER: This is a sponsored conversation written by me on behalf of Cricut. The opinions and text are all mine.
READER COMMENT DISCLAIMER: Comments submitted may be displayed on other websites owned by the sponsoring brand.
Looking for the perfect theme and decor for your upcoming New Year's Eve Party?
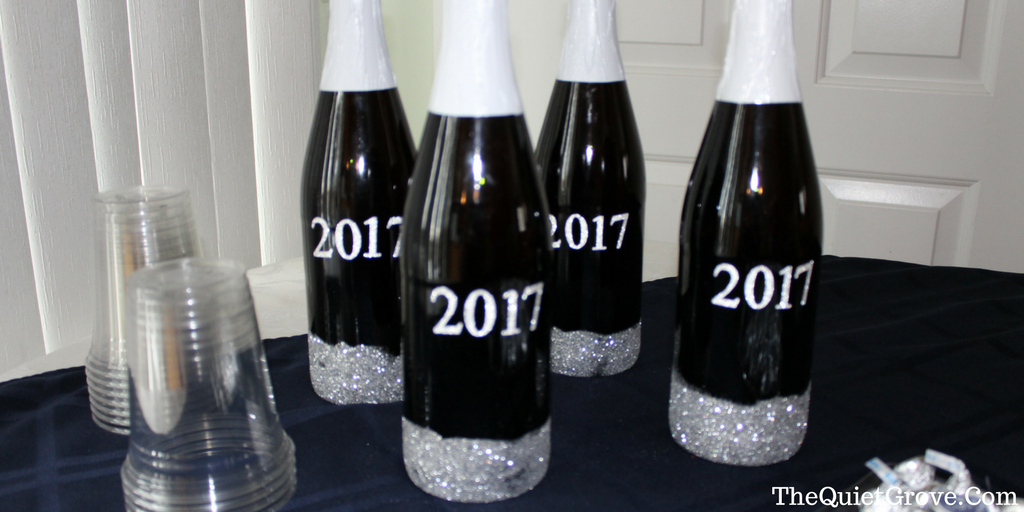
When my mother told me that she was hostessing a New Year's Eve party I volunteered to help design and make some fun party decorations for the big night. I decided on the Theme: Midnight Kisses and New Years Wishes with Dark Navy Blue and Sparkling Silver as the colors. In the end, I created a Midnight Kisses Banner, 2017 Silver glitter Sparkling Cinder bottles, Hershey Kiss stickers, and fun New Years Stick Photo Props.
I used my Cricut Explore Air 2 to cut out all my designs. I love how easy Cricut makes it to import my own designs and how well the machines works with different materials so I decided to utilize this for the Party decorations. Can I tell you that I am in love with how they all turned out! Too bad I won't be there for the party since my husband and I are in Europe with our kids for the rest of the winter.
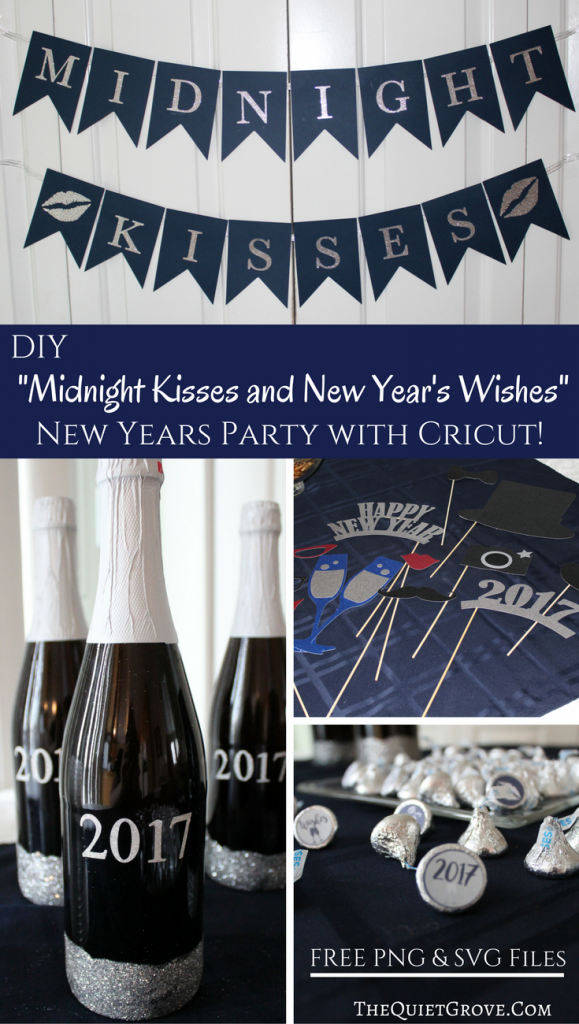
For those of you who are in the process of planning your own New Year's bash, I am excited to share with all of you the designs (available for FREE), instructions and materials list for my "Midnight Kisses & New Year's Kisses" party so you can make them too! If you are worried because you have never used your own images in Cricut's Design space or arent sure what steps are needed for using different materials with your Cricut Cutting Machine, don't worry. I'll talk you through it step by step in the post. Its actually quite easy once you know the steps. You'll be a pro in no time!
Make your drinks part of the decorations at your party by dressing up their bottles with Glitter and Glitter Vinyl! These 2017 Glitter Bottles are easy to make and are sure to make a statement at your New Year's Party.
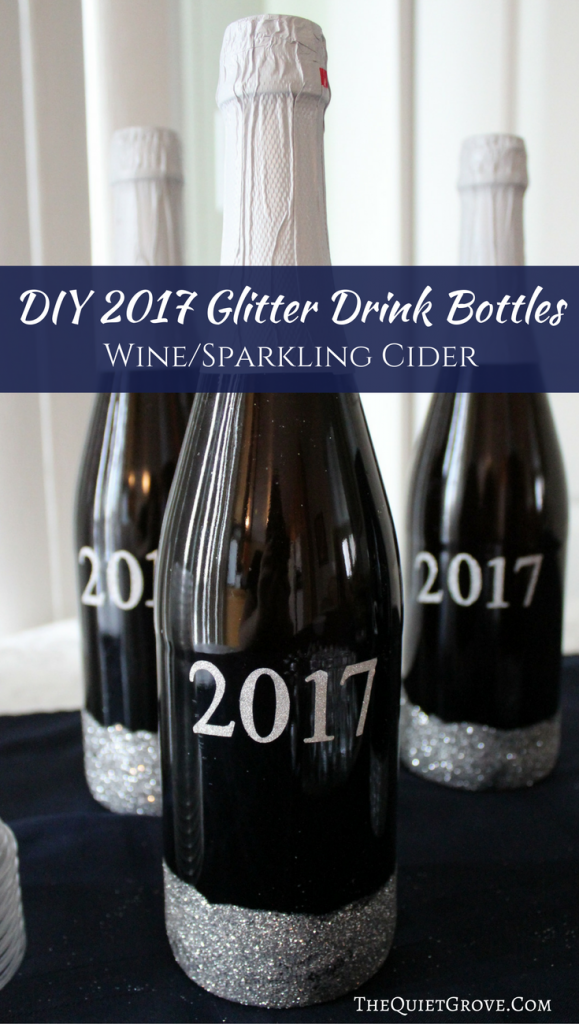
Materials:
- Wine or Sparkling Cider
- Cricut Explore Air 2
- Cricut Design Space
- Silver Glitter Vinyl
- Standard Grip Mat
- Modge Podge
- Silver Glitter
Directions for Glitter Bottom on Drink Bottles:
- First, peel off the existing label (my sister helped me with this by soaking the bottles in cool water to loosen the labels before peeling them off.)
- Spread a thin layer of mod podge on the lower portion of your bottle.
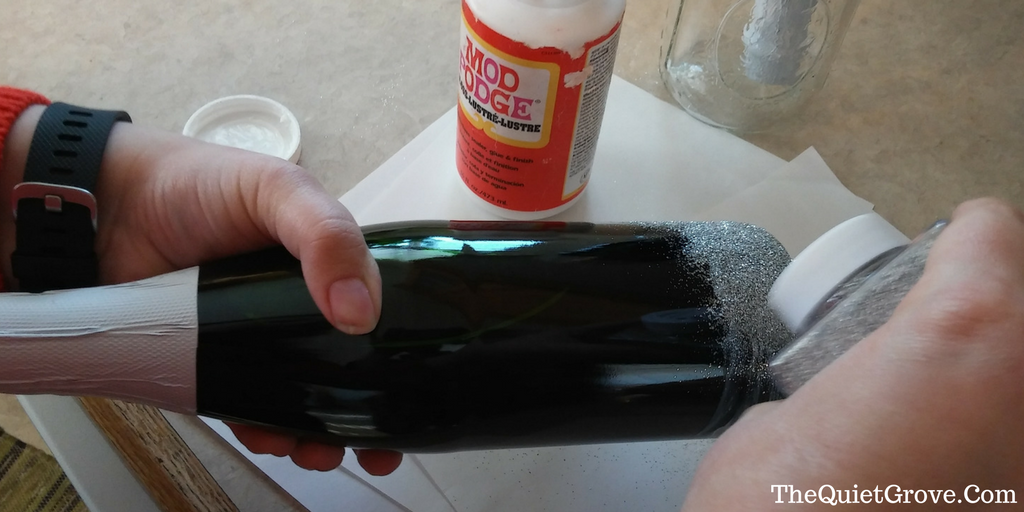
- Pour Glitter over mod podged areas (* I put a paper under the bottle when pouring the glitter so I could easily pour leftover glitter back into the bottle to use again.)
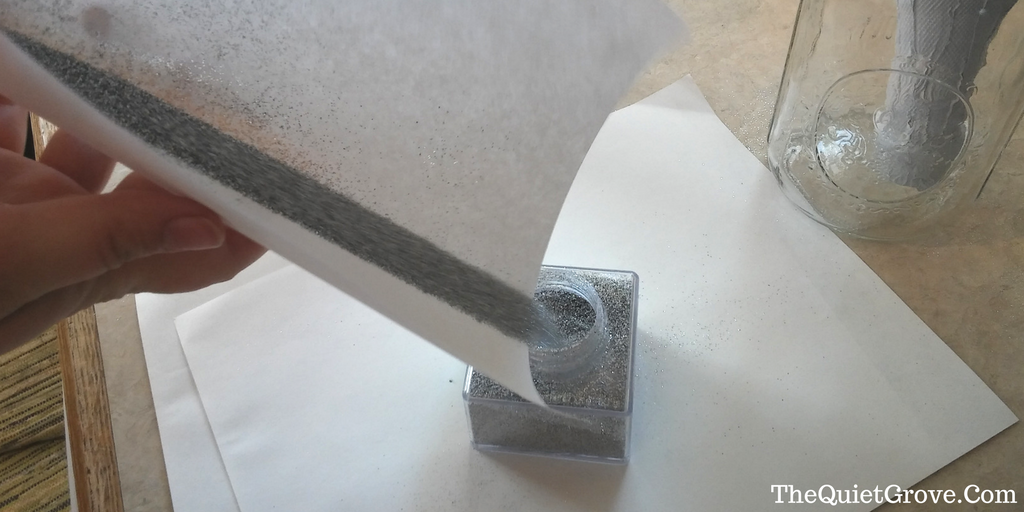
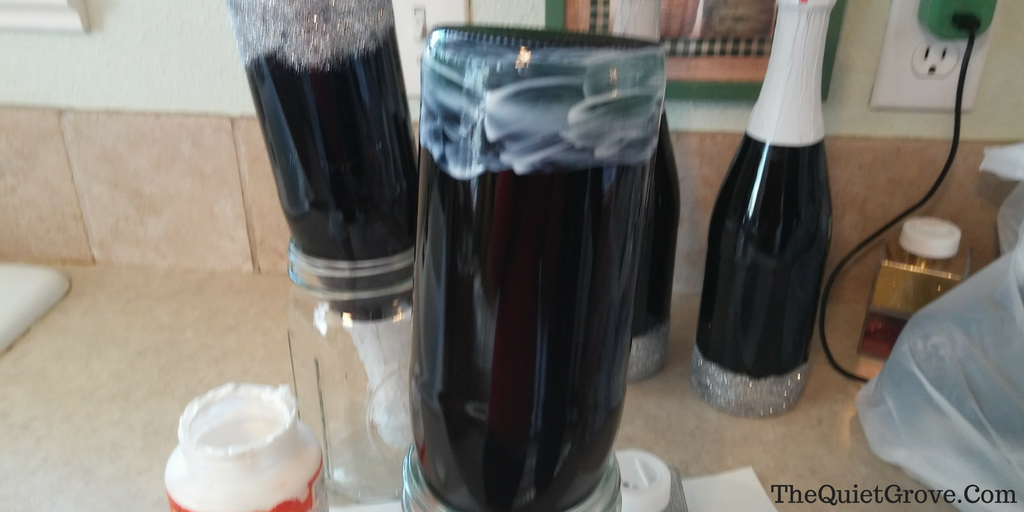
- Place upside down in a quart jar to let glitter part dry.
Directions for 2017 Bottle Label:
- For the 2017 numbers, I used Cricut's "Cake Basic" sized 110.9 pt to fit on the Sparking Cider bottle. (Depending on the size of your bottle you might choose to make the numbers smaller. You can access my Cricut Design Space Canvas HERE.
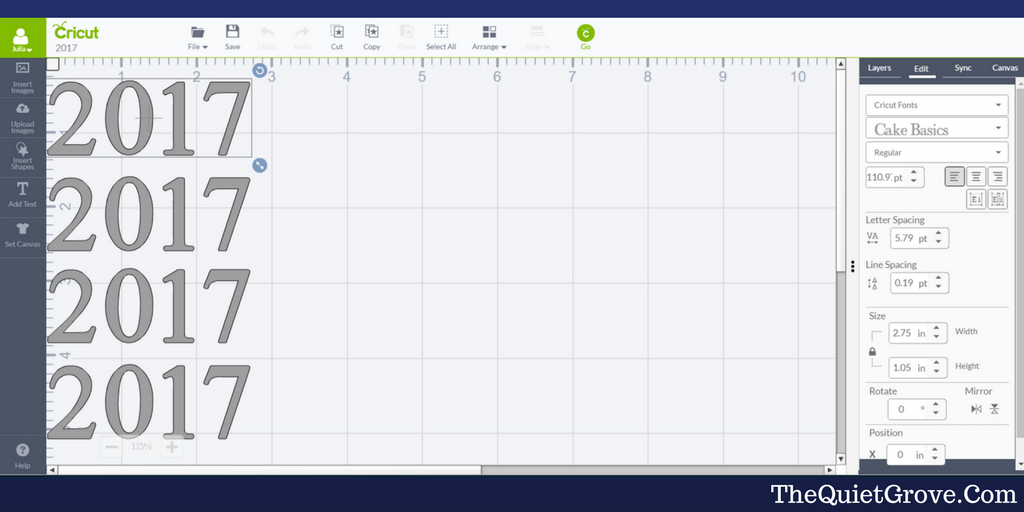
- Click the Go button to send Canvas to you machine to cut.

- Place the Silver Glitter Vinyl liner side down on Standard Grip Mat and feed into Cricut machine.
- Turn your Cricut dial to Custom (and on the computer select adhesive foil.) then click go to start cutting.

- Use scissors to cut around design (so you don't waste more vinyl than you need to) and then stick the design back on the mat to weed out the unneeded vinyl.
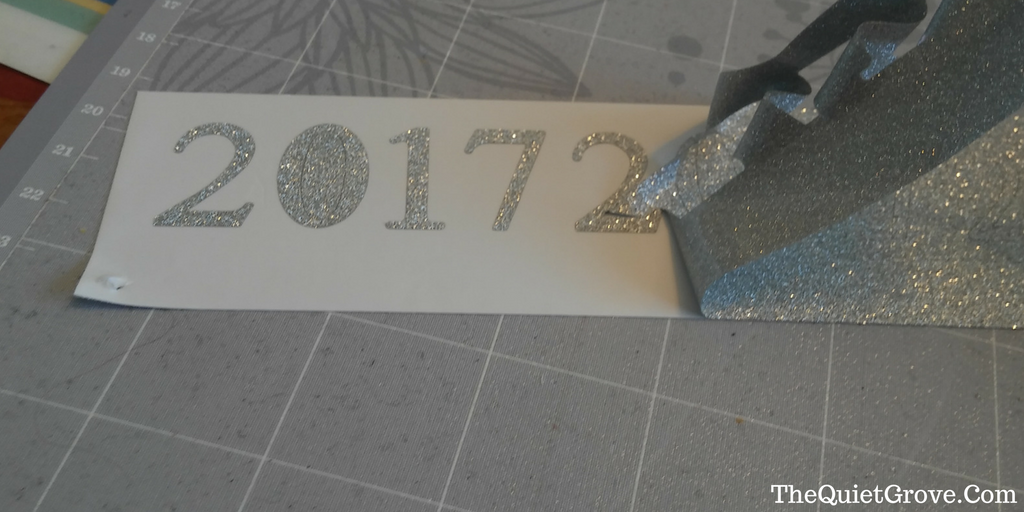
- Use transfer tape to transfer numbers to the bottle. Or hey, if you don't have transfer tape you can just transfer the letters by hand. (Though it can be harder to keep the numbers straight this way.)
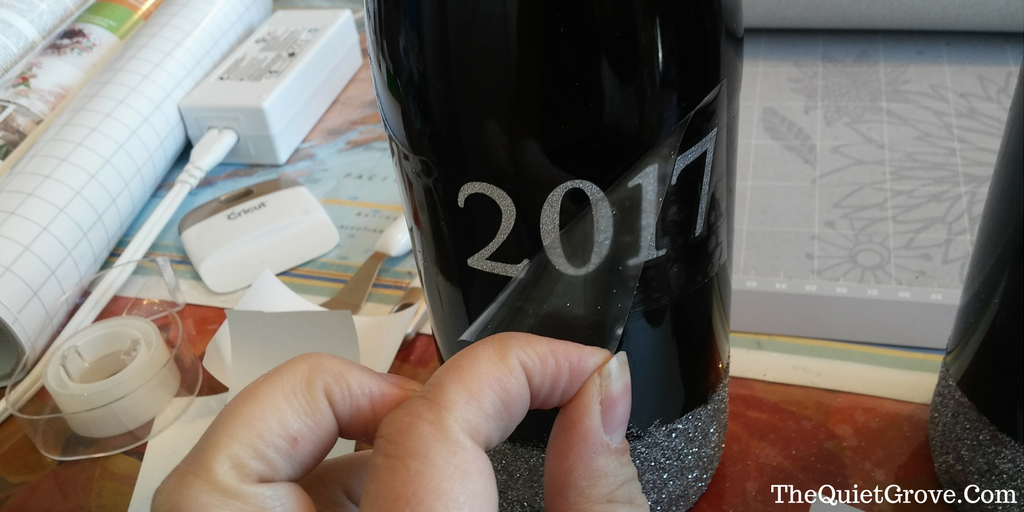
Whether you use these Glittery drinks throughout your New Year's Party or save them to toast the magic hour they are sure to be a dazzling hit.
For Directions and Designs to make the New Year's Kisses, Banner, and Photo Props click the "Continue Reading" Button to go to the next page.




These are all such cute ideas! Happy New Year 🙂