DIY Eat, Sleep, Mom, Repeat Hat using Cricut's Hat Press

Now it's easier than ever to make custom hats using Cricut's Hat Press!

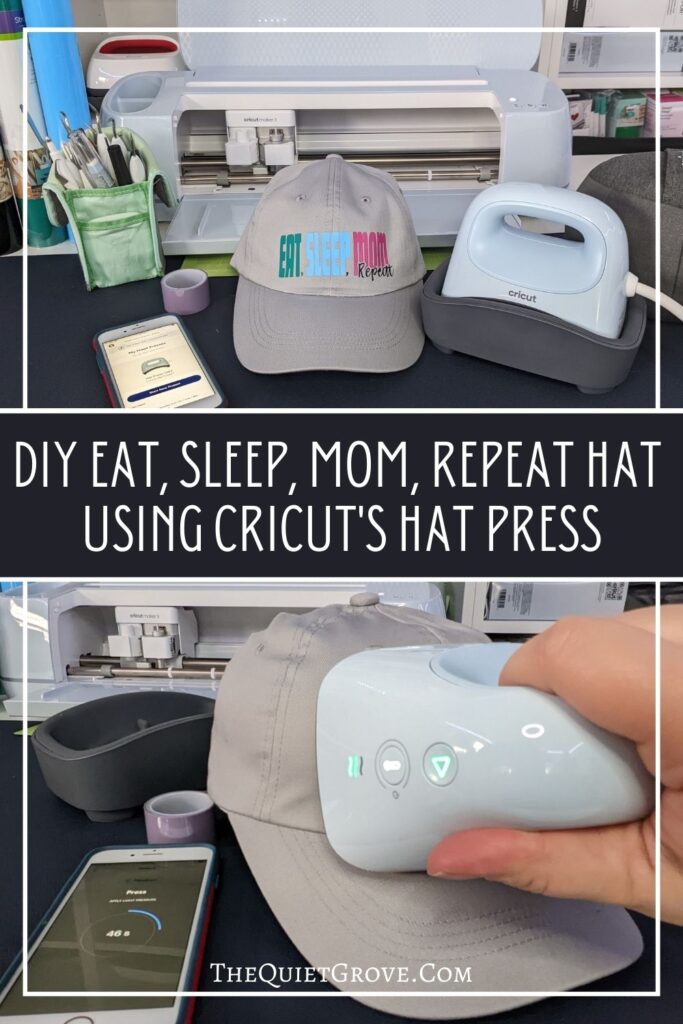
Recently Cricut came out with a new heat press specifically designed for hats and I am totally in love. You can use Cricut's Hat Press on all sorts of hats and you can use it for both Iron-on (Cricut's Heat Transfer Vinyl) and Infusible Ink (Cricut's Sublimation). Really this new heat press is incredibly easy to use (especially in conjunction with Cricut's new Heat App) and making custom hats has never been easier!

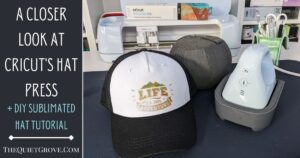
Cricut's Hat Press has a curved heat plate that is designed to go snugly around the rounded surface of a hat while maintaining an even temperature the whole time. Along with the hat press, you get the Hat Form. Which is a spherical heat press mat that fits inside your hat to give you a firm surface to press your hat on. You also get a roll of heat-resistant tape to help adhere your design to that hat so it doesn't shift while you are pressing it.

Today I want to show you how to make a custom Mom hat with Iron-on using this new Hat Press. You can make my Eat, Sleep, Mom, Repeat Hat by following the step-by-step tutorial below or save this post to your Cricut DIY board on Pinterest to make it later on.
DIY Eat, Sleep, Mom, Repeat Hat

Make this fun mom hat with Iron-on using Cricut's new Hat Press!
Materials
Tools
Instructions
Cutting Instructions
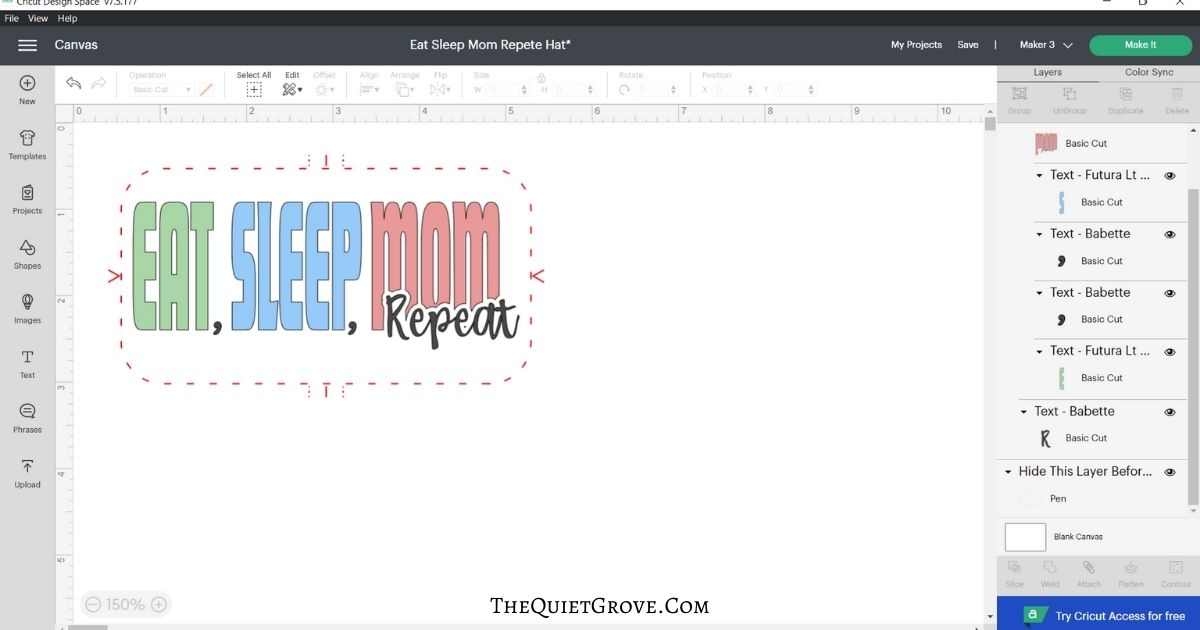
Open Design Space Canvas for free "Eat, Sleep, Mom, Repeat" Hat Design -->HERE<--
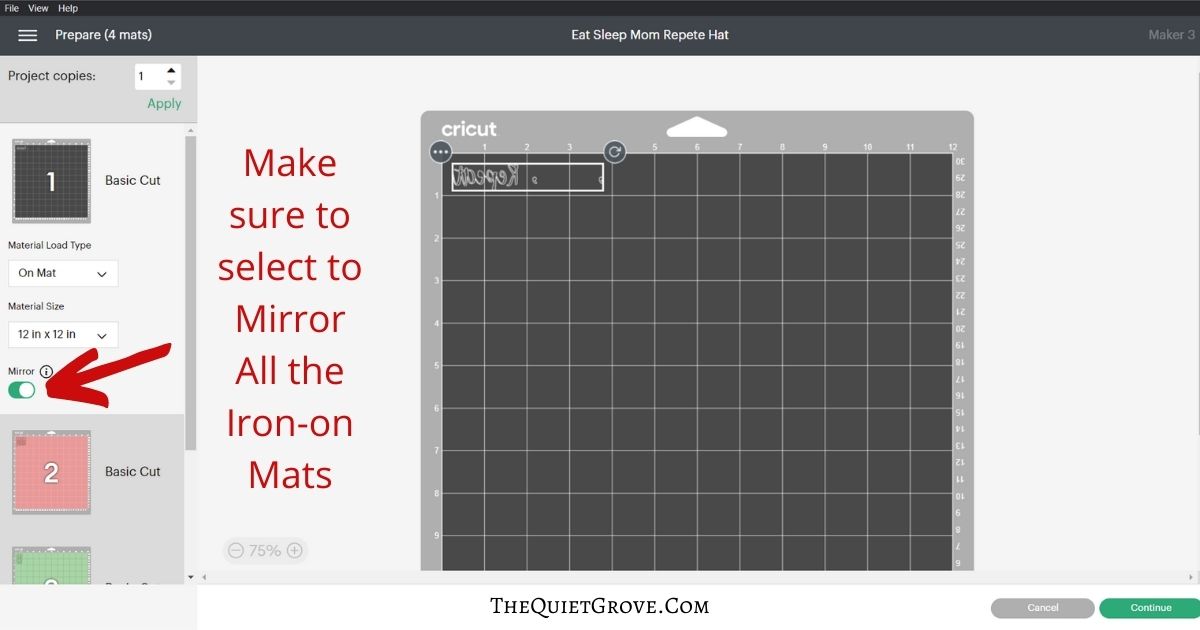
Select to Mirror Image all the Iron-on Mats.
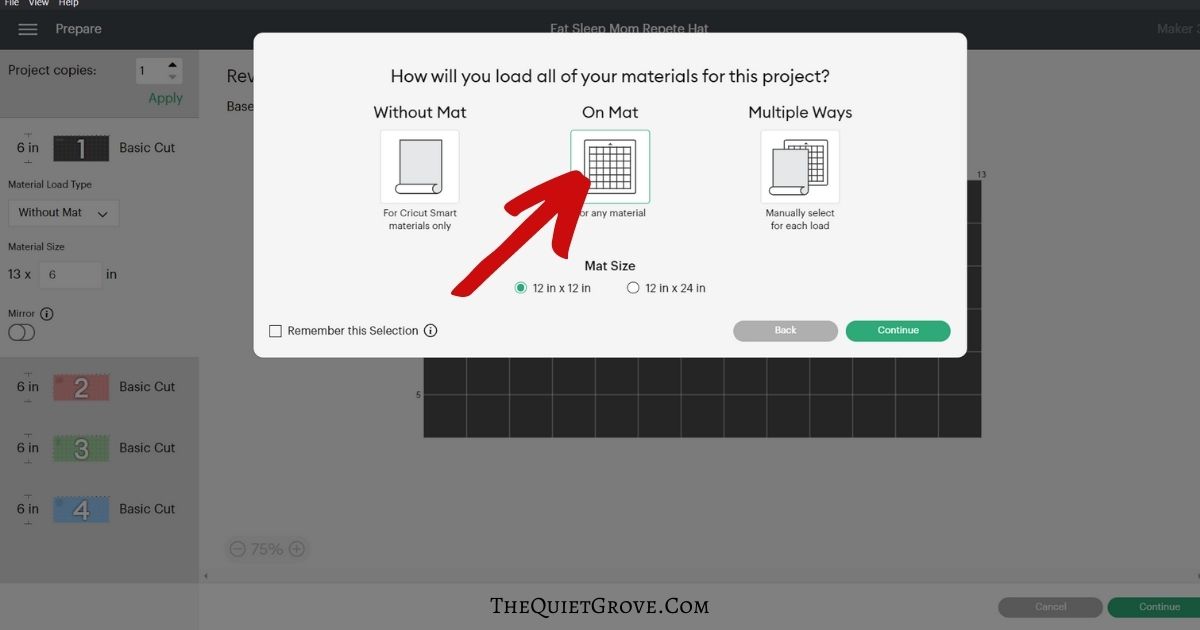
If using the Cricut Explore 3 or Maker 3 Select to cut with Mat
Select Every Day Iron-on as the Material.

Place Iron-on shiny side down on Standard Grip Mat and load into the Cricut to cut.

After cutting each design, use the weeding tool from the essential tool kit to weed the cut design.
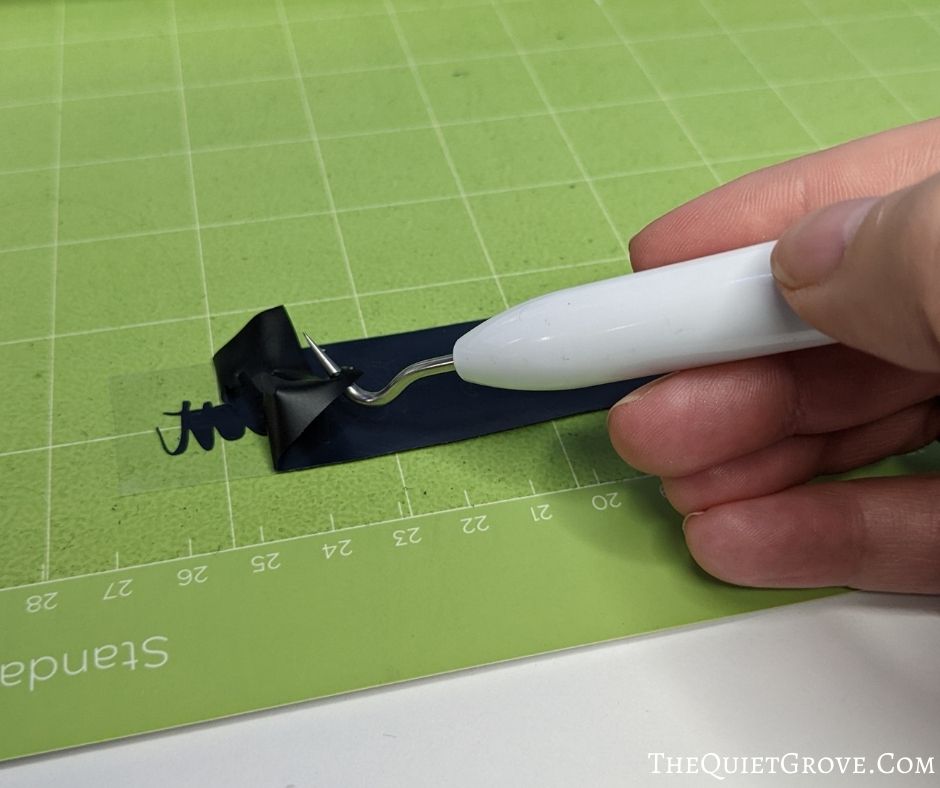
Repeat for each color (Green, Blue, Pink & Black - or whatever colors you choose).
Pressing Instructions:
Open Cricut Heat App, Select Materials (Everyday Iron-on & Cricut Baseball Hat Blank), & Select in the App to send the Setting to the Heat Press (settings are 320° for 60 seconds)

Prep Hat (do this by opening the hat, removing the cardboard insert, folding out the sweatband, placing the hat form into the hat, and securing the hat to make it nice and snug.)

Preheat Hat for 5 seconds.

Place the first color of Iron-on securing the edges of the Iron-on backing to the hat with Strong Grip Tape.

Press first color for 60 Seconds (I started with the Black since it has the commas as well as repeat words then moved on to each colored word)
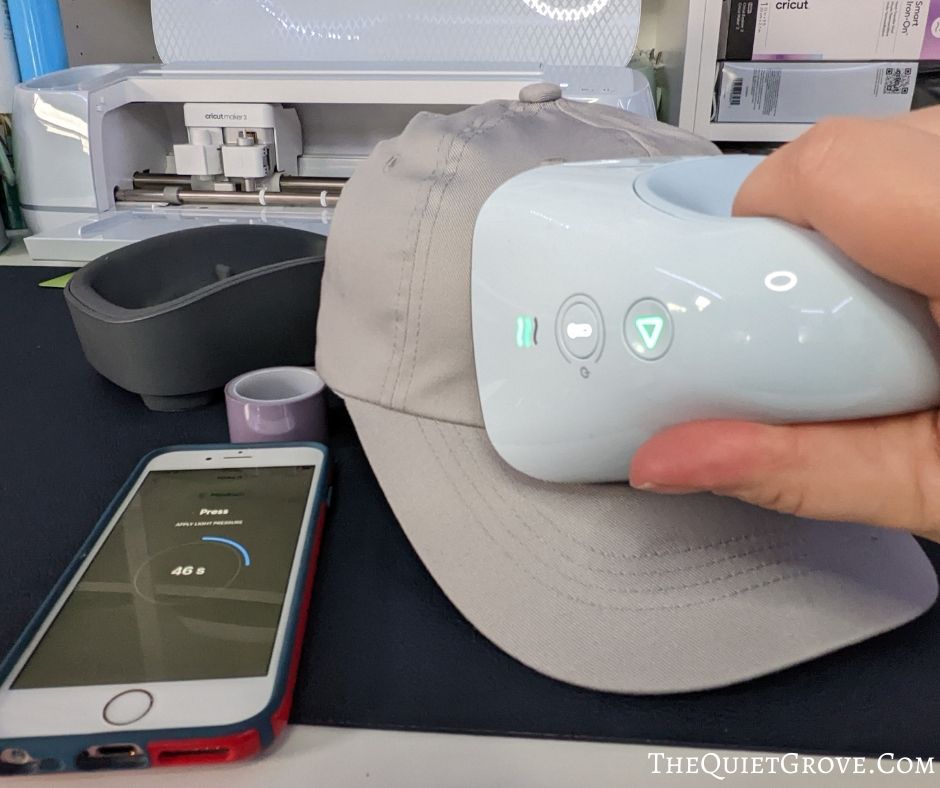
Let cool then peel off the backing Then move on to the next color making sure after laying down the color you recover up the previously pressed words using their peeled-off backing until the full pattern is pressed.

Once the last color is pressed let the hat cool before peeling off the protective backing and you are done! Enjoy!!

Recommended Products
As an Amazon Associate and member of other affiliate programs, I earn from qualifying purchases.


I really do love how my Mom hat turned out. I had been playing around with the design for a while and when I got the Cricut Hat Press I knew I had to make this design into a custom Mom hat for me. I think I may need to now make a matching shirt.

I really love how easy this hat was to make using the Cricut Hat Press & Hat form. It only took me minutes to do. I am soo addicted I want to make more custom hats. My daughter has asked me to make her a custom bucket hat and my son a trucker hat.
If you liked this post, then make sure to check out these: (Click on the photo to go to the post)