A Closer Look at Cricut's Hat Press+ DIY Tutorial

(This post is sponsored by Cricut. However, the views and opinions expressed are entirely my own. You can view my full disclosure here. )
Have you heard about Cricut's Hat Press?
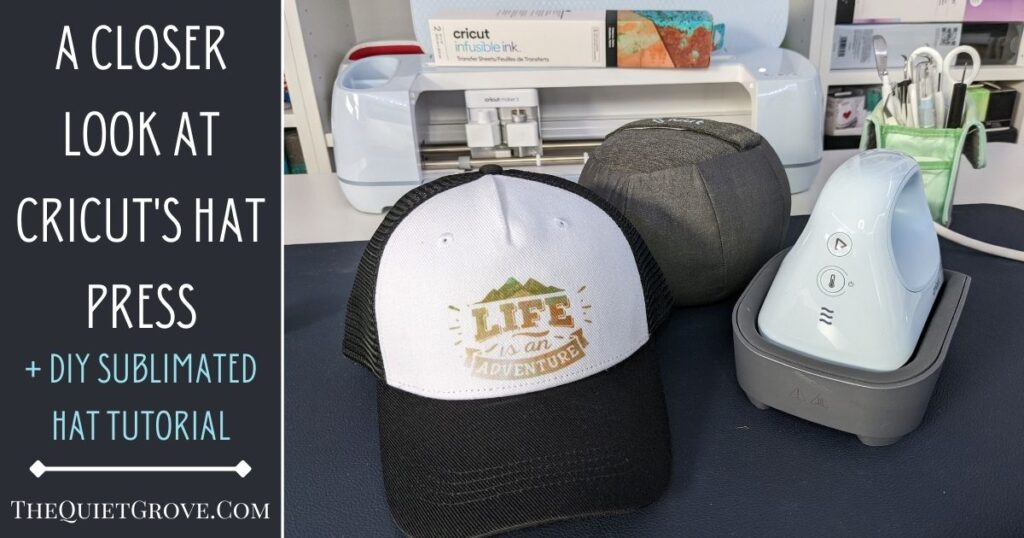
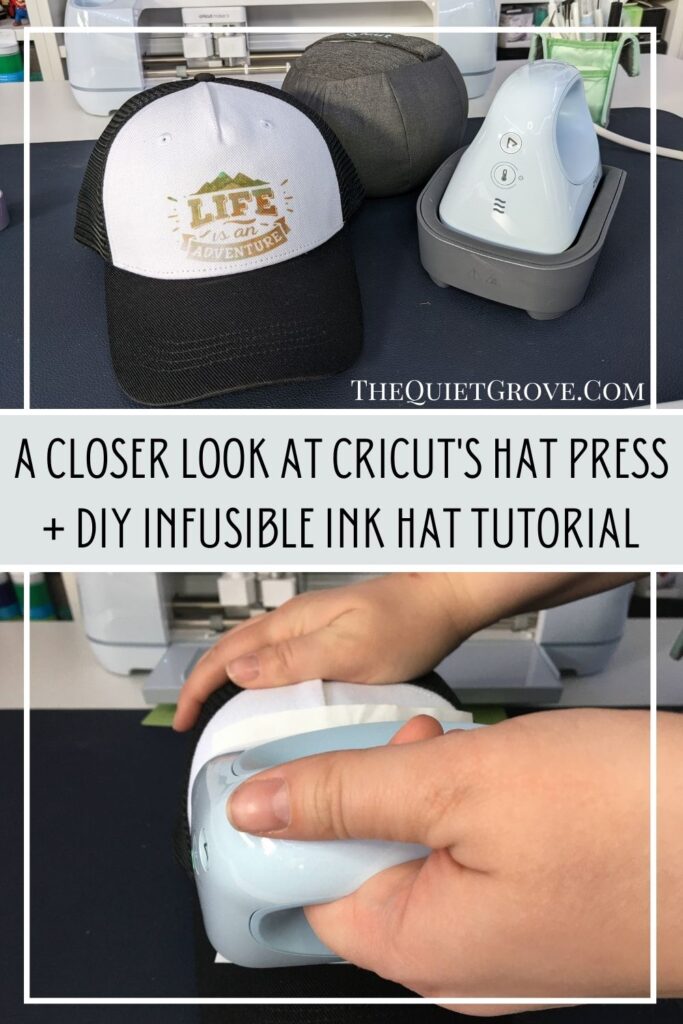
This last month Cricut announced the launch of the Easypress 3, The upcoming Auto Press (which I want soooo bad) a new hat press! I was especially excited for Cricut's Hat press and couldn't wait to try it out. I had previously tried making custom hats with the Easypress mini, but I knew that it would be even easier with the new Hat press.

I had no idea how true that was. Cricut's Hat Press was designed to make hats with ease. It has a curved heat plate which is perfect for going around the rounded surface of a hat while maintaining an even temperature the whole time. Along with the hat press, you get the Hat Form. Which is a spherical heat press mat that fits inside your hat to give you a firm surface to press your hat on. You also get a roll of heat-resistant tape to help adhere your design to that hat so it doesn't shift while you are pressing it.
You can use Cricut's Hat press to use with Iron-on (heat transfer vinyl) as well as Infusible Ink/Sublimation. You can also use the hat press on a variety of styles of hats including baseball caps, trucker hats, and yes even bucket hats.
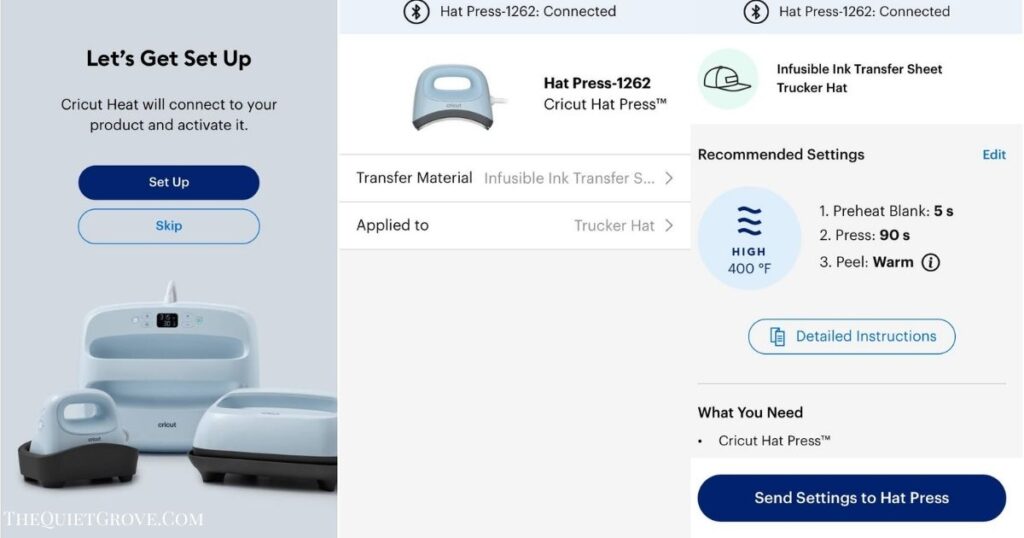
The hat press has 2 modes. first, you can just turn it on and select low medium, or high temperature (like with the Easypress Mini.) Or, you can use the Cricut Heat App. Through the app, you select what materials you are using. Then the app will give you detailed instructions. Lastly, the app will send the exact time and temperature to the hat press and even act as a timer.
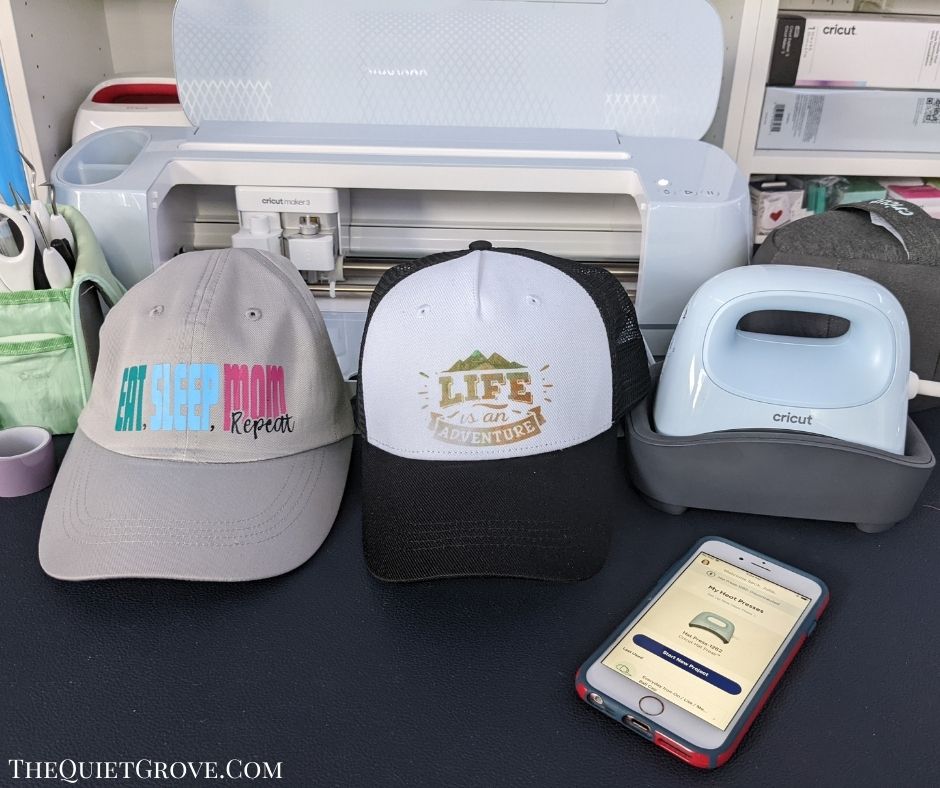
I love how easy it is now to make custom hats using the new Cricut Hat press. To show you I have included a tutorial for making a fun Life is an Adventure Infusible Ink Trucker Hat with the hat press.
DIY Adventure Trucker Hat Made with Infusible Ink

Learn how to make your own custom Infusible Ink Trucker Hat using Cricut's new Hat Press!
Tools
Instructions
Cutting Instructions
Open the Cricut Design Space Canvas for the Adventure Trucker Hat -->HERE<--
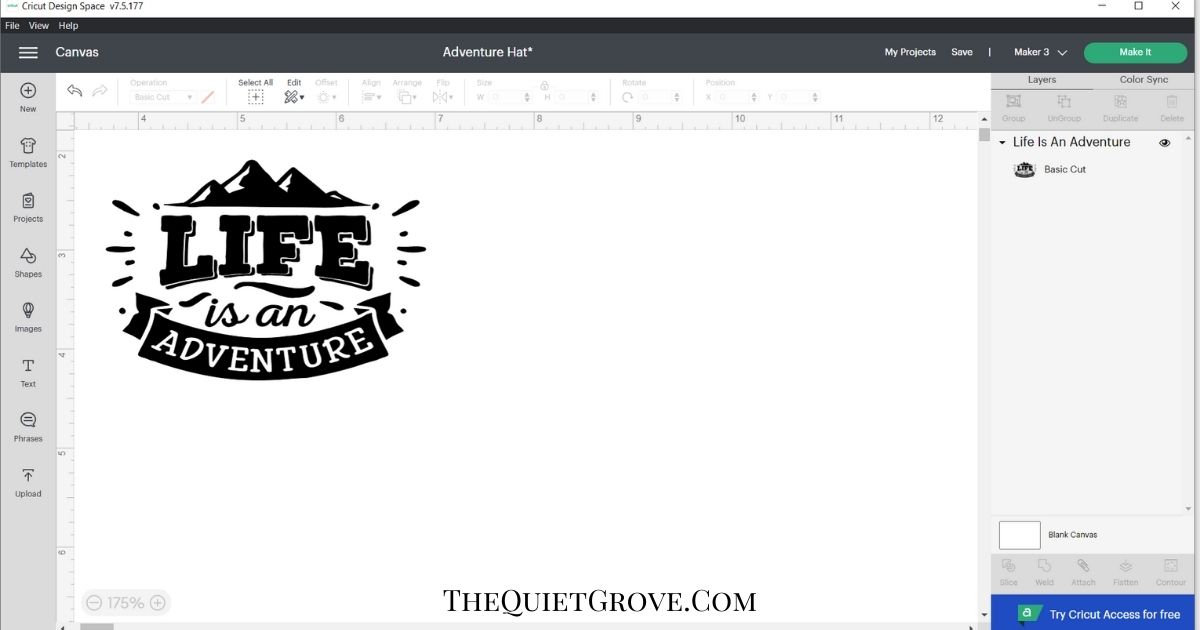
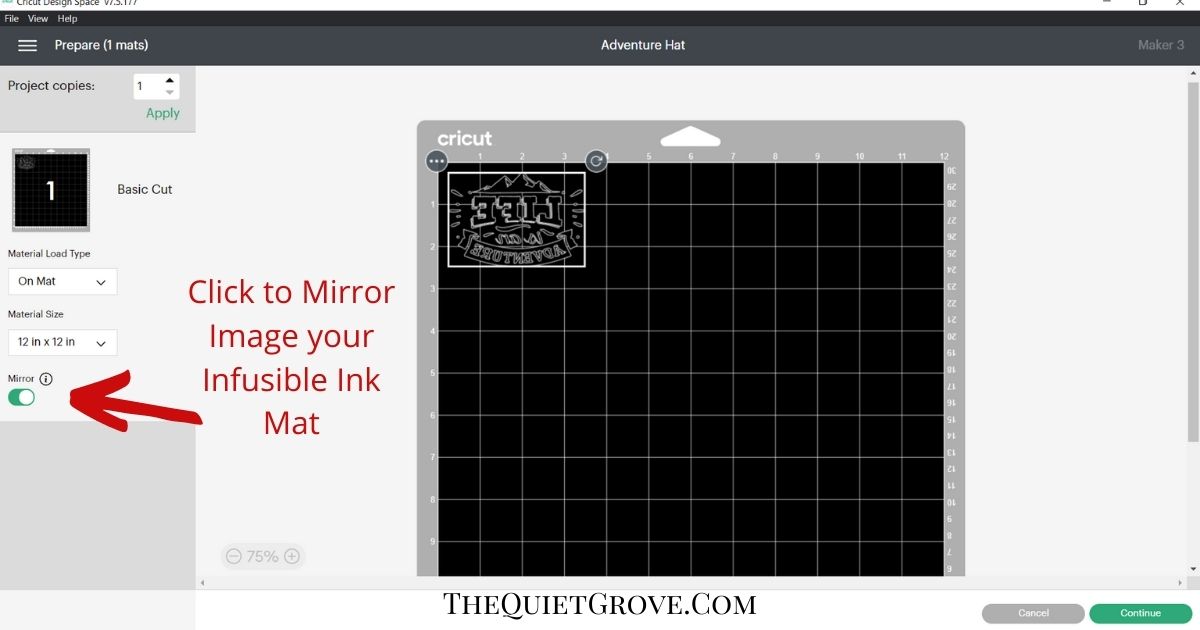
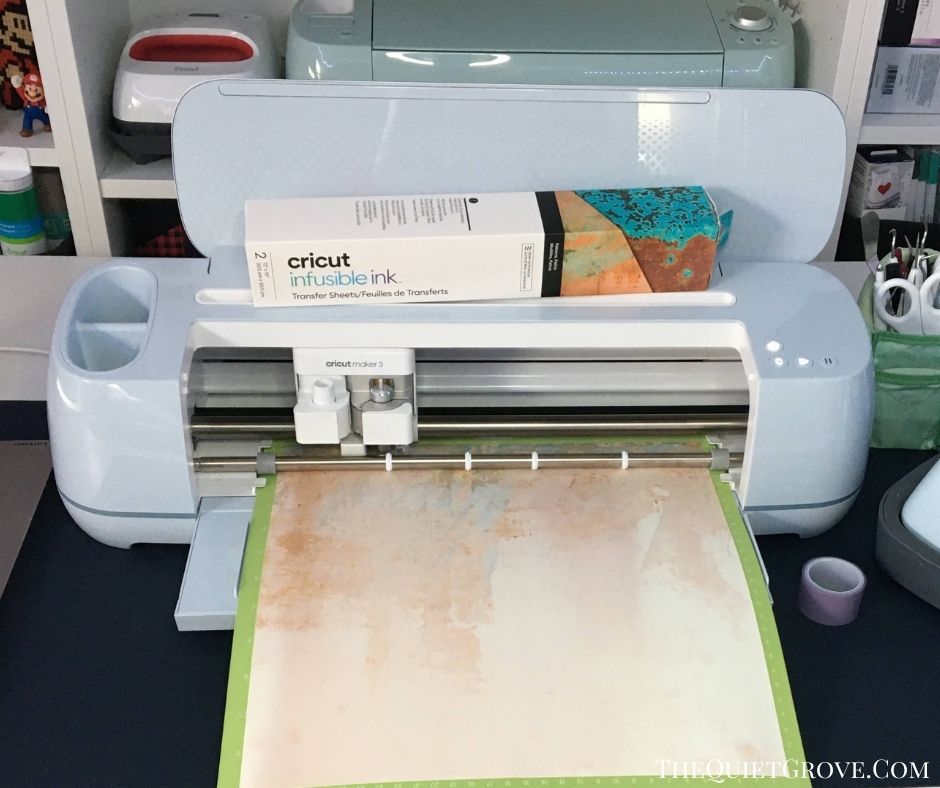
Click to make and select Mirror Image for the mat.
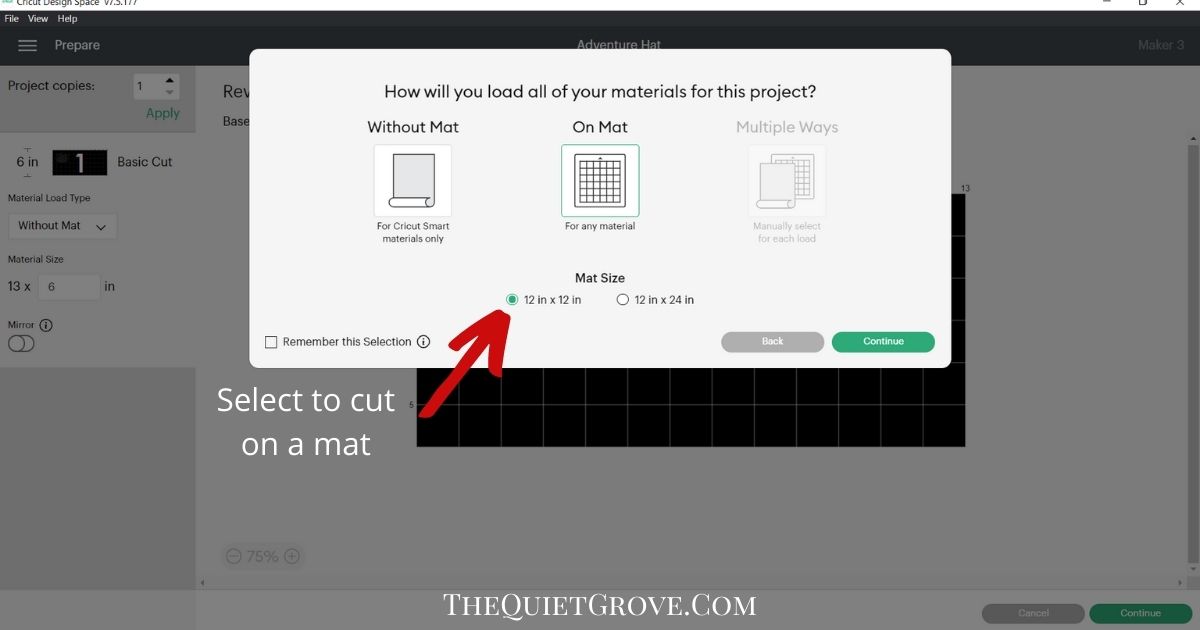
(If cutting on a Maker or Explore 3) Select to Cut on a Mat.
Select Infusible Ink Sheet.
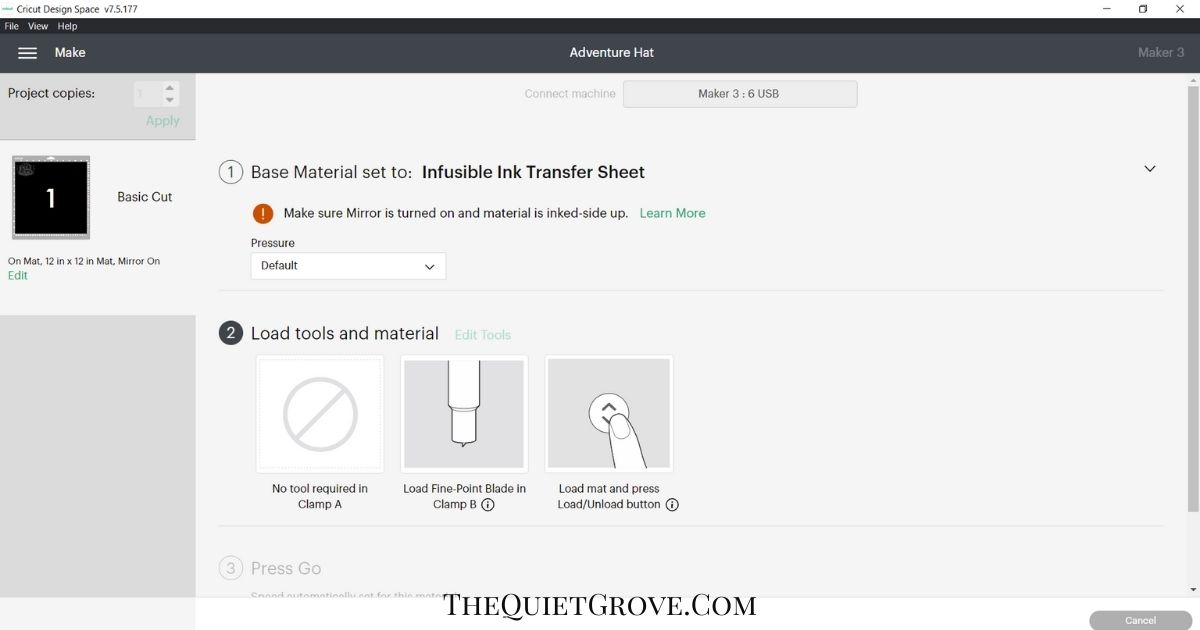
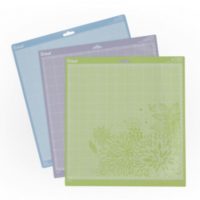
Place Infusible Ink sheet on standard grip mat and load into the Cricut to cut.
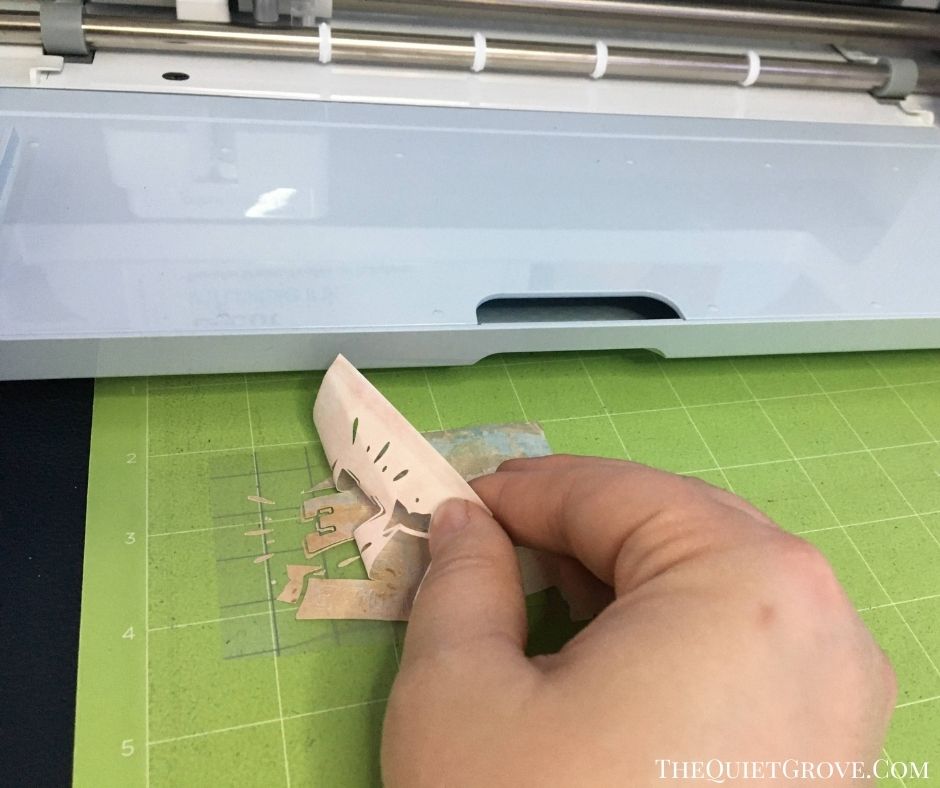
After cutting design weed by hand.
Pressing Instructions
Open the Cricut App and select Infusible Ink as the Material and Trucker Hat as what to apply to.

Preheat the front of the hat for 15 seconds.
Place Hat form inside of Hat.
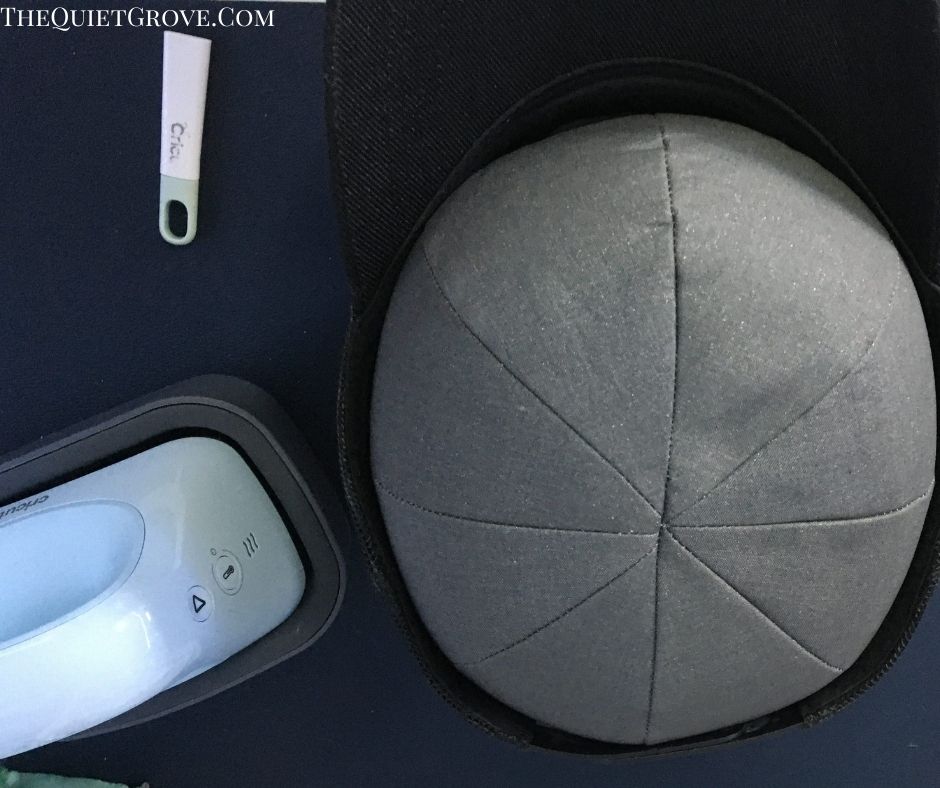
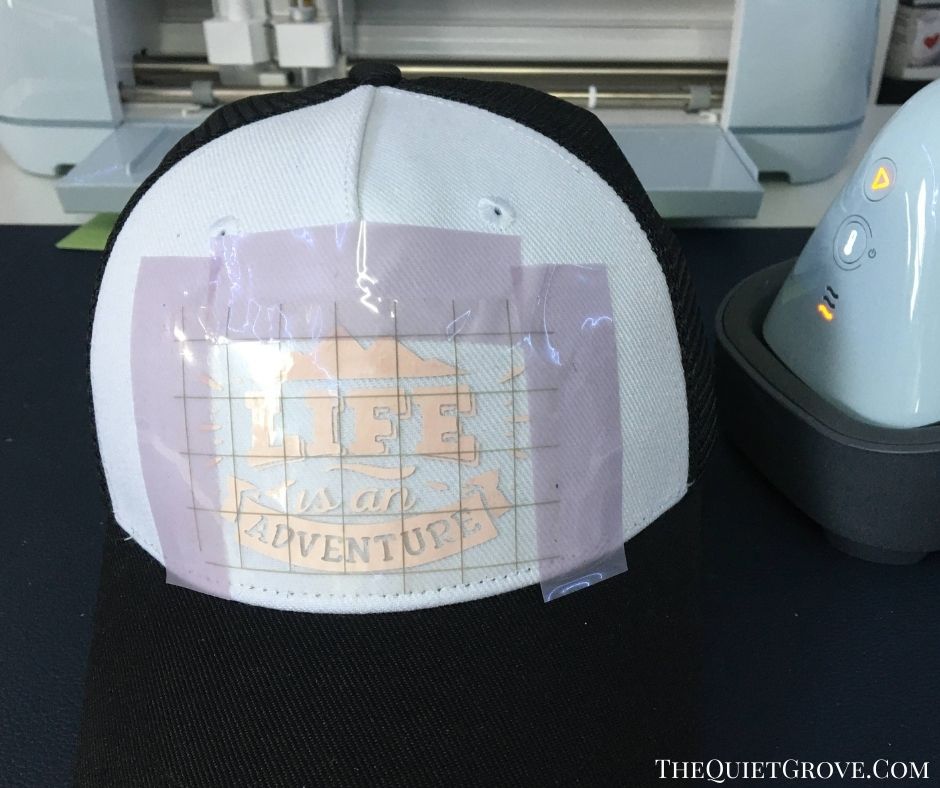
Use a lint roller on the area you want to put the design then carefully place the design on the hat.
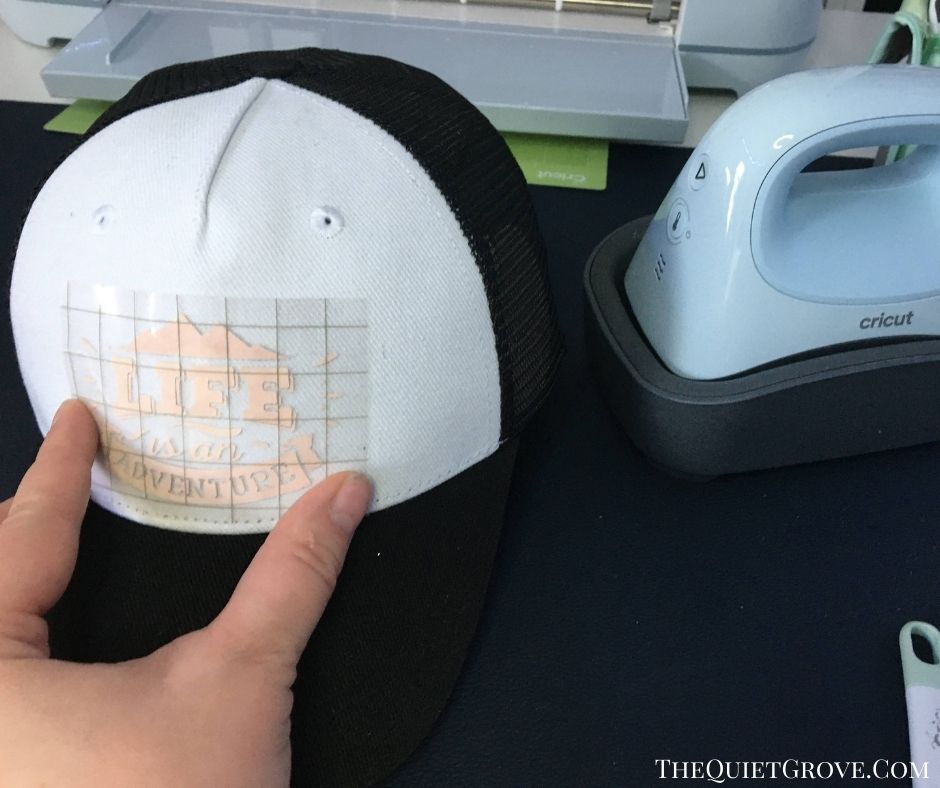
Use strong grip Heat Resistant tape to secure the design firmly on the hat (so it won't shift.)
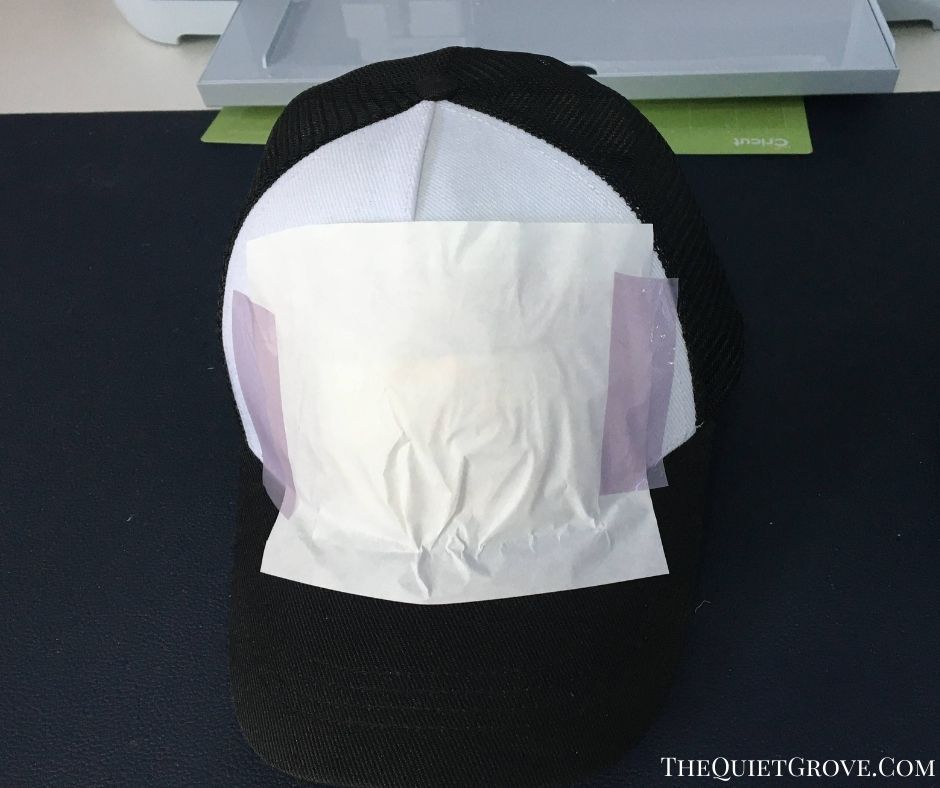
Tape butcher paper over the design (to protect the hat press)
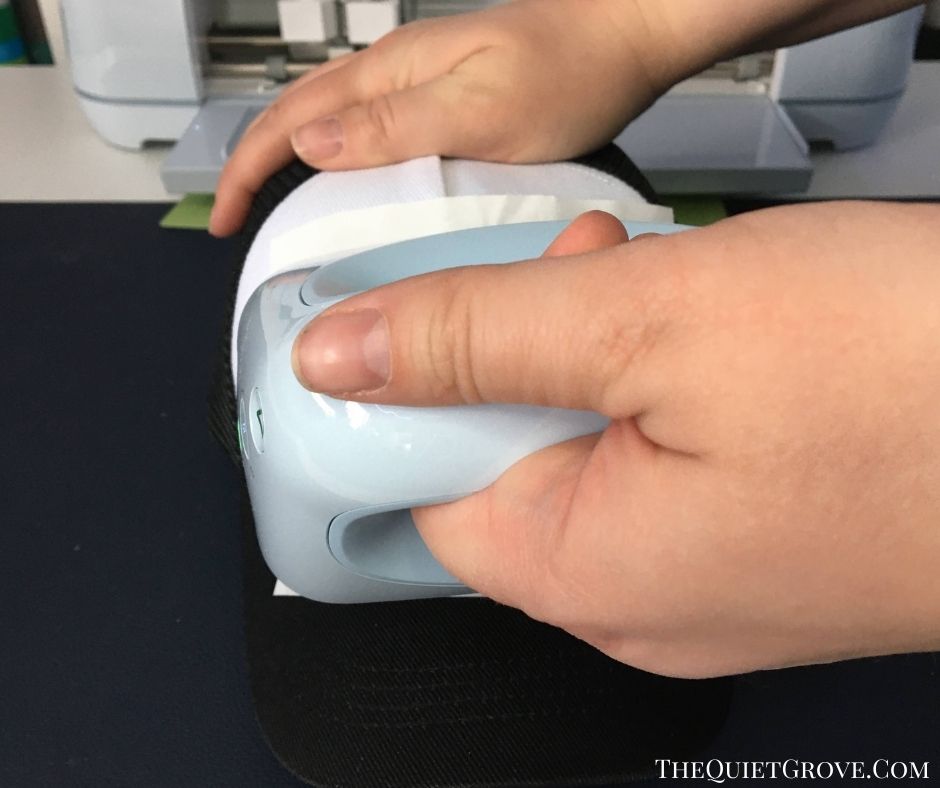
Click on the App to Send Setting to Hat Press and then Press Hat.
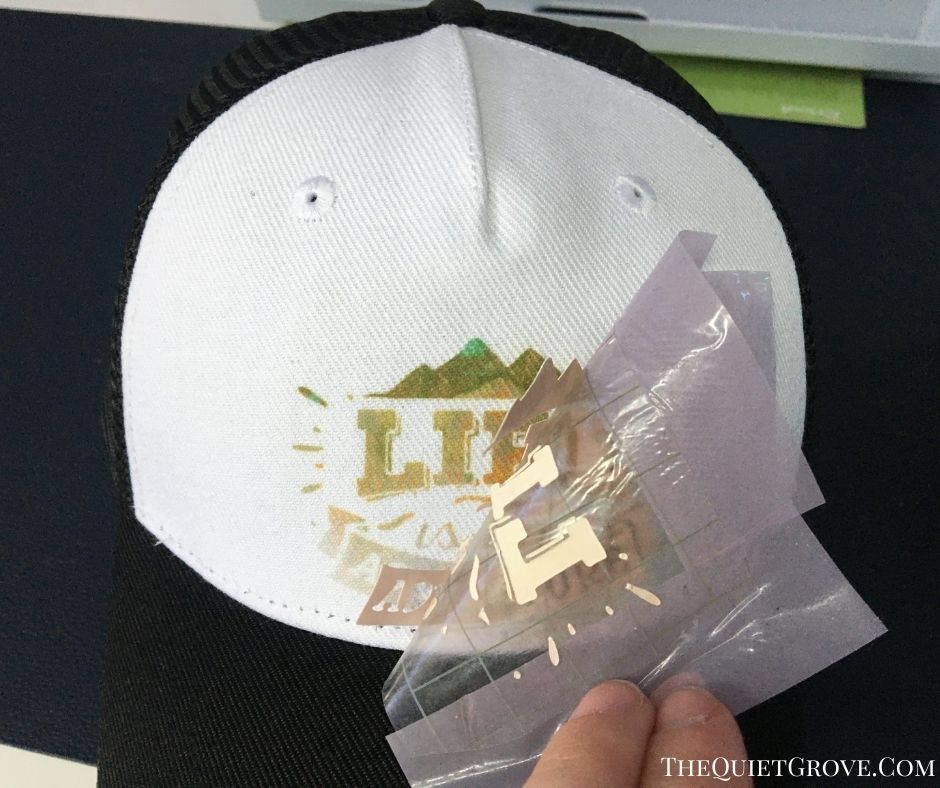
Let Hat cool and peel off the Butcher Paper & Design backing.
Recommended Products
As an Amazon Associate and member of other affiliate programs, I earn from qualifying purchases.


I love how the hat turned out. even better my husband LOVES it. It may look like one corner is slightly faded but in person, you can tell that is it part of the patterned Infusible Ink. It looks pretty legit. My next DIY will be for the Eat, Sleep, Mom, Repete Hat I made with Iron-on. So Stay tuned.
If you liked this post, then check out these: (Click on the photo to go to the post)