DIY Embossed SPRING Banner

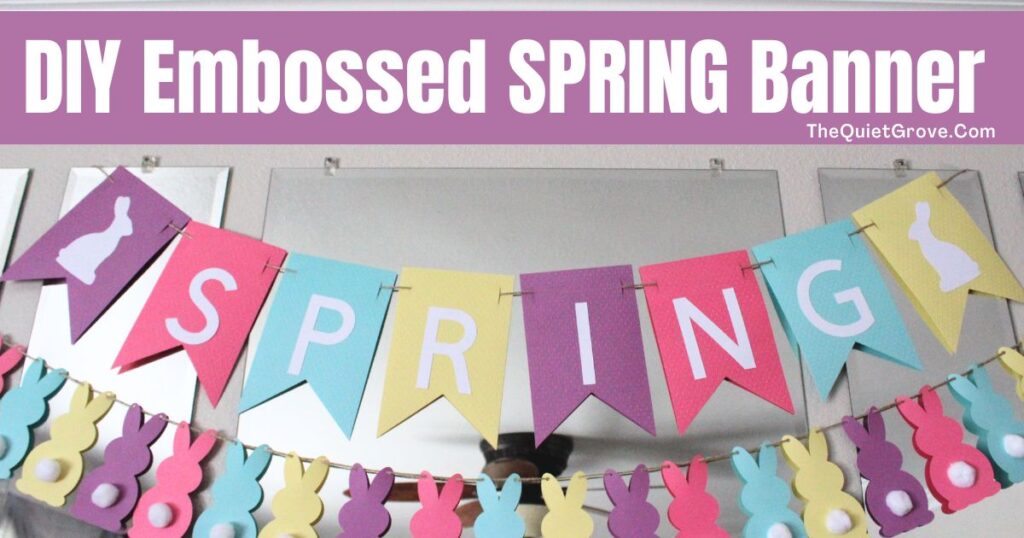
Brighten up your home with this colorful embossed SPRING Banner!
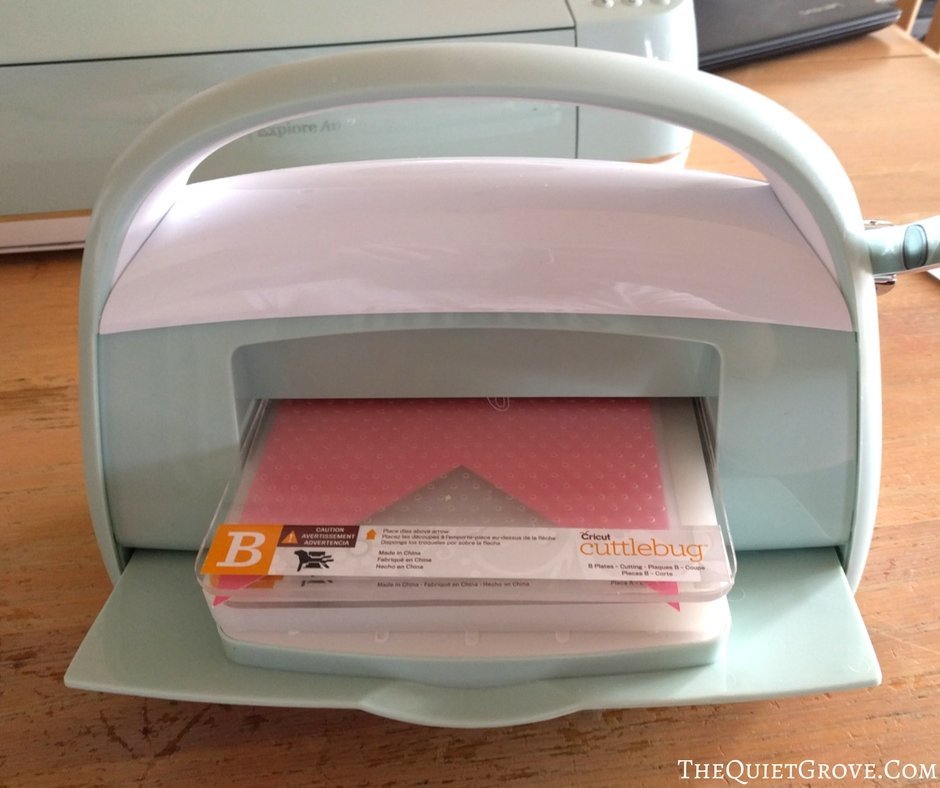
Note: While the Cuttlebug is no longer available from Cricut, you can still achieve the same embossed look with other affordable embossing machines. I’ve linked a great alternative on Amazon that works beautifully for this project.
My daughter asked if we could do some fun decorations to brighten up our living room for Easter/Spring. So I made this bright and cheerful Spring Banner to match my Bunny Butt Bunting Banner, Paper Flower Wreath, & Embossed Bunny Silhouette with 3D flowers that also I made with my daughter for our Easter/Spring Decorations.
Originally, I was planning on just doing a simple Banner with the letters and bunnies, but I decided to add a bit of pop, so I pulled out my Cuttlebug and embossed the pennants. I am simply in LOVE with the result. The best part is how quick and easy this Cricut DIY project was to make. Seriously, it took me less than 15 minutes to make it start to finish.

Materials Needed:
- Cricut Machine
- Cricut Design Space Canvas
- Standard Grip Mat
- Fine Point Blade
- Essential Tool Kit
- Embossing Machine (since the cuttlebug is no longer available)
- Patterned Embossing Folder
- 1 (12x12 in) Sheet of White Cardstock
- 1 ( 12x12) Sheet of Purple Cardstock
- 1 ( 12x12) Sheet of Blue Cardstock
- 1 ( 12x12) Sheet of Pink Cardstock
- 1 12x12) Sheet of Yellow Cardstock
- Glue Stick
- Twine or Ribbon
Instruction:
- Open my Cricut Design File for the SPRING Banner.
- Set the dial on your Cricut Machine to Cardstock and load your first sheet of cardstock (according to the color directed on design space) onto a standard grip matt.

- Using your spatula in the Essential Tool Kit carefully remove the cut designs.

- Using your Embossing Machines and patterned Embossing folder, emboss your Pennants. Again I used a Cuttlebug, which is no longer available, but you can get affordable embossing machines from other brands like this one, on Amazon)
- Sort the Pennants in the order you want to have the banner, then using a glue stick, glue the letters and bunnies to the pennants.

- Hang the Banner using string or twine (I used twine) & Enjoy!

This is the perfect Spring Decorating project to do in a spare moment or with your kids. I know my daughter loved making it (especially the embossing part.
If you liked this post then check out these (click on the photo to go to the post):