DIY Animal Coloring Page Shirts with Cricut Iron-on

Do your kids love to color? Then they will love these Coloring Page Shirts!

Lately, what with being isolated at home with my family I have been looking for ways creative ways to keep my kids entertained. Since my kids love to color, I thought it would be fun to make them coloring page shirts that they could color with washable makers and after wearing I can wash the shirts in Hot water to clean off the markers so they can color and wear them again.

Rather than create my own designs for these shirts I thought I would look and see what designs they had in Cricut Access. There are soo many fun designs available in Cricut Access. I found a bunch of animals that I thought my kids would like and so I called them over to my computer to let them see and pick their favorite. My youngest who adores raccoons was delighted to find an adorable raccoon design, my middle son chose a cool turtle and my oldest chose a cute bunny.

For these shirts, rather than use Black everyday Iron-on for the shirt design, I decided to use Cricut's new Express Iron-on which is lighter weight and flexible (you almost dot even feel it once it's on the shirt and it last for more washes. I got simple white shirts at Walmart for You can make these shirts yourself following the tutorial below or pin this post to your Cricut DIY pinboard on Pinterest to make later.
DIY Animal Coloring Page Shirts

Entertain your kids with these easy to make Animal Coloring Page Shirts. Once made, your kids can then color in the designs with washable markers. Then after washing in hot water to get the washable ink out, your kids do this all over again.
Note: I used my Cricut Maker to make these shirts. However, you can do this DIY project with any Cricut machine that works with Design Space.
Materials
- White Cotton T- shirts
- Black Cricut Express Iron-on
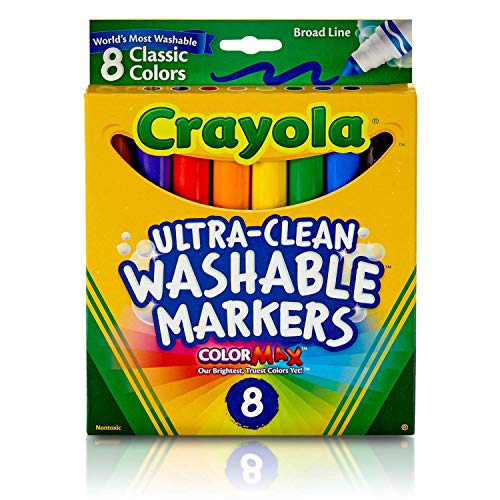
- Ultra Clean Washable Markers
Tools
Instructions
Cutting Instructions:
Open Cricut Design Space Canvas for Animal Coloring Page Shirts. -->HERE<--

Size the designs according to the size of the shirt you are using.
**Right now the bunny is sized for a size ⅞ girls v-neck shirt, The turtle is sized for a boys size 6/7 crew neck, and the raccoon is sized for a boys size ⅚ crew neck shirt.
Click to make it and then make sure to select the mirror image box for all the mats.
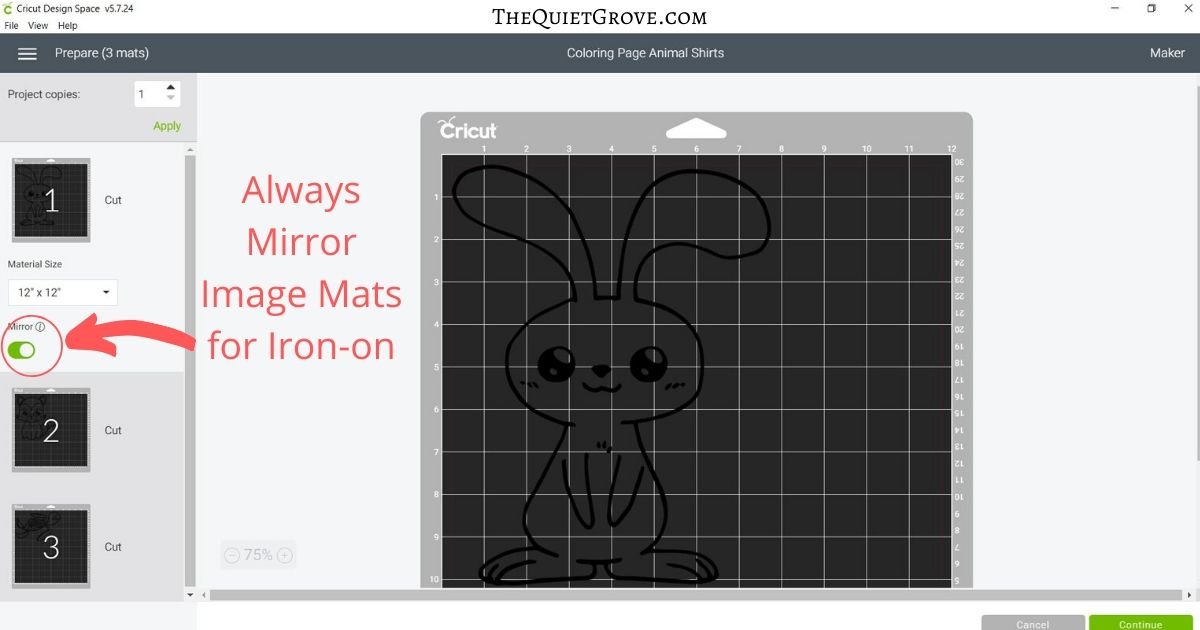
Select the Express Iron-on on the materials dropdown.
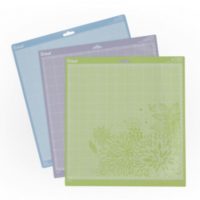
Place your Iron-on Shiny Side Down onto a standard Grip mat and load into your Cricut Maker to cut.

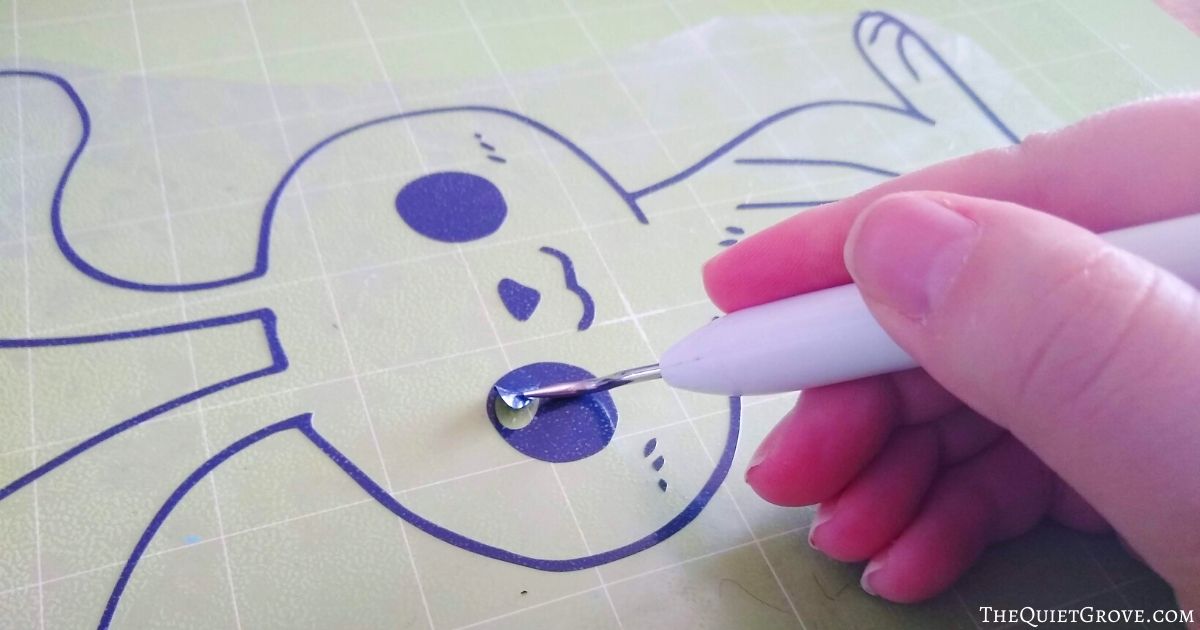
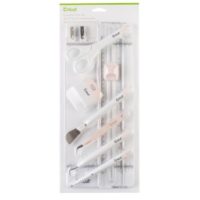
After you are don't cutting, weed the designs using the wedding too in the Essential Tool Kit.
Pressing Instructions:
You can find the exact heat settings for your EasyPress 2 -->HERE<-- However, if you are using Express Vinyl on a Cotton shirt like I did, then here are the instructions.
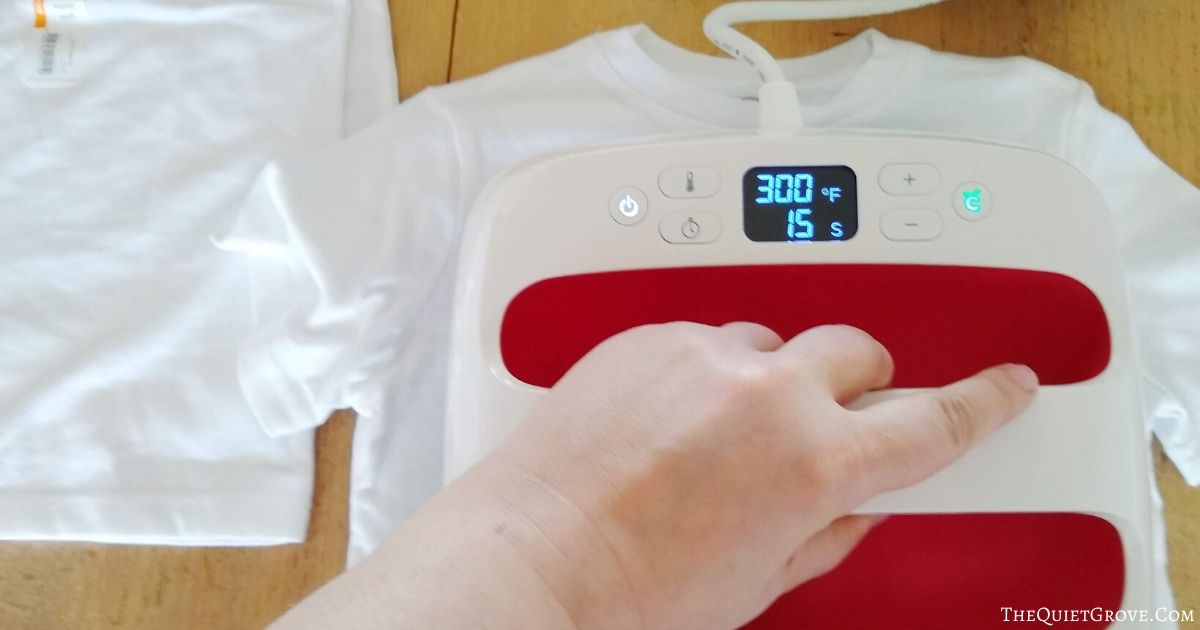
Set your Easypress 2 to 300° and 15 seconds.
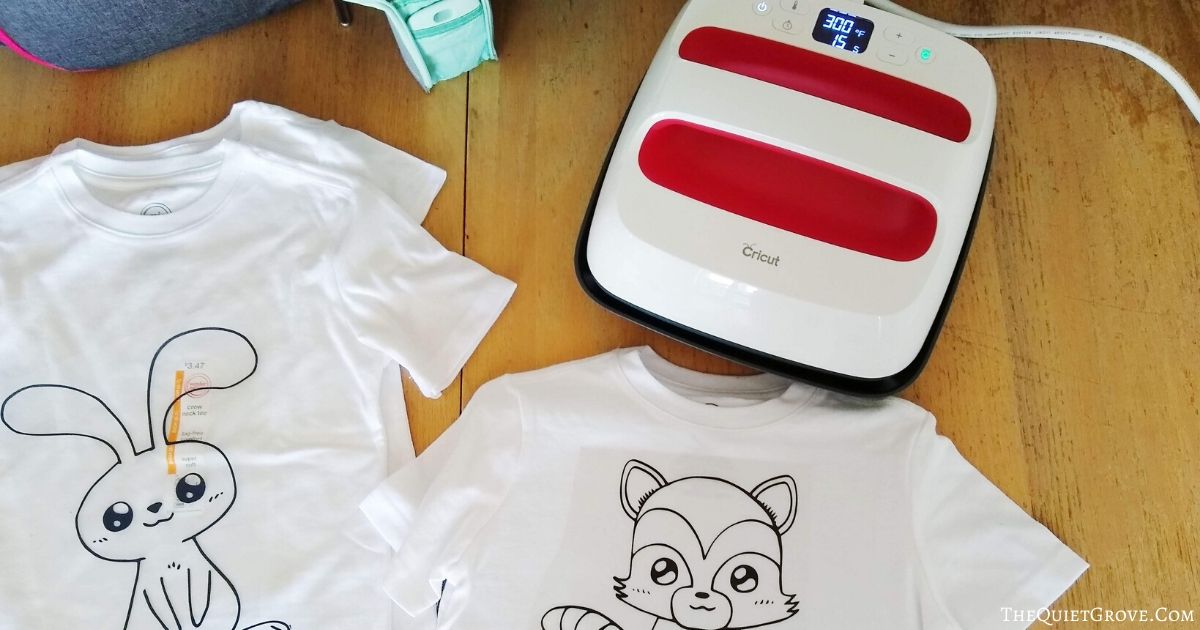
Preheat your shirt for 15 seconds and place the Iron-on design on shirt.
Press firmly for 15 seconds then flip over shirt and press backside for another 15 seconds.
Peel off Iron-on Backing.
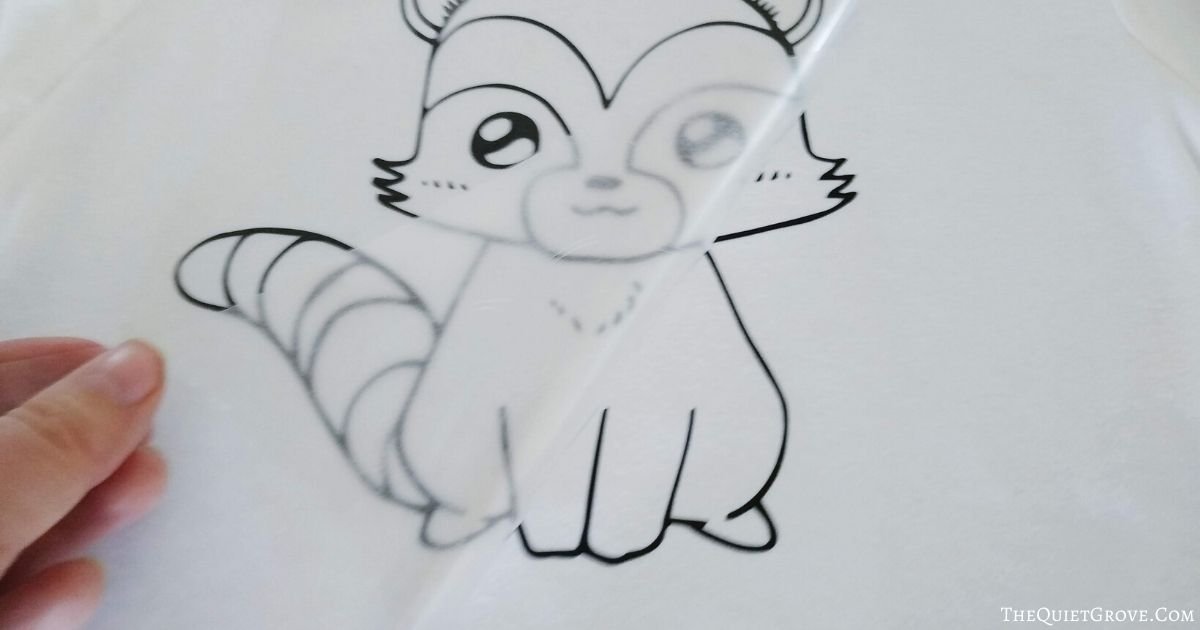
Coloring Instructions.
Place a white piece of Cardstock inside the shirts.

Let kids color with Ultra-Clean Washable Markers.
Enjoy
Notes
**In order to save Iron-on I movies the turtle design to the raccoon design mat by clicking on the image on the mat then selecting the three dots to movie the image to the new mat. Then I adjusted the placement of the two images for them to fit on the same mat.
Recommended Products
As an Amazon Associate and member of other affiliate programs, I earn from qualifying purchases.




The shirts took less than 30 minutes to make start to finish and they turned out amazing. It was soo fun to see my kid's excitement when I presented them with the shirts and to watch their excitement as they colored them and proudly put them on.
ubb
If you liked this post then check out these: (click on the photo to go to the post)