
DIY Baby Onesies with FREE SVG Cut Files!

When it comes to baby shower gifts I am all about being creative with my gifts. One of my favorite go-to gift's are these DIY Baby Onsies I make with my Cricut!

I have given everything from hand-crocheted baby blankets to diaper cakes/ babies, to Printable Nursery decor that I designed myself. Right now I am all about custom baby onesies. I have hand-sewn embellishments onto onesies before, but at the moment, I am in love with how cute and creative I can get with using Iron-on with my Cricut Machine (which I totally LOVE!!).
Now you might say, "isn't Iron-on expensive? The truth is...Not really. Why? Because one roll of Iron-on can be used for multiple projects (depending on the size), This is especially true when using it to make baby onesies since they are soo small.
There are a lot of fun SVG designs out there that you can use to make adorable custom baby onesies. However, I wanted to make some old-fashioned-looking ones that would be more unique. So I had my husband help me design some. I have to say I love how they turned out. I have made these baby onesies for many a baby gift over the last few years and they are always a hit.
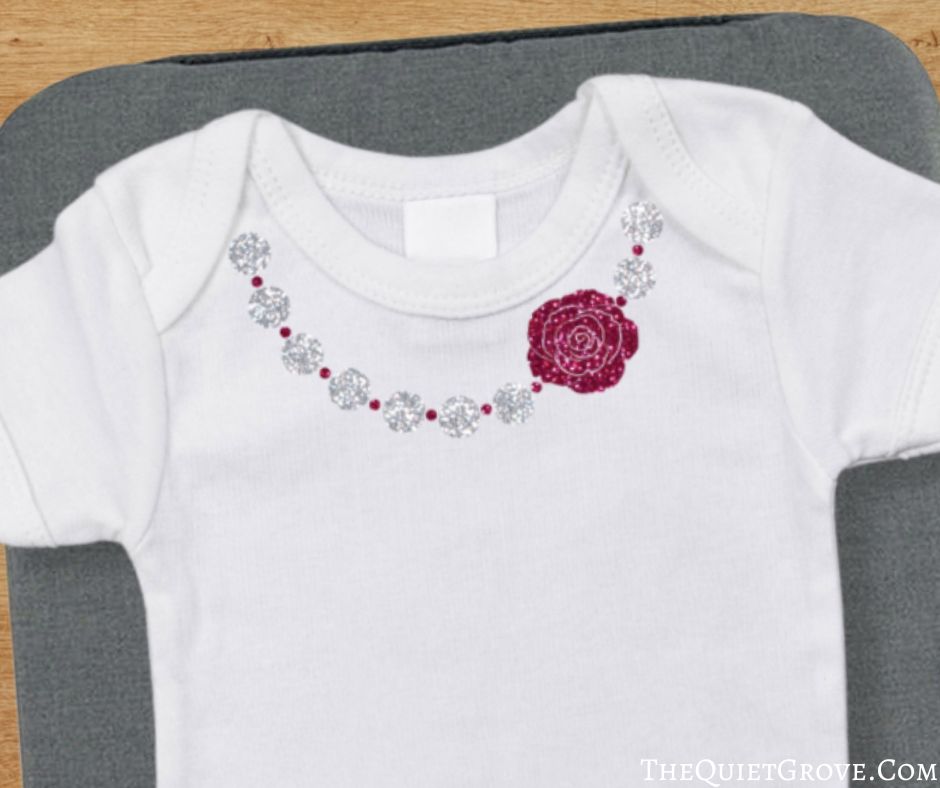
For the little girl onesie, I wanted a chunky necklace design. I love the look of those chunky baby necklaces. I wanted to be able to have the pretty effect of the necklace while at the same time avoiding the yanking, pulling, and destroying of the said necklace because the baby doesn't like having anything actually around her neck. My husband designed the rose pendant design and I just added circles to the design for the beads. To give it that extra bling I used Glitter Iron-on.
Next, we move on to the 2 Little Gentleman onesies. My husband and I are totally old school. We love the look of the gentleman's outfits from the turn of the century when men we dapper with their ties/bow ties, suspenders or sported a shiny pocket watch.

For the first little gentleman outfit, I teamed the bow tie with a pocket/pocket watch design. to give it a bit of bling I used Glitter Iron-on for both the bow tie as well as the pocket watch. (I stuck with simple charcoal gray for the pockets.
For the second Little Gentleman outfit, I decided to use the bow-tie design teamed with the cutest Suspenders. If you want more of a contract on the suspender accent parts I would suggest using a light grey or a Foil Iron-on for contrast.

Here are the links to my Free SVG Cut files That I have mentioned in this post: (You can download them and then size them to what you need for your project)
- Baby Girl Chunky Necklace design
- Baby Bow Tie design
- Baby Boy Suspenders design
- Baby Boy Pocket Watch design
DIY Custom Baby Onesies with Iron-on

Here is the Easy press instructions and Basic Iron-on tips for making custom baby onesies.
Materials
- Cricut Iron-on
- White Baby Onesies
Tools
Instructions
EasyPress Instructions:
- Place Onesie on EasyPress Mat ** The EasyPress Mat is Cricut’s newest tool to use with their Easypress. It shields your work surface from damaging heat (so you can use your table without damaging it) It helps eliminate moisture and directs the heat (from the Easypress) to your Iron-On Design creating a better meld to your fabric!
- For everyday, Iron-on Set the EasyPress 2 to 315°F / 157°C. **For other types of Iron-on you can find the correct time & temp here.
- Pre-heat the area of the onesie that the design will go for 5 seconds.
- Place the Iron-on Design on your baby onesie. I placed mine right below the neckline of the onesie trying to be centered.
- Firmly press the EasyPrress 2 for 30 seconds.
- Flip the Shirt over and Heat the Back (leaving the Iron-on liner on) for 15 seconds.
- Peel the protective backing off. (Depending on the type of Iron-on You use will determine whether you need to warm peel right away or wait till it cools for a cold peel.)
Notes
Recommended Products
As an Amazon Associate and member of other affiliate programs, I earn from qualifying purchases.
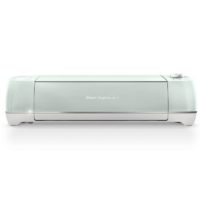


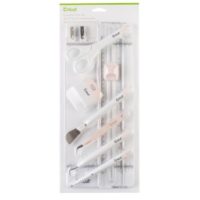
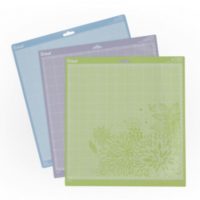
In the end, when it comes to making custom baby onesies with Iron-on (HTV) just remember to be creative and have fun. I am sure whoever you give your gift to will love it! Which Design did you like the best?!?

If you liked this post you might also like this one (click on the photo to go to the post)



ooh this is awesome
Thanks! I'm glad you like them!
These are so cute! Sharing your post on Pinterest 🙂 Wish I was crafty!
Thanks for the share. You know these onesies are really easy to make actually. Especially since they are already designed. All you have to do I use with the svg files.
The SVG file works but I can't seem to get it into my library (I'm new and use Silhouette) and ideas on how I can get the bow ties to work?
Im not sure it has been a while since I have used a silhouette so I am no longer familiar with the Silhouette library. Sorry.
Great post, Thanks for sharing. Iron on transfer is the best way to embellish the costumes especially for the babies. Apart from cricut, we can use some other cutting machines and software like Corel Draw, Photoshop etc to accomplish this task.