
DIY Faux Leather Bound Nature Notebook Made with a Cricut Explore Air 2

POST DISCLAIMER: This is a sponsored conversation written by me on behalf of Cricut. The opinions and text are all mine.
READER COMMENT DISCLAIMER: Comments submitted may be displayed on other websites owned by the sponsoring brand.
I love that I can make soo many fun projects with my Cricut Air 2. Like this Faux Leather bound Nature Notebook.
I am often asked what kind of projects can you make with my Cricut Explore Air 2. My answer is whatever you can imagine. Seriously this machine can cut over 100 different materials, as well as write and score. The possibilities are endless. In a recent round-up post showcasing the various materials you can use with your Cricut I included links to 79 different projects you can do. In the year since I got my Cricut Explore Air (then upgraded to an Air 2) I have made Baby Onesies which I made as baby shower gifts, custom shirts for my family, Wedding Decorations, Party Decorations, Holiday Decorations, Christmas gifts and more.

The best part of the Cricut is that now only is it versatile with what it can make it is easy to use as well. You don't have to be crafty to make beautiful crafts.
If you are just starting out or don't feel particularly crafty you can look through and choose one of the many gorgeous make it now projects designed by Cricut's best designers. Or if you love Pinterest you can find a ton of DIY Cricut projects. If you want to be a bit more adventurous you can make your own design in Design space using images and templates available via Cricut access. And for those who LOVE to design like I do, then you can create your own designs (I love using aAdobeIllustrator and Photoshop to create many of my designs) and then import them into design space to make.
Today I would like to sho you how to make this EASY Faux Leather bound Nature Notebook.

Materials Needed:
- Cricut Explore Air 2 (or other Cricut Explore Unit)
- Cricut Design Space
- 12x12 Sheet of Faux Leather
- 2 12x12 Sheets of White Cardstock
- Gold Adhesive Foil
- Cricut Essential Tool Set
- Standard Grip Mat
- Strong Grip Mat
- Transfer tape
- Waxed Cotton Thread
If you need to order any of these supplies from Cricut.com use Promo Code: TheQG10 to get 10% off + free shipping!!
**Note this code does not work on Design Space Access, digital content, machines, EasyPress, Brightpad
Step By Step Instructions:
Open my Design Space Canvas for the Leather bound Nature Notebook. The design is ready to make so just click on the "Make it" Button to send the design to your Cricut Machine.
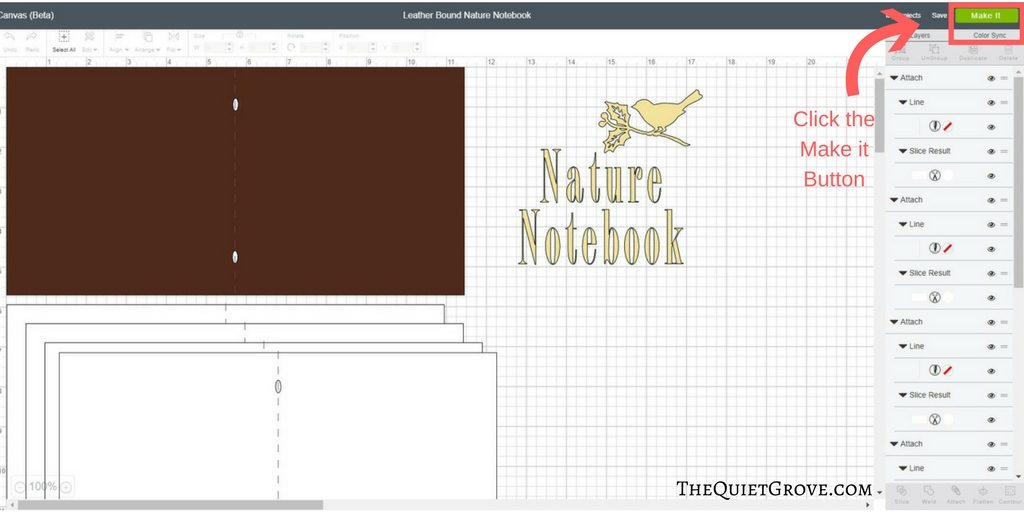
Make sure your Dial is set to Cardstock for the Mats with the pages. Place the scoring tool into the "A slot" (the cutting blade in the "B Slot). Then place your 12x12 inch cardstock on the standard grip mat making sure to line up the edges. Load into your Cricut and click the Cricut button to start cutting. Peel the mat off the paper. fold both pages on the fold line and set aside. Now repeat the process with the next paper. I only have 4 pages set to cut. If you want more than just duplicate those pages.

Next, place your 12x12 sheet of Faux Leather on your strong grip mat. Change the dial on your Cricut to Custom and select Leather, Faux (Cricut) on your Computer. Load into your Cricut and hit the Cricut button to start cutting. Once done, peel mat off the leather. Fold on scored line.
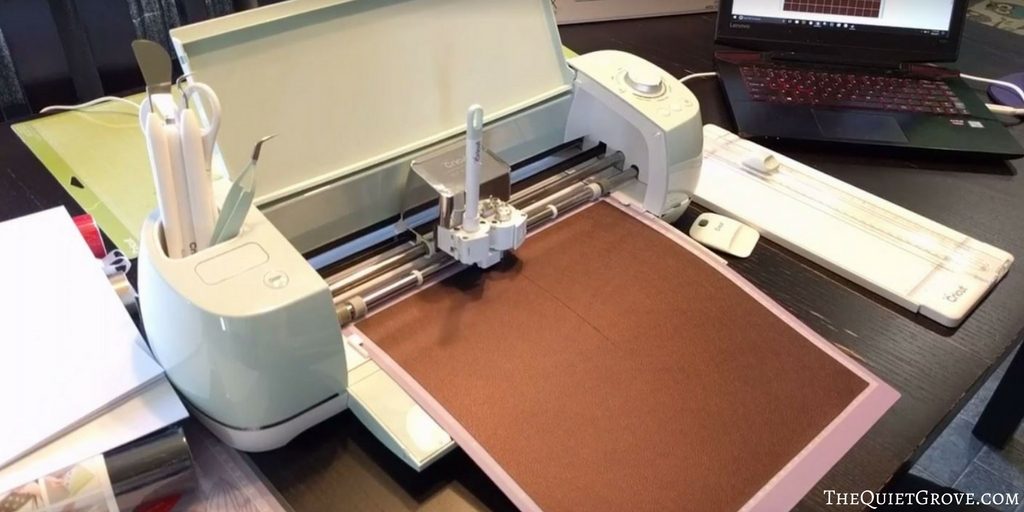
Assemble Book with leather as cover and pages inside lining up cut holes down the middle. Take a length of the waxed cotton thread and loop through back to front twice and tie it in the back near the bottom hole.

Next place your gold foil adhesive on your standard grip mat. keep the dial on your Cricut on custom but change the material on your computer to Foil, adhesive backed. Load the mat into your Cricut and then click on the Cricut button to start cutting.

Once done, remove foil sheet from the mat, and using your Cricut trimmer carefully cut off the excess foil (so you don't waste) then put the cut foil back on the mat to weed. Use the weeding tool to weed out all the unnecessary foil. then peel foil and foil backing off the cutting mat.
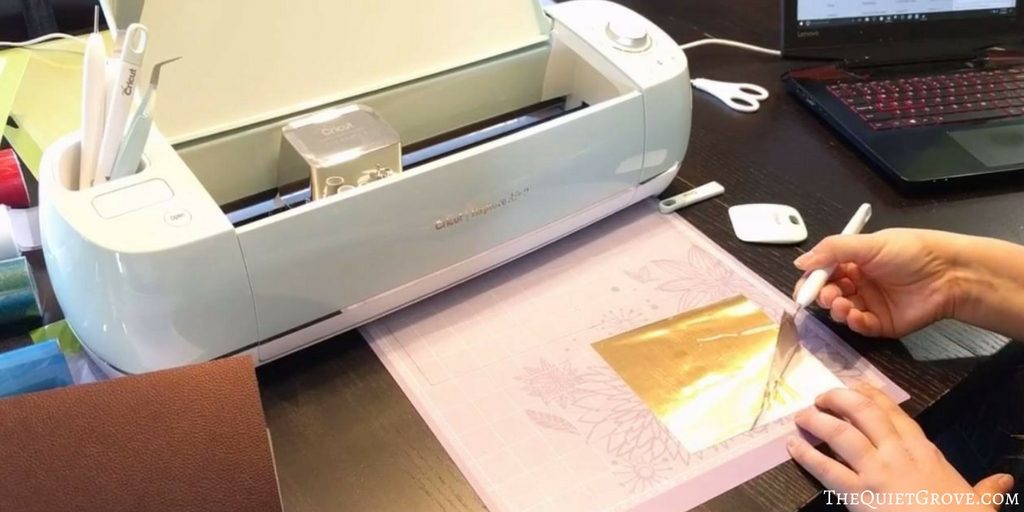
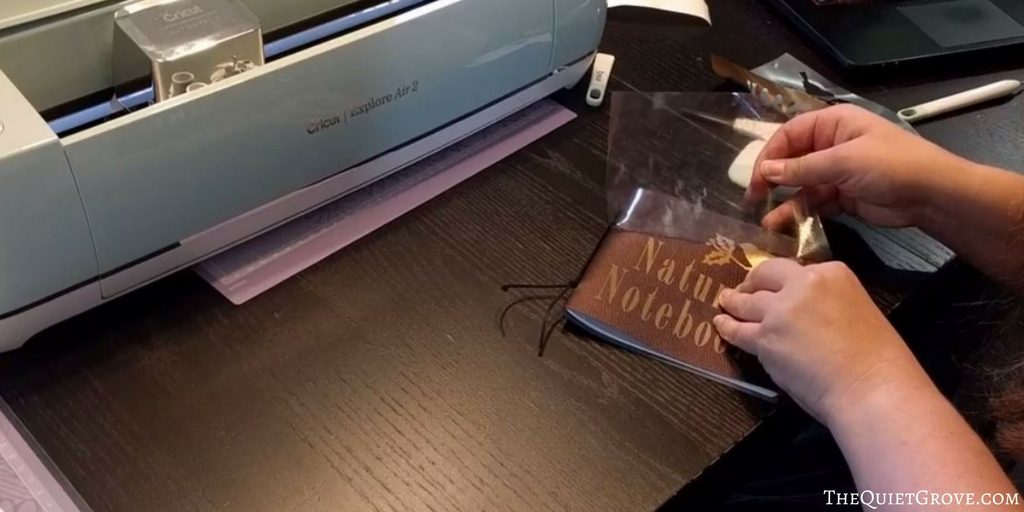
Now cut a rectangle of Transfer tape to the size of your Adhesive foil. Peel off the back and press over the cut design. Use your scraper to press down and remove all air bubbles between the tape and foil. Then carefully peel off the foil baking leaving the cut foil design perfectly on the transfer tape.
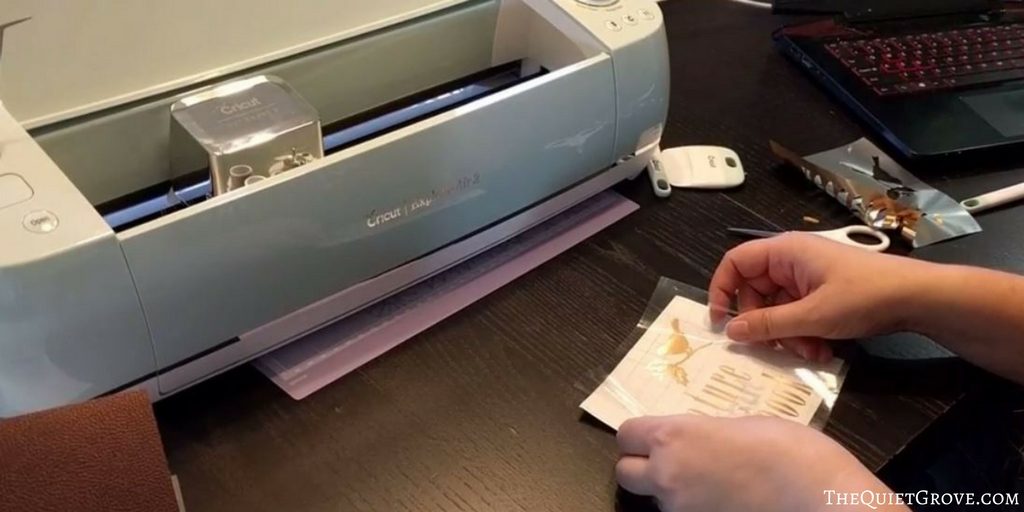
Place the design where you want it on the cover. Again use the scraping tool to press the design onto the leather. Then slowly peel off the transfer tape leaving the foil behind on the leather surface. And walla you are done!
If you want to make a sketching book or regular book you can either change the front foil design or leave it off. Anyways, this project is easy to make and doesn't take a lot of time to produce adorable leather bound books with your Cricut Explore Air 2.
This is a sponsored conversation written by me on behalf of Cricut. The opinions and text are all mine.



This is such a great post, thanks so much I've been looking for something like this to go with my pen cases.
Oh I am glad you like it. I love how it turned out.