
DIY Halloween Chandelier Made with the Cricut Maker

POST DISCLAIMER: This is a sponsored conversation written by me on behalf of Cricut. The opinions and text are all mine.
READER COMMENT DISCLAIMER: Comments submitted may be displayed on other websites owned by the sponsoring brand.
Who wants to make their own Halloween Chandelier?!?

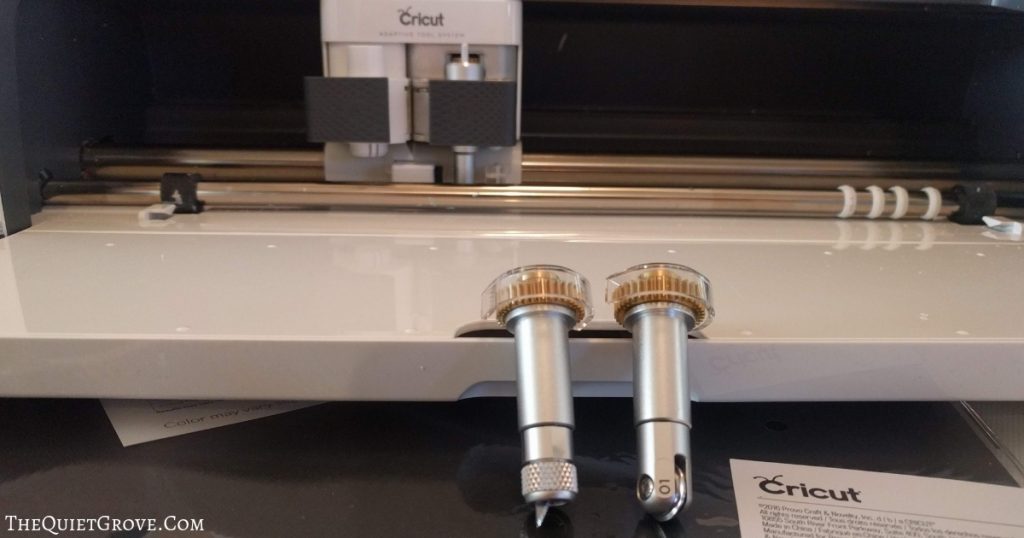
Cricut asked me to design and make a fun DIY Halloween Craft project with my new Cricut maker utilizing at least 2 of their new adaptive tools as well as multiple materials. I love my new maker. With its adaptive tools (the Rotary Blade, Knife Blade, and Scoring Wheel) you can do everything the Explore machines can do and sooo much more.
I love how the maker can control the direction of the adaptive tools for more control and precision and thanks to the up to 4kg of force the maker has it can cut with its adaptive tools tons of more materials (even Heavy chipboard, basswood, balsa wood, acetate, plastic, fabrics, and leather. Really the sky is the limit with what DIY projects you can make with the Maker as I am starting to learn.
So of course as soon as I was asked to design and make this Halloween project with my Maker the creative wheels started turning in my mind with possibilities. In the end, I decided to be uber-ambitious and design and create a Halloween Chandelier. Why because I could. And because it would be really cool. Yey for Handmade Halloween!
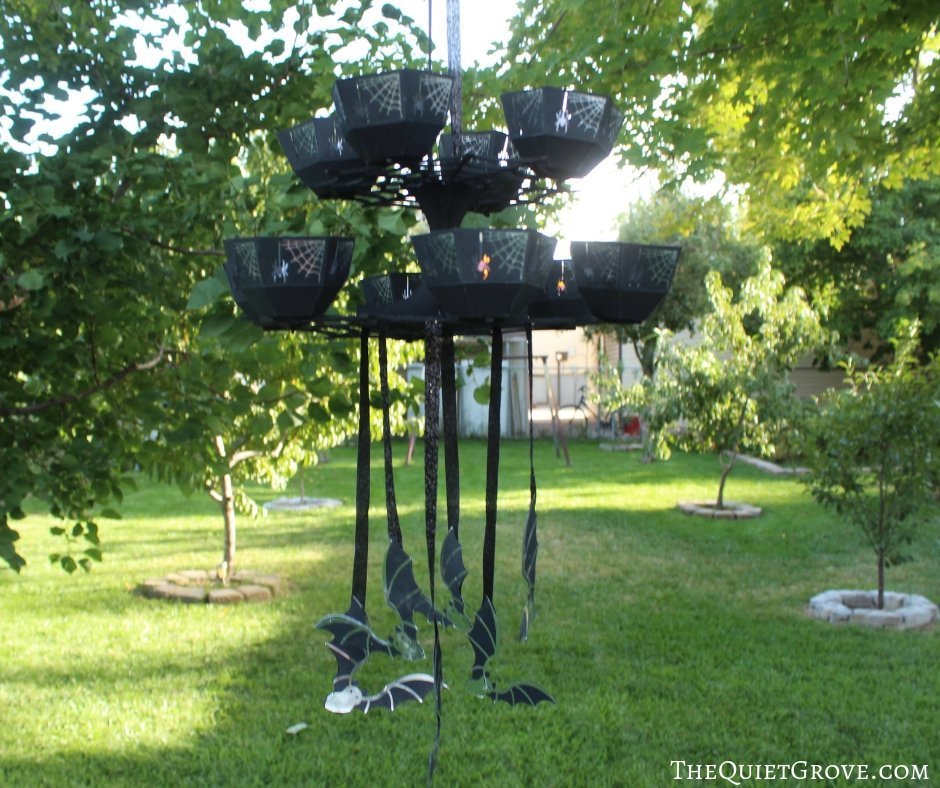
This project really tested my creativity and designing skills. (Especially since I have only had my Maker for a few weeks and had only used the knife blade once before for the Hello Autumn wreath.) I wanted something that would look amazing for my upcoming Halloween Party, and yet not be too complicated for others to recreate.
While I had a few hiccups at the beginning and had to change materials once, in the end, it all came together and I am soo happy with the results. Even my kids were awed and they haven't even seen it lit up at night yet with all the electronic tea lights.
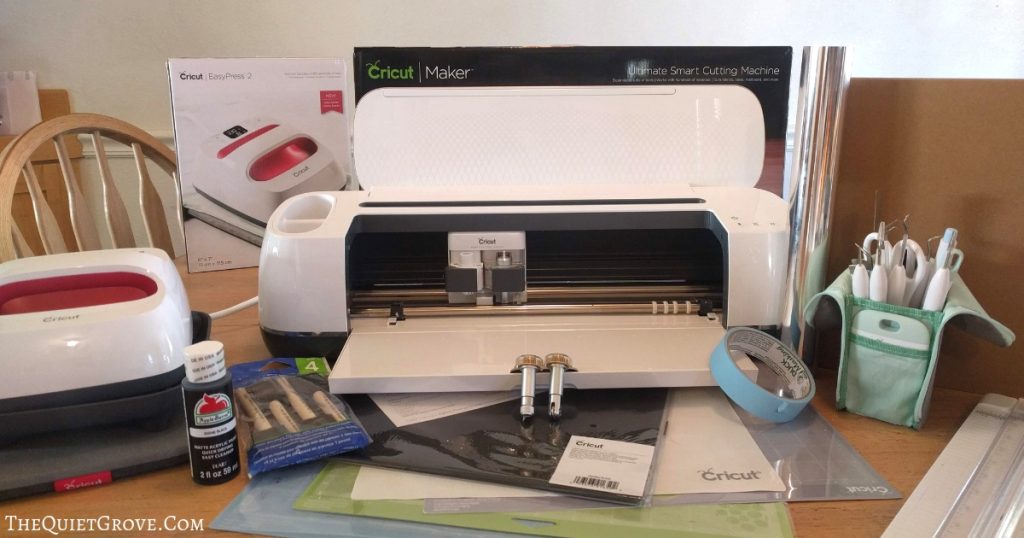
DIY Cricut Halloween Chandelier

Materials
- Black Cardstock
- 2 MM Cricut Chipboard
- Silver Foil Iron-on
- Black acrylic paint
Tools
Instructions
Open the Cricut Design Space Canvas for the Chandelier--> HERE <--.

Click to make it and make sure to click to Mirror the Image for the spider webs and the top layer of the bats you will cut out of iron-on. **If you want to conserve your iron on you can always change the mat size to 12x24 and then move/ rotate the images to fit in a smaller space.
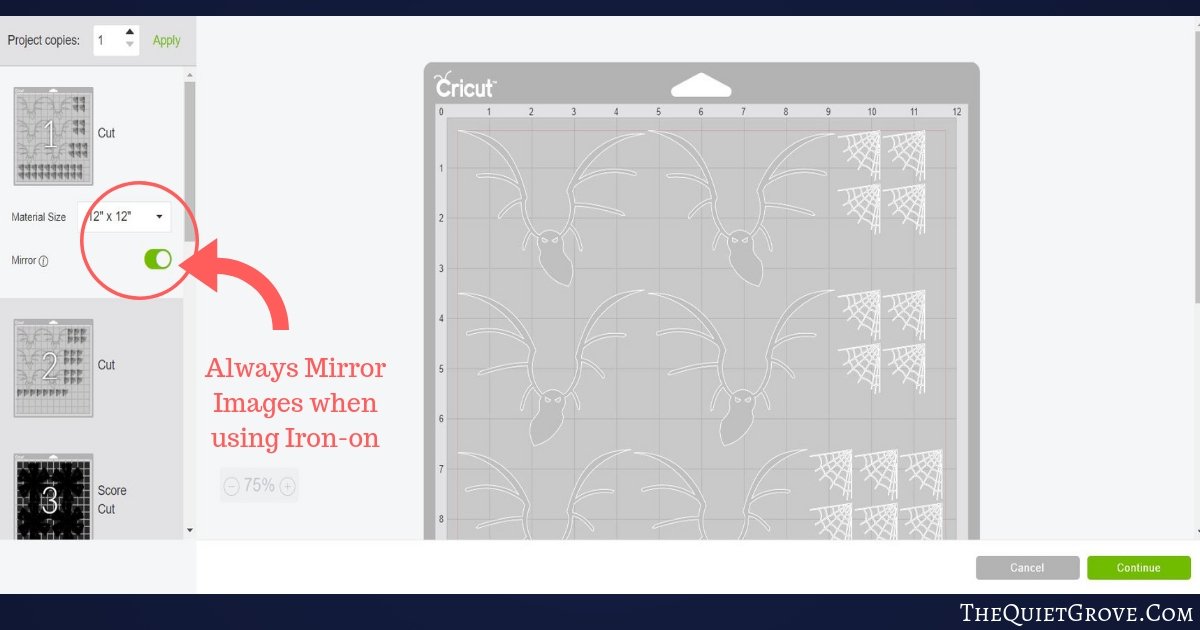
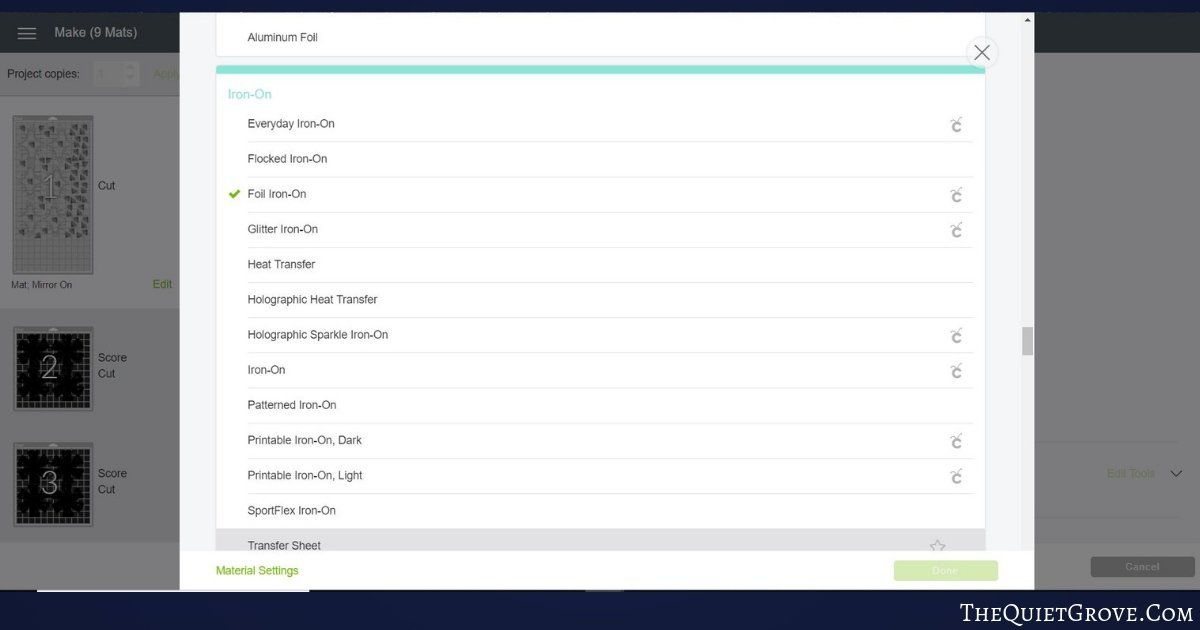
Select Foil Iron-on from your Materials list and place Iron on Shiny side down on a standard grip mat to get cutting.
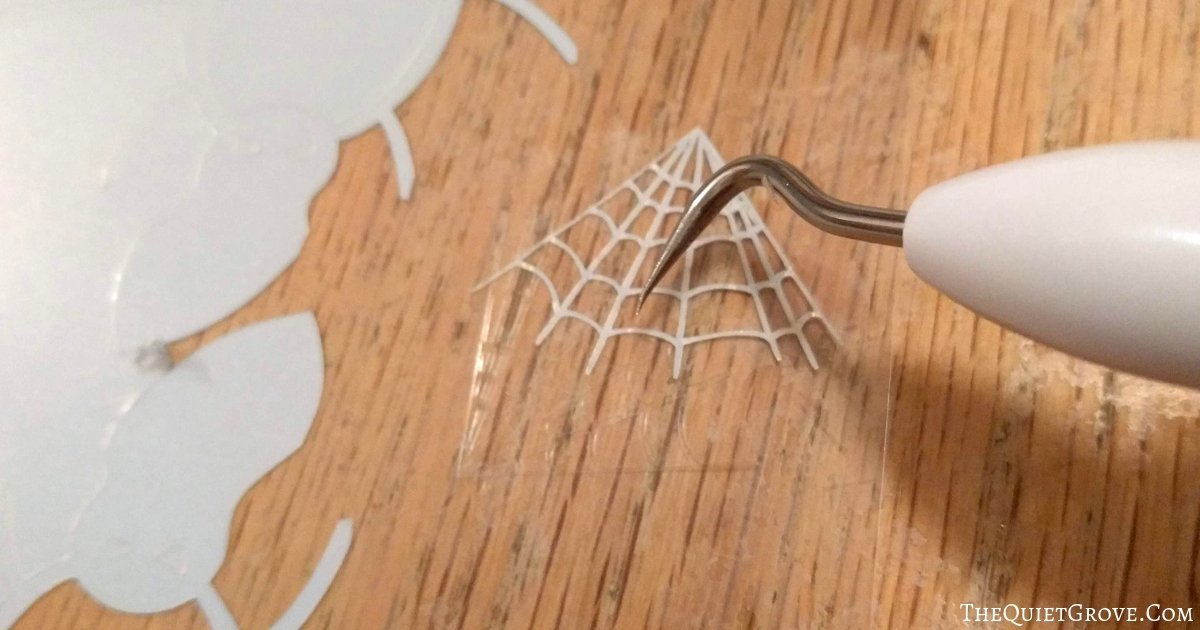
Use your weeding tool to carefully weed the cut design. **Personally I found it easier to peel the spider webs off the backing carefully punch out the holes in the design, use the scraper to clear the excess iron-on off the clear backing and then carefully place the spiderweb back on the sheet. But whatever works best for you. Just be patient it will take you a bit of time to weed it all.
While you are weeding the Iron-on start cutting the Cardstock Cups for the Chandelier.
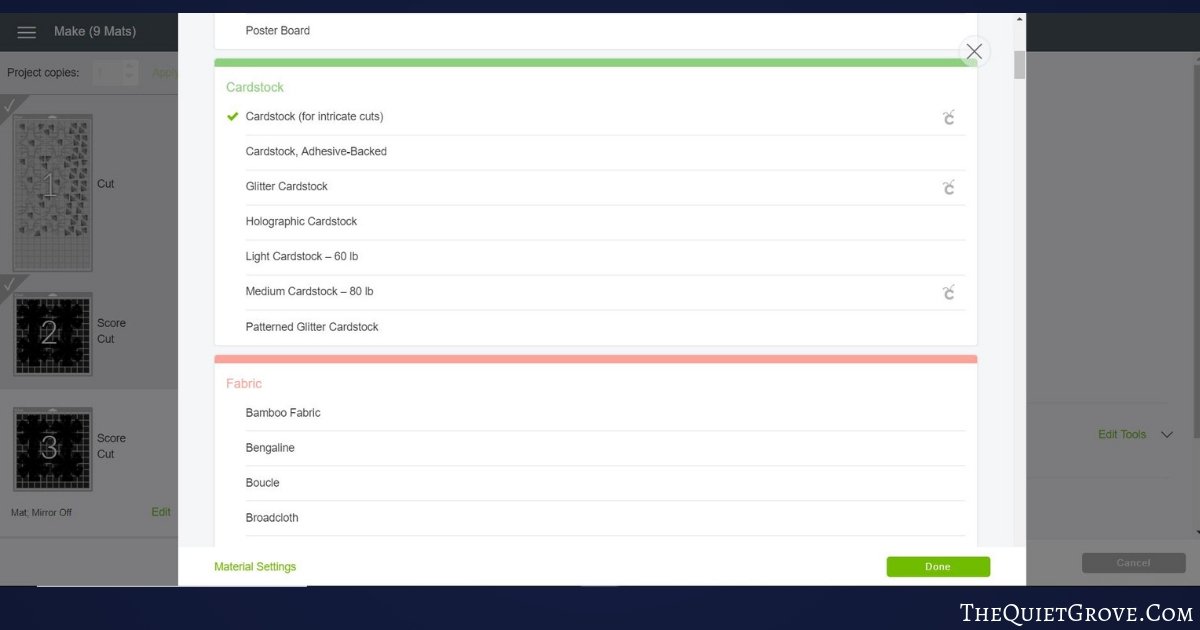
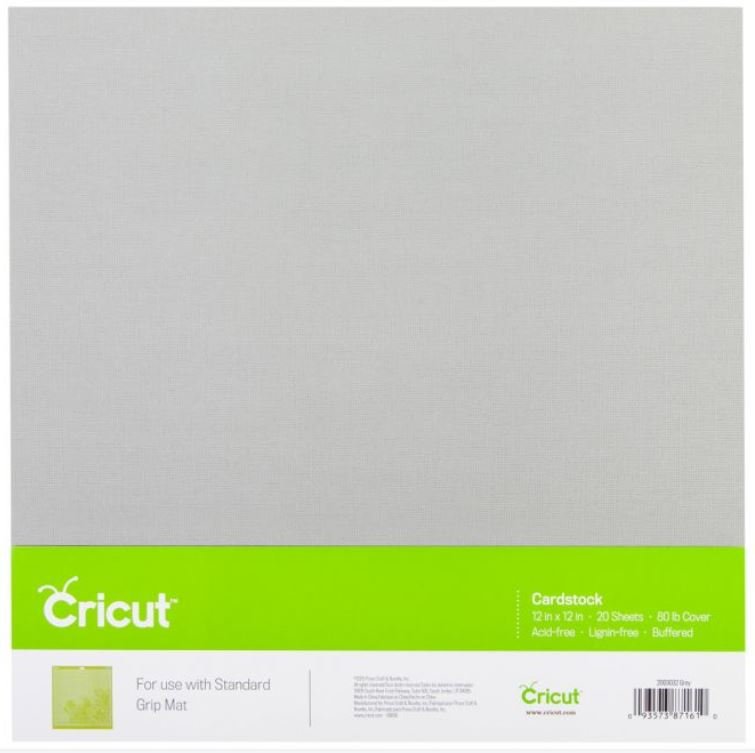
Select Cardstock (for Intricate cuts) and load the Black Cardstock onto your Standard Grip Mat.
You will be asked to switch your fine point blade for the Scoring Wheel. (The Cricut Maker will always do the scoring first, then cut.)
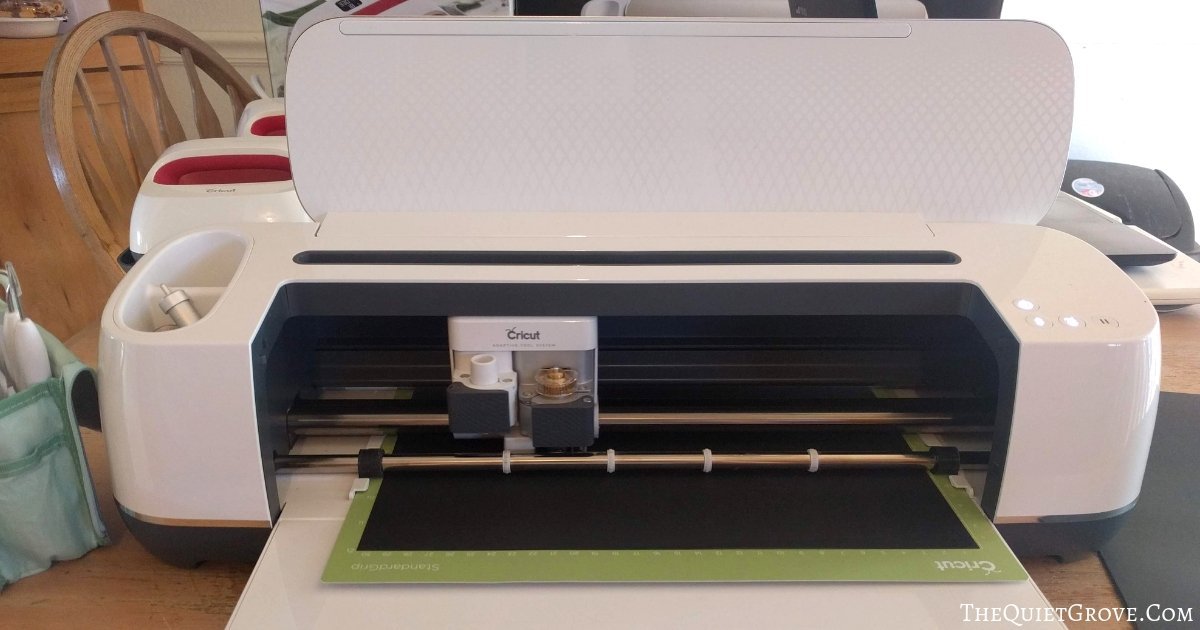
After the Maker is done scoring you will be prompted to switch to the fine point blade to cut the cups.
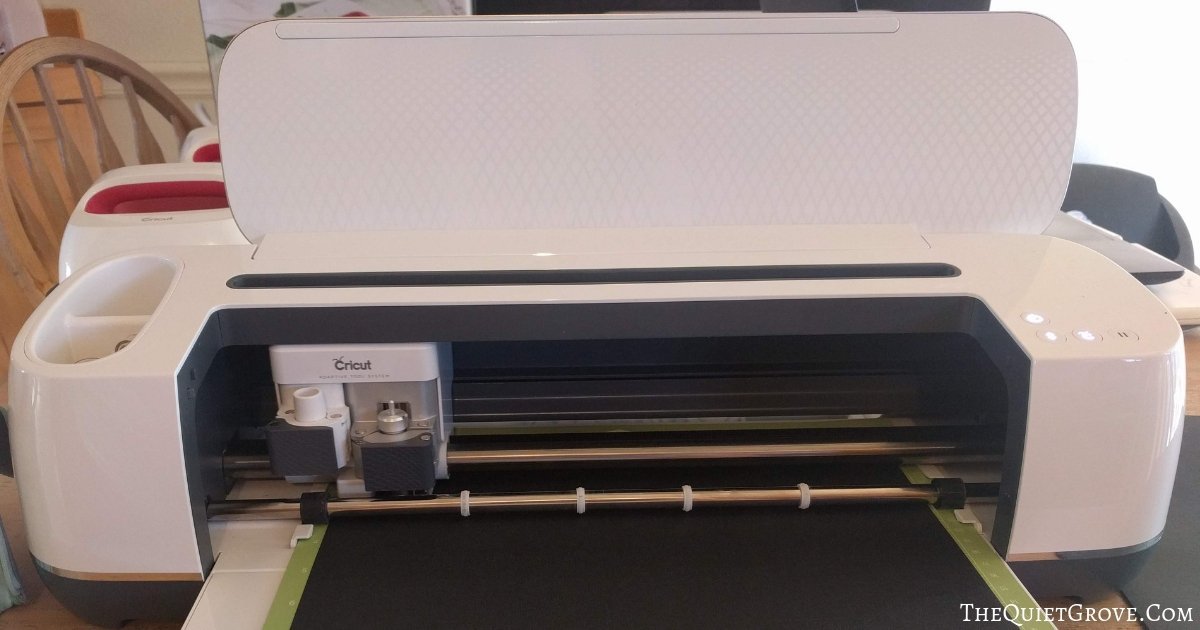
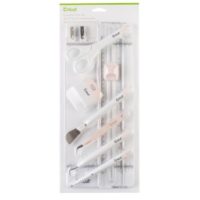
Once done cutting use your spatula from your essential toolkit to carefully remove the cut cardstock from the mat (remembering to always peel the mat from your Cardstock not the cardstock from the mat. )
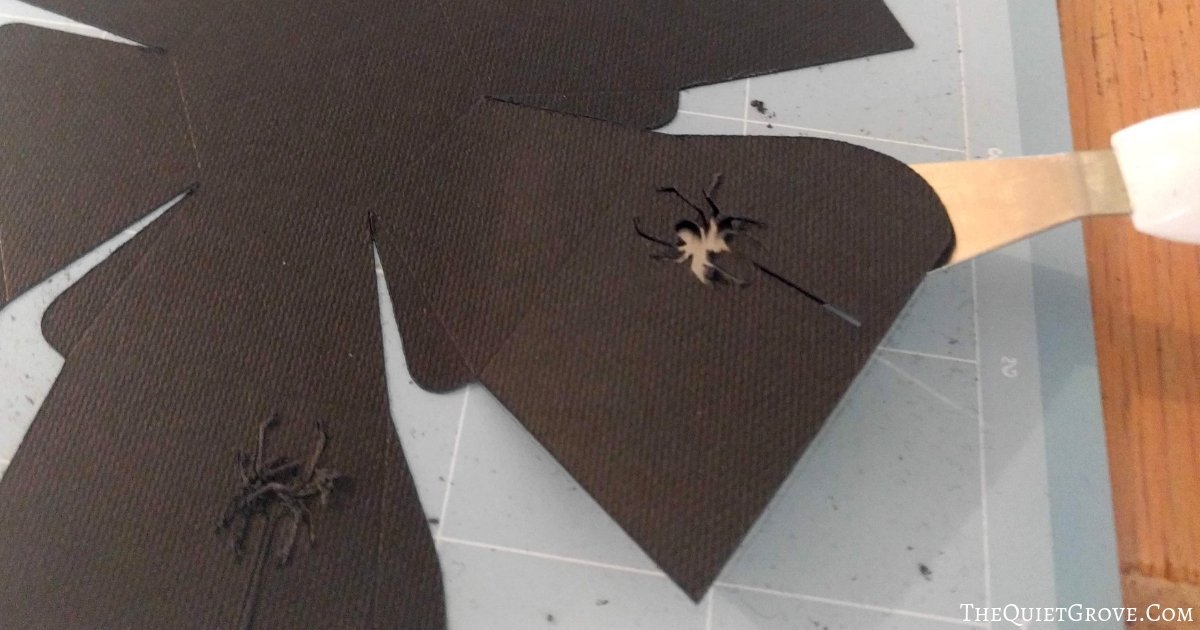
Carefully fold all the scored lines for each cup and set aside.
--> Repeat for all 10 Cups. <--
Once the Cups are cut, It is time to get cutting your Chipboard. For this project, I used Cricut's Heavy Chipboard for the mainframe of the Chandelier. You will need the Knife Blade to cut it with your maker and it is a slow process. (For each sheet the Maker will do 20 rounds of shallow cuts to precision cut the chipboard. This can take 2+ hours due to the intricacy of the design.
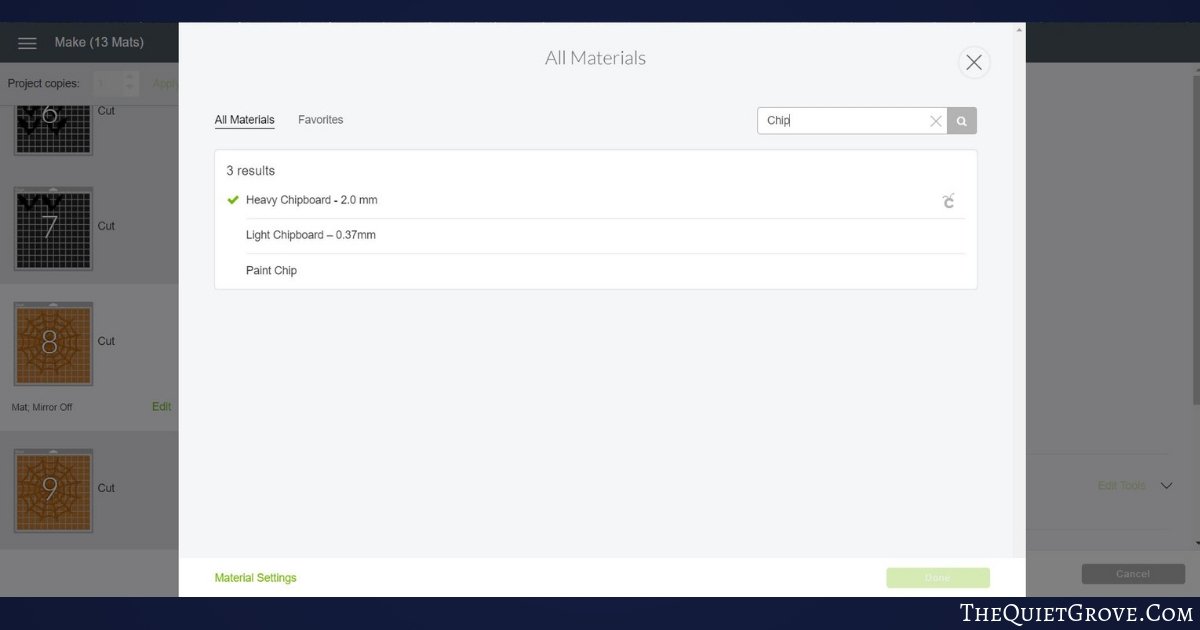
Select Heavy Chipboard from the Materials list.
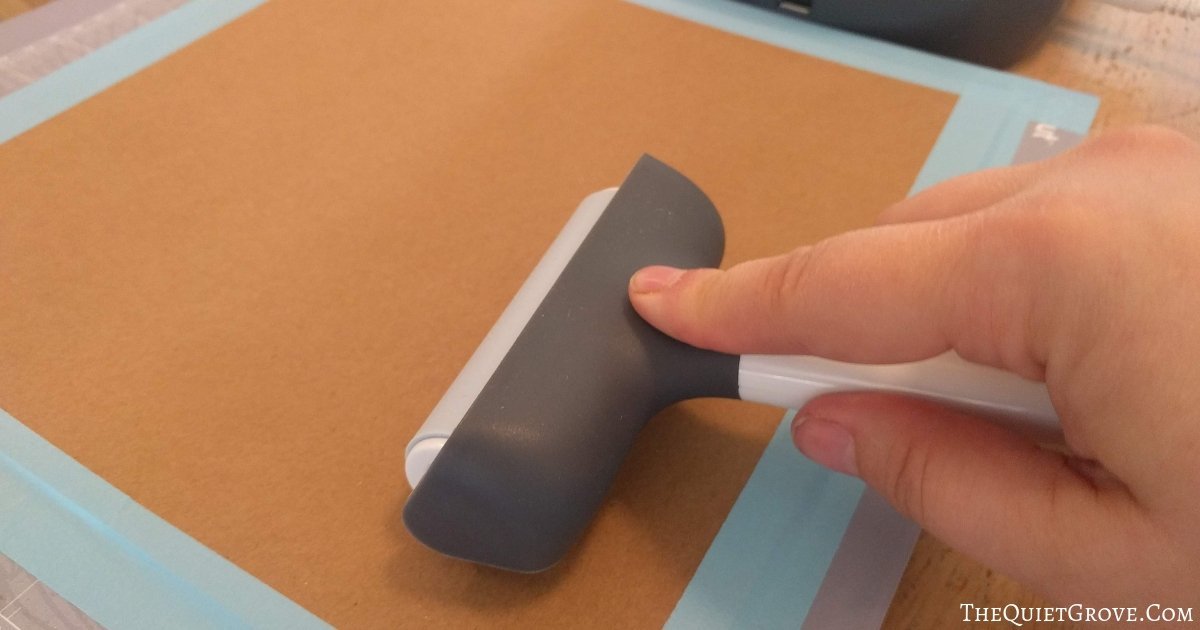
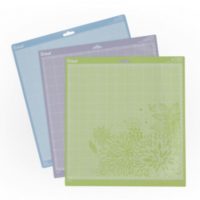
Firmly attach the heavy chipboard to your strong grip mat using the brayer tool (rolled over the chipboard) and then tape the edges of the Chipboard to the mat with masking tape. (this step is very important.).
Once cut, carefully peel the mat from the Chipboard (and poke out any of the excess pieces.
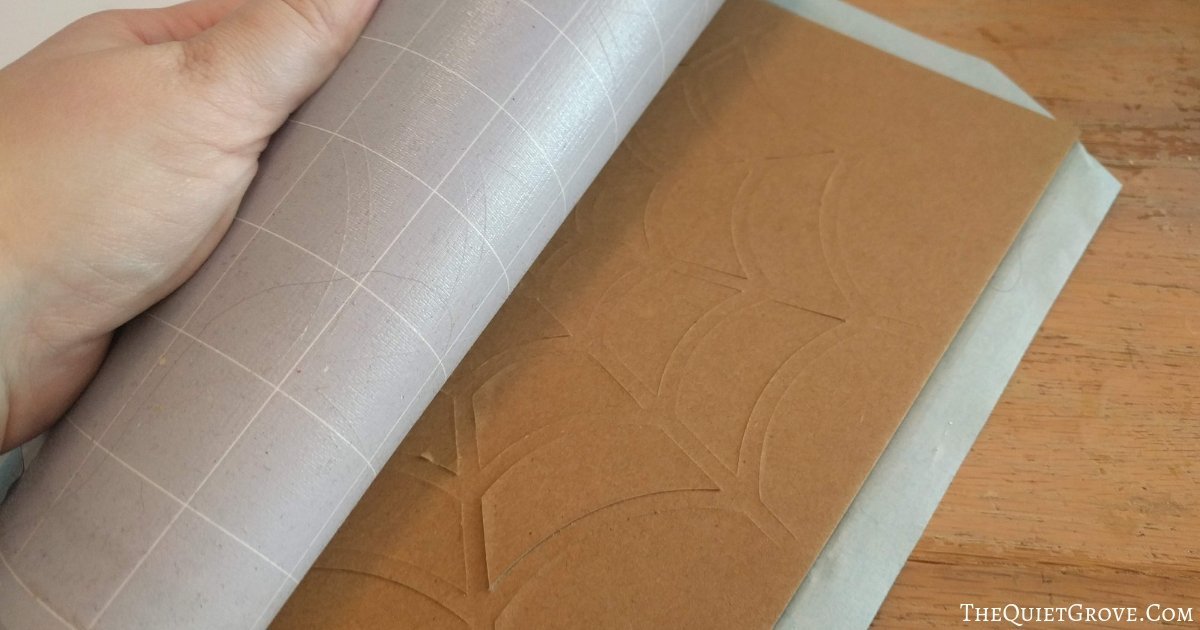
With a foam brush carefully paint all the chipboard with black acrylic paint. (You will want to make sure to get the inside edges of each part of the Spiderwebs. Do it slowly with just a bit of pain because you don't want to weaken the chipboard. )
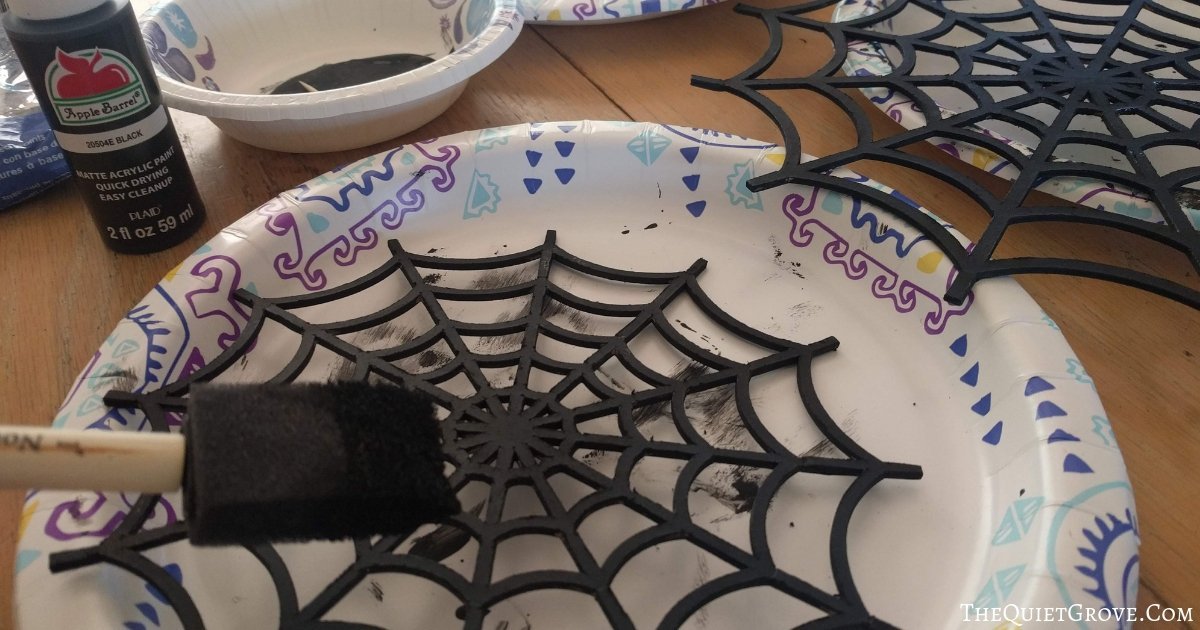
Measure out the ribbon to hand the chandelier and lace it through the center of the top spiderweb.

Next cut 3 lengths of ribbon to run across the bottom web before hanging down through the bottom (to hang the bats from)
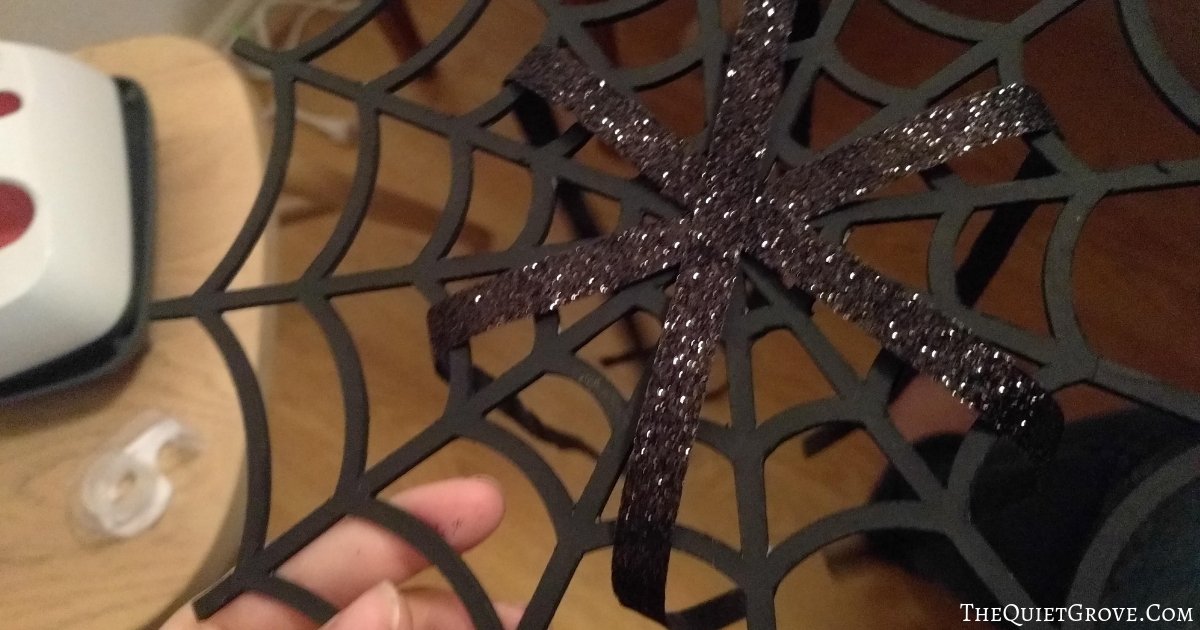
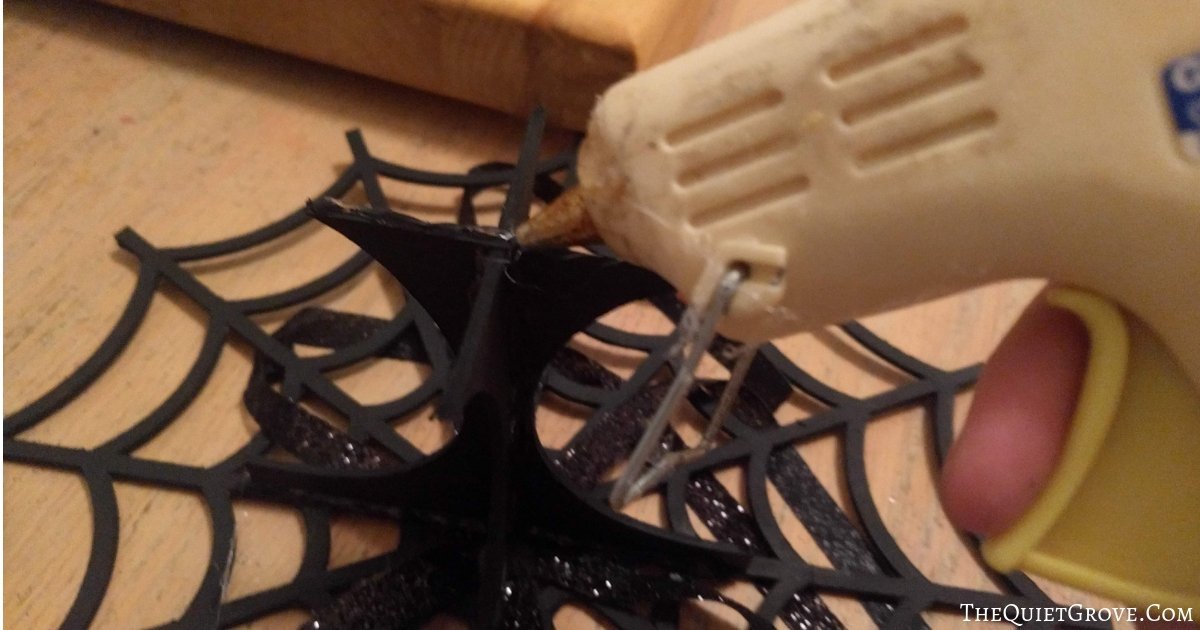
Starting with the larger support piece use hot glue to attach to the bottom web (gluing over the ribbon,
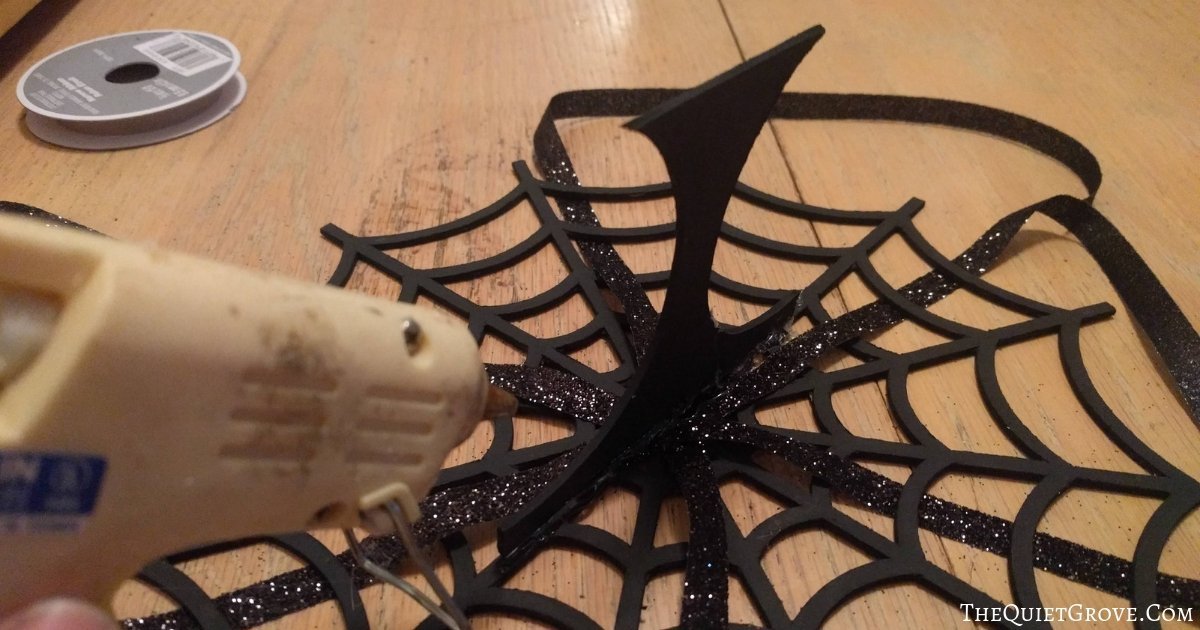
Then glue both of the other supporting pieces to that center one. **At this point I used my paintbrush to paint the visible hot glue black to blend in better with the painted chipboard.
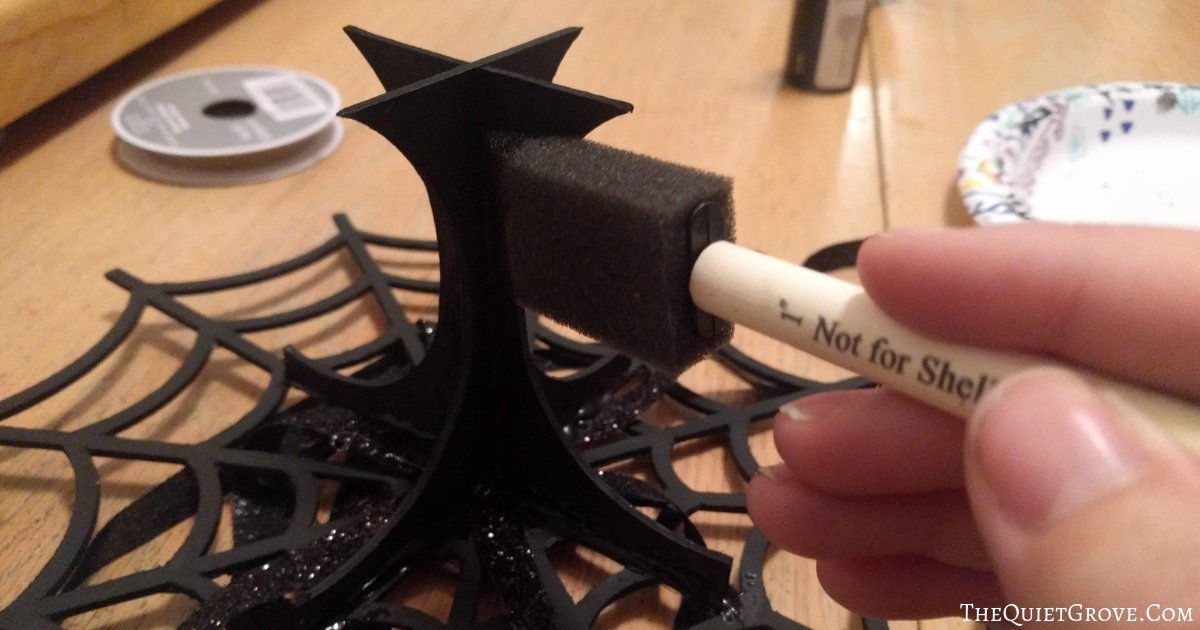
Glue the top spiderweb to the support pieces.
Next, it is time to assemble the cups. Before you glue the sides you will want to add the iron-on spiderwebs.
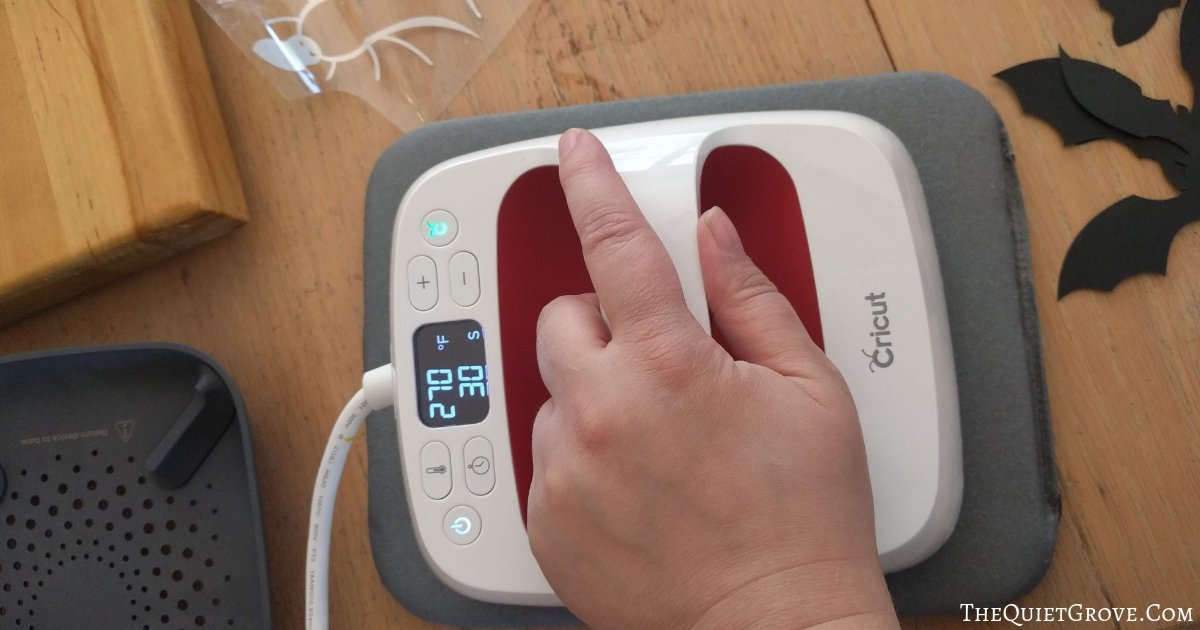
Heat the Easypress 2 to 270 and set time for 30 seconds.
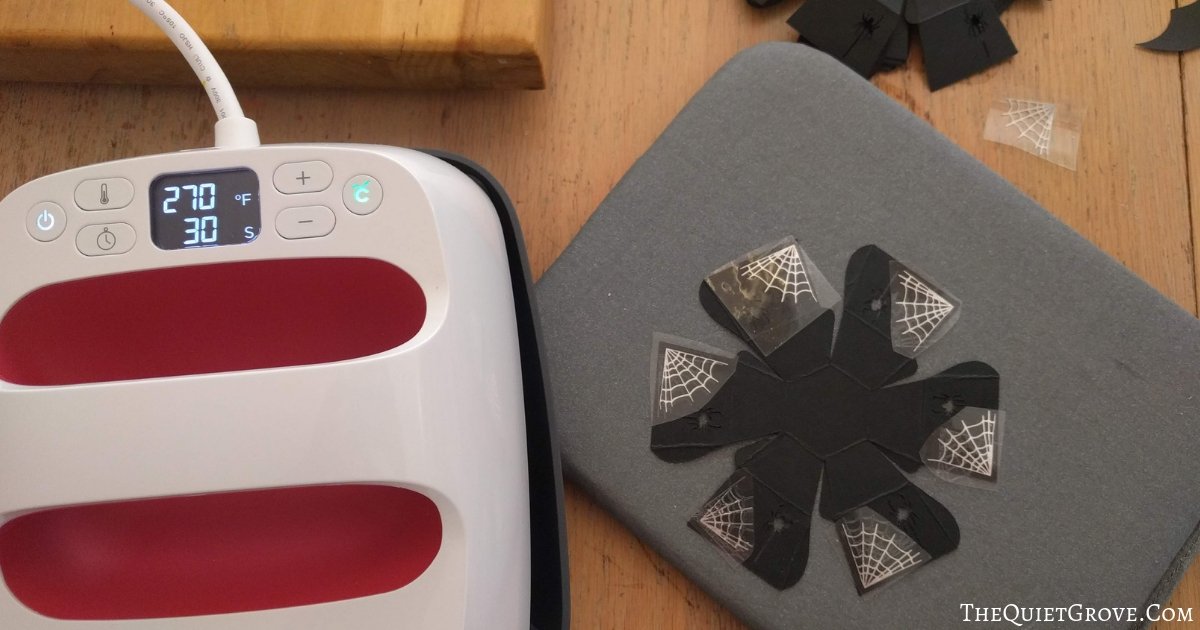
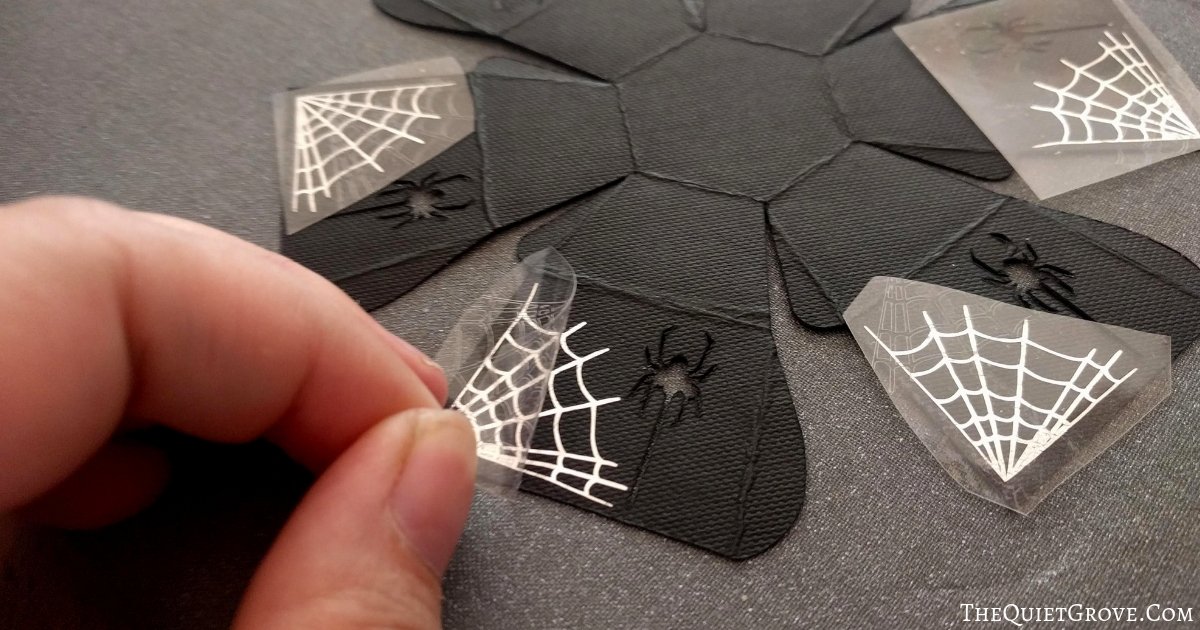
Cut each web to place in the top right corner of each cup side. then press the Easy press over the iron-on for just a second to cause it to stay in place. Do this till all the iron on for the entire cup is in place.
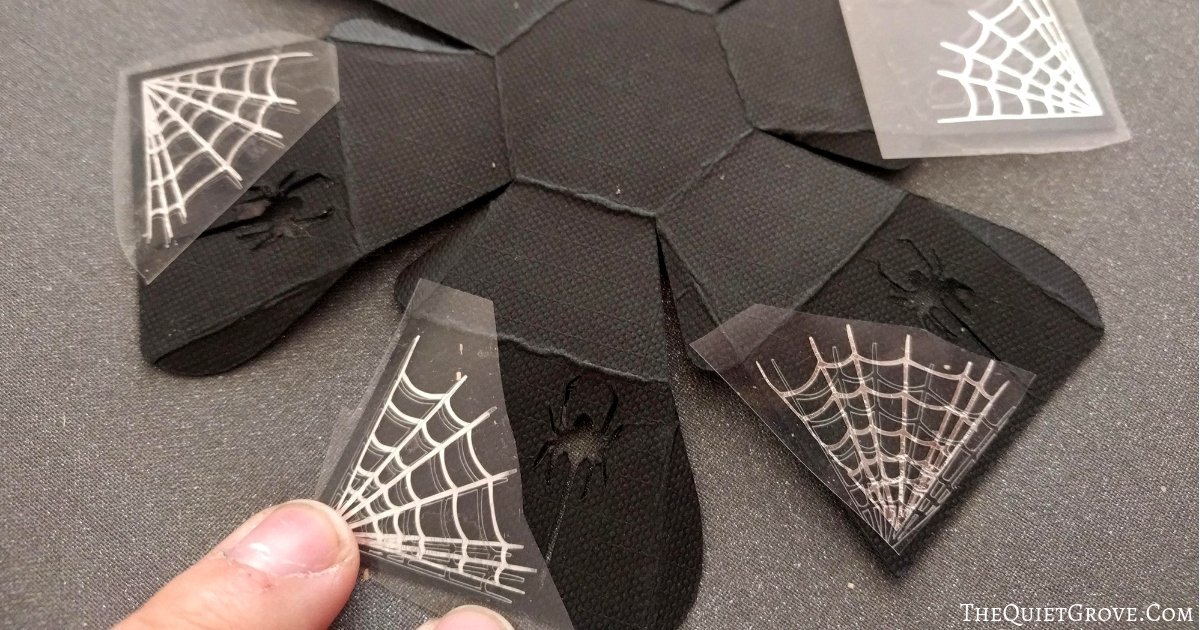
Then Iron the whole cup at once with the Easypress 2 (using the easy press mat underneath) with firm pressure for 30 seconds
Then peel off the protective backing off the iron-on (Cricut recommends letting it cool first for a "cold peel")
Use a glue stick to glue all the cup tabs (tabs on the inside of the cup)
--> Repeat for all the Cups <--
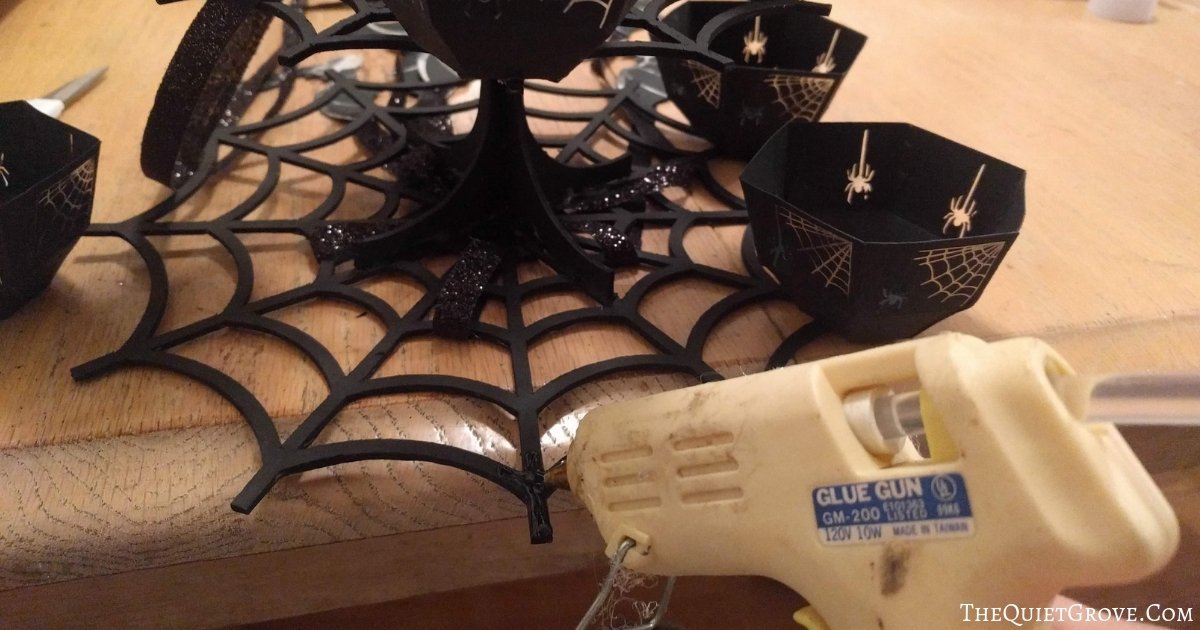
Use Hot Glue to Glue the Cups onto the top outer edges of the spider webs evenly spaces apart. (6 on the bottom tier and 4 on the top)
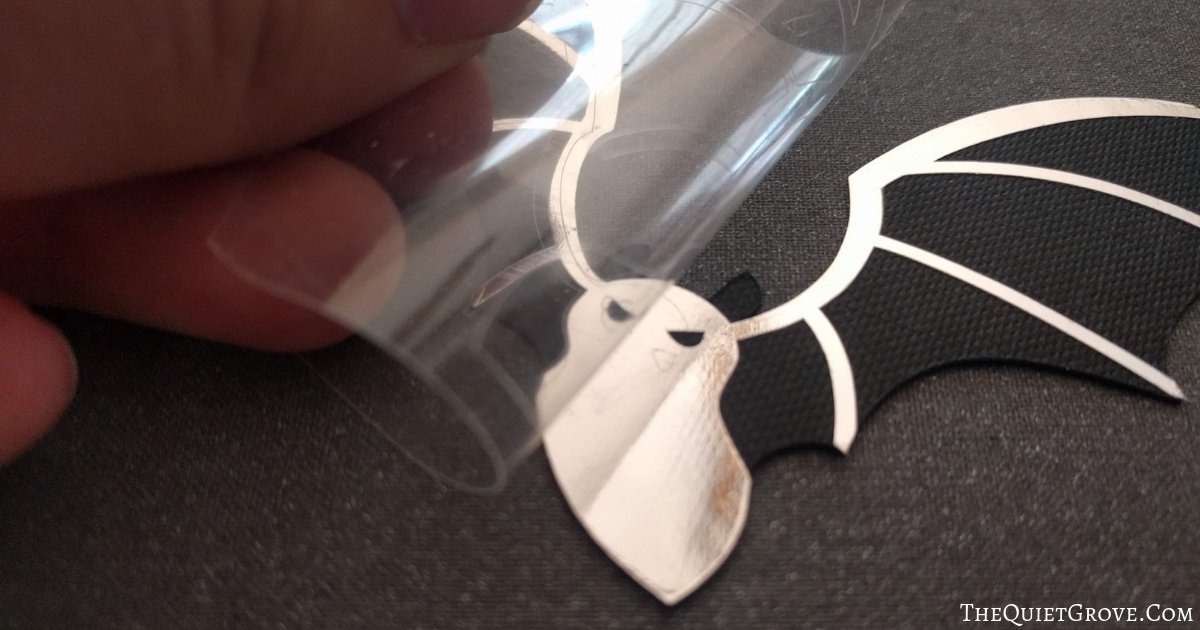
Use Easypress 2 to also Iron on the top cut out the design for the bats. * *There are three sizes of bats so make sure you match up the right iron-on cutouts with the right cardstock bats.
Coat the plain side of two identical sized bats
Place hot glue on the end of one of the ribbons and then sandwich it between the two bats so the iron-on design is to the outside with the ribbon in the middle.
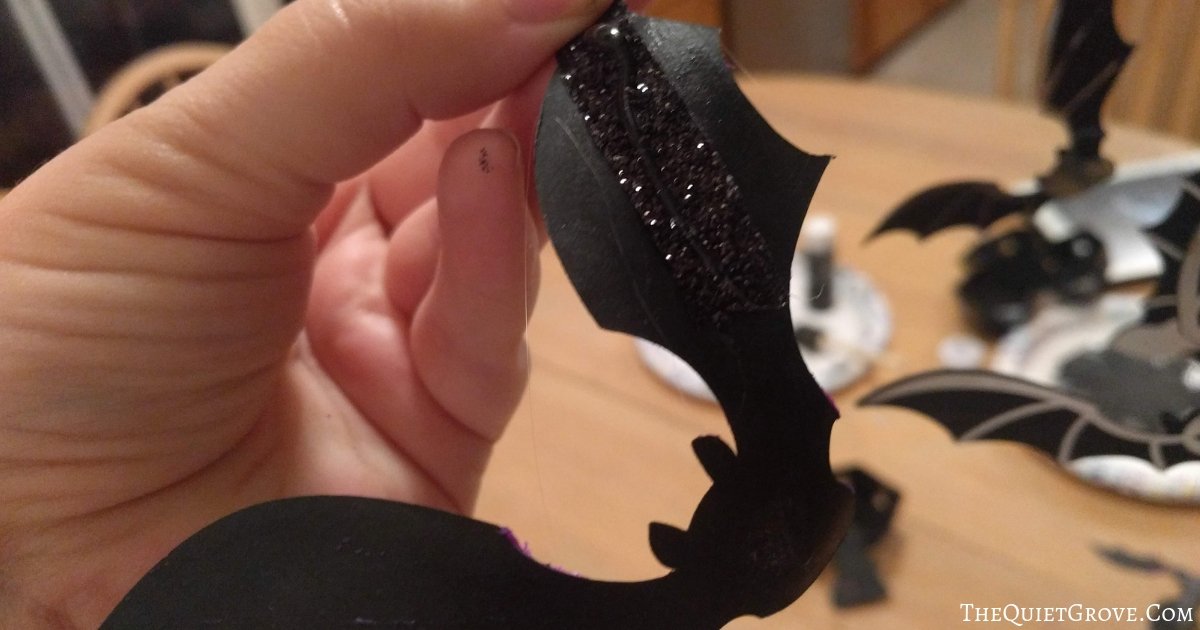
--> Repeat with all the bats and ribbons<--
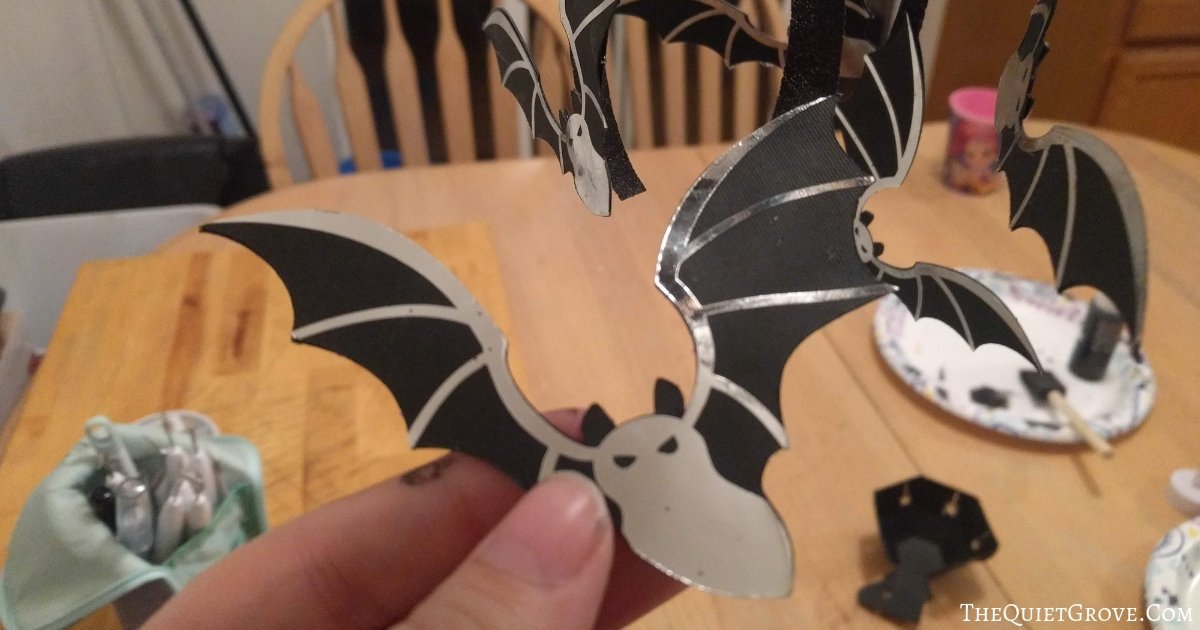
Add tealights, hang and enjoy.
Notes
I made this before the EasyPress Mini was released. If I made it again I would probably use the Easypress mini for the Iron on detail (on the first heat setting)
Recommended Products
As an Amazon Associate and member of other affiliate programs, I earn from qualifying purchases.





You can hang this chandelier inside or outside for a Halloween party. I loved how it looked hanging from a tree over my Halloween party tablescape. The foil iron-on gives the chandelier a bit of fun detail and sparkle during the day and the cut out spiders allow the tealights to shine through the chandelier cups at night giving you that perfect spooktacular glow at night.
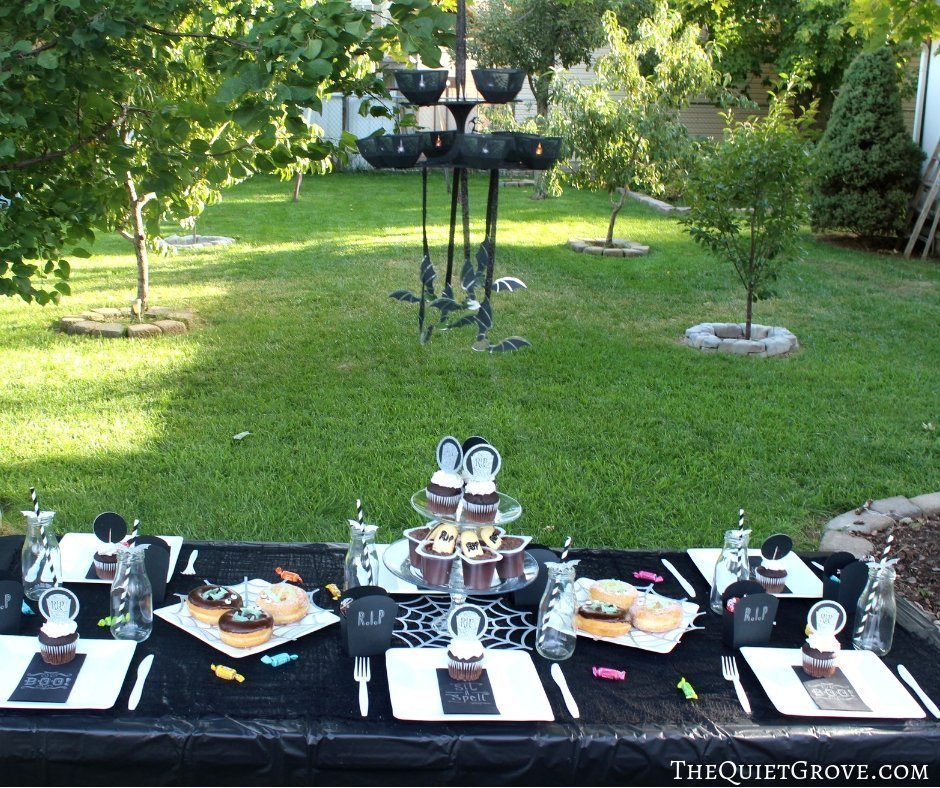
Later I will totally be using my Maker to help me make my kids Pokemon Handmade Halloween costumes. I love how I can cut soo many materials with ease using my Maker!! Stay tuned for more fun Halloween projects (including all the fun DIY projects that made up the rest of my Halloween party tablescape!

If you liked this post then check out these: (Click on the photos to go to the post)


This is a sponsored conversation written by me on behalf of Cricut. The opinions and text are all mine.




What a great and dramatic project!!!