
DIY Kid's Summer Reading Kits made with Cricut! (+ Free Printables and SVG Cut Files)

POST DISCLAIMER This is a sponsored conversation written by me on behalf of Cricut. The opinions and text are all mine.
READER COMMENT DISCLAIMER Comments submitted may be displayed on other websites owned by the sponsoring brand.
Keep your kids reading this Summer break by making these fun Kid's Summer Reading Kits!
As a parent, we are always trying to find fun and creative ways to keep our kid's minds active during the Summer months when school is out. One of the best ways I have found to do this is to encourage reading. I have learned over the years that if you make it fun and rewarding, then your kids are more likely to participate. The perfect way to do this is to make fun Summer Reading Kits for each kid.

I am often asked what Cricut tools and accessories do you need to use a Cricut and how much do they cost. Well, the truth is, you use different tools for different projects. For example, when cutting certain materials you will need a deep cut blade and a strong grip mat while for most projects the standard mat and blade work just fine.
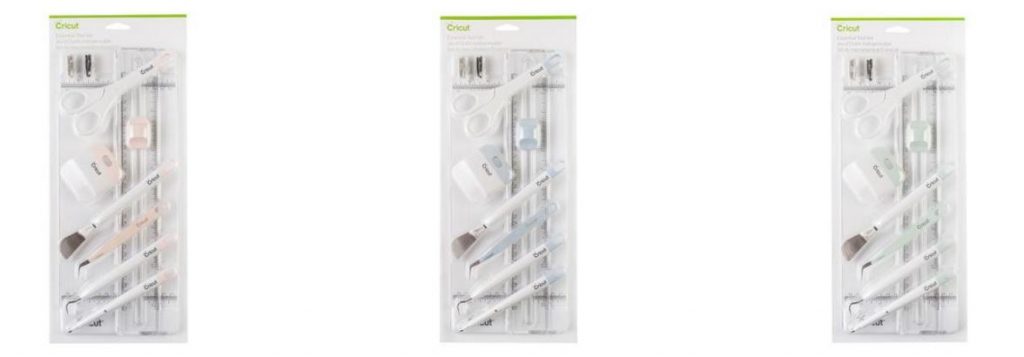
Along with your Cricut Machine, I would recommend that you get Cricut's Toolset. These tools will come in handy for EVERY Cricut project. You can get the tools individually (prices range anywhere from $7.99 - 14.99) as a basic set (which has all the tools but the trimmer (for $24.99) or you can get a matching tool set which has everything including the trimmer in colors matching your Cricut Machine (for only $49.99). Trust me this tool set way worth the cost as you will come to learn as you start making projects on your Cricut.
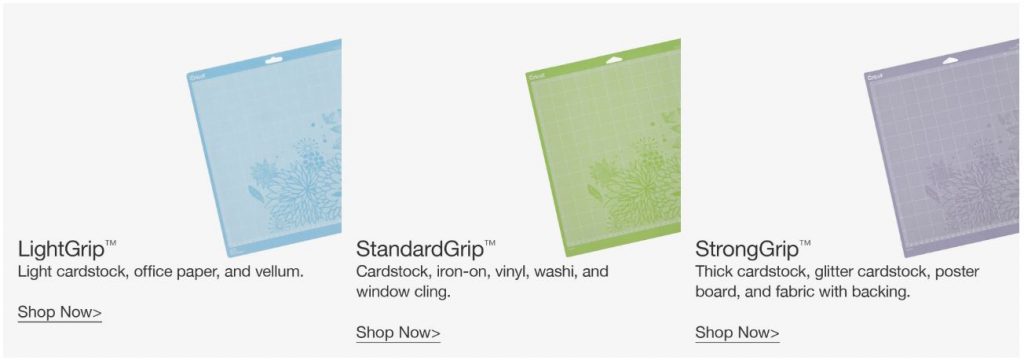
Other tools/accessories it is a good idea to keep on hand are all 3 kinds of mats (light grip, standard Grip, and strong grip) spare blades (including at least one deep cut blade), and transfer tape (if you plan on working with vinyl, or adhesive foil). Cricut has other fun tools and accessories you can totally get which all make your Cricut crafting experience even better, but these are the ones that I would recommend across the board.

Whenever I post a DIY tutorial working with Cricut, I will always list the best tools recommended in addition to materials needed to best make the project. Thankfully the most important tools/accessories you will only really need to buy once and the ones that you would need to replaced (like mats, transfer tape, or pens etc) are decently priced.
If you aren't sure which mat or blade to use for any given project you can always check on Cricut's website and search their help center or you can just ask me in the comments.

Now for the tutorial on how to make these fun DIY Kid's Summer Reading Kits:
If you would like to watch a video tutorial for making these fun Summer reading kids I did film one. It was my first Video Tutorial, but I will be getting a lot more up shortly as another resource for busy moms and dads looking for tips, inspiration and more from my neck of the woods.
The PDF printable for the Reading Journal has a spot on each page for your child to fill in the name of the book they read, the books Author, # of pages, date finished, and notes/annotations.

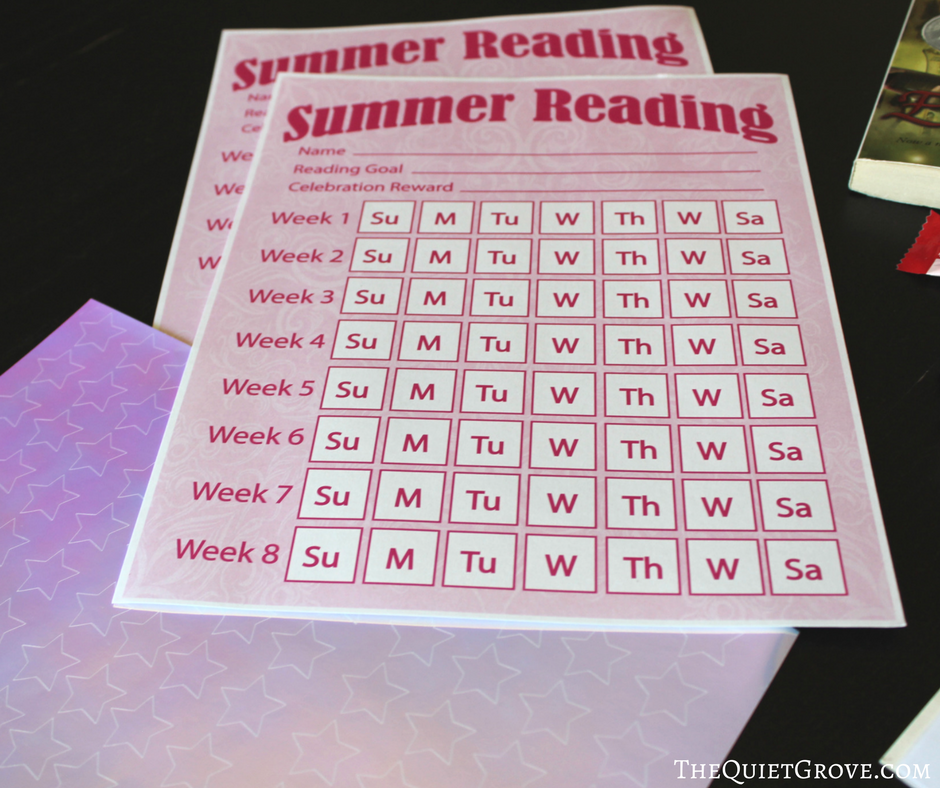
I made sure the reading chart had a place for the child to put what their goal was and the reward for meeting their reading goal. I have found kids LOVE Star charts for making and keeping goals. And the DIY star stickers are super fun!
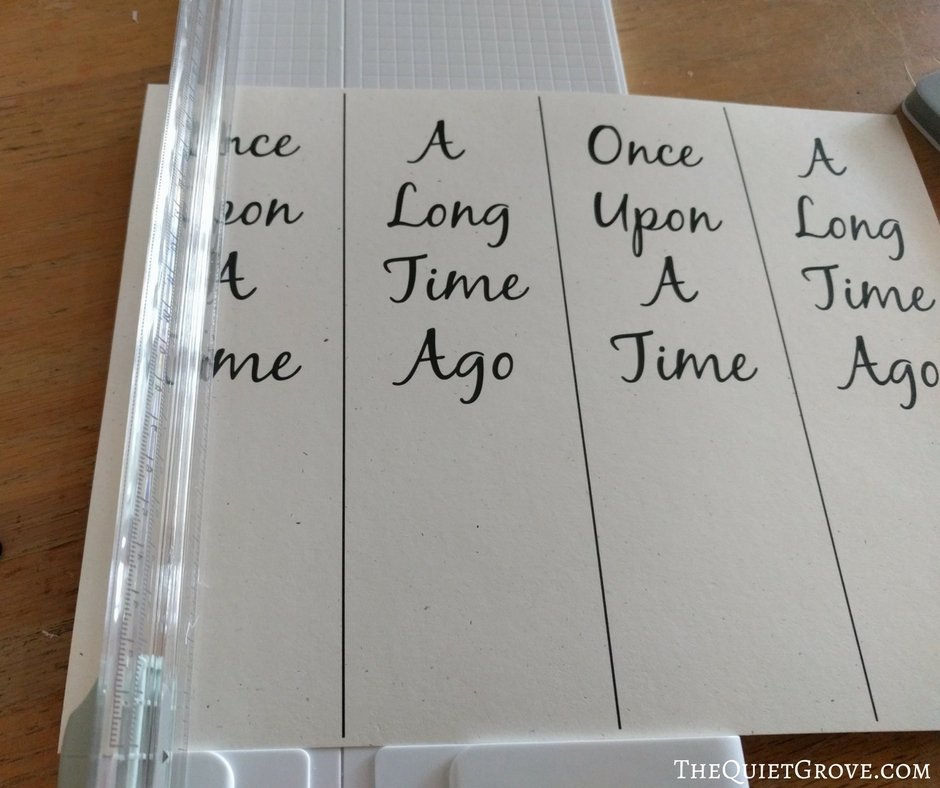
For the bookmarks, I have two versions available. One says "Once Upon a Time" (these are the ones I usually pair with the princess vinyl decal.) and one says "A Long Time Ago". (these are the ones I usually pair with the dinosaur decals).

Materials Needed:
- Cricut Explore Air 2
- Cricut Design Space
- White Paper (for reading journal pages)
- White or Cream Cardstock (for Reading Chart, reading journal cover & Bookmark)
- Holographic Vinyl (blue for boys kit and pearl for girls kit)
- Stapler (and Staples)
- Cricut® Essential Tool Set, Mint
- Cricut Transfer Tape
- Standard Cutting Mat
- (Optional) Paper Crafting Set
If you need to order any of these supplies from Cricut.com use Promo Code: QUIETGROVE to get 10% off + free shipping!!
**Note this code does not work on Design Space Access, digital content, machines, EasyPress, Brightpad
Directions:
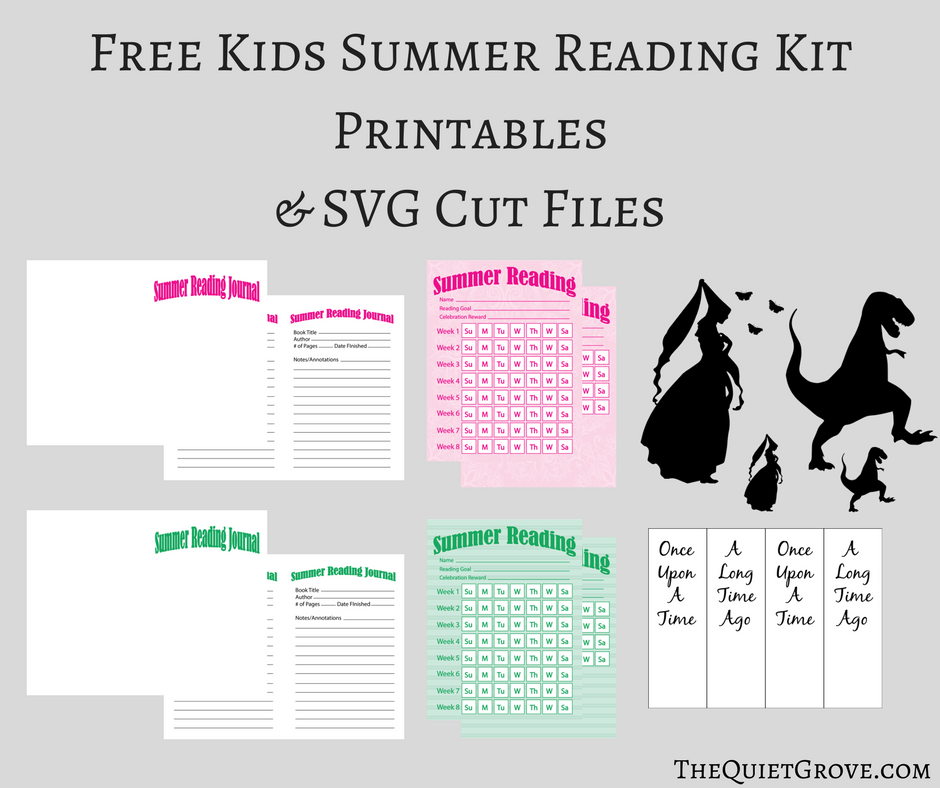
- Print out Needed printable pages (There is a printable set for Girls in Pink and for boys in green included in the download). The Printables are formatted as standard PDF files so you can print at home or at your local copy center. I printed the reading journal pages double sided on regular white paper (to save money I printed these pages in B/W) I printed the Reading charts in color on white cardstock and I printed the Bookmarks and Reading Journal in matching cream colored cardstock.

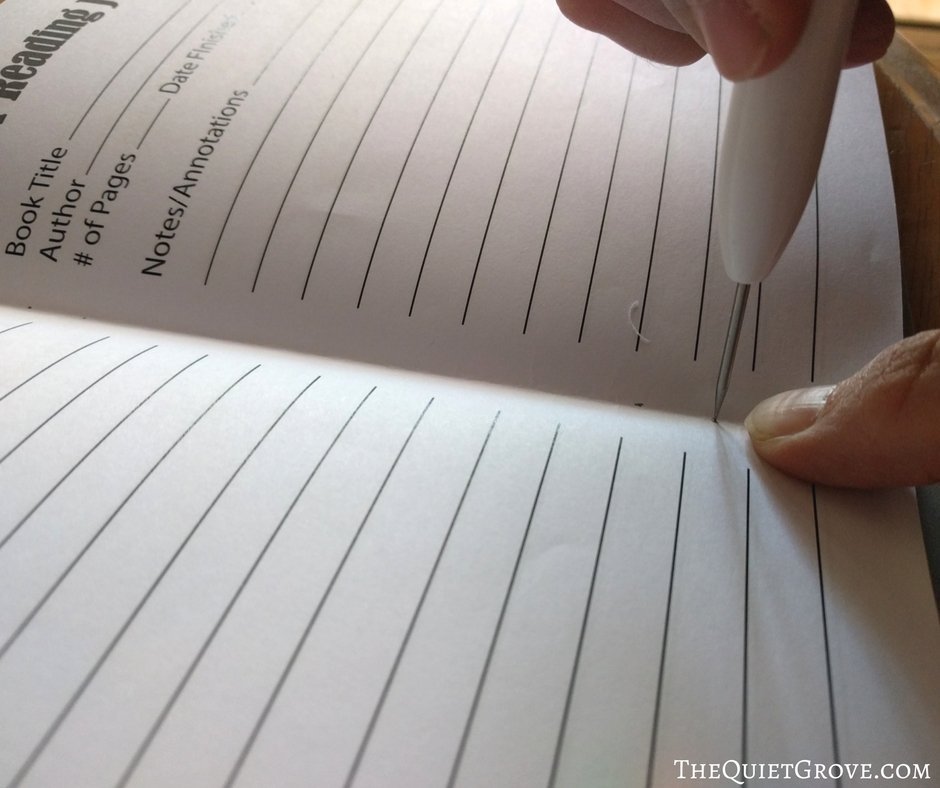
- Using the Score blade on the Cricut Toolset Trimmer Score down the middle of the Reading Journal cover for easier crisper folding

- Fold and staple the reading journal (cover/pages) down the center binding. If you are having difficulty stapling all the pages and cover together (especially since you are stapling on a fold) you can use the Piercer from the Cricut Paper crafting Set to poke holes where the staples will go to make stapling easier.
- Using the Cut blade on the Cricut toolset Trimmer cut the Bookmark (comes 4 per page)
Directions for Decals and Stickers:
- Open Cricut Design Space Canvas for the Star Stickers and then Click on "Upload Image" Button on LLeft-hand side of Design Space Canvas.

- Next, upload both the Both Princess or Both Dinosaur (depending on which kit you are making) SVG Cut Files to your Cricut Design Space Canvas.

- Select Images and inset into Canvas.
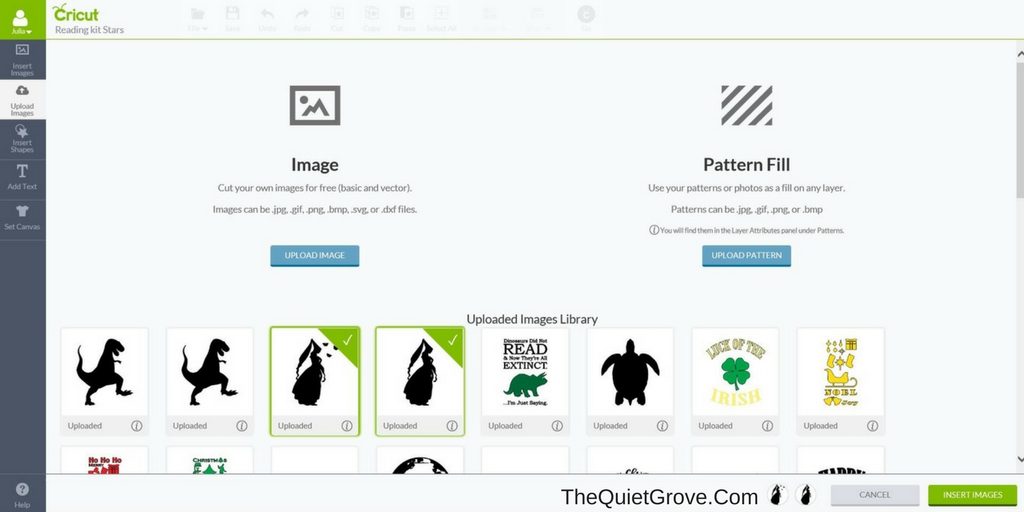
**I already have the designs in the proper sizing for the Journal cover and bookmark. So no worry about sizing anything!
- Place both the Reading Journal and Bookmark images on the right hand of the stars (making sure that all the images are within the 12 inch mark. Then click the Select All Button. Once all the images are selected then click on the "Attach" option on the "Layers Tab"

- Click Go Button to Send to Canvas

- Place Vinyl on the Standard Grip Cutting Mat (making sure to center vinyl (shiny side up) on Mat's cutting surface.


- Set Dial on Cricut Machine to Custom Cut Setting

- Select "Vinyl, Holographic" option in the Materials dropdown.

- Click the blinking Load button on Machine (making sure to load the mat under both loading tabs on the Cricut machine. Then click on the blinking Cricut button to start the cut.

- Peel the cut vinyl off the mat and then Using the Cricut Toolset Trimmer Cut the stars section of the cut vinyl apart from the Princess designs. (the stars section is all ready to be used with the Reading cart as stickers to mark your child's reading goals.) While you are at it trim off all the excess vinyl to use for other projects.

- Then I place the cut sections with the Princess and butterfly and smaller princess back on the mat to help grip the back to make it easier to weed out the design. To weed the design just stick the hook of your weeding tool in a part of the vinyl you are not using and gently pull.
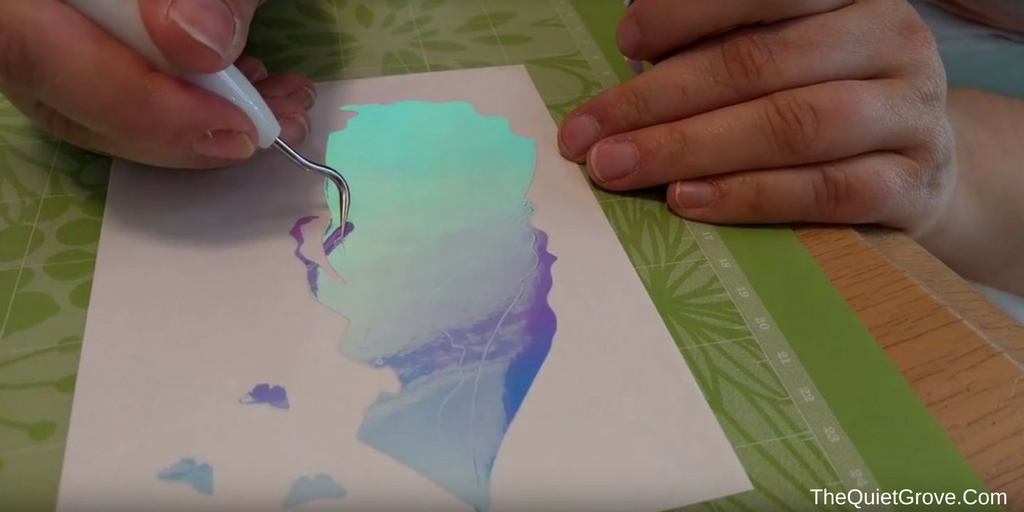
- To attach the decal for the bookmark just peel off Holographic Vinyl off its backing like a sticker and place on bookmark according to desire. If attaching the Princess and Butterfly decals to the Reading Journal you will want to use transfer tape to transfer the design to the Journal cover. To do so Cut transfer tape to the size of the design and firmly press over the cut vinyl then, peel the design off the mat carefully.
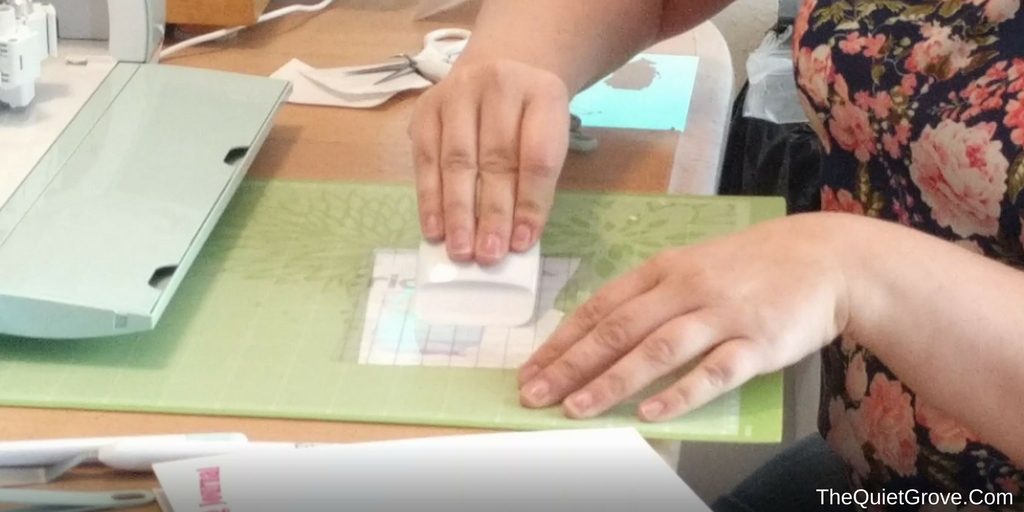
- Peel Holographic Vinyl backing carefully off leaving just the vinyl design stuck onto the transfer tape.

Place the design as desired onto the reading journal cover pressing firmly then carefully peel back transfer tape to leave the Holographic Vinyl on the Journal cover.

You have now finished making and decorating your Kid's Summer Reading Journal, Bookmark, Reading Chart & Star Stickers. Now it's time to put them together in a basket along with a book or two and some yummy treats to make fun Summer Reading Kits for your kids.

This is a sponsored conversation written by me on behalf of Cricut. The opinions and text are all mine.



4 Comments
Comments are closed.