DIY Rudolph Christmas Bag Topper (With FREE SVG Cut File)


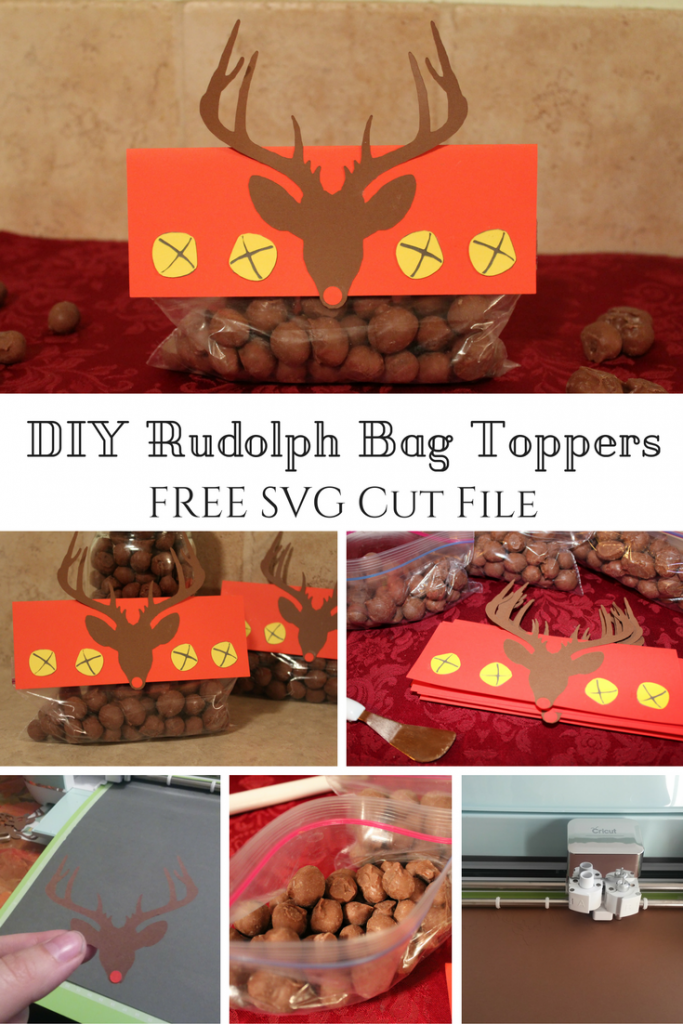
Add a bit of fun to your Christmas treat giving with these adorable Rudolph Bag Toppers.

One of my favorite Christmas traditions is making delectable treats (fudge, toffee, cookies, melt in your mouth caramels, Butterfinger chow mix...) and then delivering them to friends, neighbors, coworkers and beloved family members. Usually, I put the treats on a plate with a fun little label. However, sometimes depending on what treat I am giving, I like to put them in a baggie.
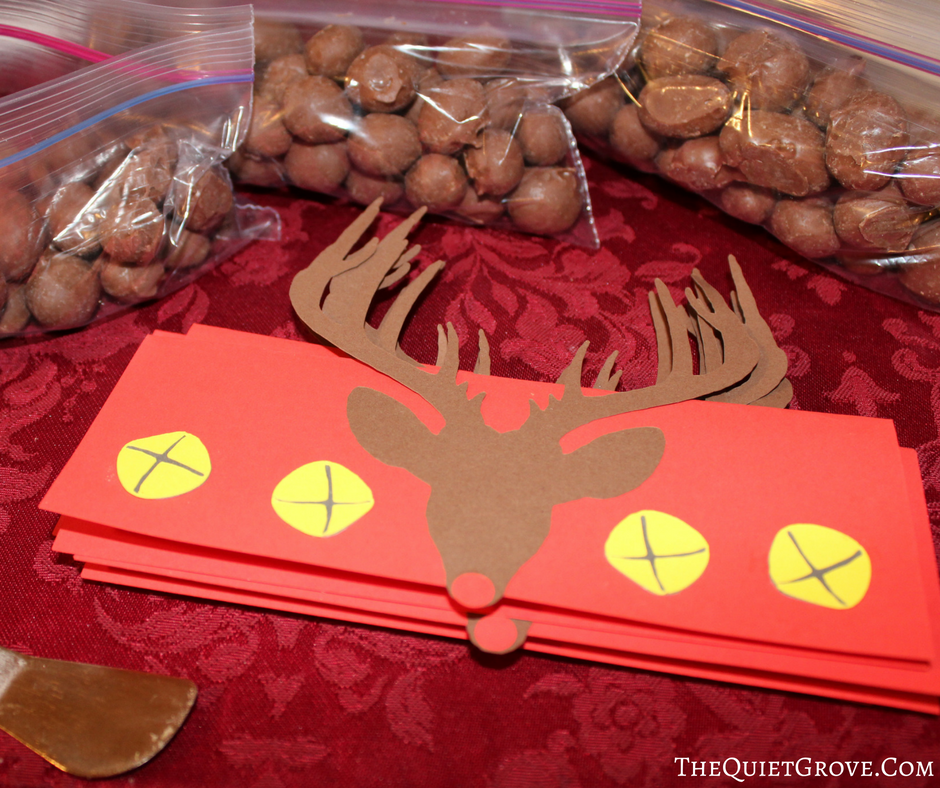
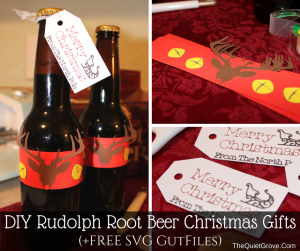
When I bag my goodies, I love using Bag Toppers. In the past I just created printable bag toppers, however this year since I am loving my new Cricut Explore Air 2, I thought it would be fun to design a fun bag topper to cut out and layer! (after all using my Cricut cuts down on the cost of printing out bag toppers at my local copy center.) In the end, I designed these fun Rudolph Bag toppers (same style as the Rudolph Rootbeer Wraps I posted about earlier.) and loved how they turned out. In addition to using treat bags for homemade goodies, they also add that personal touch to store-bought chocolates and candies for an inexpensive Christmas gift.
You can use this SVG Cut File with any cutting machine that uses SVG files but I prefer using Cricut machines (learn why I replaced my Silhouette Cameo with the Cricut Explore Air here)
Click here to download the SVG Cut File
Materials:
- Cricut Explore Air 2
- SVG Cut File
- Red Cardstock
- Brown Cardstock
- Yellow Cardstock
- Dark Grey or Black Cardstock
- Standard and Strong Grip Mat
- Cricut Essentials Tool Kit
- Fine Point Blade
- Glue
- Zip Lock Baggies for treats
Directions:
- Download SVG Cut File --> HERE <--

- Open a new canvas board and upload the file to your library. Then add to your Design Space canvas.
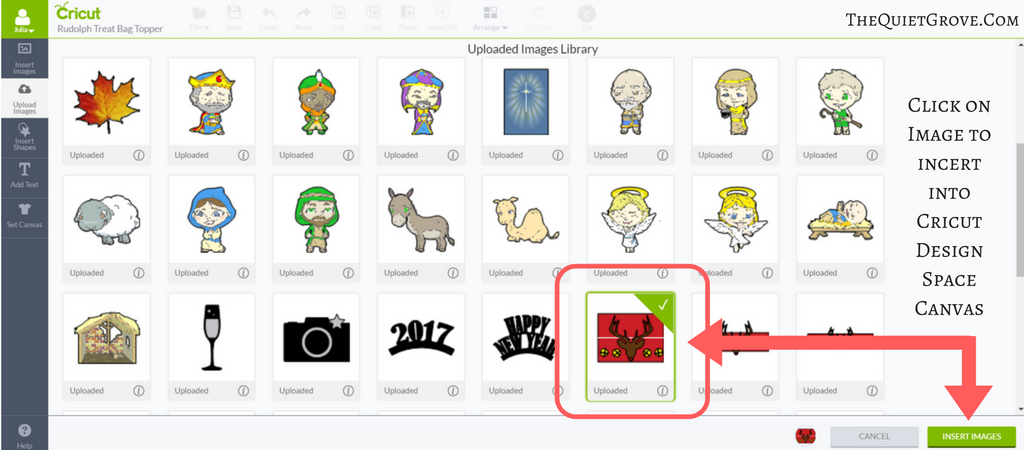
- Size Bag topper to 6.52 Inches by 4.8 Inches (for standard sandwich and snack size ziplocks) by selecting the image and going to the Edit tab on the right-hand side of the screen.
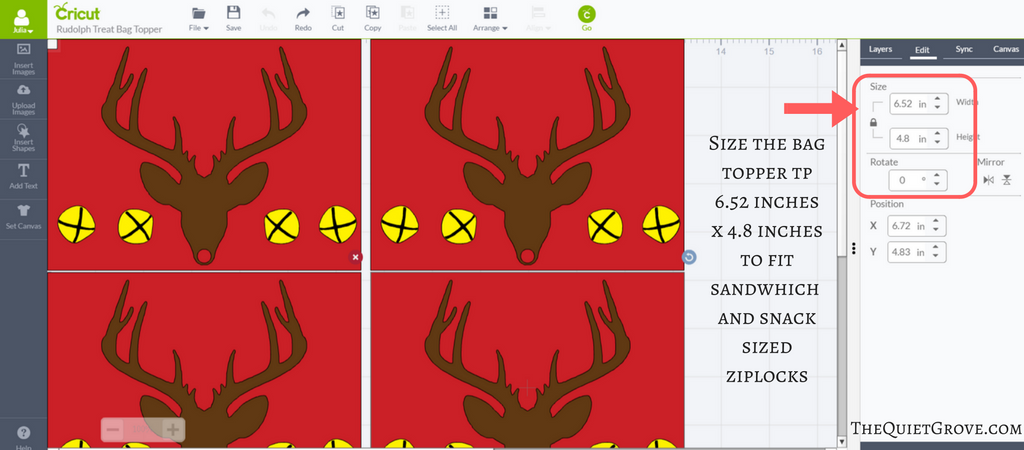
- Click Go button to send canvas to Cricut Machine to Start Cutting

- Place Cardstock on Mats (I use the standard mat for the Red Rectangle base, The Reindeer, and the Bell base, but found that by using the strong grip mat for the top part of the bells kept it from snagging and messing up the intricate cut)
- Cut cardstock
- Using Cricut Tools Remove Cut Cardstock from Mat
- Glue Payors together according to Picture
- Attach to ziplock with either Staples or Double Sided tape.
These Bag toppers are easy to make whether you are a uber crafter or are just starting out and they look awesome!
If you liked this Post, you might also like these: (click on the photo to go to the post)