DIY St Patrick's Day Banner Made With Chipboard & the Cricut Maker
POST DISCLAIMER: This is a sponsored conversation written by me on behalf of Cricut. The opinions and text are all mine.
READER COMMENT DISCLAIMER: Comments submitted may be displayed on other websites owned by the sponsoring brand.

Are you wanting to make a St Patrick's Day Banner that will last over the years?

I love making cardstock banners. They are easy to make and so fun. However, the downside to paper crafting is that they can be easily ruined if you don't store them carefully. While often I don't mind this telling myself, "I'll just make a new one next year is a different design." Sometimes, However, I want to make something that looks amazing, is easy to store and built to last. I was feeling this way when I went to make my St Patrick's Day Banners this year.

Wanting it to be durable, I decided to cut it out of Heavy Chipboard using the Cricut Knife and my Cricut Maker. I love my Cricut Maker. Thanks to its adaptive tools I can work with soo many more materials than I was able to with my Explore Air 2. From the very delicate (like fabric, felt & Crepe Paper) to the previously too think and hard (like Heavy Chipboard, Leather, Basswood) The Maker has more power and versatility and allows me to be even more creative with what I make!

I have used Cricut's Heavy Chipboard for a few projects since I got my Maker and Knife Blade and really like this material. So once I decided that's what I wanted to use I then got down to designing the banner. I decided to go simple in the design (almost rustic?) layering Chipboard designs and Letters on top of Plain brown chipboard pennants. To give the banner that bit of bling to make it pop I decided to cut a top layer for the Letters out of Cricut's Gold Glitter Cardstock. I considered using Gold Glitter Vinyl or Iron-on (I have both) but for some reason when I woke up this morning to start crafting I just felt I should go with the glitter cardstock for this project. In the end, I LOVE how it turned out.

Materials Needed:
- Cricut Maker
- Design Space Canvas for Luck of the Irish Banner --> HERE<--
- 12x12 Strong Grip Mat
- 12 x12 Standard Grip Mat
- Knife Blade
- Fine Point Blade
- Cricut Essentials Tool Kit
- Heavy Chipboard
- Gold Glitter Cardstock
- Brayer
- Masking Tape
- Glue/Glue Gun
- Ribbon
Instructions:
- Open Cricut Design Space for Luck of the Irish Banner -->HERE<--

- Click to make and adjust the mat size for the chipboard to 11x11

- Firmly attach the Chipboard to a Strong Grip Mat using a Brayer and then tape the edges with masking tape (so it won't shift while cutting)

- Select Heavy Chipboard from the materials list. Move all the rollers to the far right-hand side and place the Knife blade in the tool adapter to start cutting.

- After cutting peel the mat from the Chipboard and carefully remove any tape from the edges of the cut designs. (**If any of the layers of the chipboard start to separate use a bit of glue from a glue stick to press them back together,)

- Next move the little roller wheels on your Cricut back into place, switch the knife blade for the fine point blade and change the material to Glitter Cardstock.

- Place the Glitter Cardstock on a standard grip mat and insert into the Cricut Maker to cut.
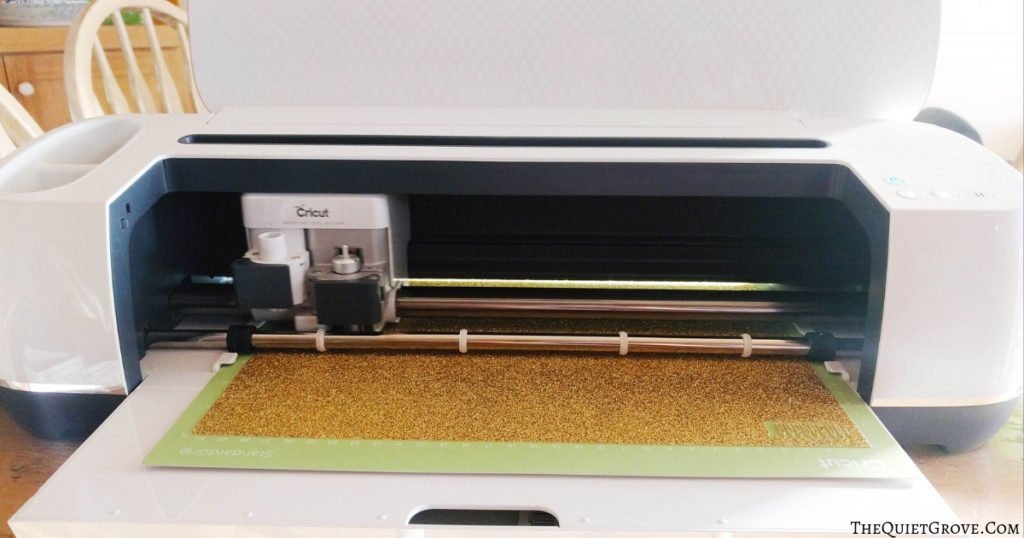
- Carefully remove the Glitter Cardstock from the mat with the spatula (you can also try peeling the mat from the cardstock)

- Glue the Glitter Cardstock to the corresponding Chipboard letters
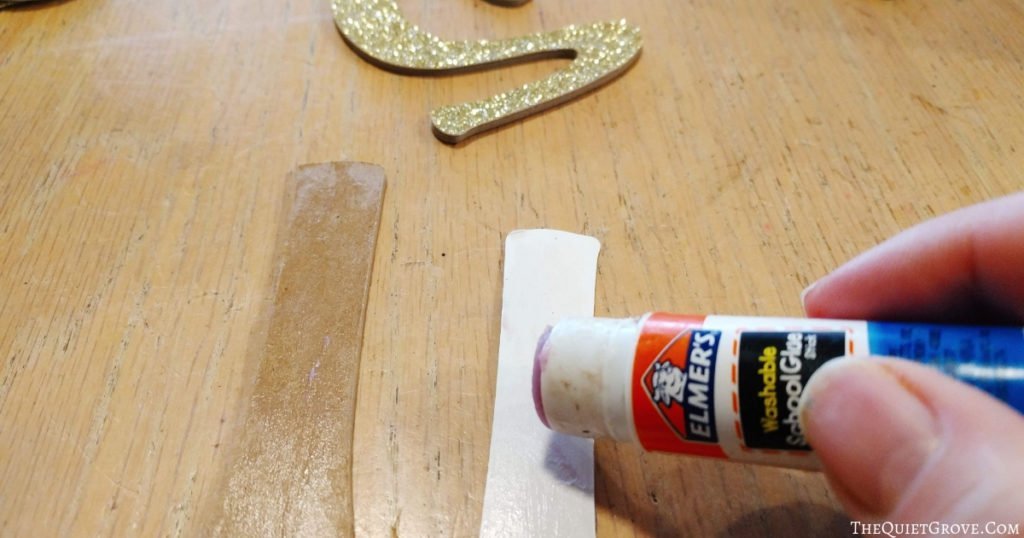
- Glue letters to pennants

- Attach the ribbon to the back of the pennants and hang where desired.

I really do love how the banner turns out. The letters really pop off the banner raised as they are and sparkling in Gold Glitter. I loved it so much I just had to make a Shamrock bunting banner made in the same style to go with it on our wall in our front room.

If you liked this post then check out these: (Click on the photo to go to the post)


This is a sponsored conversation written by me on behalf of Cricut. The opinions and text are all mine.