

Are you wanting to make some Superhero baby onesies?

My sister-in-law is having twin boys and I found out that they are decorating their nursery in a DC superhero theme. Their older boys room is done in a Marvel superhero theme. What can I say, my brother-in-law loves his comics. Anyways, I wanted to make a fun gift for their twins and decided to make some fun Superhero baby onesies.

Thankfully, making your own DIY Baby Onesies is super easy thanks to Cricut. When I went to look for blank baby onesies at Walmart, most of the blank white baby onesies came in sets of 3. I really wanted either 2 or 4 (ideally 4 so I could do more superheroes to mix and match) since I was making these for twins. Thankfully I kept looking and soon found a 4 pack. Yey!

To keep things simple I decided to just put 4 popular DC superhero’s logos on the 4 different onesies. In the end, I went with Batman, Superman, Green Lantern & The Flash. Designing their logos was pretty easy. I designed them to be easily layered since each logo had 2-3 colors. I wanted the designs to be quick and easy to make. Which was a good thing since I needed them made the same day to give along with a Superhero Diaper Cake (check out the tutorial –>HERE<–) the next day at my sister-in-law’s baby shower.
DIY Superhero Baby Onesies made with Cricut Iron-on

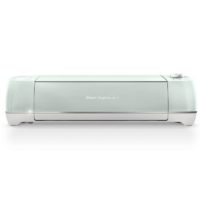
Learn how to make your own custom Superhero baby onesies using a Cricut Explore Air machine, Everyday Cricut Iron-on, & the Easypress 2
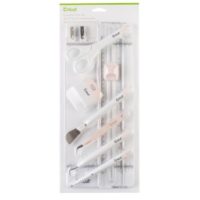
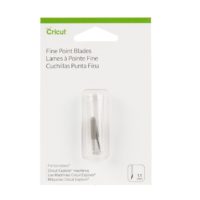
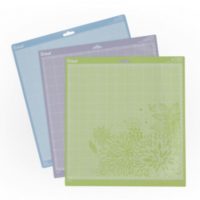
Tools
Instructions
Cutting Instructions:
1. Download DC Superhero SVG -->HERE<--

2. Upload into Cricut Design Space, ungroup the 4 designs and then size them.

3. (I was making 3-month baby onesies so I used the design space template for baby pajamas to figure out what size I wanted.) *In the end, I sized the Batman=3.763 inches wide, Superman= 4.3 inches wide, The Flash= 3.41 inches wide, & Green Lantern= 3.317 inches wide.

4. Since I was crafting at my sister's house we used her Cricut Explore Air so I set the dial to Iron-on (if you are using a maker select everyday Iron-on) and make sure you click to Mirror Image your designs before you start cutting!

5. Place your iron-on shiny side to down (toward the mat) on a standard grip mat and load into your Cricut to start cutting.

6. After you are done cutting the Iron-on, weed the unneeded iron-on from your design using the weeding tool from the essential tool kit.

Ironing Instructions:
1. Set your Easypress to 315 and the press time to 30 seconds. then prehead baby onesie for 5 seconds

2. Carefully placing the bottom layer of your design where you want it on the baby onesie.

3. Click the Easypress Cricut button to start timer and press on design with firm pressure for 30 seconds.

4. Flip the Onesie over and press for 15 seconds. then gently peel while still warm.

--> repeat for all layers.<--
Notes
**You can use a regular household iron set to Cotton for heat temperature but really you will get the best results and longer lasting finished product if you use the 6x7 Easypress & easypress mat.
**If using the Easypress you don't need to use a protective sheet. if using an Iron you will need either the Iron-on protective sheet or parchment paper.
Recommended Products
As an Amazon Associate and member of other affiliate programs, I earn from qualifying purchases.


I love how the Superhero baby onesies turned out. The deep colors of the Superhero logos really popped against the white onesies just as I imagined they would. The best part was how quick and easy they were to make. It was the perfect last-minute baby gift. My brother and sister-in-law love them which is what really mattered in the end. Man do I love making custom gifts!
If you liked this post then check out these: (Click on the photo to go to the link)


Maura
Tuesday 28th of January 2020
They are so cute! Didn’t you get vinyl shrinkage with the layers?
Julia
Wednesday 29th of January 2020
nope.