DIY Trick or Treat Halloween Banner


Looking for a fun Halloween Banner to make?
My kids have been begging for us to decorate for Halloween. However, right now all our Halloween decorations are buried in storage. So I pulled out my Cricut Explore Air 2 and decided to make some decorations. Starting with a Fun Halloween Banner.

One of my favorite decorations to make for any holiday or party is a nice statement banner. Banners really are very versatile decorations for you can make them in many sizes and hang them anywhere to complement your other decor. Though you can leave your banners blank (aka no message just colorful design) but I prefer banners with a message to tie in with your overall theme.
When designing my Halloween Banner I wanted something Classy, vibrant, textures and spooky fun. I decided to go with a two-layer banner so I could place a deep color in the back to make my spider webby "Trick or Treat" message stand out more. To give my banner a vintage touch I decided to emboss the bottom pennant giving the whole banner a vintage gothic look. Though I am sure it would still be super cute without the embossing. After I was done, I loved how it turned out (though if I made it again I would probably go with a pit lighter color purple so those letters could been seen better in darker light from a distance.
Ok, so let's get down to the directions. For those who want to make this banner for themselves!
Materials Needed
- Cricut Cutting Machine
- SVG Cut File for Banner (get it free here)
- Cricut Design Space
- Standard Cutting Mat
- Fine point Blade (or German Carbide Blade)
- Cardstock
- Essential Tool Set
- Glue Stick
- Cricut Cuttlebug
- 5X7 Embossing Folder & Border, Fluted Damask Design
Instructions
- Download the Tick or Treat SVG file and Upload it into your Design Space Library
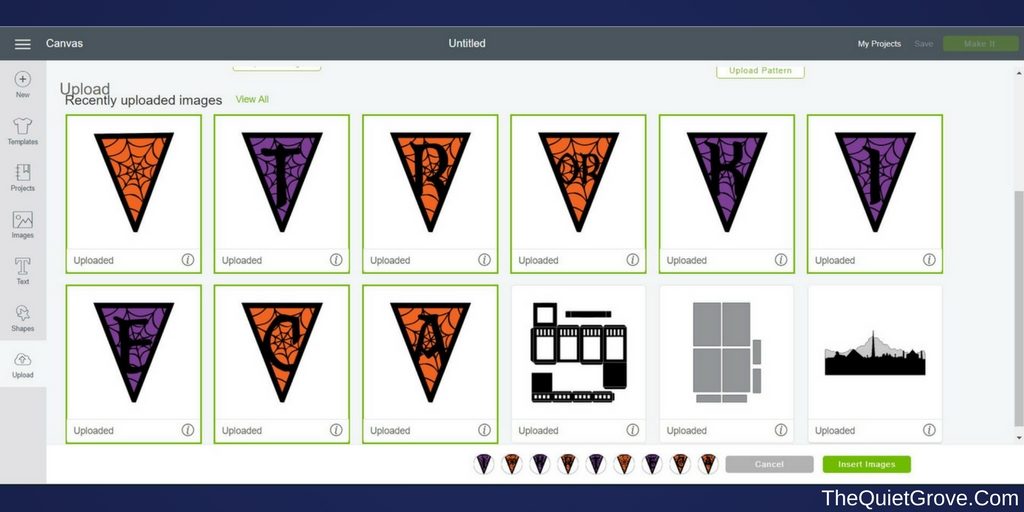
- Make two duplicates of the Letter T Pennant, 1 duplicate of the Letter R Pennant, and 1 Duplicate of the Web Pennant. (I sized each Pennant in my banner to 4.5 Inches Wide)
- Click the green Make it sign and adjust page sizes to fit what you have. (I had Cricuts 12x12 Black Cardstock for the top layer but I only had standard sized orange and purple cardstock for the bottom layer so I had to adjust the page sizes for those mats)

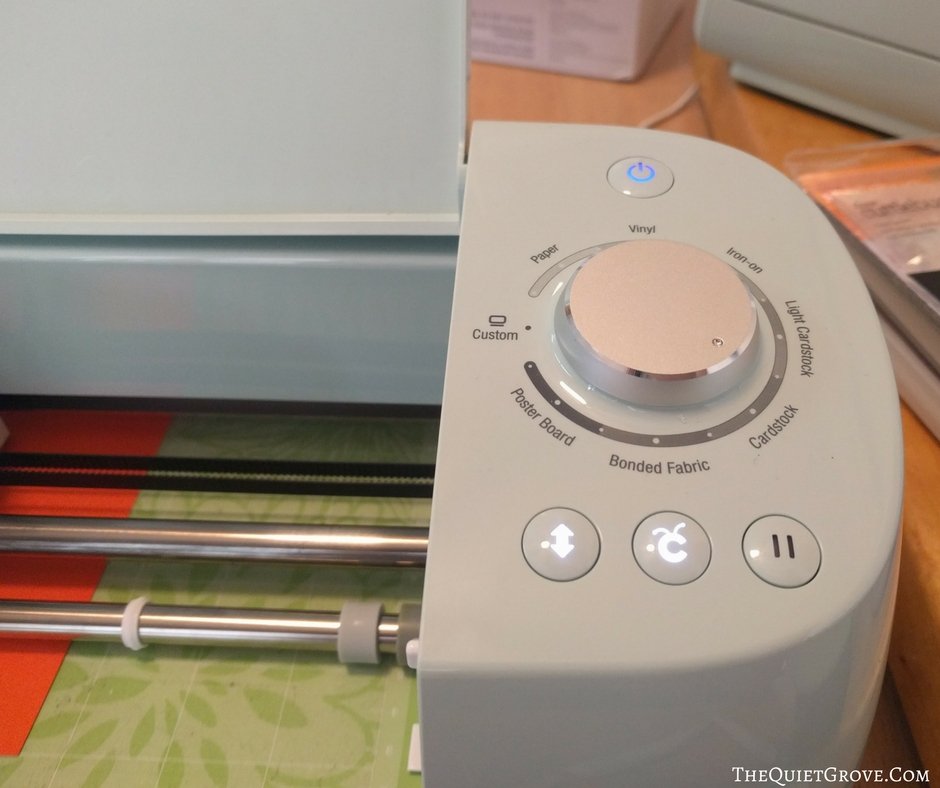
- Make sure your machine is set to Cardstock, then place Cardstock on cutting mat matching up the top left-hand corner then load mat into your machine, and click to start cutting.
- Carefully use your essential tools to weed each pennant and remove from the mat. (you want to be careful so as not to tear your banner.

- Emboss the bottom pennants (if you need instructions for using the Cricut Cuttlebug to emboss you can go here)
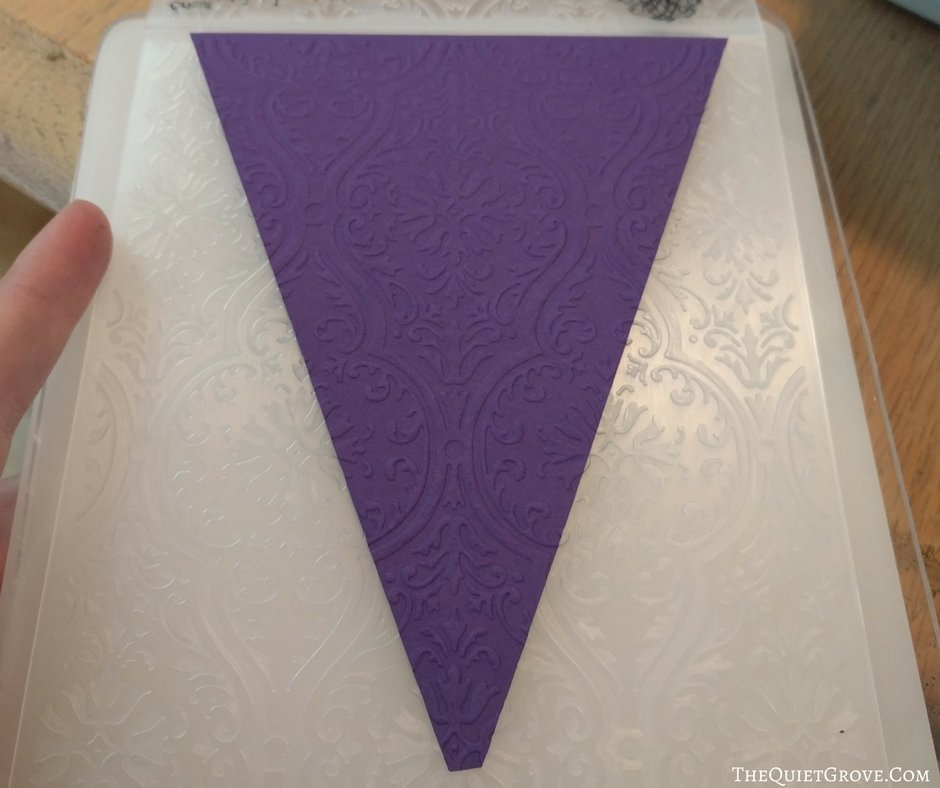
- Glue top and bottom pennants together (make sure you glue the right colors to the right letters so you don't mess up the pattern. If all else fails you can always go back to your canvas to see which color goes with each letter.
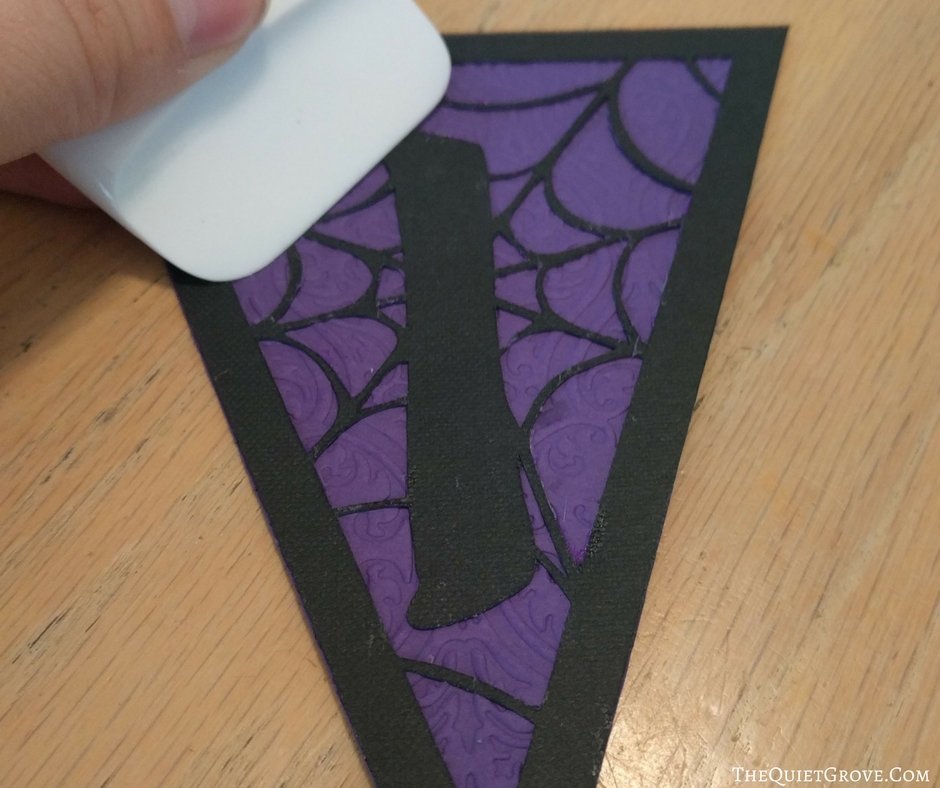
- String and hang. To string this banner I just taped the pennants to the strick and taped the string to our wall.
I am soo happy with how this banner turned out. Even better my friends and family like it too. We hung in over some mirrors on our living room wall and already our home feels more Halloween ready. Though we totally arent finished. Stay tuned for some more fun Halloween DIY projects that I will be posting about in the coming days.
If you liked this post then Check out these: (Click on the photo to go to the post)