
Easy DIY Two Tier Glass Dessert Stand

Entertain in style with this super easy to make DIY Two Tier Dessert Stand.

When I saw that this month's DIY challenge for the Inspire my Creativity Link up was a Dollar Store Craft I knew I wanted to make something classy. You don't always think classy and quality when you think of the Dollar Store. At least I don't (usually I think more in terms of cheap and convenient.) Ok, so I knew what kind of project I want to make, I just didn't know WHAT I was going to make.
So I headed to my local dollar store to look for inspiration and get my supplies. When I got to the Glass plates and bowls aisle I knew exactly what I wanted to make. My daughter has been asking for a while if we could have a tea party with friends and cousins (which of course I am all for. I LOVE tea parties! ) so I thought it would be fun to make a cute 2 tiered glass dessert stand to go with my various glass serving dishes to put all the yummy tea party delicacies.

I love making cake/dessert stands because they are super easy and look absolutely gorgeous. You can use glass plates, ceramic plates, and even random china plates for the top and then candle holders for the bases. Since this is a dollar store DIY I chose 2 different sized simple glass plates (they had cut glass and ceramic but I went with the simple glass for that extra delicate look which I thought would go great for a tea party).
The only other thing you will need is special glue I prefer to use E6000 glue that I got from the craft store (they all carry it. I got mine at Michaels this time) You want to make sure you use the right kind of glue so that it will dry very hard (you don't want it coming apart), dry clear, and not break down with light or when washing.
Ok So let's get down to the tutorial. Seriously this DIY is super simple.
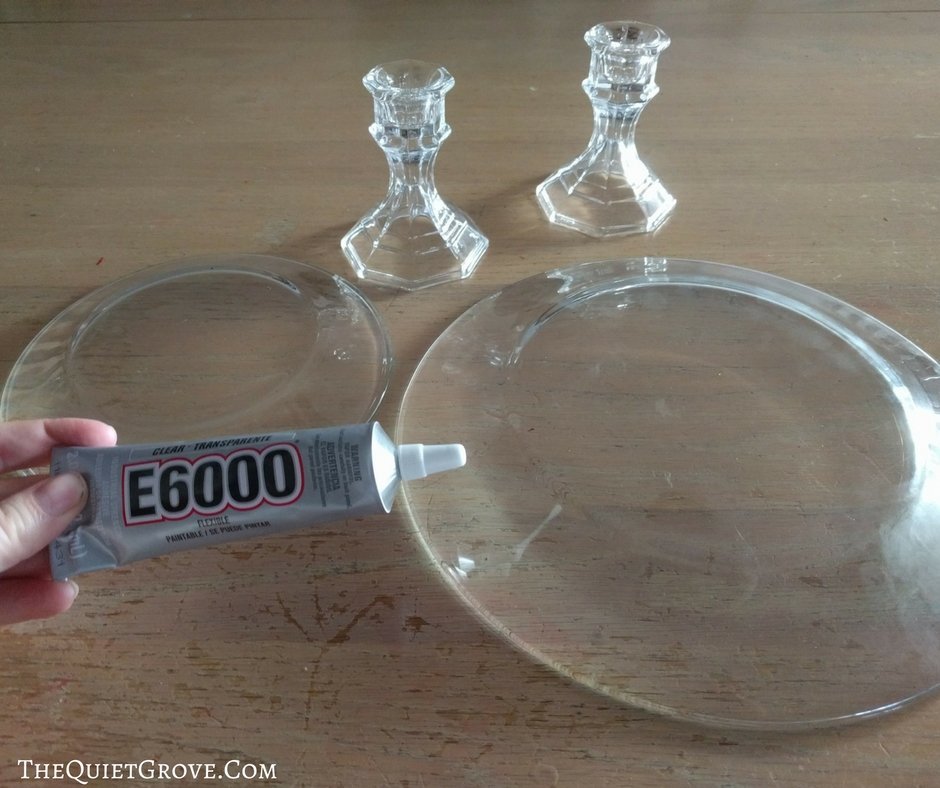
Materials Needed:
- 2 Glass Plates (one large and one small)
- 2 Candleholders
- E6000 Glue
Directions:
- Clean your glass plates and candlestick holders (this included pealing off the stickers and removing the sticker residue if needed)
- Place glue carefully around the top (or smaller end of the candleholder) edge of the candleholder and then carefully place on the bottom of the large plate (make sure you place it in the center of the plate. for you don't want your dessert stand to be unbalanced).

- Use a damp cloth or paper towel to carefully wipe away any excess glue around the edge of the candleholder and wipe up any glue that may have smeared or dripped on the glass plate.
- Repeat process with the second candleholder and the smaller plate.

- Carefully set aside glued plates/candleholders (plate side down) to dry for 24-48 hours for the best result. Then repeat the process above to clue the bottom of the candleholder (attached to the small plate) and carefully attach to the top middle of the large plate.
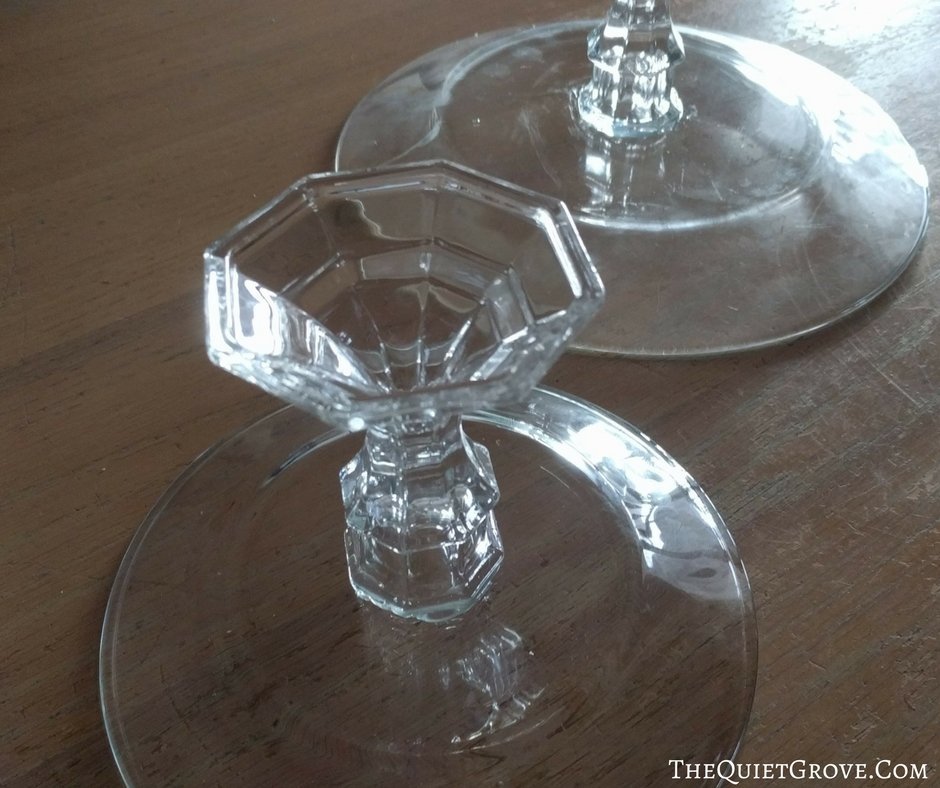
- Again, set aside to dry for 24-48 hours for best results.
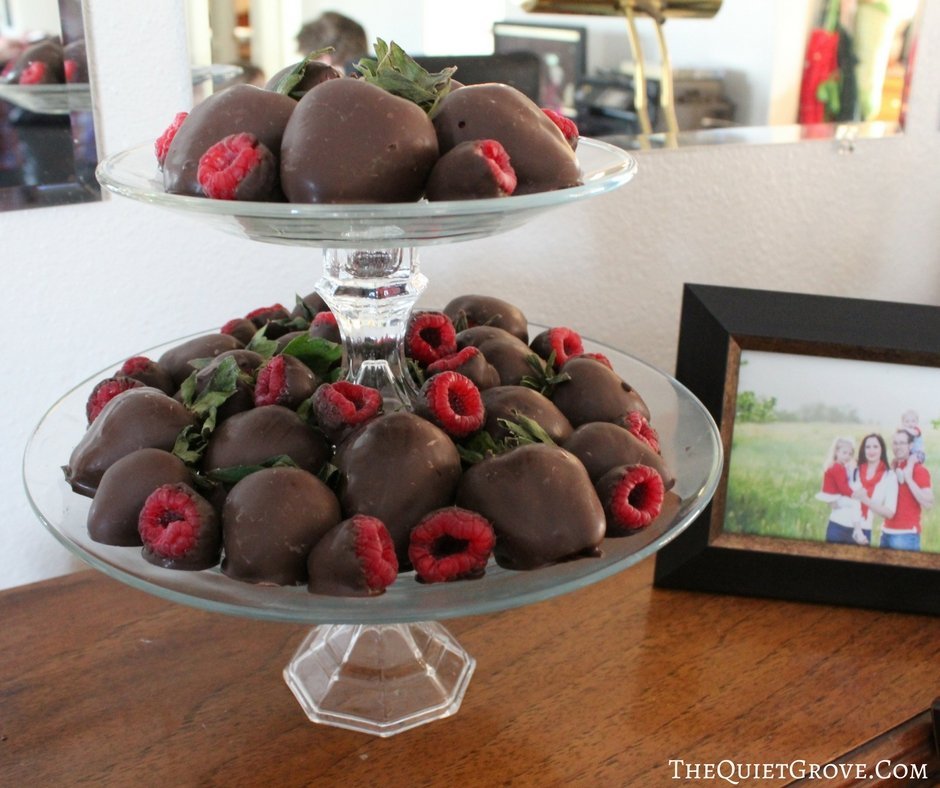
I just love how this Two-Tiered glass dessert stand turned out. So simple yet elegant. It is the perfect size for small sandwiches, cupcakes, Chocolate covered berries, and other delicious delicacies! My daughter can't wait for us to use it for her tea party (as well as her upcoming birthday party which she has requested a Paris chic/poodle theme for).
I think for my next one I will do a glass candleholder base with a pretty ceramic or china top. What do you think?
I am so excited to share with you my tutorial for making this fun two tiered dessert tray as part of the Inspire My Creativity Monthly Link Party that I will be co-hosting along with some of my favorite fellow crafty bloggers on the 2nd Wednesday of each month! Make sure to check out the other great Dollar Store DIY projects for this months link up (found at the end of the post) and don’t forget to share your own projects with us.
 CO-HOSTS
Next Month’s theme is going to be Flowers. Just in time for Spring. I can't wait to see what fun flowers projects everyone will come up with. I invite you to check back on the 2nd Wednesday in March (March 14th) to see what I will be making for my Inspire My Creativity Craft. Oh, and you are welcome to join in the fun and link up your craft as well. I would love to see it!




I almost did this LOL Great minds think alike!! I love how it turned out and your strawberries are making my mouth water YUM!
lol. It is a fun project. One year for Christmas I made fancier Cake plates with cut glass plates to give as gifts for family members. And I totally agree great minds think alike. 🙂
Great dollar store hack! This stand can be used for many things. Visiting from Inspire My Creativity party.
Thanks. And I agree it can be used for a lot of different things even decorations. (like a mini paper village during the holidays)
This looks fantastic with the clear plates! I tried it with the silver platters and hot glue for a tea party and it was a epic craft fail, lol. I need to try some of that E6000 glue next time. I swear I must be the last crafter to use it!
Yeah you really need the E6000 it works great!
What a darling idea! I love how it turned out! I think I need one too - would be perfect for so many things. That's the best glue too.
I totally want to make some more probably single tiered of different sizes to use while entertaining. They are soo easy to make.
I made some of these a few years back. I got all my stuff at the thrift store for under a dollar and I loved how I could mix and match and make each thing unique
I love how fun, easy and inexpensive they are to make.
I've made a mini cake stand using similar supplies but I love the look of the larger plates! I definitely need to make one of these for our next party.
Yeah, I had only ever made regular cake plates before but loved how this two-tiered stand turned out.