
How to customize your socks with Cricut Iron-on & the Easypress 2

POST DISCLAIMER: This is a sponsored conversation written by me on behalf of Cricut. The opinions and text are all mine.
READER COMMENT DISCLAIMER: Comments submitted may be displayed on other websites owned by the sponsoring brand.
Did you know you can customize socks with Iron-on?

One of the things I love about my new Easypress Totes is how accessible they make my Easypress 2 machines. This means I can make more last-minute fun projects like custom socks made with Iron-on.
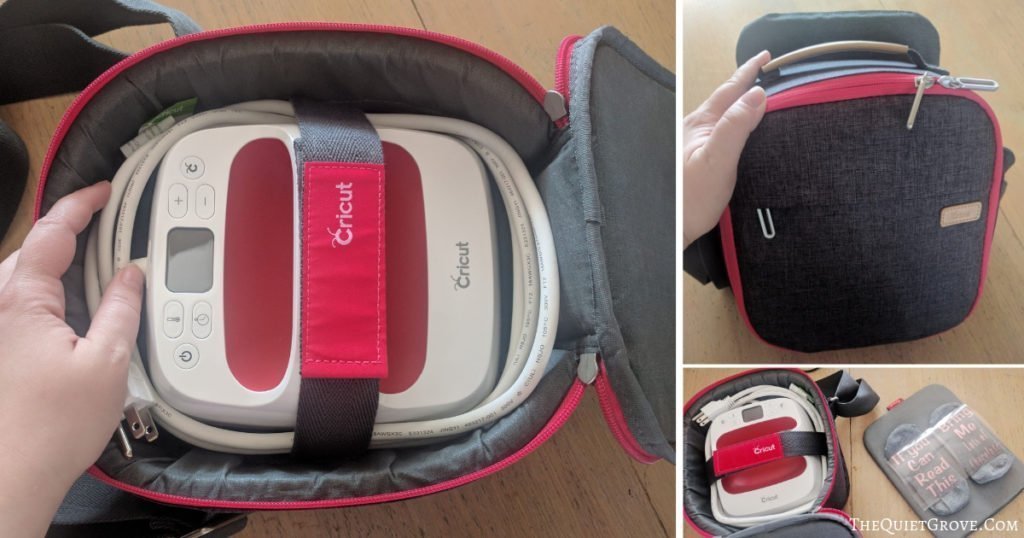
Before I got my totes I stored my Easypress 2 machines in their original boxes (since I don't have an actual craft room.) This meant I only used my Easypress 2 machines when I really needed and then I tried to do multiple projects at once to make it worth the effort. Which of course took over my whole day. Now with the Easypress totes, I can access my presses quick and easy whenever I want it making it more likely to indulge in more spontaneous projects.
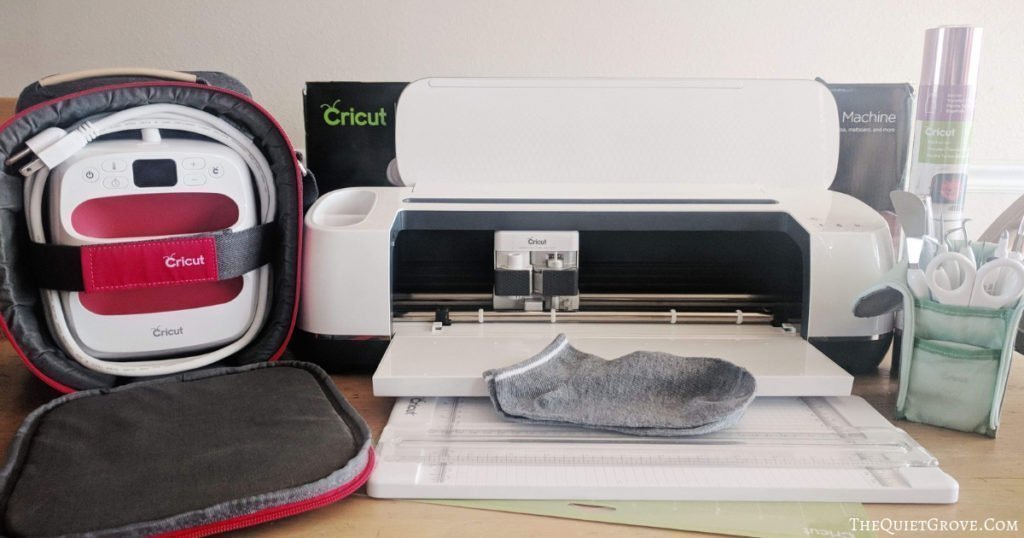
So back to the socks. Last night my daughter asked if it was possible to make custom socks with iron-on. She wanted me to put the phrase "If you can read this, bring me lots of Chocolate" on the bottom of her athletic ankle socks. I have put Iron-on on shirts and baby onesies, but I had never tried socks before so this would be a fun experiment with a new surface material for me. (since our socks are semi-stretchy with a small tight weave.) But I figured it would take long to make and see, so why not try?
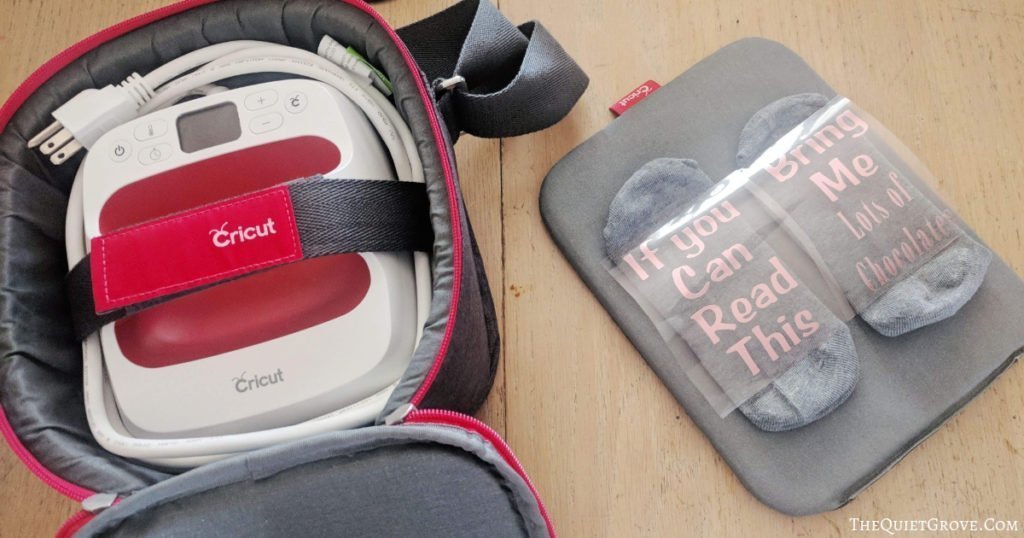
It only took me a few minutes to create the designs in Cricut Design Space. and then less than 10 minutes to cut, weed and use my 6x7 Easypress 2 & Mat to adhere the Iron-on to the socks. Keep Reading for the Step by Step tutorial.
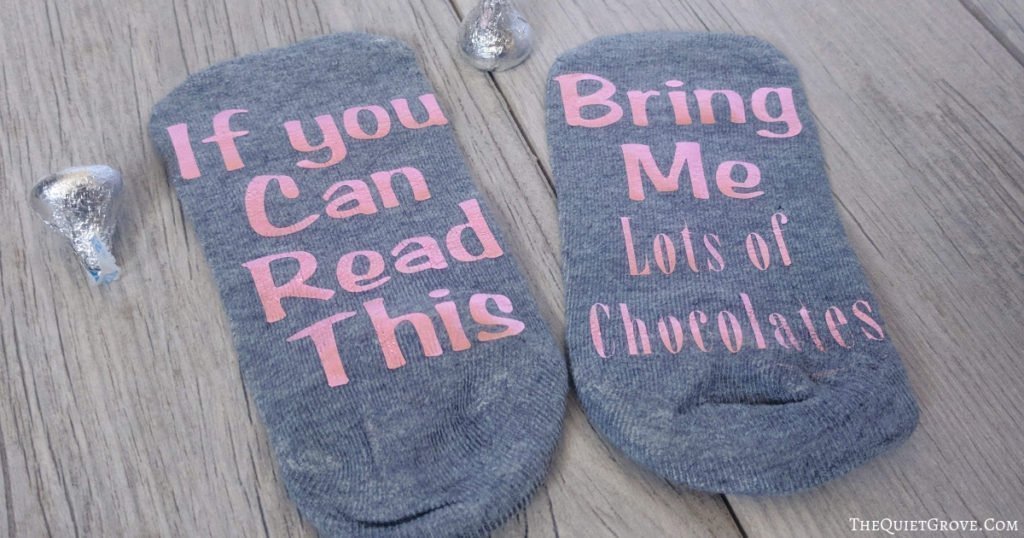
Tutorial for Using Iron-on to customize socks

Materials
- Cricut Design Space Canvas for Socks
- Pink Foil Iron-on
- A Pair of Socks
Tools
Instructions
Open Design Space Canvas for "If You Can Read This Bring me Lots of Chocolate' Design--> HERE<--
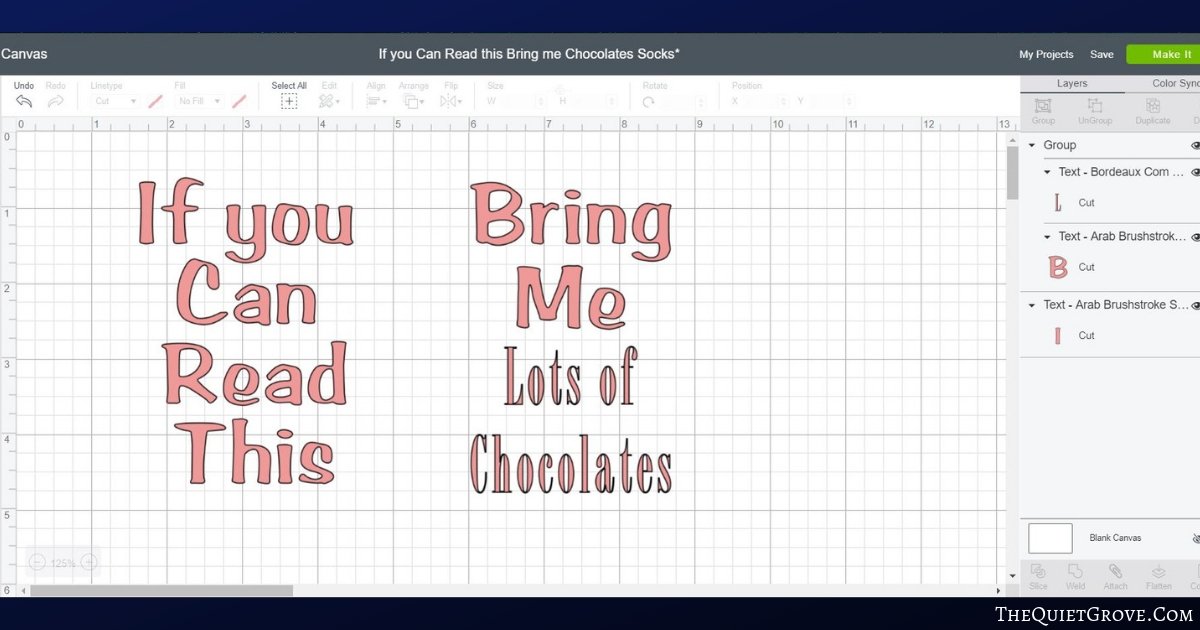
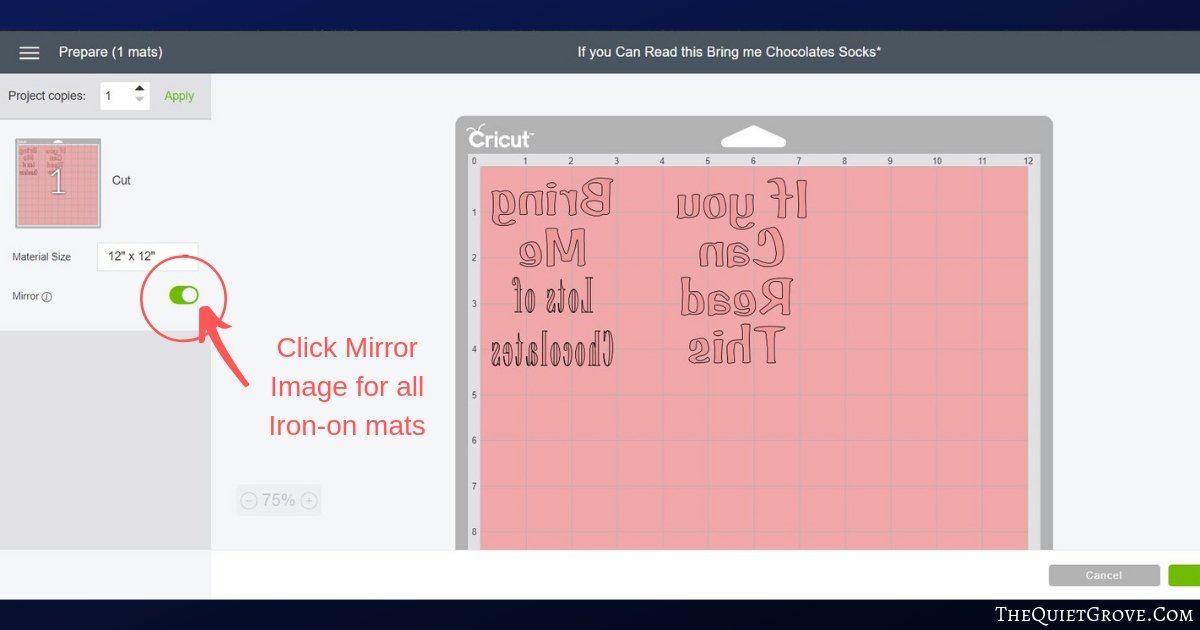
Click Make it and then make sure you click to mirror image the mat.
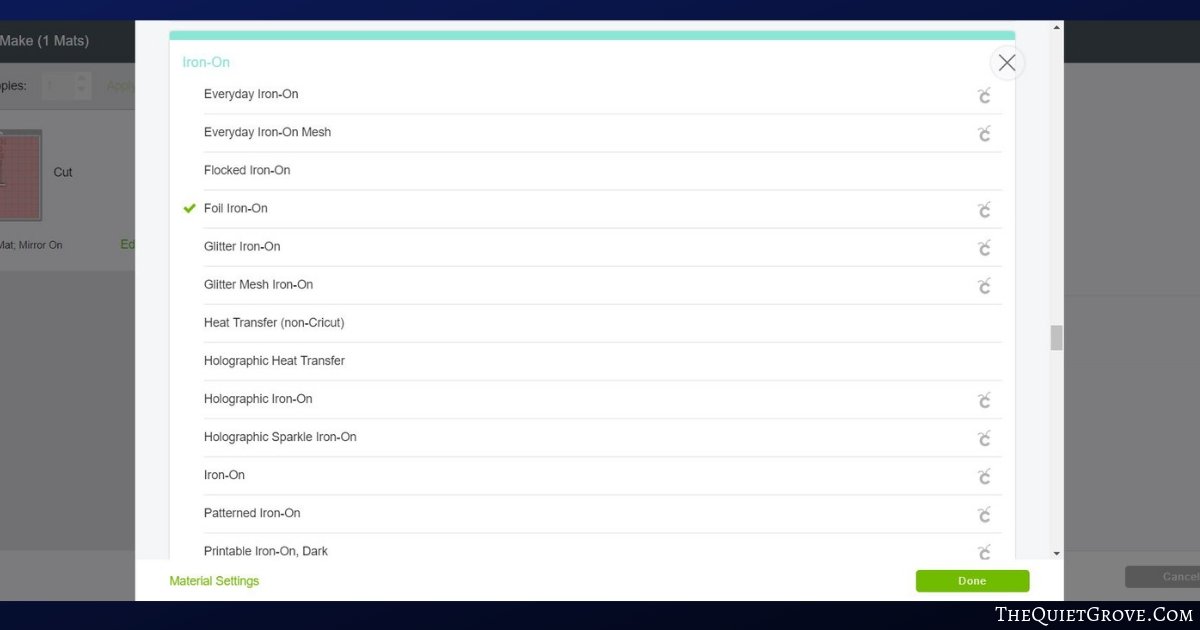
Select Foil Iron-on from materials list.
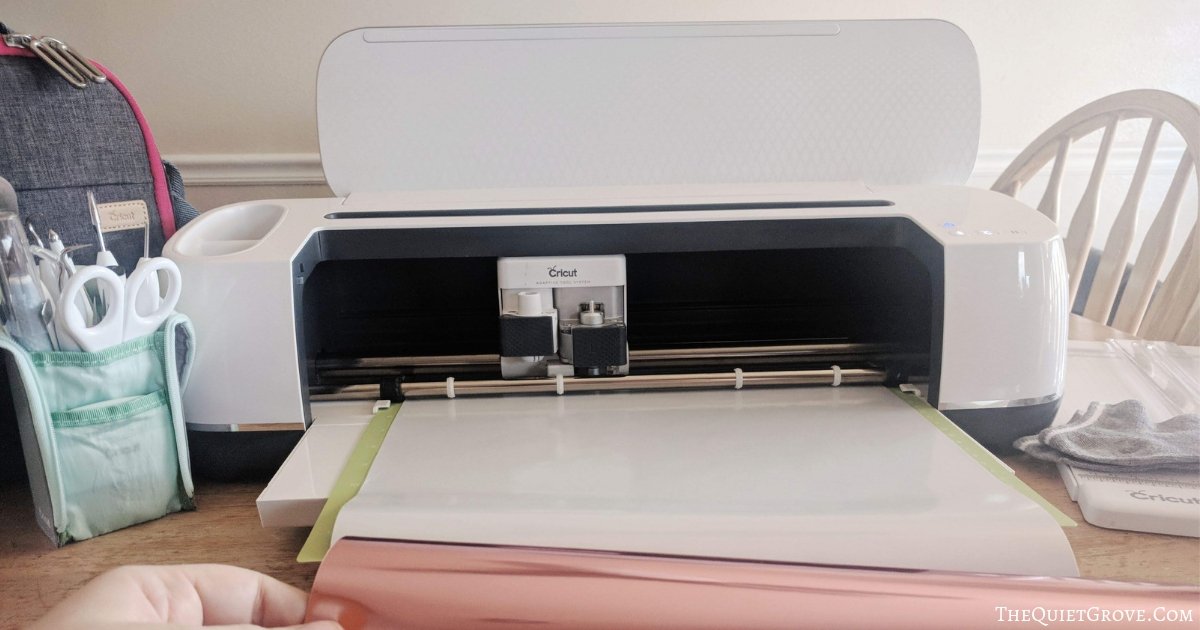
Place on standard grip mat shiny side (pink side) down. and load into Cricut to cut.
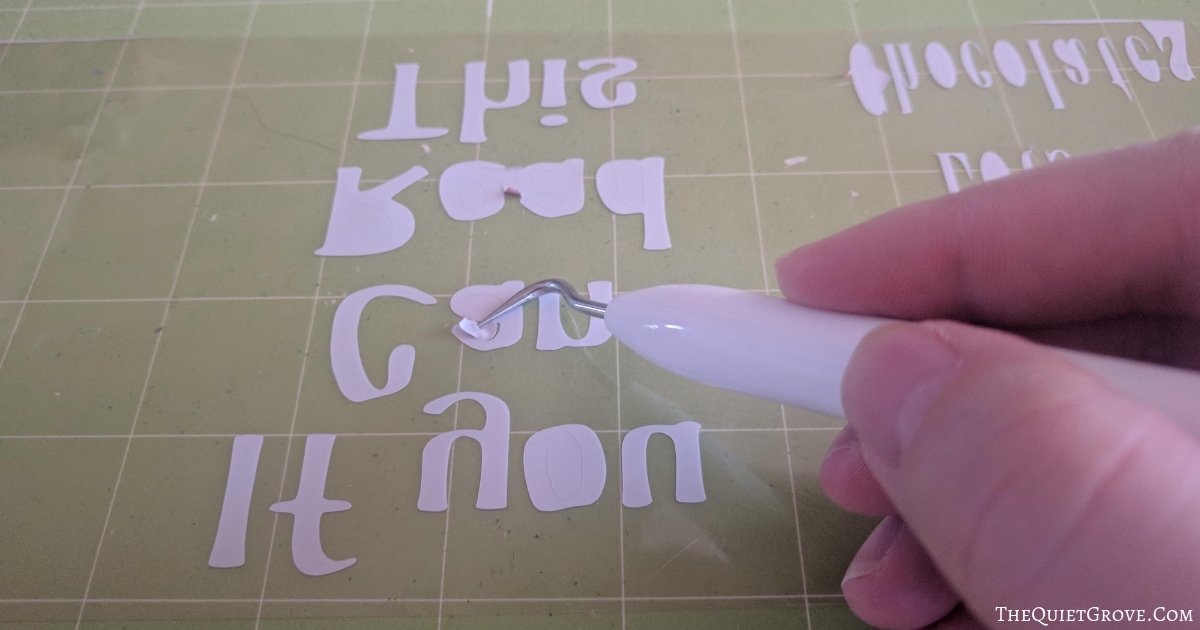
After cutting use weeding tool from essential tool kit to weed the unneded iron-on from the cut design.
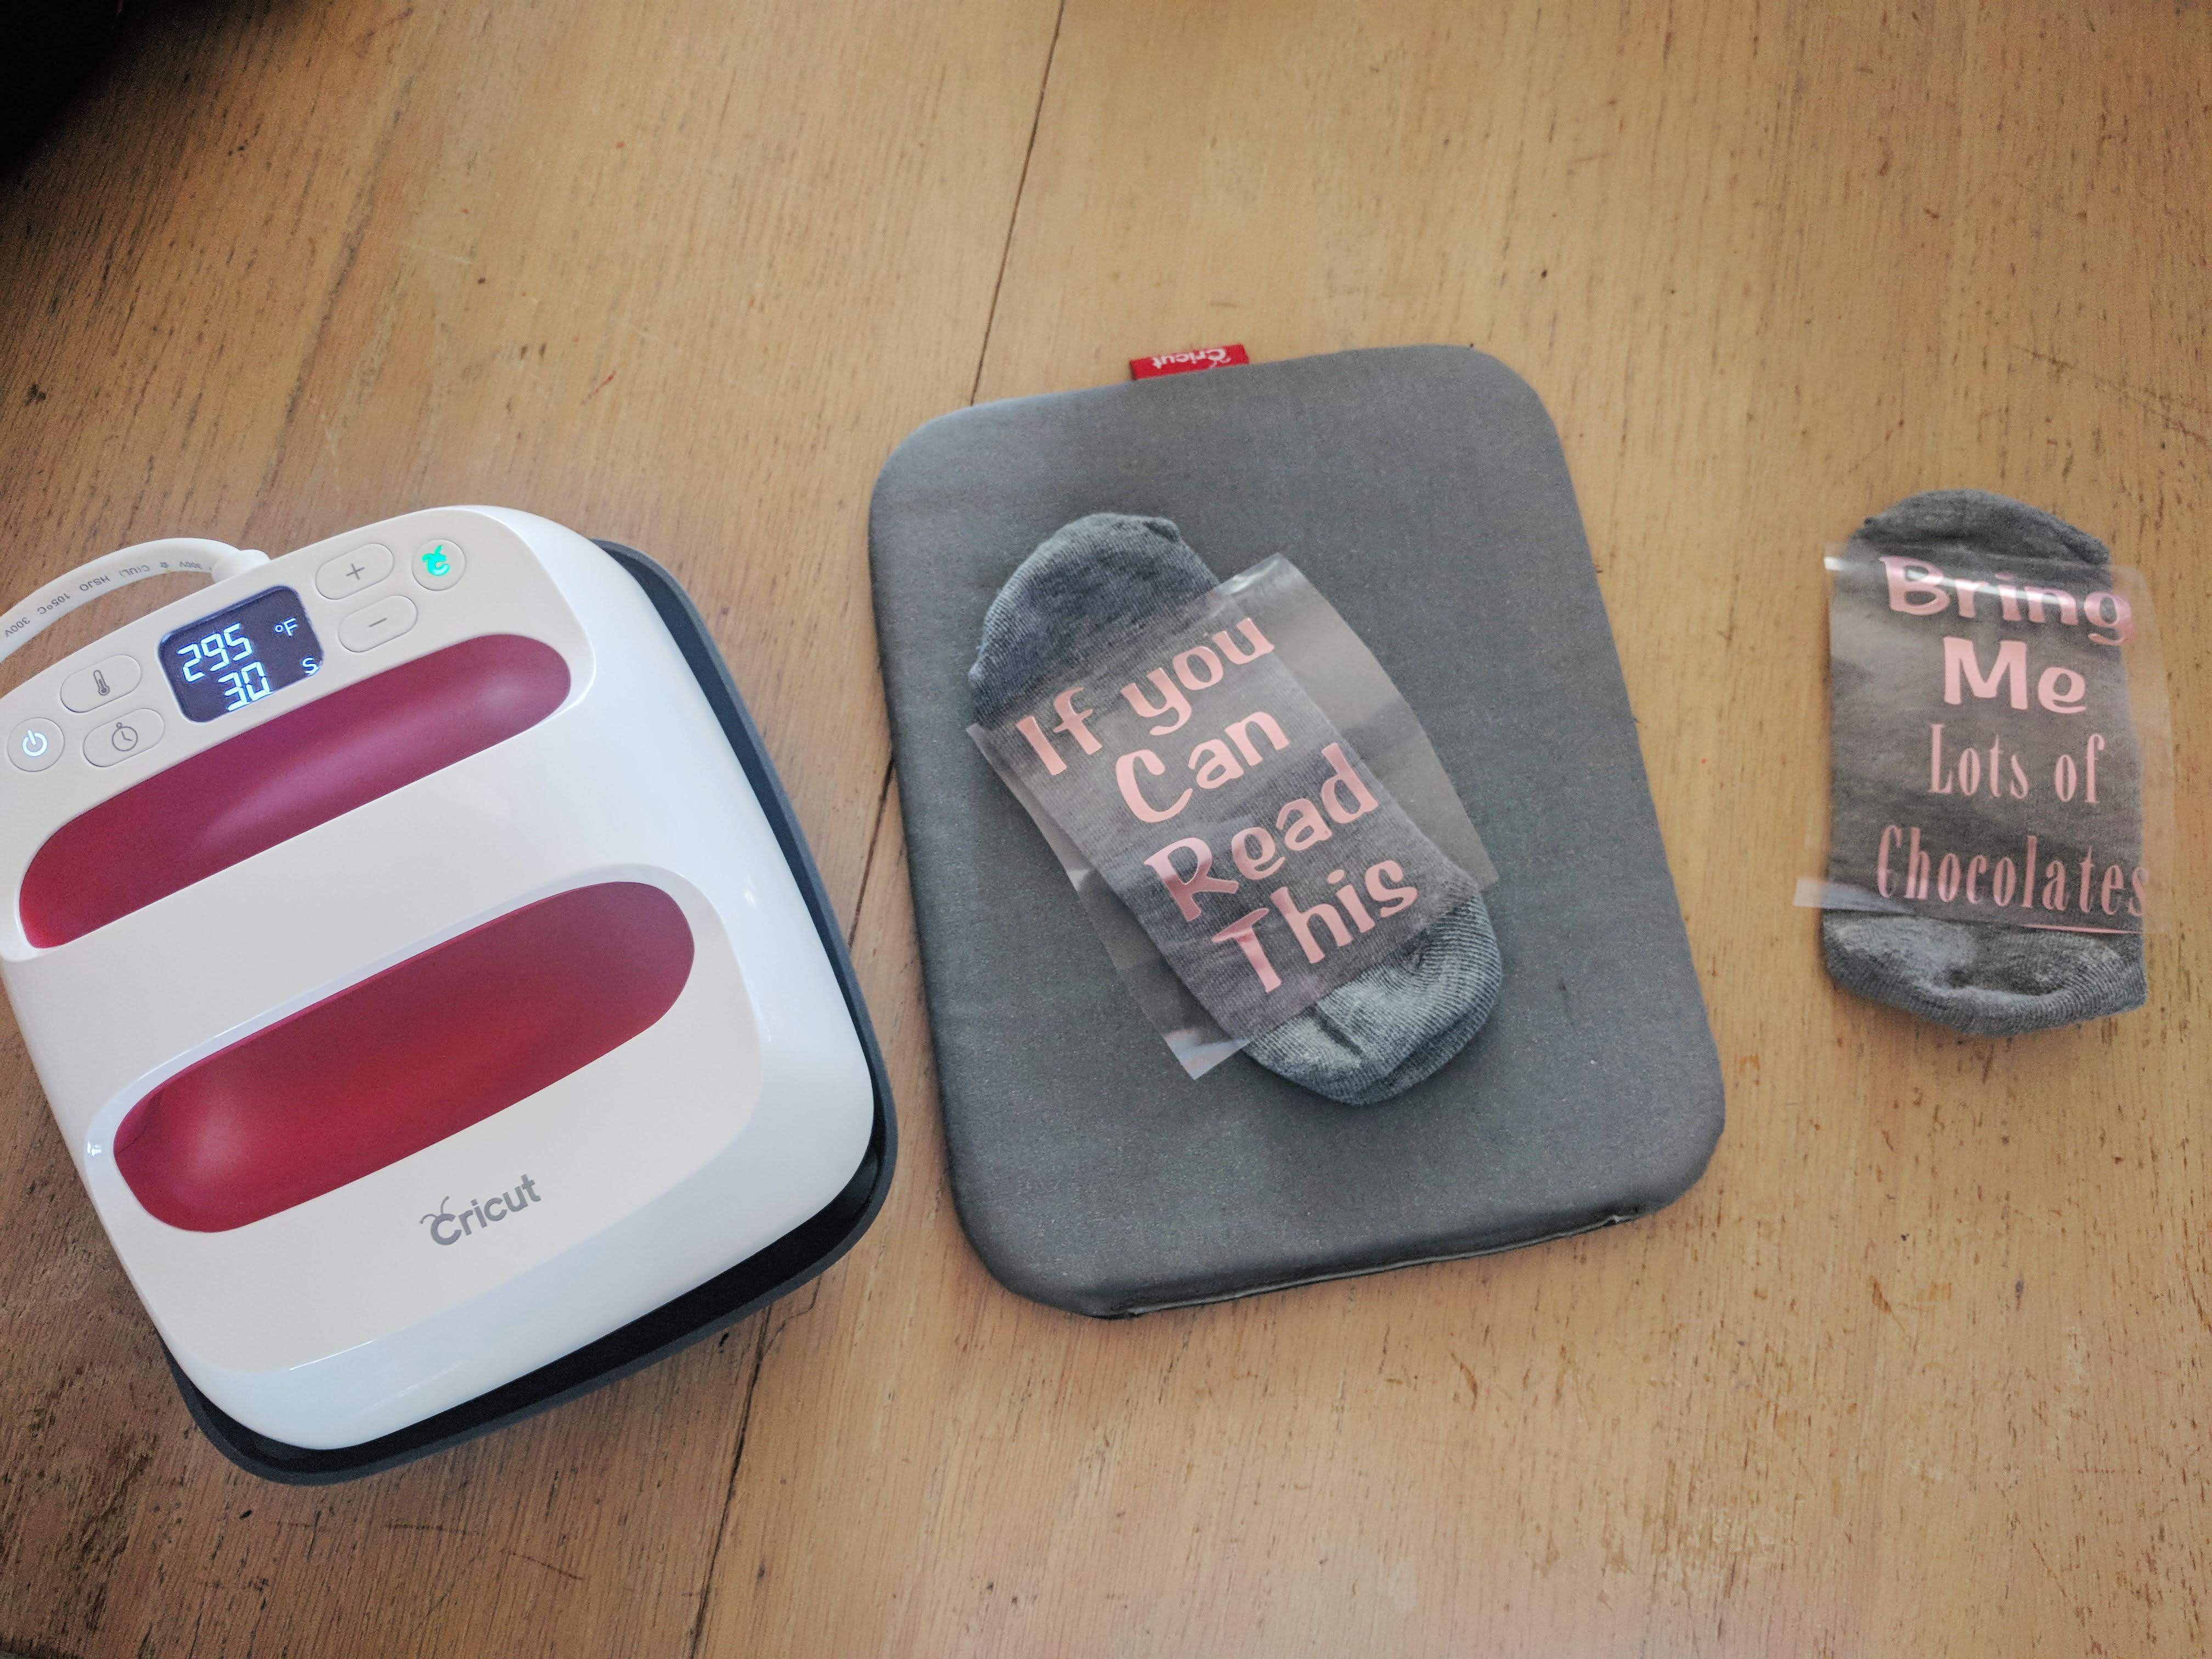
Heat your Easypress 2 to 295 and place sock top side down on the Easypress mat.
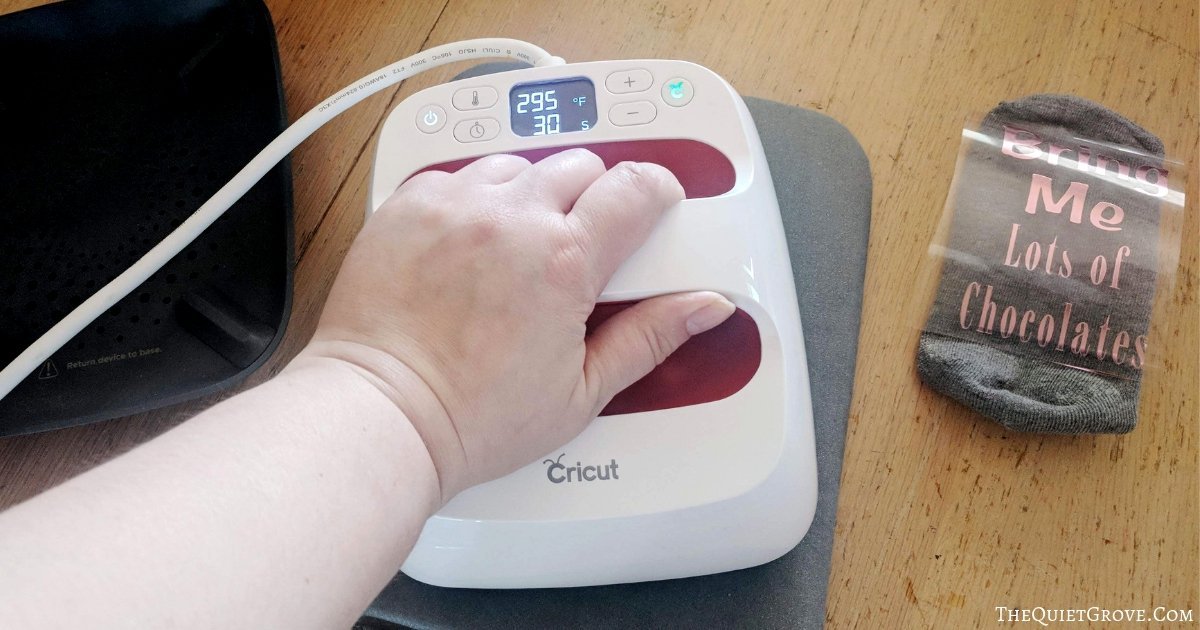
Press the back of the sock for 5 seconds, then place the Iron-on design where desired. Then press with gentle pressure for 30 seconds then flip sock over and press for another 15.
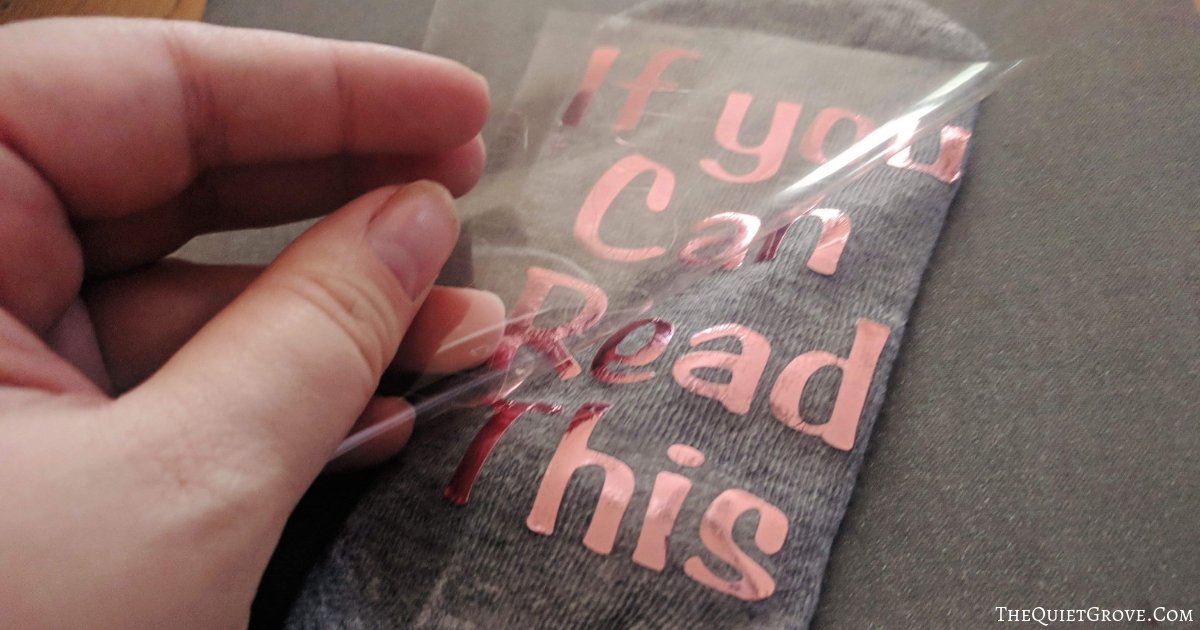
Let cool then peel off backing!
Notes
If you need to order any of these supplies from Cricut.com use Promo Code: TheQG10 to get 10% off + free shipping!!
**Note this code does not work on Design Space Access, digital content, machines, EasyPress, Brightpad
Recommended Products
As an Amazon Associate and member of other affiliate programs, I earn from qualifying purchases.
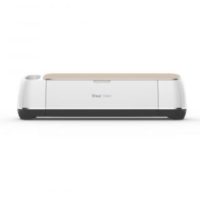


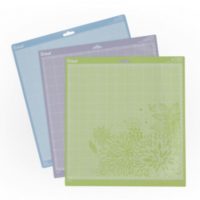

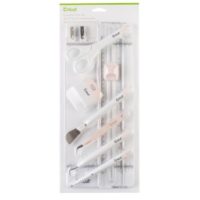
It was easier than I thought it would and the Iron-on worked well even with the small semi-stretchy weave of the socks. Now I want to make more socks.

If you liked this post then check out these: (Click on the photo to go to the post.)

This is a sponsored conversation written by me on behalf of Cricut. The opinions and text are all mine.



I realize it has only been a little over a month, but how are they holding up?
I'm thinking of doing this as my first ever HTV project and wonder if they are a 'one-off' novelty or if they will actually last for a bit.
Your instructions look very clear an easy to follow.
Thank you.
They are holding up ok on the socks I made though I should have probably used the sportflex iron-on since I did stretchy socks. I did some thicker cotton socks right afterwards and they look a lot better.