
My Top 5 Reasons Why I Love My Cricut Explore Air 2 (+ DIY Halloween Lantern Tutorial)

This is a sponsored conversation written by me on behalf of Cricut. The opinions and text are all mine
Are you trying to decide where to get the Cricut Explore Air 2?

I love to craft. I have for as long as I can remember. This is probably due to being raised by an artist. When you have a creative mind you can make anything (as long as you have the right tools and materials. Getting Cricut's Explore Air 2 really helped me take my crafting to a whole new level.
It was well worth the investment to get. Especially once I took the time to learn how to utilize it and Cricut's Design Space program. Projects that used to take me days I can now do in an afternoon. Crafting with my Cricut Explore Air 2 is so fun that I find myself doing more crafting than ever before.

I have made Personalized gifts like the Infusible Ink coasters I made for my brother and sister-in-law. I have used my Cricut to do several theme parties like the Paris & Poodle party for my daughter. I have made gorgeous wreaths, custom shirts, and even holiday decorations like the Halloween Lanterns which I am excited to share the tutorial with you later in this post.
I love my Cricut Explore Air 2! Whether you are a hardcore crafter, a beginner crafter, or just someone who wants to get into crafting the Cricut Explore Air 2 is perfect for you.
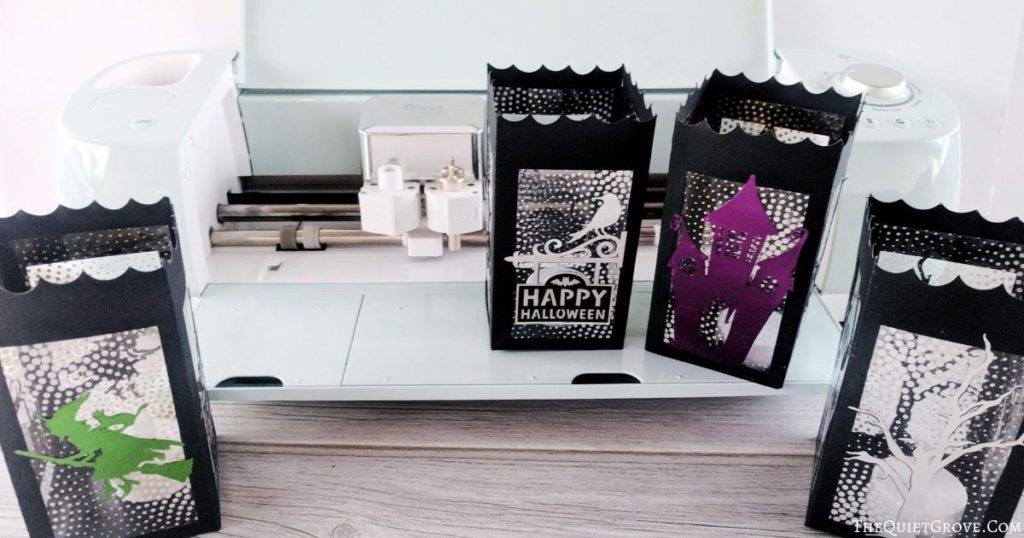
Check out my top 5 things I love about my Explore Air 2 and keep reading for the tutorial for making these fun Halloween Lanterns!
Top Reasons Why I love My Cricut Explore Air 2
Here are my top 5 things that I love about my Cricut Explore Air 2 and why I would recommend it to any crafter whether they are hardcore crafters or just starting out.

It Is Easy To Use
I have owned other crafting machines before and while I was able to make beautiful projects with them, I only did so with a large dose of frustration as I often felt like I was fighting with my machine to get it to do what I wanted it to.
I have never had this problem with my Explore Air 2. Teamed with Cricut's Design space I have been able to make several projects (both simple and complicated) with ease.
The Explore Air 2 is built with a convenient dial which you turn to select which material you want to cut. If you are cutting a material not preset on the dial on customs and you can then select from a digital drop down in design space the material you.
Because how easy it is to use my Cricut Explore Air 2 to make projects I have found myself making more fun spur of the moment projects like the Halloween Lanterns I made today. (Keep reading for the tutorial. )

It Can Cut Over 100 Different Materials
True, the Cricut Explore Air 2 may not be able to work with all the materials that the Maker can (like wood or non bonded fabric) but it can still cut over a hundred different materials. Materials like Paper, Cardstock, Posterboard, window cling, Vinyl, Iron-on, Acetate, Faux Leather, Adhesive Foil, and Bonded Fabric! I have made soo many custom gifts, and decorations using my Air 2.
If you need some ideas (and tutorials) of projects you can make with the Explore Air 2 I have a lot of them on my blog -->Here<-- (note: some of my projects are Maker Specific but most can be done on either machine)
Click -->HERE<-- to see the full list of compatible materials for the Explore Air 2 on Cricut.com

It Is Compatible with Desktops, Phones & Ipad!
Did you know that you can use your Cricut Explore Air 2 with your desktop computer, your Ipad or your cell phones (IOS & Android)?
I love this compatibility feature because while I prefer to make my designs using my laptop computer, I also like being able to pull up those designs on my Ipad or Cell Phone and via BlueTooth send the design to my machine to cut it out.
I have loved this feature when I have crafted on the go at other locations and didn't want to bring my laptop (and in some cases my own machine) with me.

The Explore Air 2 Can Draw!
In addition to Cutting and Scoring, did you know that your Cricut can draw? I love this feature of my Cricut Explore Air 2. Additionally, Cricut has a whole line of pens in various thicknesses and colors to use. I have used these pens to fill out envelopes, make custom cards and gift tags as well as on boxes and custom decorations!
Oh and in case you haven't heard yet, Cricut also has a line of Infusible Ink Pens that you can use with their blanks to make custom coasters, bags, and shirts!
Click --> HERE<-- to check out the great selection of pens available on Cricut.com to use with their machines.

It Has Lots of Built-in Storage
When I craft, I often use multiple tools and materials (hey it's more fun that way.) This is why I love that in addition to the two tool holders on the left-hand side of the Cricut Explore Air 2 (which are perfert to hold my pens.) there is also a lot of storage space in the door compartment.
There is a place specifically for additional blades (where I keep my Deep Cut Blade when I am not using it) as well as extra blades tips. Next to this section, there is a place for your Cricut tools (like your scoring tool, spatula & scissors!) This makes it nice for when you are crafting on the go like I often am.
You can follow the tutorial below right now to make these spooky fun Halloween lanterns or pin them to your DIY Halloween board on Pinterest to make later on.
DIY Halloween Lantern Made with a Cricut

Learn how to make these easy and fun Halloween Lanterns using a Cricut Explore Air 2, Cardstock, Acetate, Foil Iron-on & the EasyPress 2
Tools
Instructions
1. Cutting Instructions:
Open The Cricut Design Space Canvas for Halloween Lanterns -->HERE<--
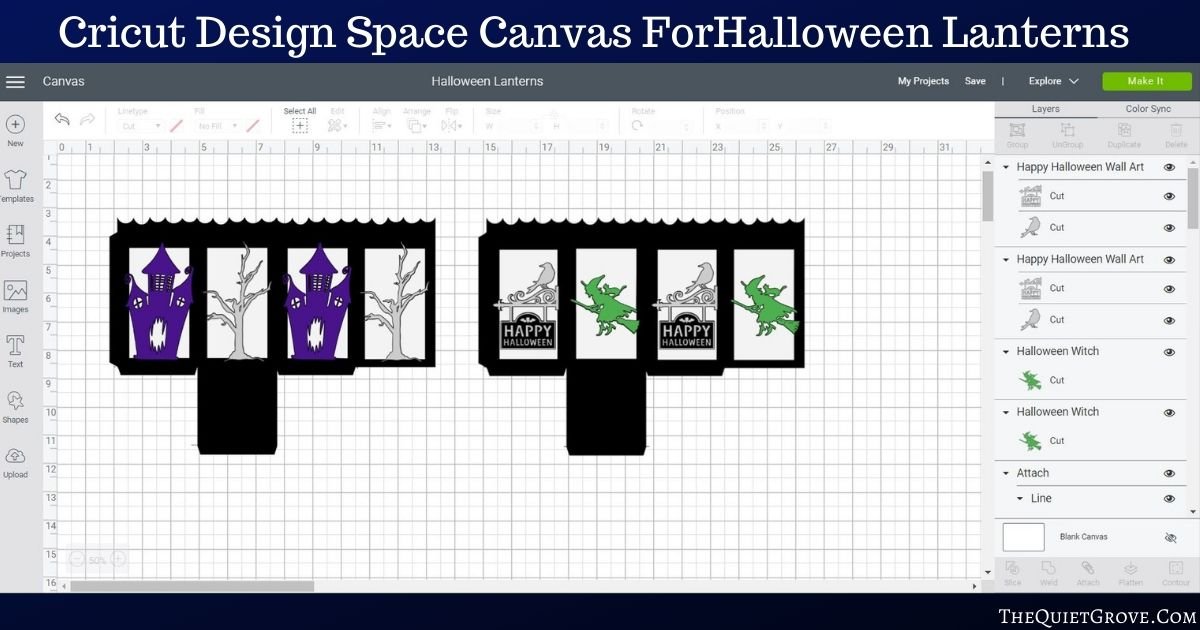
Click to make it and select to Mirror Image on all the Iron-on Mats (Silver, Green & Purple Mats)

Select Foil Acetate as the first material.
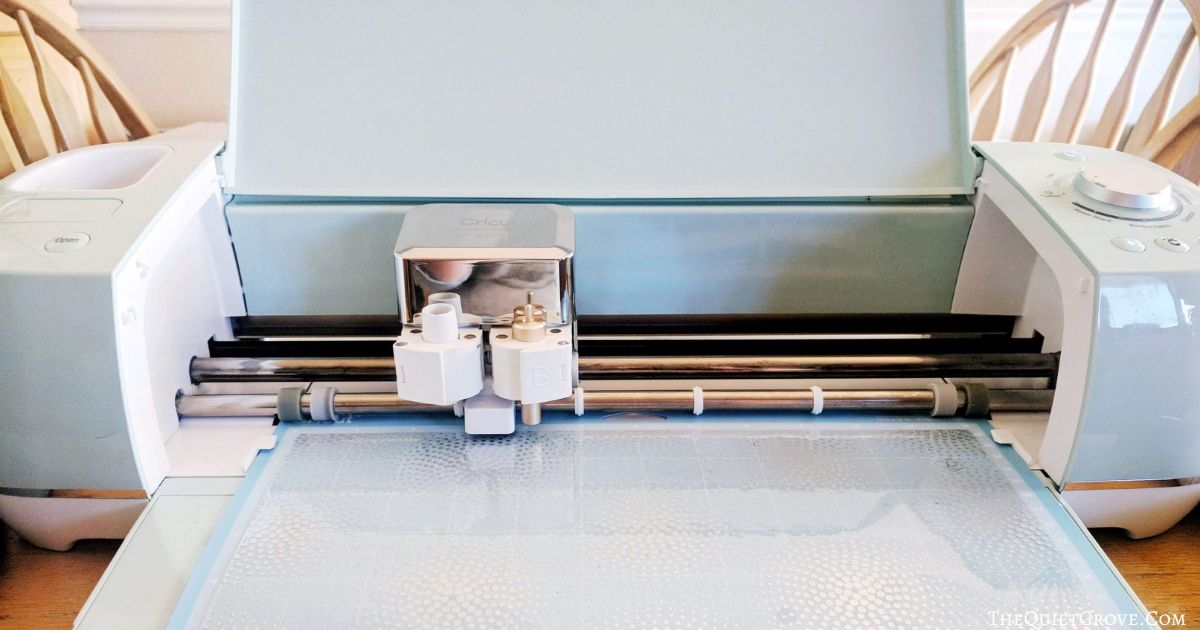
Peel Protective backing off of the Acetate Sheet and place on light grip mat foil side up.
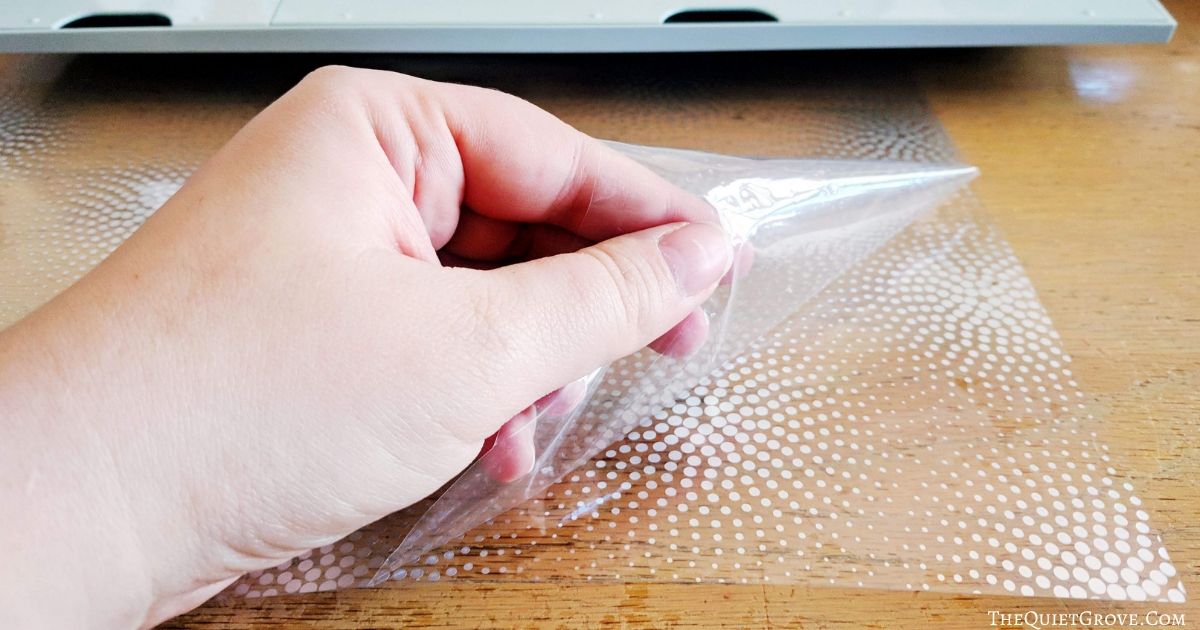
After finished cutting peel mat from acetate.

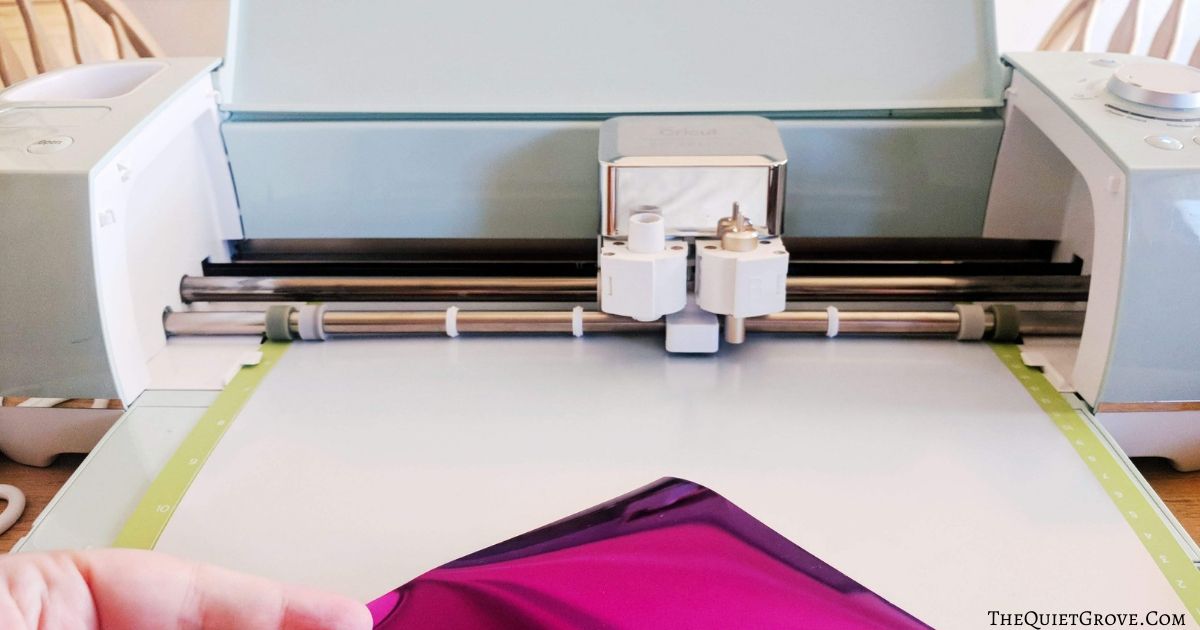
Change Material to Foil Iron-on and Load Iron-on onto the mat shiny side down onto standard grip mat.
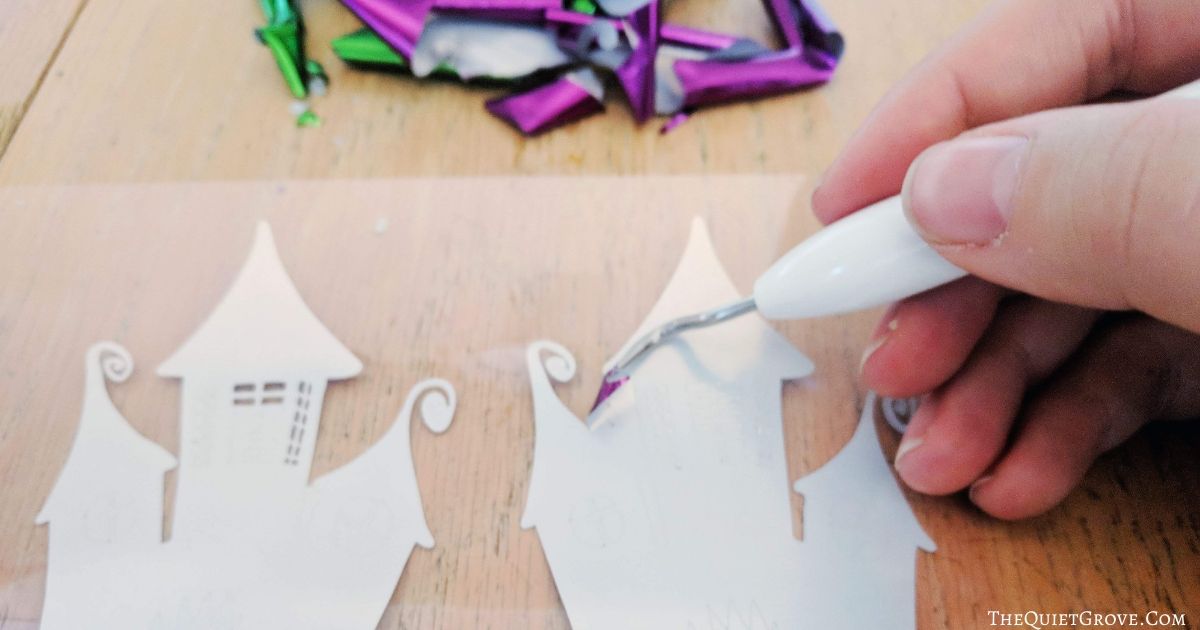
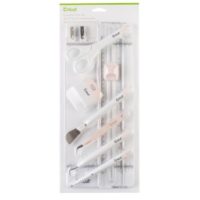
After cut, use the weeding tool from the essential tool kit to weed design.
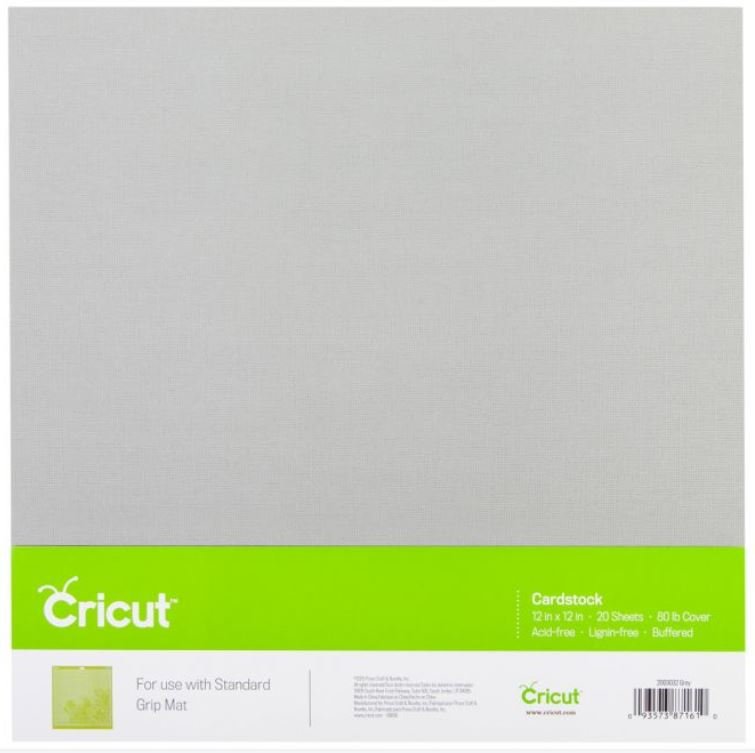
Insert the Scoring tool into the left-hand tool holder and change material to Cardstock (for intricate cuts) keeping the dial on custom.
Place cardstock on standard grip mat.

After cut, use the spatula from the essential tool kit to carefully remove cut cardstock from the mat.
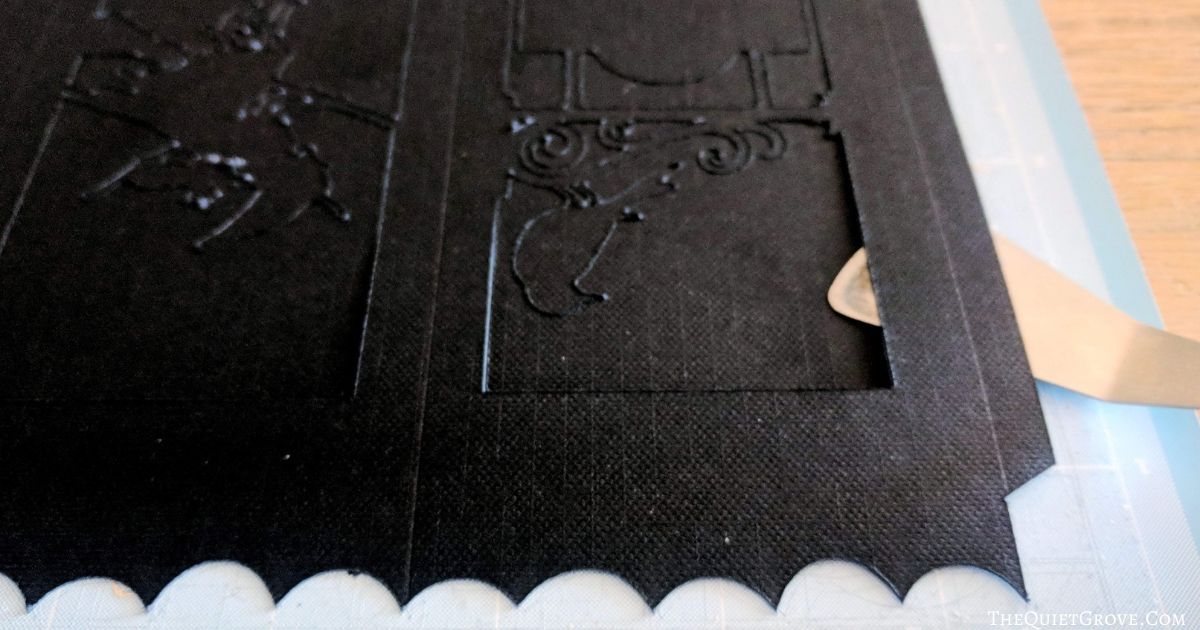
-->Repeate for all the Cardstock mats <--
Change the material back to foil Iron-on and -->repeat Iron-on cutting/weeding instructions.<--
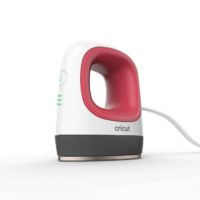
2. EasyPress Mini Instructions:
Heat Easypress to 1st heating level
Press section of Cardstock where you will be placing the Iron-on design) for 5 seconds.
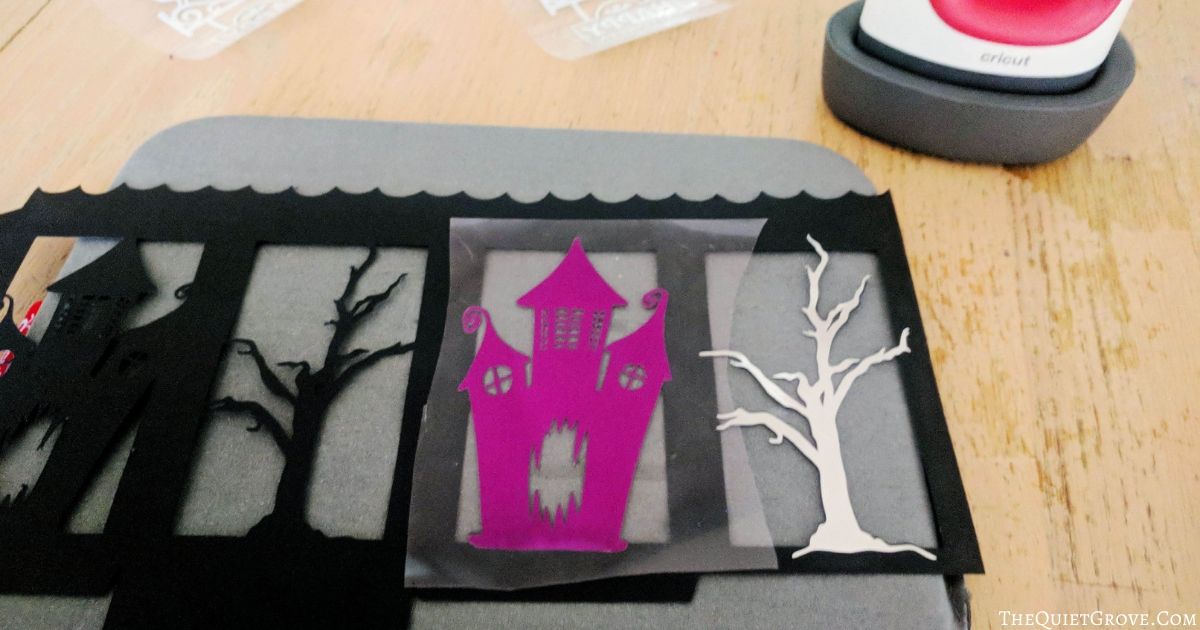
Carefully line up Iron-on design onto Cardstock.

Press (moving Easypress mini) for 30 seconds.
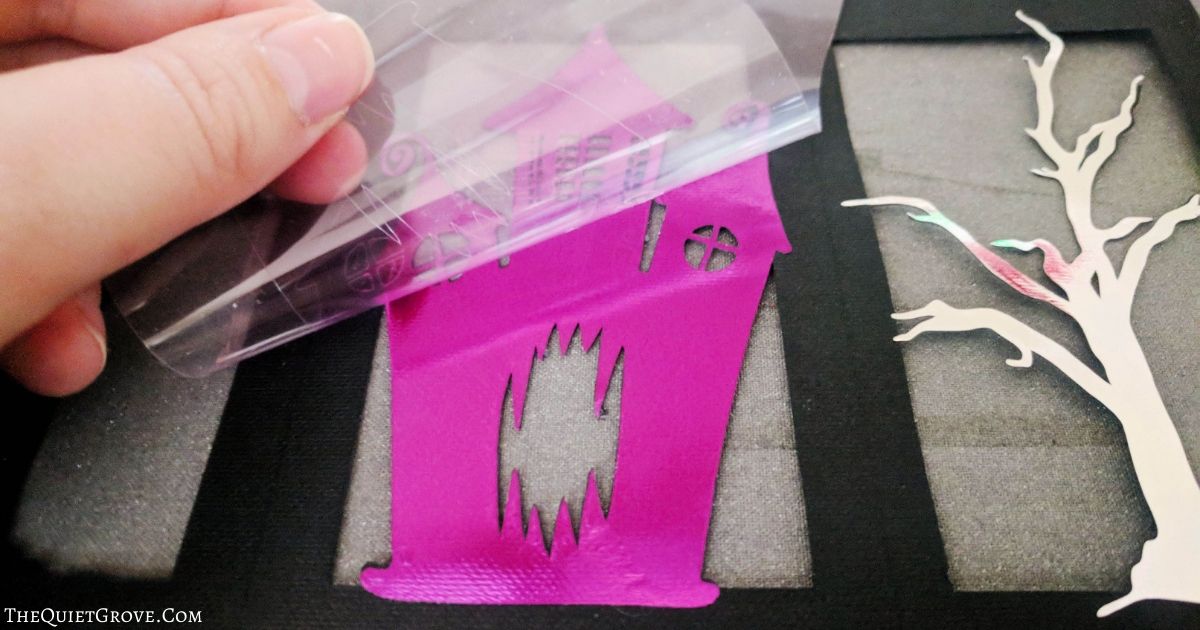
Let cool then peel backing off.
--> Repete for all the Iron-on Designs<--
3. Assembly Instructions:
Fold Cardstock Landern on all the scored fold lines.
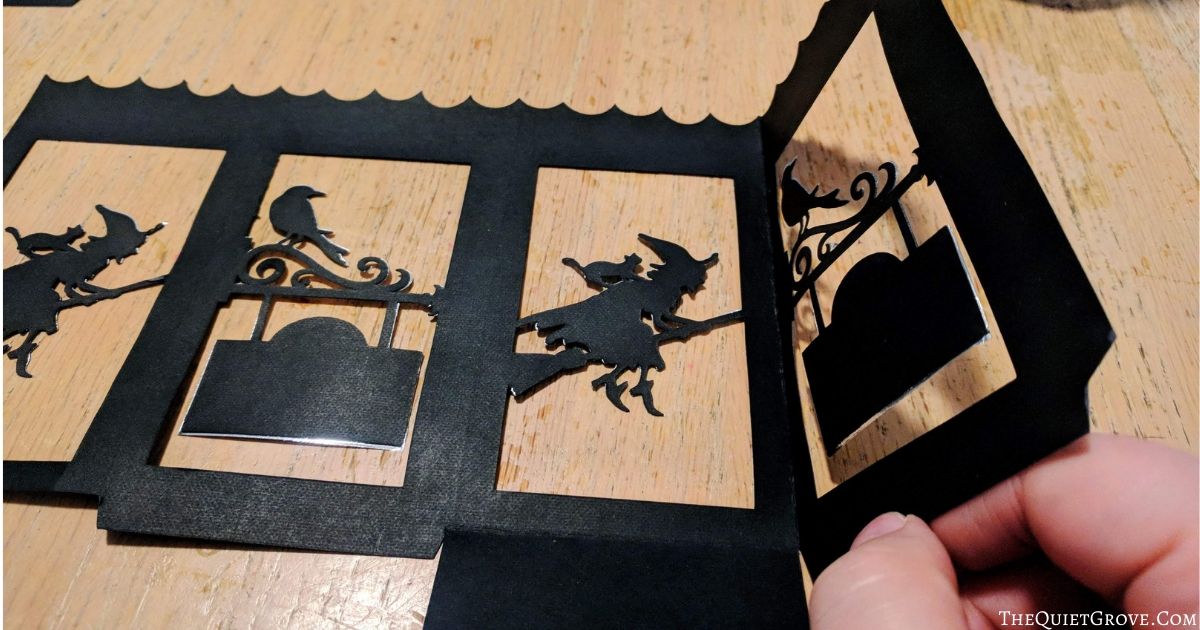
Use adhesive to stick the foil Acetate to the inside of the cut windows. (I used the scraper tool to make sure the acetate is firmly attached to the adhesive on the cardstock.)

Use adhesive on tabs to finish assembling the lanterns.

Place Electronic tea lights inside & Enjoy!
Notes
I created this design in Cricut Design Space utilizing some of the Cricut Access elements so these lanterns will cost a small amount of money to make if you don't already have a Cricut Access subscription.
Recommended Products
As an Amazon Associate and member of other affiliate programs, I earn from qualifying purchases.


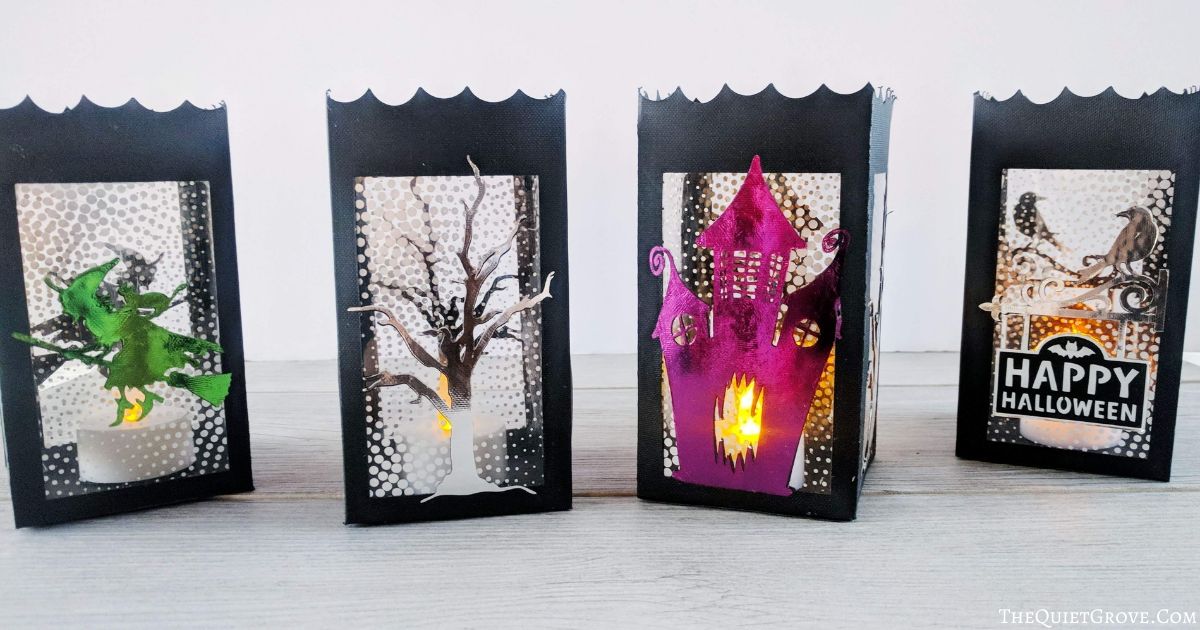
I totally love how these lanterns turned out. The photos don't truly do them justice. Each lantern has 2 different patterns on them. The haunted house and leafless tree on one lantern and the flying witch and her cat as well as the crow & Happy Halloween sign on the other.
The foil Iron-on gives the lanterns the extra touch to make them fun and decorative in the daytime as well as at night when they are all lit up.

If you liked this article then check out these: (Click on the photo to go to the post)



