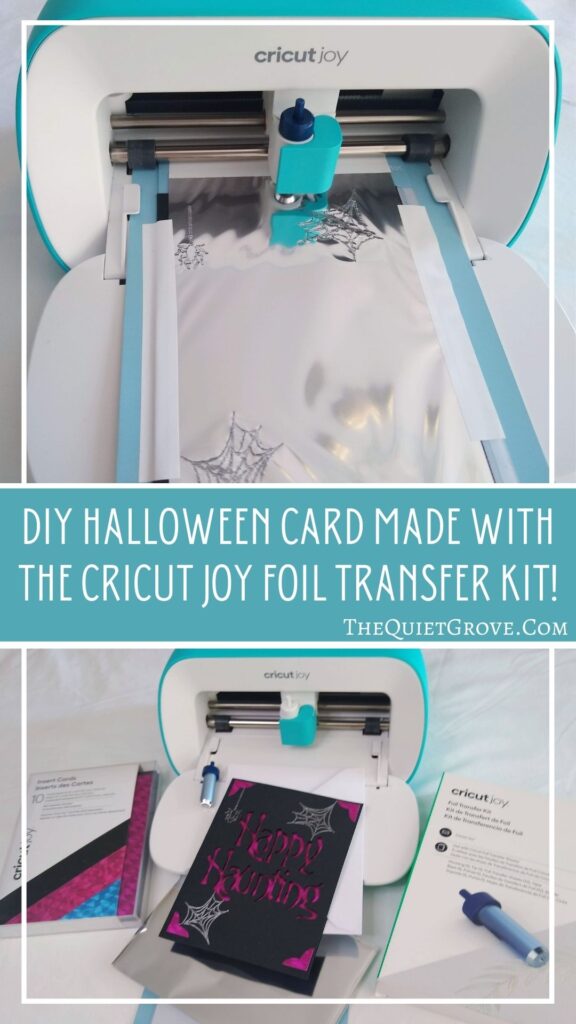
DIY Halloween Card Made with the Cricut Joy Foil Transfer Kit!

This post is sponsored by Cricut. However, the views and opinions expressed are entirely my own. You can read my full disclosure here.
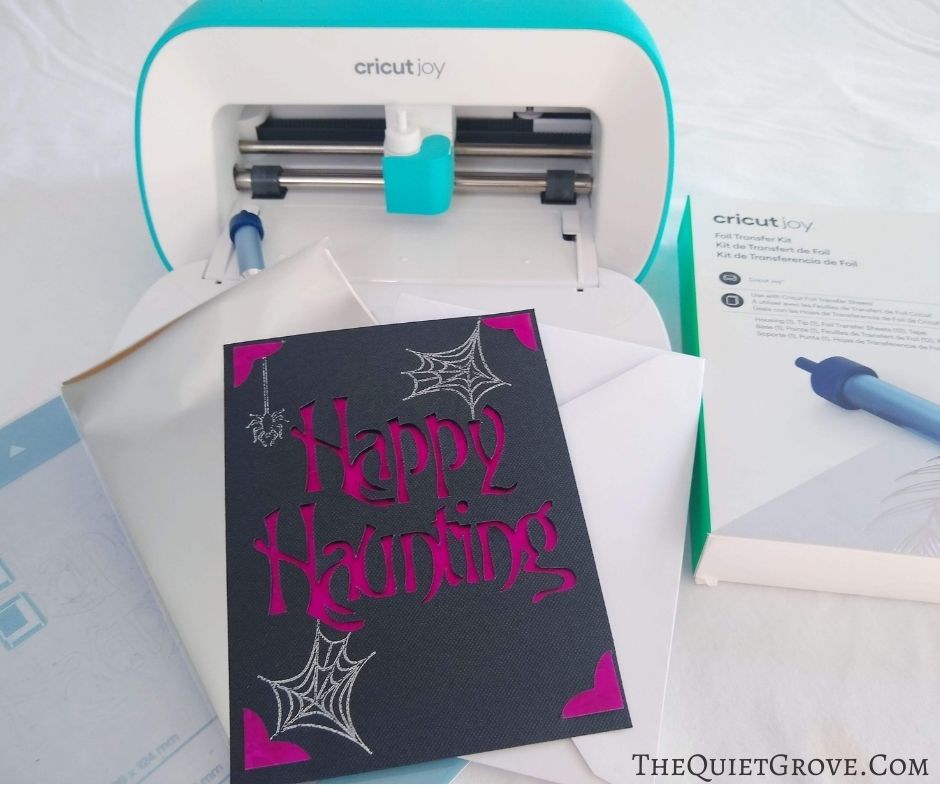
Did you know Cricut recently came out with a Foil Transfer Kit for the Cricut Joy?

When Cricut first released their Foil Transfer Kit for the Cricut Explore & Maker machines I was super excited. I had been using Foil Iron-on for years with cardstock for this foil embossed look and now I could do even finer detail designs without worrying about having to weed Iron-on. My only hope was that Cricut would come out with a specialty foil transfer kit that would work with my Cricut Joy. Well, guess what?!? They just did!!!
Now with the Joy Foil Transfer Kit you can make custom foil embossed cards, banners, gift tags, jewelry, and soo much more with your Cricut Joy machine! The Foil transfer housing and tip are specially sized and made to fit in the Cricut Joy. The kit comes with everything you need to do your foil projects. It comes with:
- Joy sized Housing
- The Foil Transfer tip
- Gold and silver foil sheets and tape
Now it is important to note that at this time the Foil Transfer tool requires a desktop computer to work. It is not compatible with mobile devices.

Once you have your design finished you are ready to go. Follow the tutorial below to use the Cricut Joy, Insert card kit, card mat & foil transfer kit to make this fun Halloween-themed card. Or you can pin this post to your Cricut DIY board on Pinterest to make later on.
DIY Halloween Card

Learn how to make this gorgeous Halloween card using the Cricut Joy, Insert Card Kit, Card mat & new Cricut Joy Foil Transfer Kit!
Tools
Instructions
Open Cricut Design Space for Halloween Card -->HERE<--

Click to make and then select that you are using the Card Mat

Open Cricut Card Kit and select the desired color of the card (and insert) from your inset card kit.

Peel off a protective sheet from the Cricut Joy Card Mat and fold an uncut card (from your card kit) onto the card mat.

Take a sheet of foil and carefully tape it over the card using the tape included in the foil transfer kit. * **

Switch the fine point blade with the Foil tip into the tool holder.

Insert into your Cricut Joy (it will auto load) and then on your desktop computer select go.

After the Foil part is done. Remove the foil tip, then carefully remove the foil sheet without removing the mat from the Cricut Joy.
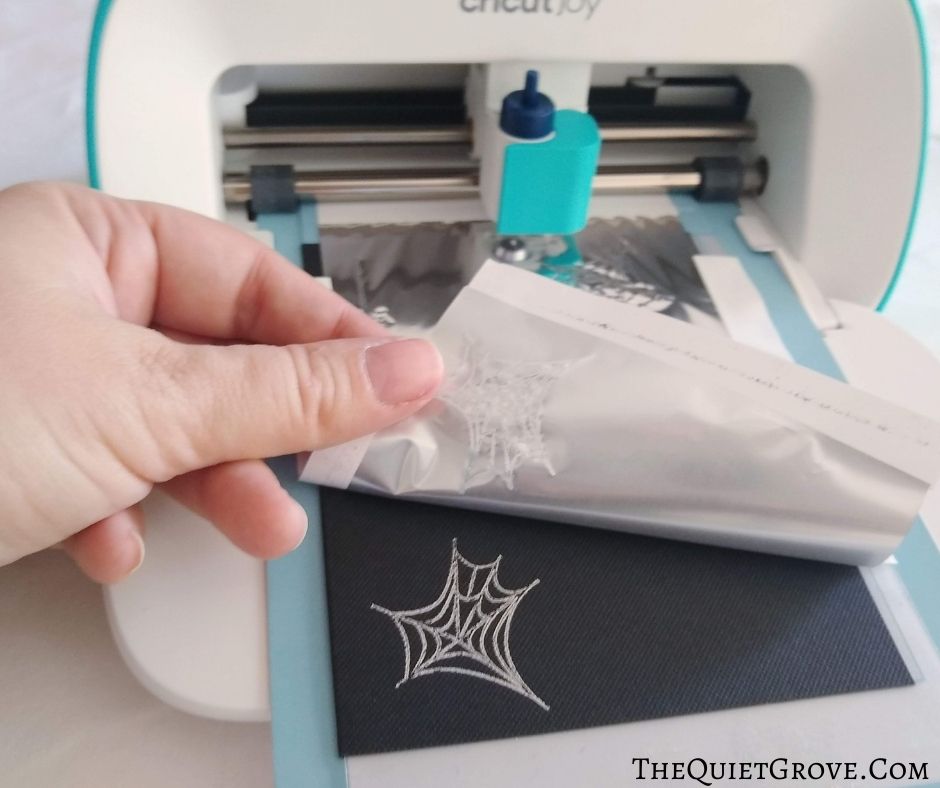
Put the fine point blade into the tool holder and select on Design space to continue.

After cutting gently remove the cut card from the Cricut Joy Card Mat.
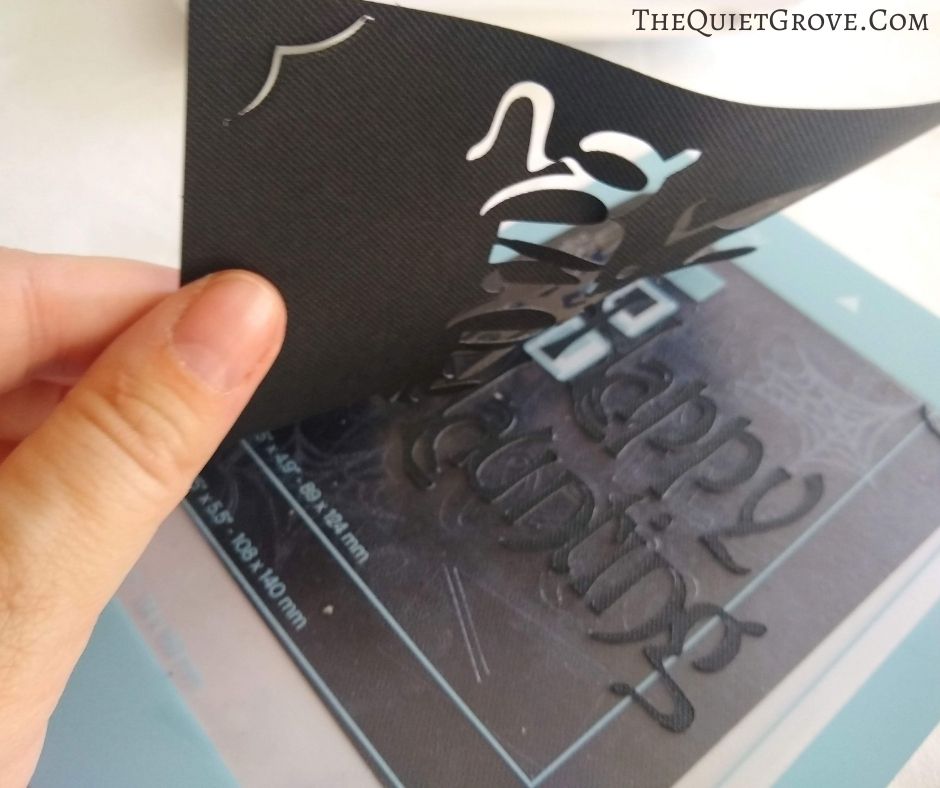
Insert the insert card into the inside of your cut card (it is kept in place by cutting corners on the front of the card.
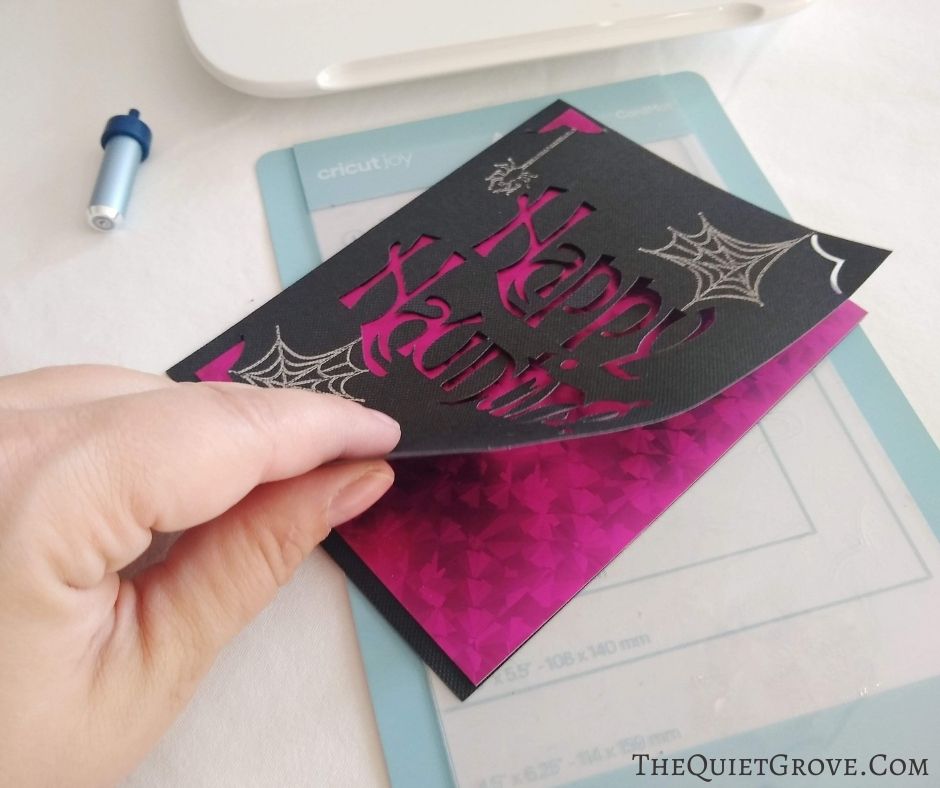
And Ta-Da! You are done!
Notes
* You don't want to stick the foil sheet to your mat so slide it up a bit so it is only covering the card before taping it down.
** When taping you want to tape the foil securely, but you also want to attach the tape as close to the edge of the foil as possible so it doesn't cover where the tool will draw the design.
Recommended Products
As an Amazon Associate and member of other affiliate programs, I earn from qualifying purchases.


I love how quick and easy this project was. I was able to do intricate designs without having to worry about weeding and using my heat press to attach to the Cardstock like I do when I use Foil Iron-on. Additionally, the results were stunning I am already working on other fun Foil projects to do with my Cricut Joy (& Cricut Maker 3). I can't wait to share them with you in the near future. One design is for a spooky fun Foil & Cardstock Halloween Banner!
If you need the foil transfer kit for the Cricut Explore & Maker machines you can get it -->HERE<-- In addition to the silver and gold foil that comes in the original kits you can order the foil sheets in various colors (and sized on the Cricut store -->HERE<--.
What sort of project are you most interested in using the new Cricut Joy foil transfer kit to make?
If you liked this post then check out these: (click on the photo to go to the post)