DIY Happy Valentine's Day Tags Made With a Cricut Explore Air 2

Making your own Valentine's Day Tags is quick and easy with your Cricut!

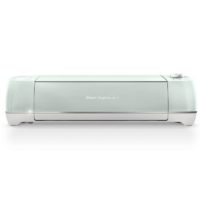
One of the things I love about my Cricut machines is how easy it makes being crafty. a few days ago I shared a DIY for making your own Valentine's Hershey Kiss Stickers using Cricut's Print and Cut feature and Printable Vinyl. Today I want to show you how to also use Cricut's Print & Cut feature to make these adorable Happy Valentine's Day Tags.

I designed these tags to coordinate with the Valentine Kiss stickers (same colors) so that I could use them together to make fun little Valentine gifts to give out to my friends this year.

You can make your own Valentine's Day Tags using the tutorial below or pin this post to your DIY Valentine's Board on Pinterest to make later.
DIY Valentine Tags Made with a Cricut Explore Air 2

Make these fun Valentine Gift tags in just minutes using Cricut's Print and Cut feature and your Cricut Crafting Machine!
Materials
Tools
Instructions
Open the Design Space Canvas for Valentine's Day Tag -->HERE<--
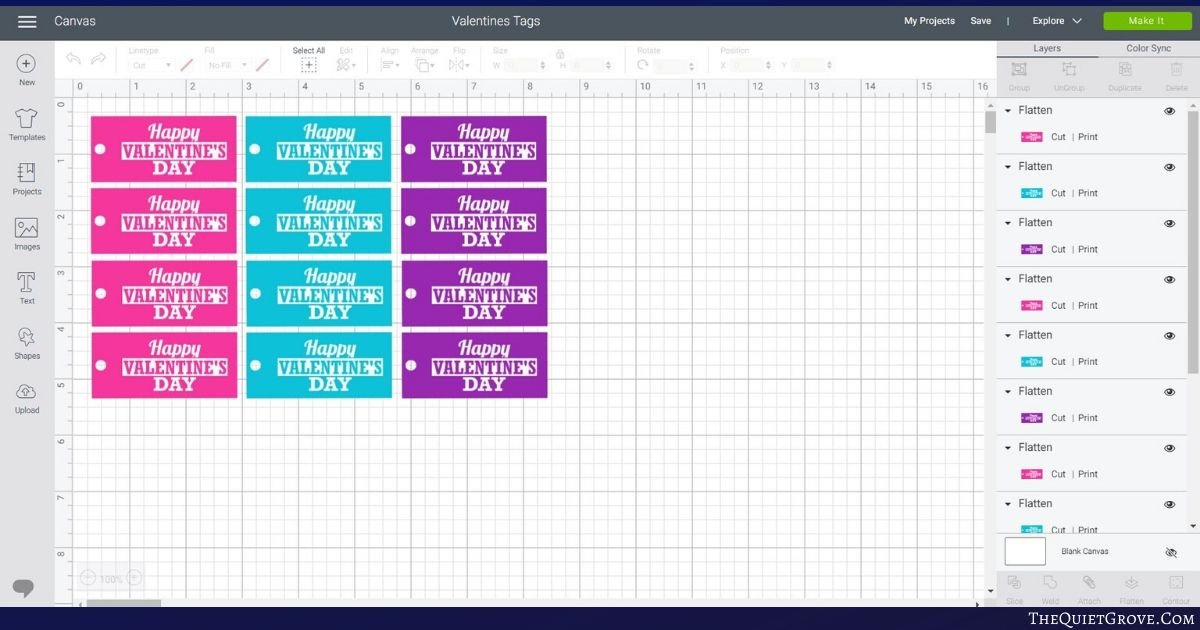
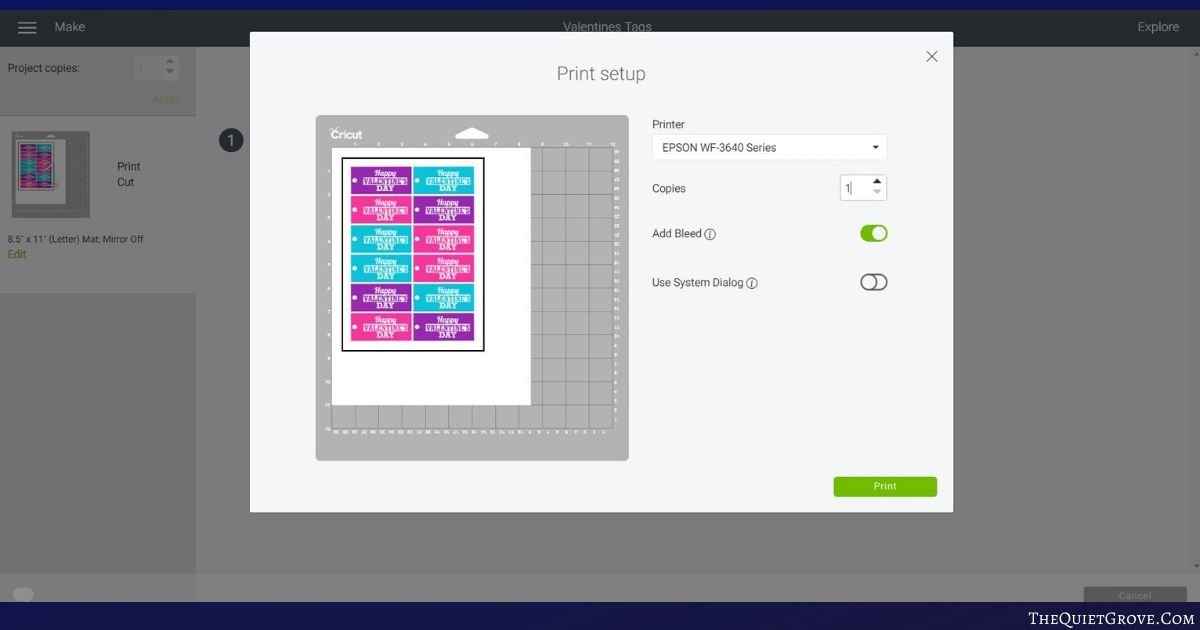
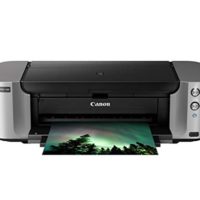
Click to make and send the design to your printer.
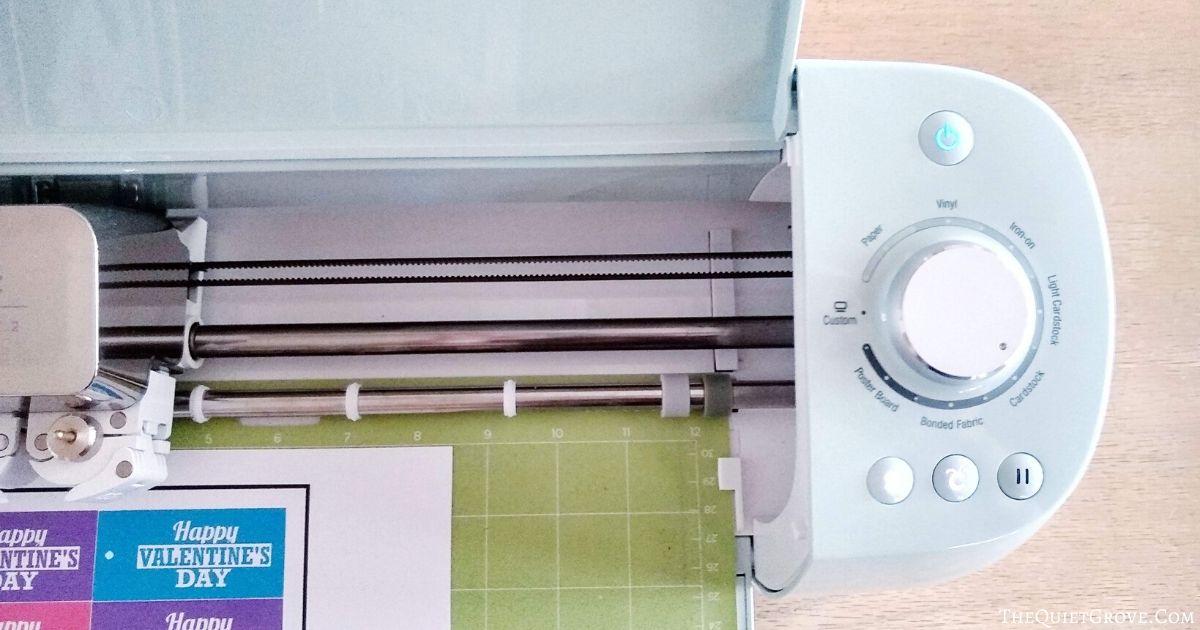
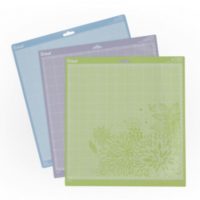
Turn the Dial to Cardstock and then load printed cardstock into your Explore Air 2 on a standard grip mat.
After cutting peel mat from cut tags. 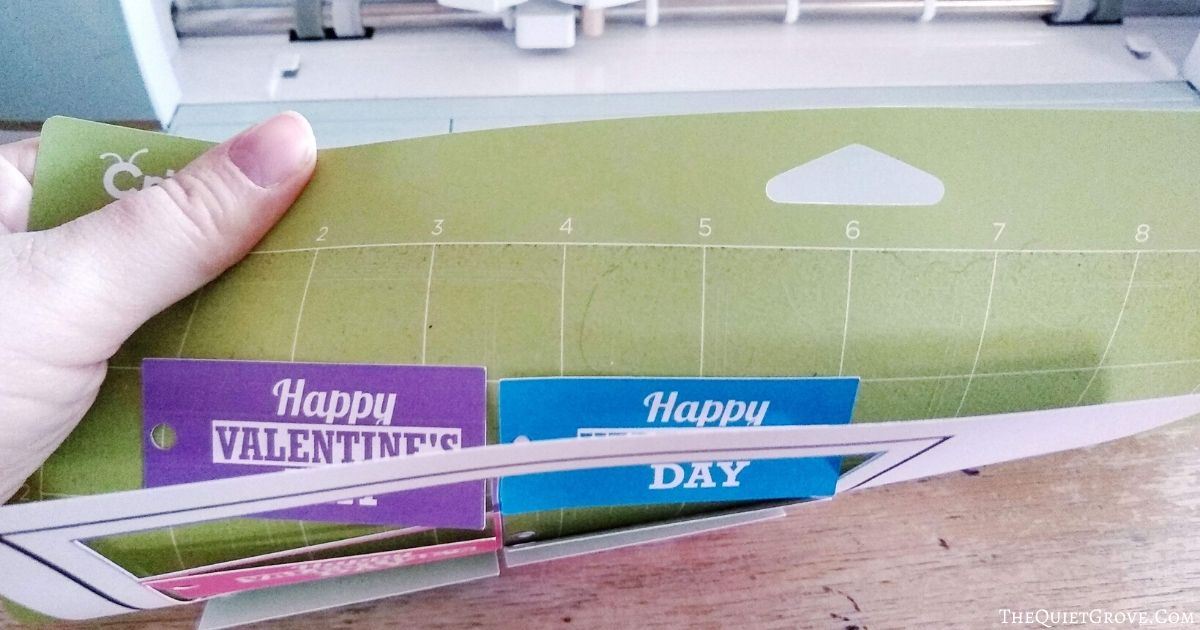
Use ribbon or string to attach tags to your treats.

Recommended Products
As an Amazon Associate and member of other affiliate programs, I earn from qualifying purchases.

I really do love how vibrantly these Pink, Teal and Purple Valentine tags turned out. I also love that these tags took only a couple of minutes to make and that the Cricut even cuts out the hole in the side to put your string through to tie to your bag of treats.

If you liked this post then make sure to check out these: (click on the photo to go to the post)