
DIY Paper Flower Wreath made with a Cricut Explore Air 2

Wow, your friends and Family by making this gorgeous paper flower wreath for your Spring/Easter Decorations this year!

I have been wanting to learn how to make paper flowers for forever. I think I first fell in love with paper flowers when I saw a photo backdrop at a wedding made with huge gorgeous paper flowers. Since then I have seen many absolutely stunning or adorable crafting projects using paper flowers. Each time I would say to myself, "Self, I want to make paper flowers too. How hard can they be?"
I decided to be ambitious and make a Spring Paper Flower Wreath for my spring decor this year. To start with I found a Chipboard Floral Craft Ring at Michaels. (They had 3 sizes and I chose the middle which was a 12 in wreath base. )I liked how the board had a wide surface that I knew would be perfect for hot gluing my paper flowers too. and then bought some cream colored paint and a foam paintbrush to paint the wreath frame with. I already had the rest of the materials I needed at home.
Then I looked up a few tutorials on how to make paper flowers using a Cricut (My favorite was this one from my friend Jenny on her blog Everyday Jenny.) I followed her instructions and made this Cricut Design Space Canvas with the 3 types of Flowers I wanted in my wreath (as well as some embossed leaves.

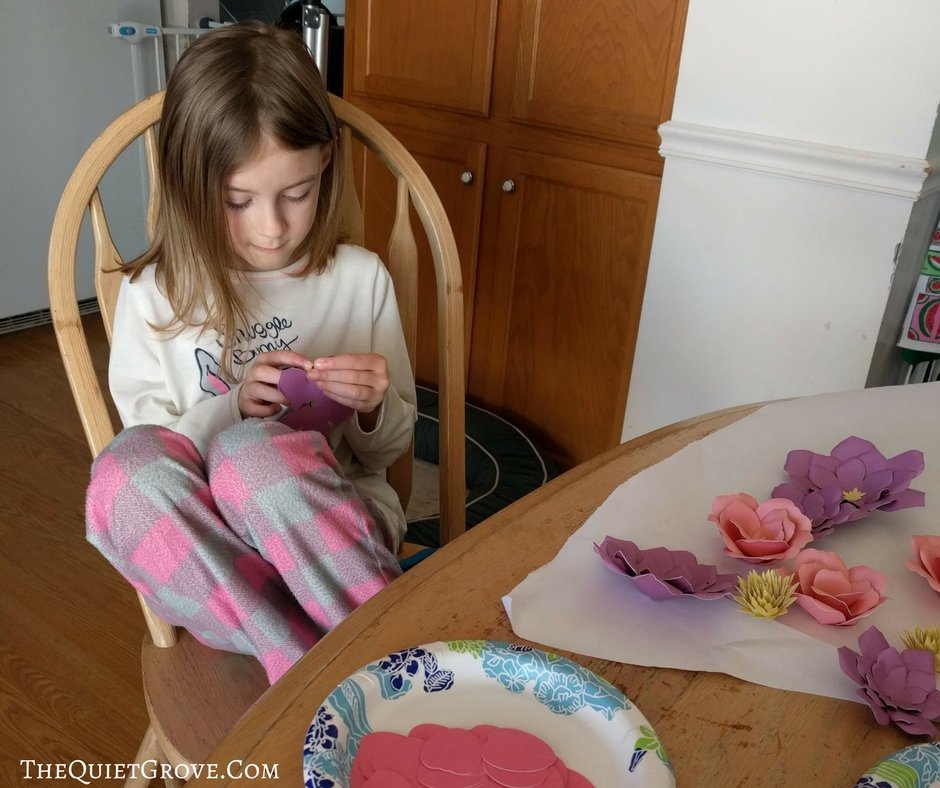
My daughter asked if she could help me since she wanted to learn how to make paper flowers too so this became a join mommy daughter project. To be honest we did ruin about 3 flowers out of the bunch and then had 1 left over when we filled our wreath (a large light pink, a small light blue and dark blue, and small purple) I left them in my canvas to give you breathing room in case you like me wreaked a few in the process of learning, I also put extra Leaves in different sizes so you could add them in wherever you want at the end to fill in any gaps with the flowers.

You can make your own paper flower wreath by following the tutorial below, or pin it to your Cricut DIY board on Pinterest to make later.
DIY Paper Flower Wreath

This Flower Wreath made with Paper flowers (cut with a Cricut Explore Air 2) is perfect a perfect addition to your spring decor.
Materials
- [1 Sheet (12x12) Dark Pink Cardstock]
- [1 Sheet (12x12) Light Pink Cardstock]
- [1 Sheet (12x12) Dark Blue Cardstock]
- [1 Sheet (12x12) Light Blue Cardstock]
- [1 Sheet (12x12) Yellow Cardstck]
- [2 Sheet (12x12) Purple Cardstock]
- [1 Sheet (12x12) Green Cardstock]
- 12 in Chip Board floral craft ring
- 1 Bottle of Cream colored Acrylic paint
Tools
- Design Space Canvas for Flowers
- Cricut Explore Air 2 (or other Cricut Cutting Machines that work with Design Space)
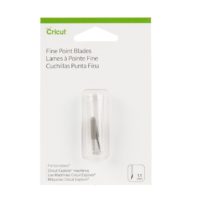
- Fine Point Blade
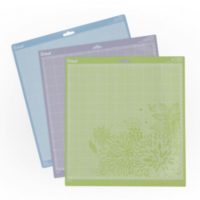
- Standard Grip Mat
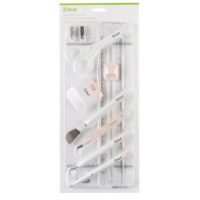
- Essential Tool Kit
- [Piercing Tool (found in the Paper Crafting Tool Set)]
- Hot Glue Gun (+ Glue)
- 1 foam paint Brush
Instructions
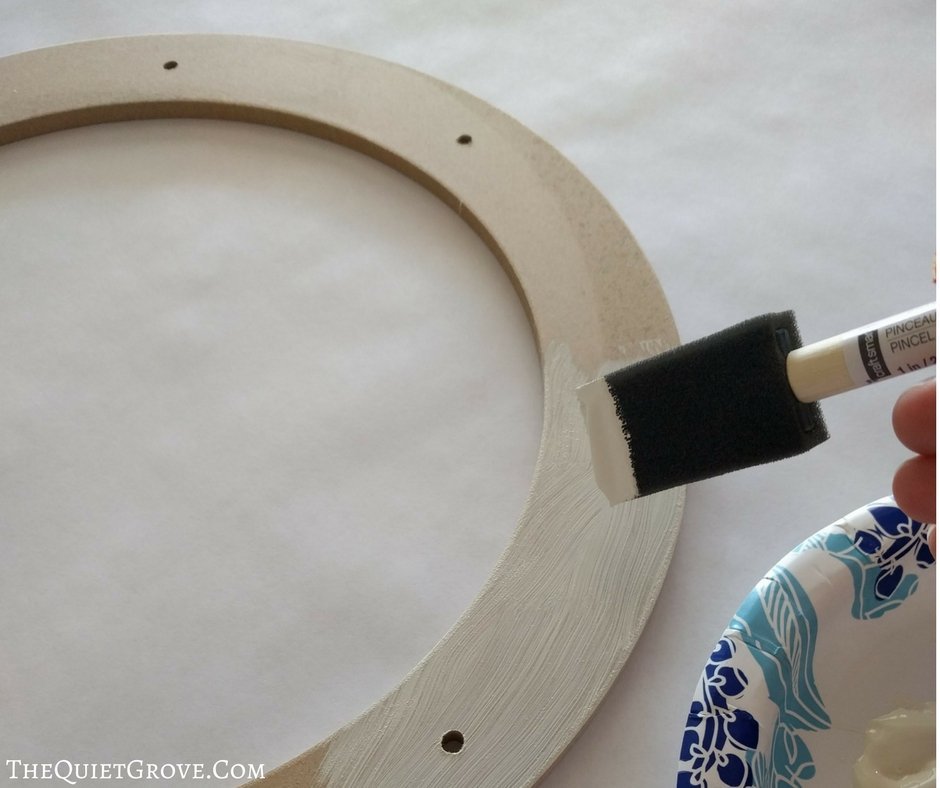
Paint the chipboard wreath base with cream-colored acrylic paint. You do this so that you have a good-looking base in case there are any gaps in the flowers of the wreath.
Open My Cricut Design Space Canvas for Paper Flowers -->HERE<-- 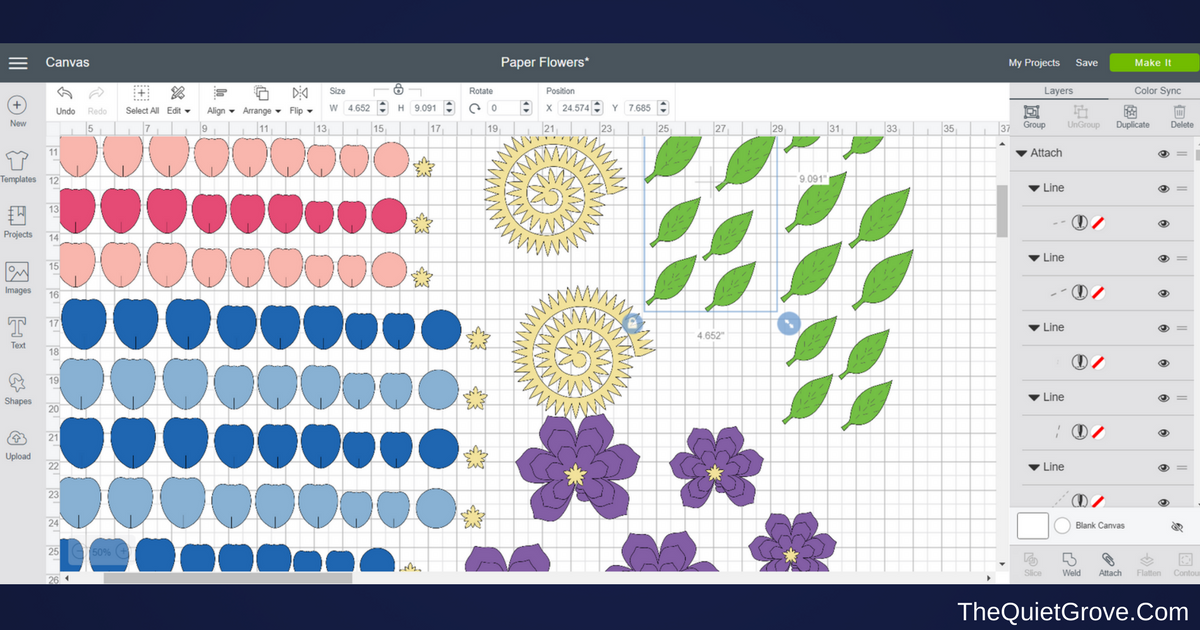
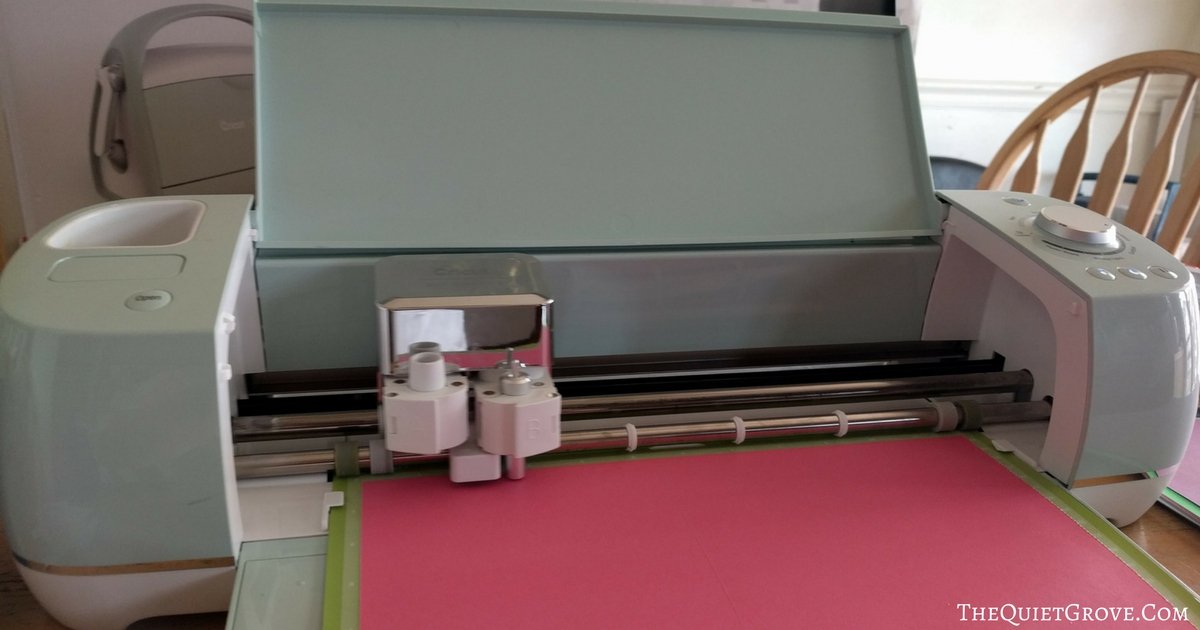
Set your Cricut machine to Cardstock, Load your Paper onto your Mat, Load it into your machine, and start cutting (you will need the scoring tool for the green leaves)
For my Wreath, I chose 3 Flower designs. First I sorted the flowers by color, then by individual flower since I cut multiple flowers in each color.
Flower 1:
The Majority of the flowers (the Pink and Blue flowers) were a rose-like pattern. These flowers had to be put together petal by petal so I started with them.
First sort the petals by size (since I had 2 flower sizes cut for each color) Each flower has 5 large petals, 3 medium petals, and 2 small petals along with a circular base. *The large petal on the smaller flower was the same size as the middle petal of the larger flower.
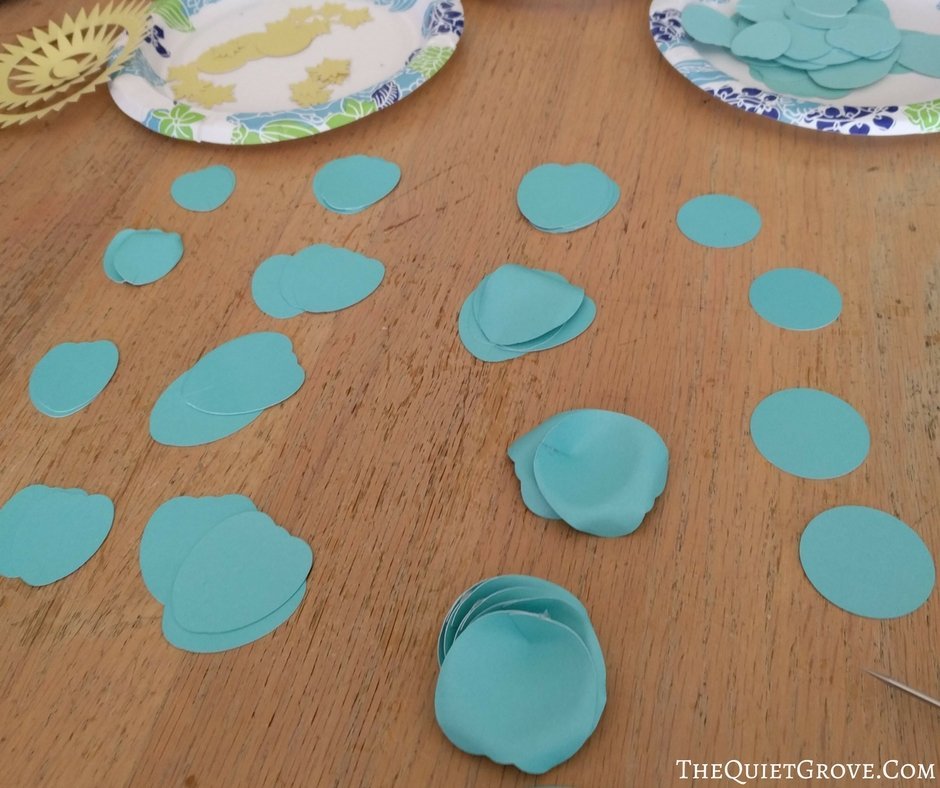
Curl the edges of each petal. I did this by using the piercing tool from my wedding kit and gently curling the paper flower petal around the tool using my thumb and pointer finger. I found it best to gently curl the sides of each petal than the tips.
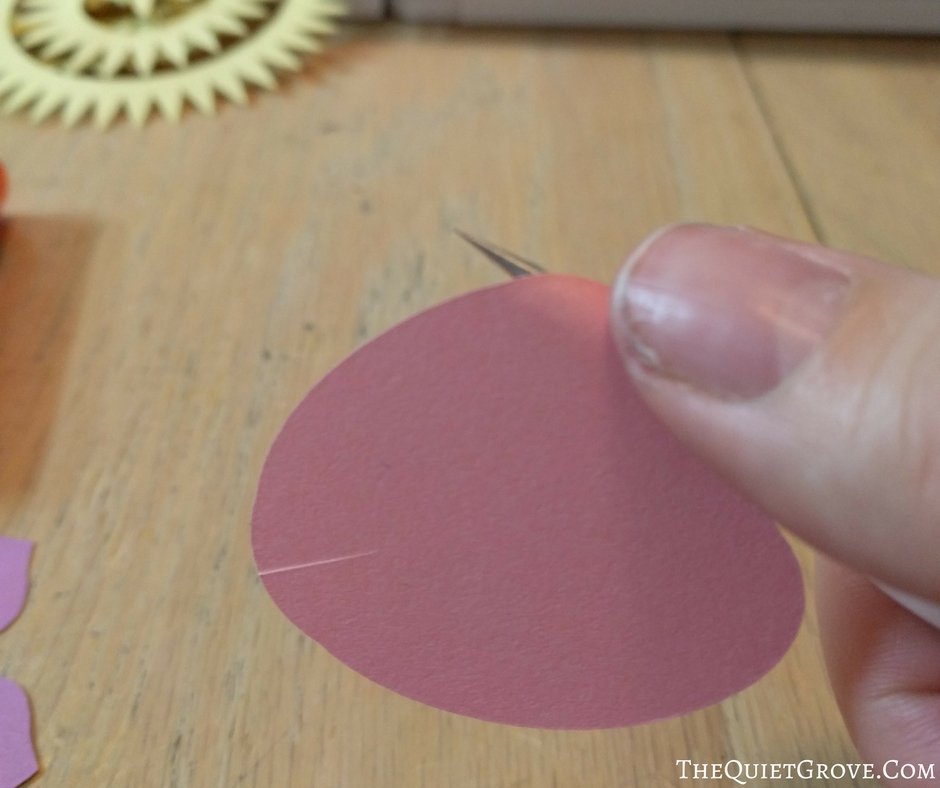
Glue the bottom two parts of the petal (on either side of the cut mark) together using hot glue.
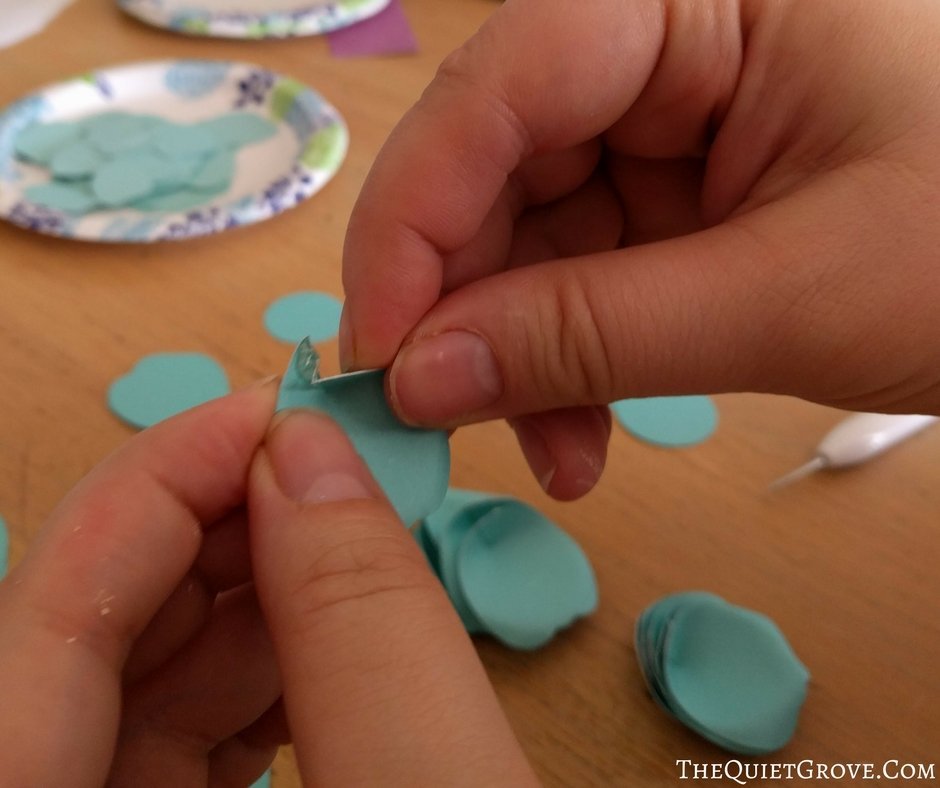
To assemble start with the 5 large petals and glue them around the outer edge of the circle. forming the base of the flower. *The pointy part of the base of each flower pointing toward the edge with the curls part of the petals curling downward. Then glue the middle 3, then the smallest 2 ending with the yellow center.

Flower 2:
The second prominent flower is the Purple layer flower I found this pattern already designed in Design Space access. I just tripled the design and made it so each flower had three layers (each smaller than the last) to give the flowers more depth. Then I decided that I wanted varying sizes for the wreath.
First, sort out all the petals layers into the individual flowers. Each flower has a large, medium, and small layer.

Curl the edges of each petal. I did this by using the piercing tool from my wedding kit and gently curling the paper flower petal around the tool using my thumb and pointer finger. I found it best to gently curl the sides of each petal than the tips. * When I first tried to make the flowers I thought to curl the petals after gluing the base but found it was better to curl first.
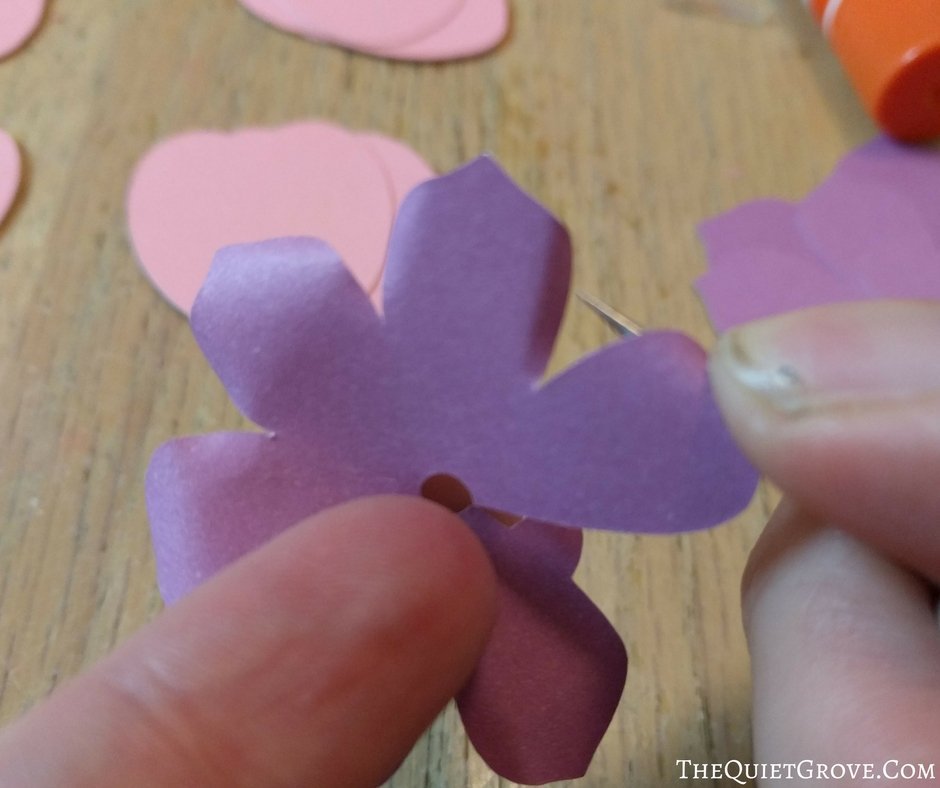
Using a hot glue gun glue the flower layer together using the tab on one side of the cut flower.

Glue each layer together in the center. Gluing the middle yellow part last.

Flower 3:
This flower I used as an accent flower to fill in holes in the wreath (along with the leaves) and add a splash of bright color. I found this flower already designed in Cricut Access in Design Space like the purple one. All I did was size it to how big I wanted it. Since I just wanted it as an accent flower I Kept the design relatively small.
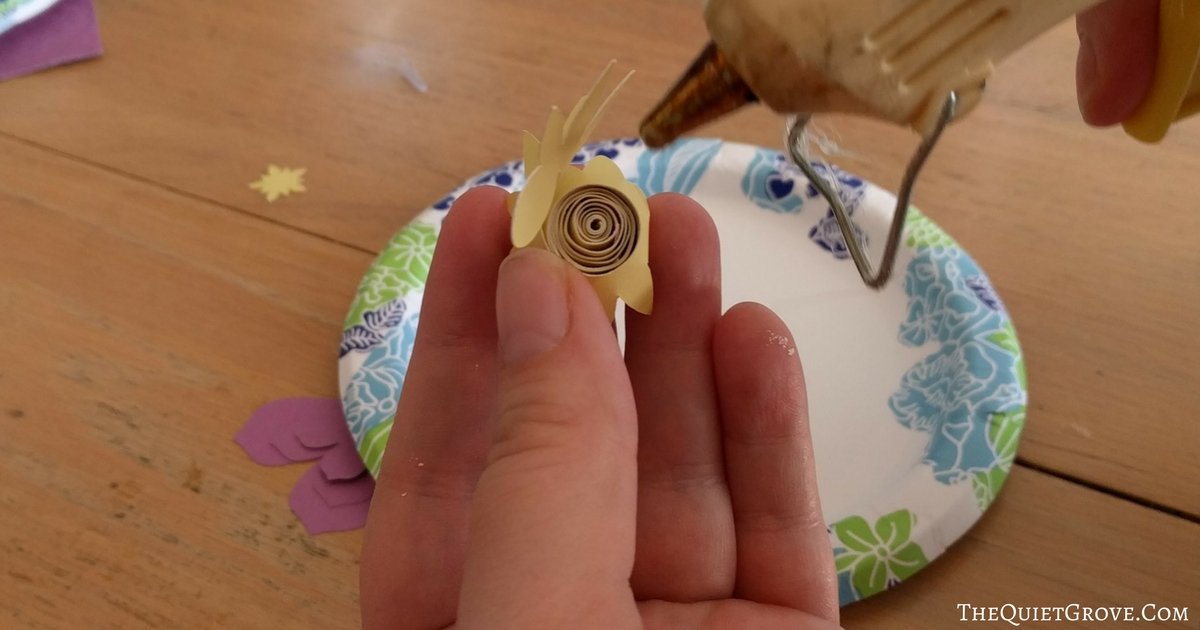
To assemble just curl the flower tightly (I curled my around the piercing tool) from the outside edge to the center (where the circle piece is.)

Let the flower loosen a bit then hot glue the base placing the circle part over the hot glue.
Final Assembly:
Once all the flowers are assembled, lay them out on the chipboard frame to get an idea of where you want to hot glue them on.

Start at one section hot gluing the flowers on one at a time and work your way around. I tried to glue the purple flowers flat on the frame and angled the pink and blue ones (sometimes using extra hot glue to get the perfect angle to cover more of the frame. ) and I stock the Yellow accent flowers to fill in any big gaps.
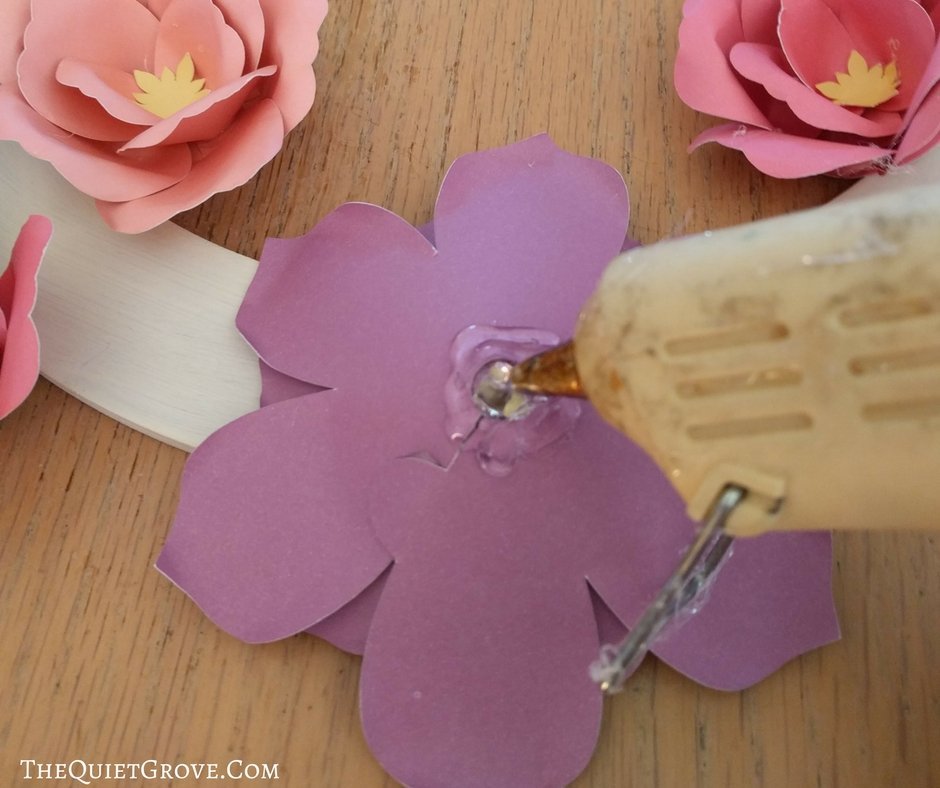
Lastly, I added leaves to add more color and also fill in any holes to give that full colorful effect.

Recommended Products
As an Amazon Associate and member of other affiliate programs, I earn from qualifying purchases.


My daughter loved working side by side with me to make this wreath and takes delight in point out the flowers that she did herself (even using the glue gun.) I am not sure where we will hang the wreath so, for now, I have it displayed on our piano coordinating perfectly with the other Easter decorations we made this last weekend.

If you liked this post then check out these: (Click on the photos to go to the post)





These paper flowers are beautiful. I've only made the roses with the Cricut, but I really need to try some other ones.
I totally want to learn how to make some more kinds of flowers. Its soo fun.
Can’t access to your beautiful flower pattern in cricut designs please help Thank u and God bless
Try the link again. I just updated it. I think the old link got messed up with all the recent Design Space updates. If you have any other problems let me know.
Thank you so much it worked ... blessings always
Oh I am glad. Have fun making the flowers!
Hi! We made a wreath using this design but forgot to save. We tried the link again but it says the project is Private. Are we still able to access the design? Thank you!
Sorry, it is still available. It's just that when Cricut moved to desktop some of the links got disconnected. I have updated the link so it should work again.
I am having trouble linking, is it still available. Thank you
Sorry, some of the Design space board links stopped working when Cricut did major changes to their system to allow offline crafting last year. I have been working on updating the links for those older DIY projects. I just updated the link so it should work now.
This looks so pretty! I noticed you listed linen paper on the "recommended projects". When I click on that it shows only white and black from the Cricut store. Did you use this for making the flowers?
Thank you!! This is exactly what I need!
At the time I made this project Cricut had their linen cardstock available in several colors. You can use other cardstock as well for this wreath. I have made the flowers with medium cardstock I have bought at Machaels, Hobby Lobby and JoAnns and they work great.