

Are you looking for a fun Spring Wreath to make with your Cricut?

One of my favorite things about my Cricut Maker is how many different materials I can work with beyond what I can do with my Explore machine. While I often still find myself using my same favorite materials in most of my projects, every now and then I find myself wanting to be extra creative and really utilize my Maker and its abilities while crafting. This Embroidery Hoop Spring Wreath is one of those projects.

When I first decided to make a fun cheerful Spring wreath I started looking through my materials to get inspiration on what I should make. I found an old purple plastic embroidery hoop and while looking at it the rest of the wreath I wanted to make came to my mind.
I wanted to cut a ribbon of fabric, and glue the word SPRING cut out of some heavy chipboard I had left over from another project. Of course, I would cover the chipboard with some blue iron-on. at the bottom of the wreath, I wanted to have paper flowers with two little accent butterflies.

You can follow my step-by-step tutorial below to make your own Embroidery Hoop Spring wreath or pin this post to your Pinterest board to make it later.

DIY Embroidery Hoop Spring Wreath

This is the step-by-step tutorial for making your own embroidery hoop SPRING wreath with the Cricut Maker.
Materials
- Heavy Chipboard
- Cotton Fabric (I used Cricut Fabric but any 12x12in Cotton Fabric will do.)
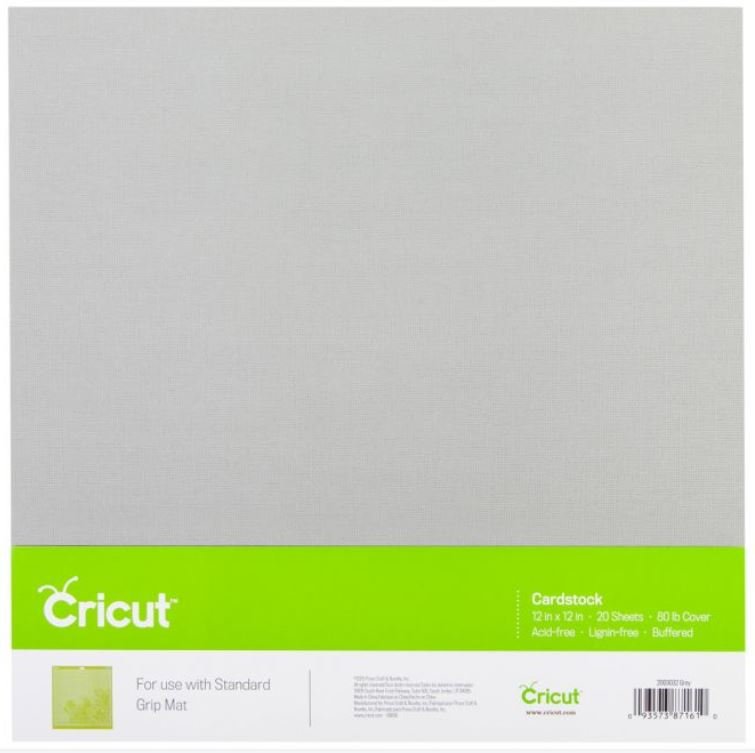
- Cardstock (In Pink, Blue, Yellow, & Green)
- Silver Foil Iron-on
- Blue Everyday Iron-on
Tools
- Design Space Canvas for Spring Wreath --> HERE<--
- Cricut Maker
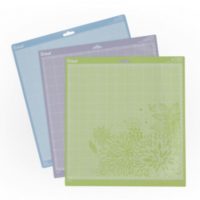
- 12x12 Strong Grip Mat
- 12 x12 Standard Grip Mat
- 12x12 Fabric Grip Mat
- Knife Blade
- Rotary Blade
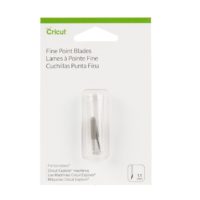
- Fine Point Blade
- Cricut Essentials Tool Kit
- EasyPress 2
- Brayer
- Masking Tape
- Glue/Glue Gun
- Ribbon
- Purple Plastic Embroidery Hoop
Instructions
Instructions:
- Open Design Space Canvas for Embroidery Hoop Wreath --> HERE

- Click Make it and select Heavy Chipboard for the first material

- Use the Brayer to firmly attach the heavy chipboard to a Strong grip mat. Attach the Knife Blade into the tool holder and move all the wheels on the Cricut to the far right.

- After the Heavy Chipboard is cut use the spatula from the essential tool kit to remove the chipboard from the mat.

- Move the wheels back into place and switch the knife blade with the fine point blade and then cut all the cardstock (the base layer of the Pink and yellow butterflies, and flower petals) **Set material to Cardstock for Intricate cuts.

- After each mat is cut. Use the spatula again from the essential tool kit to remove the cardstock from the mats.

- Make sure the Mirror Image button is clicked for the Iron-on mats. **Set the material to Foil Iron on for the top layers of the butterflies and iron-on for the spring mat.

- Place the Iron-on shiny side toward the mat and load into your Cricut.

- Use the weeding tool to carefully weed the iron-on from the cut designs.

- Replace the fine point blade with the rotary blade and set the material to cotton fabric.

- Use the brayer to put the fabric on the fabric mat.

- After cutting carefully remove the fabric from the mat. Fold in half and glue them together. **The double thickness of the fabric glue together gives the fabric ribbon a bit more stability to glue the heavy Chipboard to. After I glue the fabric together I carefully trim the edges of the fabric where it had frayed a bit or didn't match up perfectly.

- While Glue is still soft Place the fabric ribbon into the embroidery hoop (a little top of the center.)

- Heat the 9x9 EasyPress 2 to 315 and Carefully place the SPRING Iron-on on the SPRING Chipboard.

- Press with gentle pressure for 30 Seconds and do a warm peel

- Change the EasyPress heat to 270 and place the foil Iron-on butterflies on the cardstock butterflies.

- Press Firmly for 30 Seconds and cold peel.

- Fold the butterflies down the middle

- Use hot glue to Assemble the Flowers and glue to the bottom of the wreath (For step-by-step instructions on assembling the flowers, click --> HERE

- Glue the Spring word to the Fabric

- Tie a ribbon in a bow and glue to the top of the wreath over the Embroidery hoop screws.

Recommended Products
As an Amazon Associate and member of other affiliate programs, I earn from qualifying purchases.


I absolutely LOVE how this wreath turned out. And I have gotten soo many compliments on it from friends and neighbors since I made it. Thanks to my Cricut Maker (knife blade, & rotary blade) and Easy Press 2 this project was actually really easy to make and turned out exactly as I visualized it before creating the design in Cricut Design Space.

If you liked this post then check out these: (click on the photos to go to the posts)


Kelly
Friday 26th of July 2019
This spring wreath is lovely! I have included it in our updated article 10 DIY Embroidery Hoop Wreaths, with a link back to the tutorial. I hope that is ok!
Julia
Friday 26th of July 2019
of course. Thanks!
Christine
Monday 25th of March 2019
What a darling wreath! I love how you used the embroidery hoop with the paper flowers. Everything came together beautifully!
Julia
Monday 25th of March 2019
Thanks! I love how it turned out. It was my first time making an embroidery hoop wreath.
Magen Grappendorf
Sunday 17th of March 2019
Such a cool wreath!! I love those flowers.
Julia
Monday 18th of March 2019
Thank You. I loved how it turned out.
Rachel
Thursday 14th of March 2019
I love this wreath! So cute!
Julia
Thursday 14th of March 2019
Thanks
thestrawberrynest
Thursday 14th of March 2019
You are pure magic with the Cricut machine! I love how your wreath turned out.
Julia
Thursday 14th of March 2019
Thanks. I have discovered over the last few years how much I really love to craft. Someday when I have a home again I am totally going to DIY the whole thing.