Add a little fun and cuteness to your Easter Decorations with this easy-to-make Bunny Butt Bunting Banner!
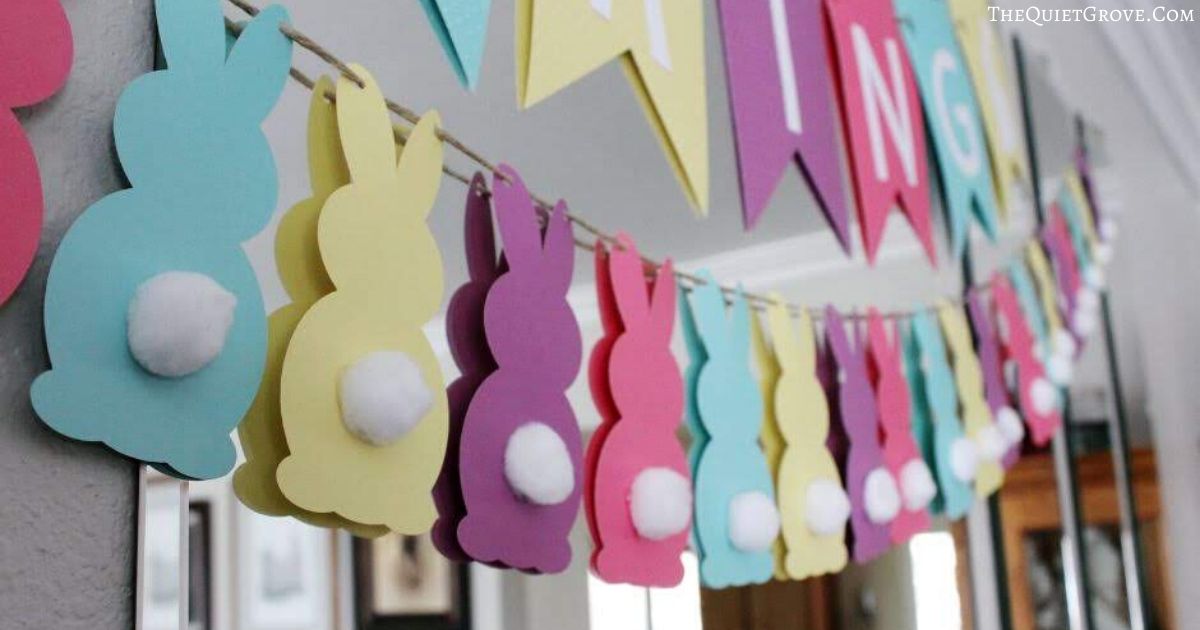
Last year we were traveling over Easter so I was limited in what we were able to do as far as celebrating. So this year I promised my kids we would go all out (treats, decorations, and of course an Easter Hunt or two,) With Easter only 3 weeks away I knew it was past time I got started on making those promised Easter decorations.
When I described the bunny bunting banner I was planning on making with my kids they hilariously dubbed it their “Bunny Butt Banner” and laughed their way through making it.

This was such a fun and easy project to make with my kids thanks to my Cricut Explore Air 2. You can make it right now following the tutorial below, or pin this post to your DIY Easter Pin Board on Pinterest to make it later.
DIY Bunny Butt Bunting Banner

Learn how to make this fun Bunny Butt Easter Bunting Banner using a Cricut. This is a great easy project to make with your kids.
Materials
- 4 (12x12 in) sheets of Cardstock (in coordinating colors)
- 1in White Pom poms
- Ribbon or Twine to string up the bunting banner
Tools
Instructions
Download my Bunny SVG cut file for free -->HERE
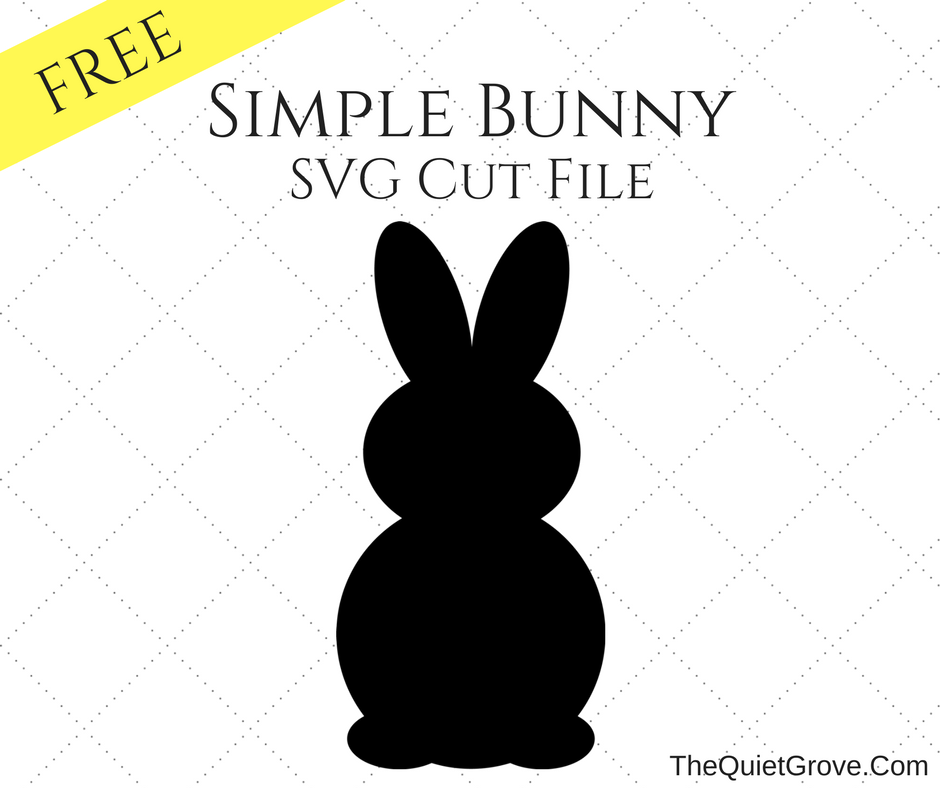
Upload the Bunny SVG into Design Space and insert the image into your Design Space Canvas.

Size the Bunny to 2.555in Wide x 5.194in High

Add a Circle sized, .167 inches and duplicate it. Position the circle at the top of the bunny's ears (this is where you will string the ribbon or twine to hang up your bunting banner.)
Select the bunny image and the first circle, then click the slice button to cut the hole into the design.

Click the bunny image, arrange it to the back, and repeat the process with the other circle.) This will give you a hole in each ear. **After you slice the circles you can delete them.

Now duplicate the bunny 3 times (giving you 4 bunnies) and make each bunny a different color. (Indicating to your machine to cut from different sheets of cardstock.)

Select all 4 bunnies and copy them 7 times (giving you 8 bunnies in each color.

Click the make it button, set your Cricut to Cardstock, place your first sheet of cardstock onto your mat and get cutting.

Once you have cut all your bunnies out, Use a hot glue gun to attach the white pompoms onto each bunny.

String up the bunnies in a pattern and then tape onto your wall.

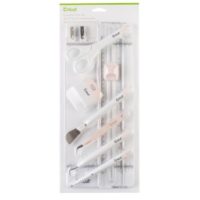
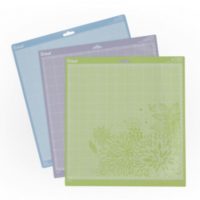
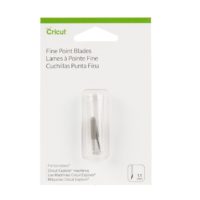
Recommended Products
As an Amazon Associate and member of other affiliate programs, I earn from qualifying purchases.
When choosing the colors for my Easter decorations I wanted light and fun with a pop. So I chose deep pastels in Purple, Pink, Teal, and Yellow. This Bunting Banner teams up perfectly with my simple embossed SPRING banner (tutorial coming soon)

The best part about the Bunny SVG cut file I designed is how versatile it is. My kids loved it soo much I am going to be making them some Easter t-shrits with the Iron-on in a few days. (Stay tuned for the tutorial!)

If you liked this post then check out these: (click on the photo to go to the post)




Tamie
Friday 1st of April 2022
So cute!
Donna
Tuesday 23rd of February 2021
Love it