
DIY Sublimated Teacher Appreciation Mugs Made with Cricut's Mug Press + Free Design File

Make your own Teacher Appreciation Mugs using Sublimation and Cricut's Mug Press!

It's the end of the School year when parents everywhere start to think about what to give their children's teachers to thank them for all the work and sacrifices they have made to help teach their kids.
While as parents we try to do what we can to continually acknowledge the teachers in our lives. There are certain times of year that it has become a tradition to gift gifts of appreciation to them. (normally at the beginning and end of each school year.)

It was with this in mind that I designed these fun sublimated Teacher appreciation mugs that I made with my Cricut Mug Press. I designed these mugs to be made with a Sublimation printed design.

For those who don't know, Sublimation is where you use a heat-activated Ink which when pressed at a specific temperature with a heat press the ink turns into a gas and sinks into the material it is pressed to make a permanent design.
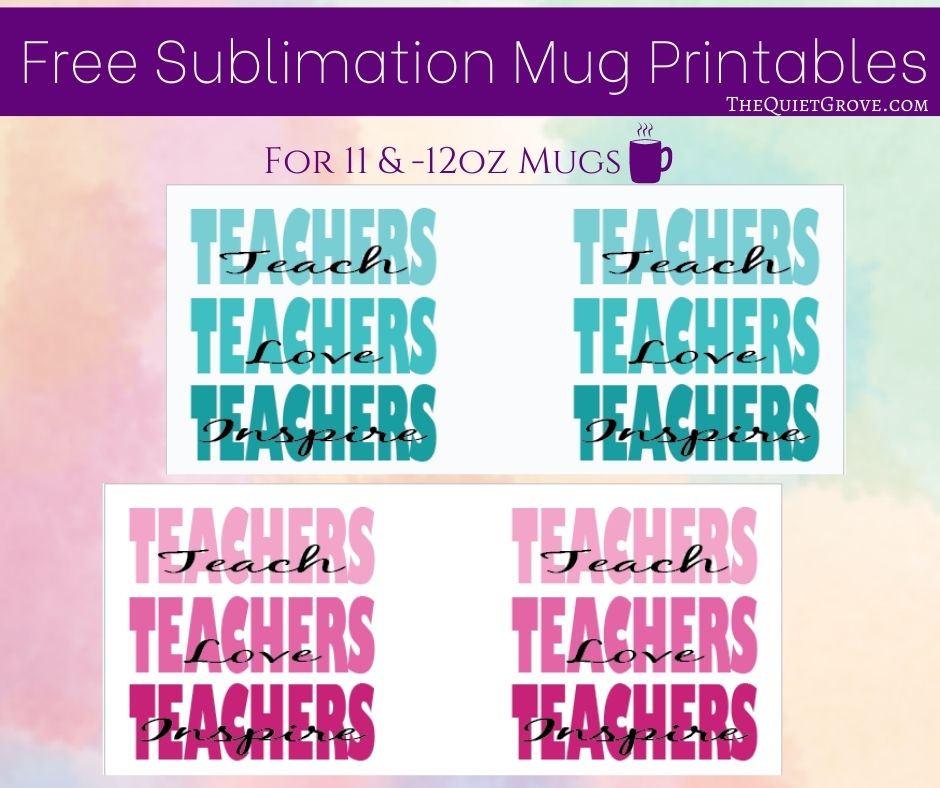
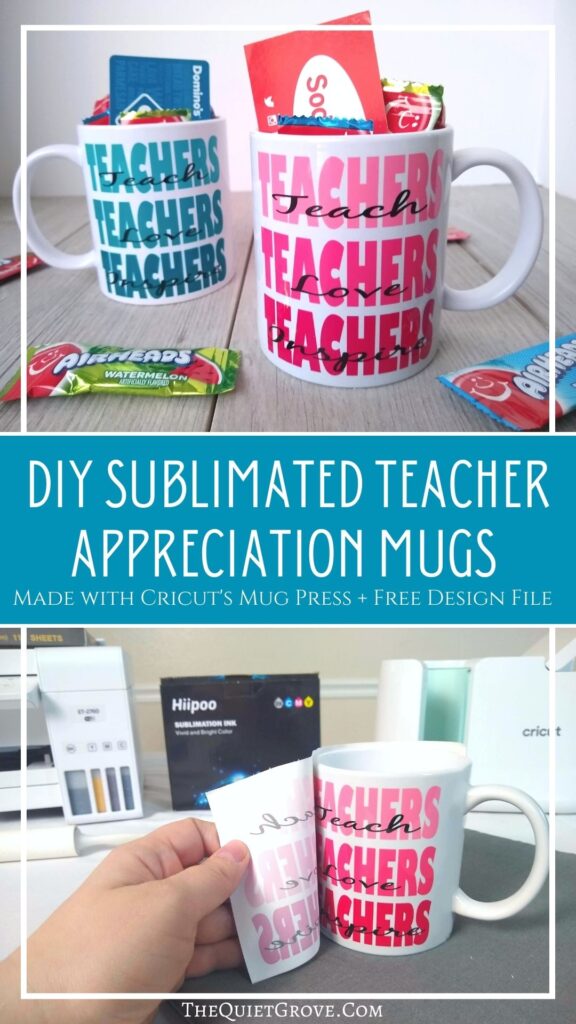
I designed 2 versions of my Teachers Teach, Teachers Love, Teachers Inspire mugs. One design is a blue ombre and the other is a pink ombre.
You can make your own mugs by following either the video tutorial below or keep reading the written step-by-step tutorial. You can also pin this post to your Teacher Appreciation, Cricut DIY, or Sublimation board on Pinterest to make later on.
Sublimated Teacher Appriciation Mug

Sublimated Coasters are the perfect beginner sublimation project. They are easy to make using a printer converted for sublimation and the Cricut Mug Press!
Materials
Tools
Instructions
Download the Teachers Teach, Love & Inspire Mug design found -->HERE<--
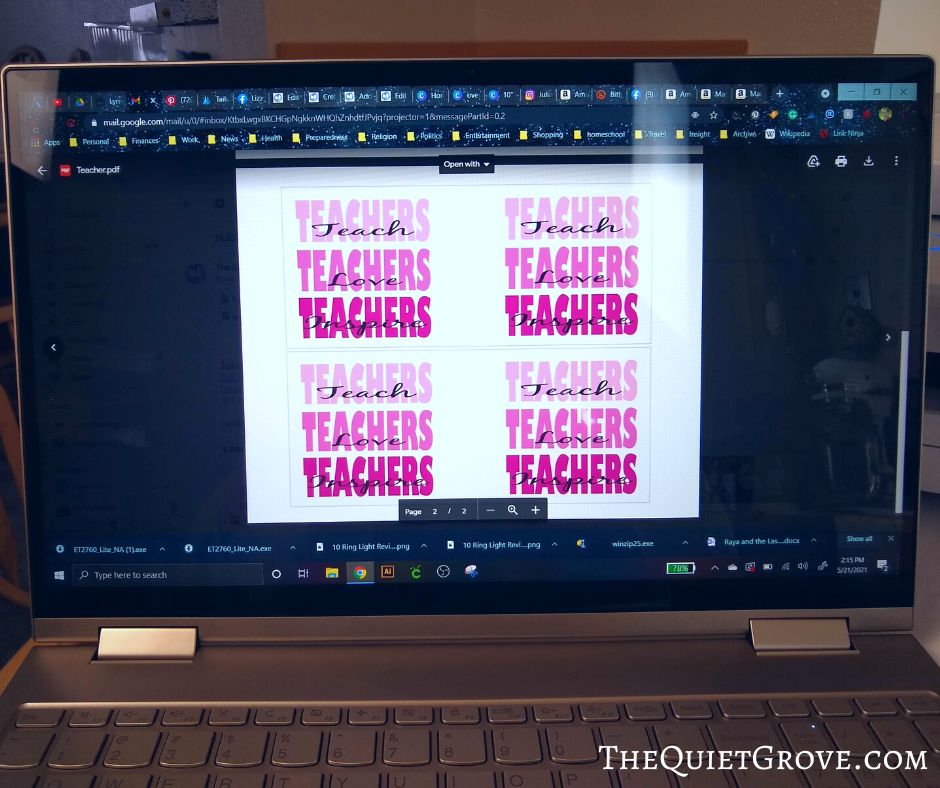
Print design using a sublimation printer, sublimation paper & Ink (*If your sublimation printer isn't set to automatically mirror image your design make sure to do this manually. )

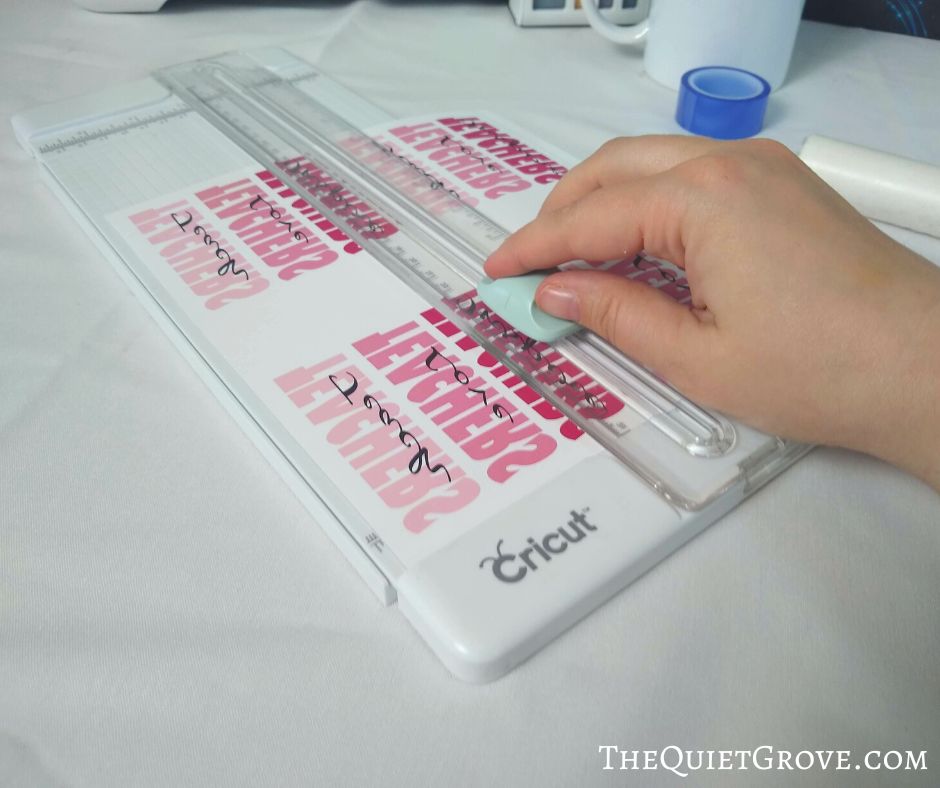
Cut out the design (there are two mug wraps per page (and you can choose whether the pink or blue ombre design. (I have a light grey box showing the sizing for each mug wrap. Make sure to cut out the design just inside the grey box (so it isn't part of the final design)
Use a lint roller to clean off your mug.

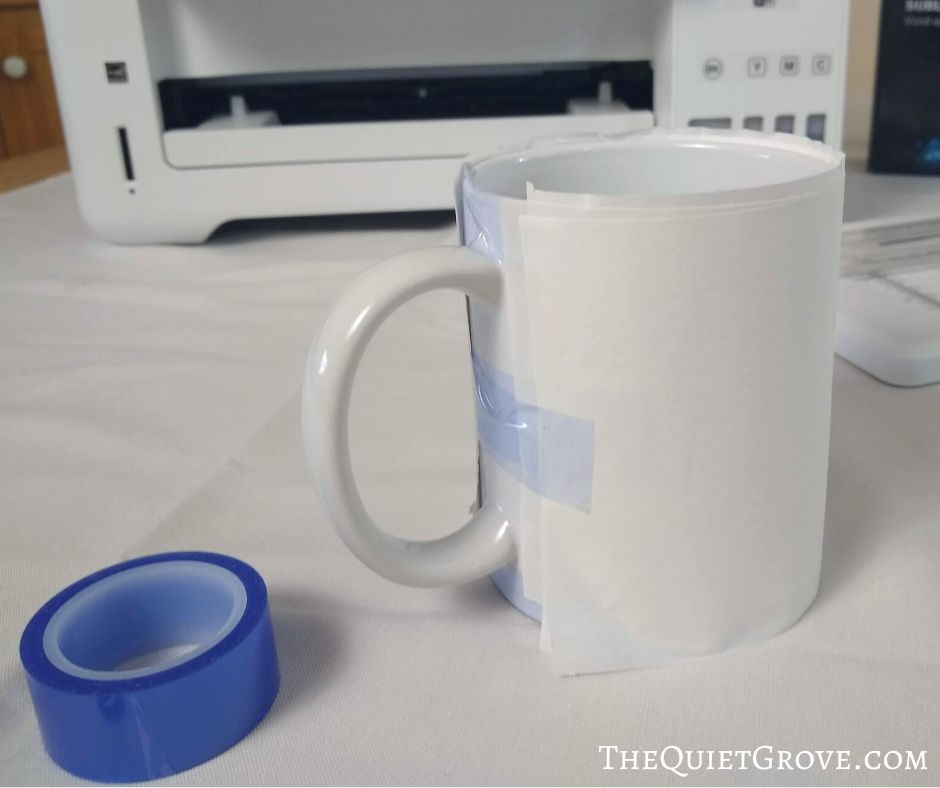
carefully and tightly tape the sublimation design around the mug. (** You want the design to be taped firmly so it doesn't shift at all during the pressing. )

Tape 3 layers of butcher tape around the mug (***This is to protect your mug press)
Turn on Mug Press and when heated place your mug into the press making sure that the whole design is covered.

Press down the mug clamp and let the mug press do the rest. It will beep when done.
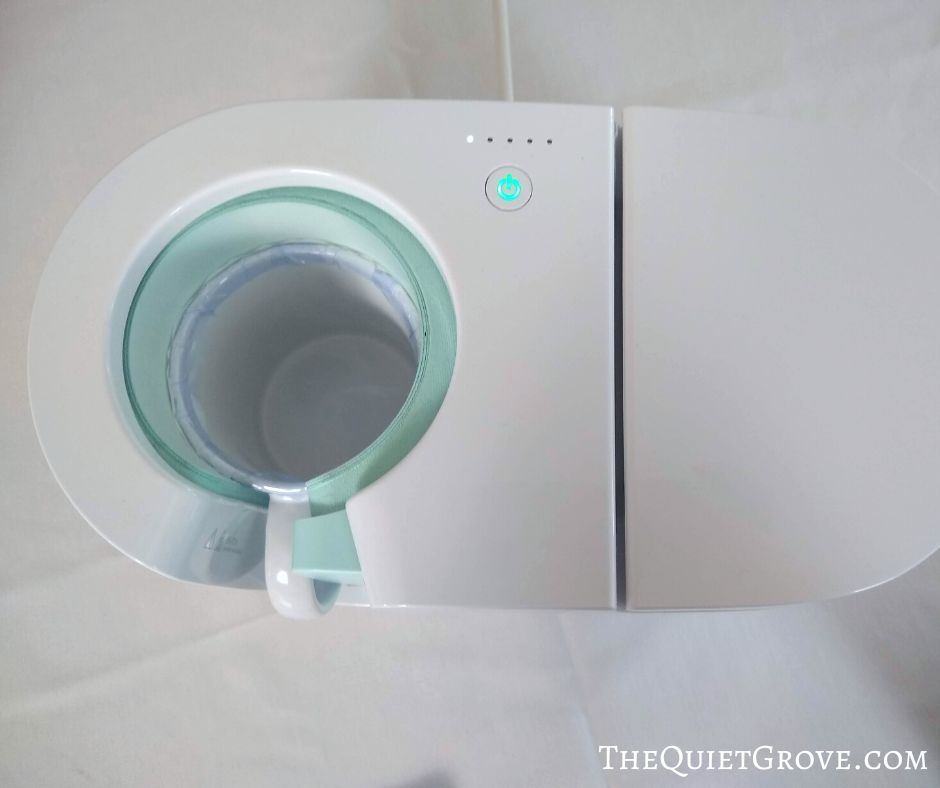
Lift the Mug Press clamp and carefully pull out the mug. (**The handle will be cool to the touch but be careful with the mug itself will be extremely hot. ) & Place on an EasyPress mat to cool for a few minutes.
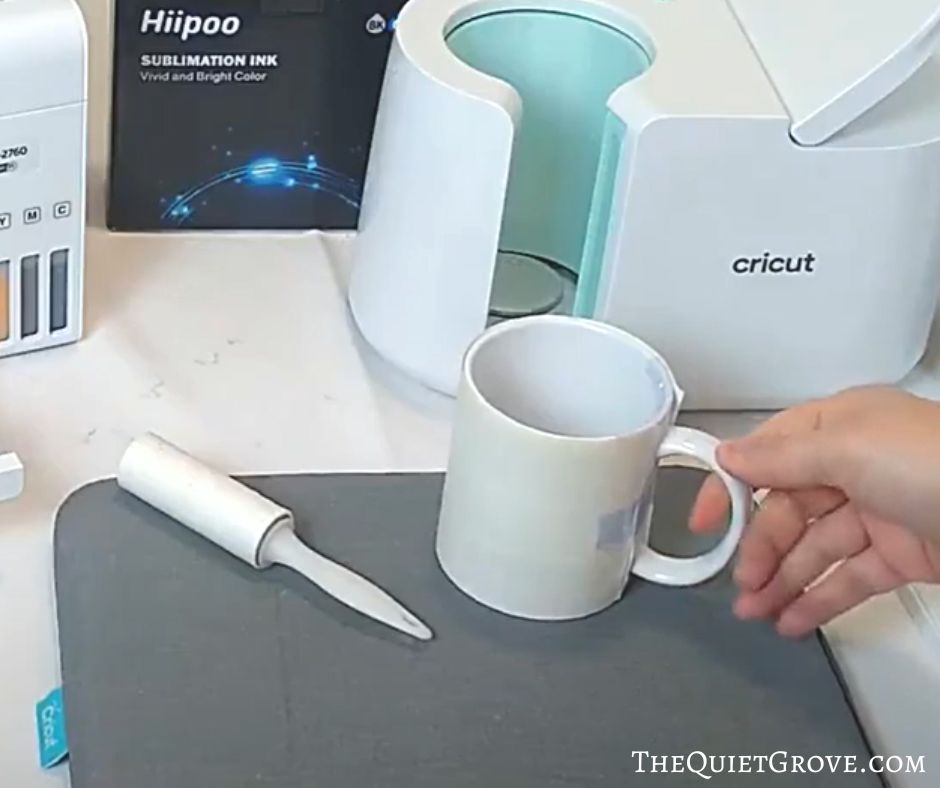
Once cool to the touch peel off the design.
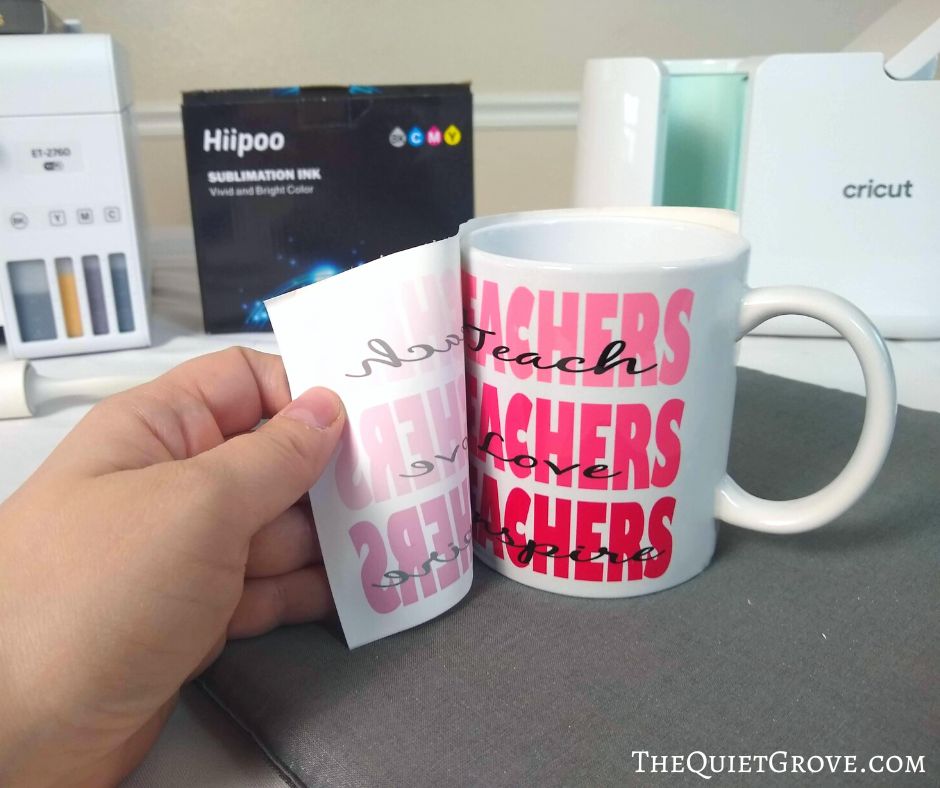
Enjoy!
Recommended Products
As an Amazon Associate and member of other affiliate programs, I earn from qualifying purchases.
-
 Hiipoo Sublimation Ink Refilled Bottles
 -
Epson Premium EcoTank 2803
-
A-SUB Sublimation Paper 8.5x11 Inch 110 Sheets for Any Inkjet Printer which Match Sublimation Ink 125g
-
Ceramic Mug Blank, White - 12 oz/340 ml (2 ct)
-
Cricut Mug Press
-
Cricut EasyPress Mat, 8" x 10"
-
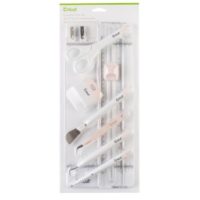
Essential Tool Kit
-
Heat Resistant Tape
-
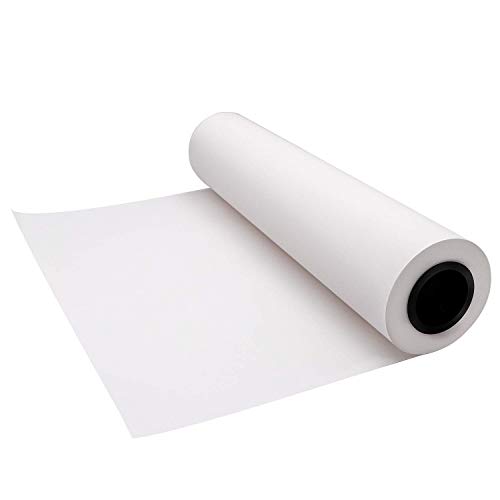
YRYM HT White Kraft Butcher Paper Roll -18 inch x 2100 inch (176 ft) Food Grade White Wrapping Paper for Meats of All Varieties - Unbleached Unwaxed and Uncoated
-
Scotch-Brite Lint Roller, 2 Rollers, Picks up Lint, Pet Fur, Fuzz, and Hair




I love how these mugs turned out. Since these mugs are made with sublimation, they are dishwasher-safe and microwave safe (unlike if you make mugs using Permanent Vinyl). As soon as they cool they are ready to use.

I recommend filling the mug with some sweets and a favorite gift card (as much as candy and gift items are nice $$ is most appreciated and useful for teachers.) and then put them in a cellophane bag tied with a ribbon to make the perfect gift to your children's teacher that is both fun and practical.
If you liked this post, then check out these: (Click on the photos to go to the posts)



Great welcome back to school or teacher appreciation gift. I love it!!!