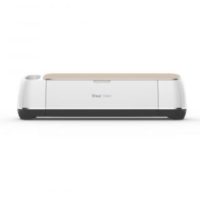
How cute are these Rudolf Suckers I made with my Cricut Maker?

A few days ago on a Cricut crafters facebook group, a mom shared the cutest Rudolf suckers she had made for her kids to give out to their classmates for Christmas. I loved the idea and decided to design my own for my kids to help me make as gifts for their cousins. They were super easy to make with my kids and we loved how they turned out. For those who want to make these as well, I thought I would do a quick tutorial along with my design space canvas already sized and ready to use with standard tootsie pop suckers.

I decided to add fun little googly eyes to my Rudolf suckers which my kids totally loved. I got my Tootsie Pops at Winco which has a candy barrel section with bulk candies so I was able to buy just red ones. If this is not an option for you, then you can always wrap your tootsie pops or blow pops in red tissue paper.

You can make your own following the tutorial below or pin it to your Christmas DIY pinboard on Pinterest to make next year.
DIY Rudolf Suckers

These Rudolf Suckers make for the perfect gift or stocking stuffer for kids of all ages. Best of all they are quick, easy and inexpensive to make with a Cricut.
Materials
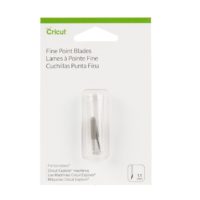
- Brown Cardstock
- Small Googly Eyes
- Red Tootsie Pop Suckers
Tools
Instructions
Open Cricut Design Space for Rudolf Sucker Pattern --> HERE

Click to make it and select the correct size of material for the mat (I used standard paper sized cardstock so for the design I ended up changing the mat to 8.5x 11.7) You will get 3 per 12x12 sheet and 2 on a 8.5x11 sheet.

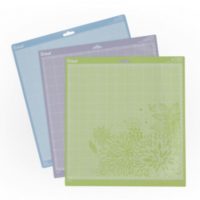
Select cardstock for intricate cuts as the material and Place cardstock on standard grip mat to cut.

After cutting peel the mat from the cut cardstock (to avoid curing the cut cardstock, (you can also use the spatula from the essential tool kit).

Place red Tootsie Pop through the hold in the middle of the cut patter folding the cardstock up so the sucker fits in the large cut holes

Use a glue stick to glue the top part of the reindeer head and antlers together.

Use a glue stick to glue googly eyes to the front of the reindeer.

Enjoy!

Notes
If you don't want to glue the reindeer head together you can always staple it. It doesn't look quite as nice but works and kids don't mind at all.
Recommended Products
As an Amazon Associate and member of other affiliate programs, I earn from qualifying purchases.

My children and I had sooo much fun making these together, that I need to come up with some fun sucker designs for Valentine’s day next…Maybe an owl or love bug…What do you think?

If you liked this post, then check out these: (click on the photo to go to the post)


Teresa
Wednesday 1st of July 2020
These are absolutely adorable!!!! Thank you so much for sharing. Every time i try to open your projects in design space, it tells me to open the app. When I try to do that, it takes me to my login page. Is there any other way to get the link for these projects?
Julia
Thursday 2nd of July 2020
I am so sorry about that. When Cricut moved to a desktop version there have been glitches in sharing projects. Here is a new link that should work: http://shrsl.com/2d4ng I have updated the link in the tutorial.