

Do you have a Kid who wants an Epic Zelda Birthday Party?

My middle child just turned 6. Like many a young boy, he does love his video games. He would spend all day playing on his 2ds and our WiiU if we would let him. (which we don’t) Of all our video games, his favorite has long been the game Legend of Zelda games. When asked what he would like for his birthday he begged for Legend Majora’s Mask to play on his 2DS. So it came as no surprise to my husband and I when my son requested a Zelda themed birthday party this year with his friends. He hasn’t had a friend birthday in a couple years due to us traveling so I readily agreed.
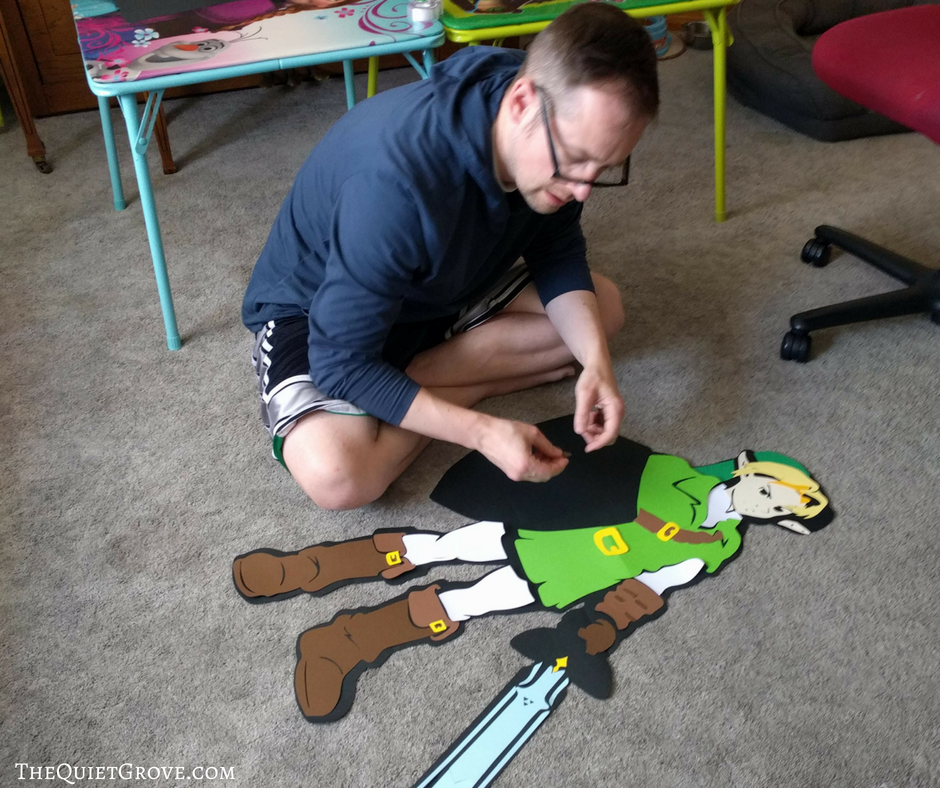
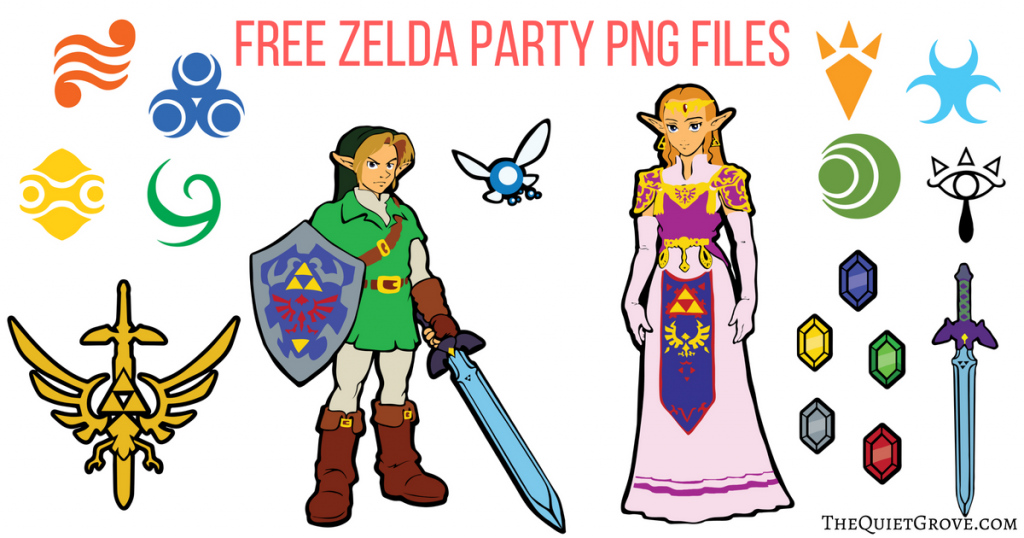
For this party I had to enlist my husband’s help since he is not only a talented illustrator, he is also a huge fan of Zelda. I told him I wanted a layered SVG for both Zelda and Link with Master Sword and Shield that I could cut out of cardstock with my Cricut Explore Air 2 as well as the little fairy thing, the Triforce symbol, Rupees, and various tribe symbols from the game. It was a lot I was asking but as always he came through.
I utilized my trusty Cricut, (& for the party favors EasyPress & Sewing Machine) to create this awesome party. Honestly, there is no way I could have created anything like this without my Cricut!

Materials Needed to replicate this party:
- Zelda Party SVG Cut File Set
- Zelda Party PNG Print and Cut File Set
- Zelda Banner Design Space Canvas
- Shield Design space Canvas
- Zelda Food Label Design Space Canvas
- Free Zelda Font
- Cricut Explore Air 2 (or other Cricut Cutting Machines that work with Design Space)\
- Standard and Strong Grip Mat
- Fine Point Blade
- Essential Toolkit
- Various Color Cardstock
- Color Printer (I used the Canon MG7720)
- Printable Vinyl (For the Stickers)
- Glue (to assemble the Characters)
- Tape to hang decorations
- String (for Banner)
- Materials for the Party Favor Bags (for the full list of needed materials, tutorial and SVG file go here
If you need to order any of these supplies from Cricut.com use Promo Code: TheQG10 to get 10% off + free shipping!!
**Note this code does not work on Design Space Access, digital content, machines, EasyPress, Brightpad
Now for the party Details…It’s all about the details…right? Hmmm… Where to start…
**First I want to apologize for the shadows on many of the photos. The party was in the early evening making it a bit hard to get as nice of photos as I would have liked. Hopefully, you can still see how awesome the party was 🙂
For the Party Food, I created some simple folded labels in Design Space that I cut out of Colored Cardstock and had the Cricut write on with a Silver Pen. (Click here for the Design Space Canvas for the Zelda Food Labels.)
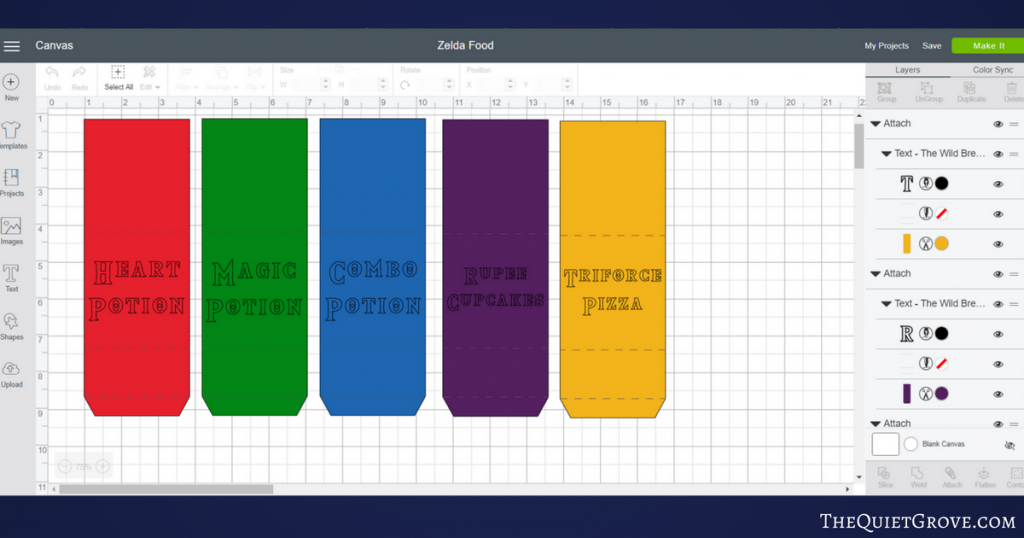
I kept the food for the party simple (since we were dealing with young kids. We had 3 Potion drinks (Koolaid bursts) just like the game. We had Heart Potions, Magic Potions, and Combo Potions.

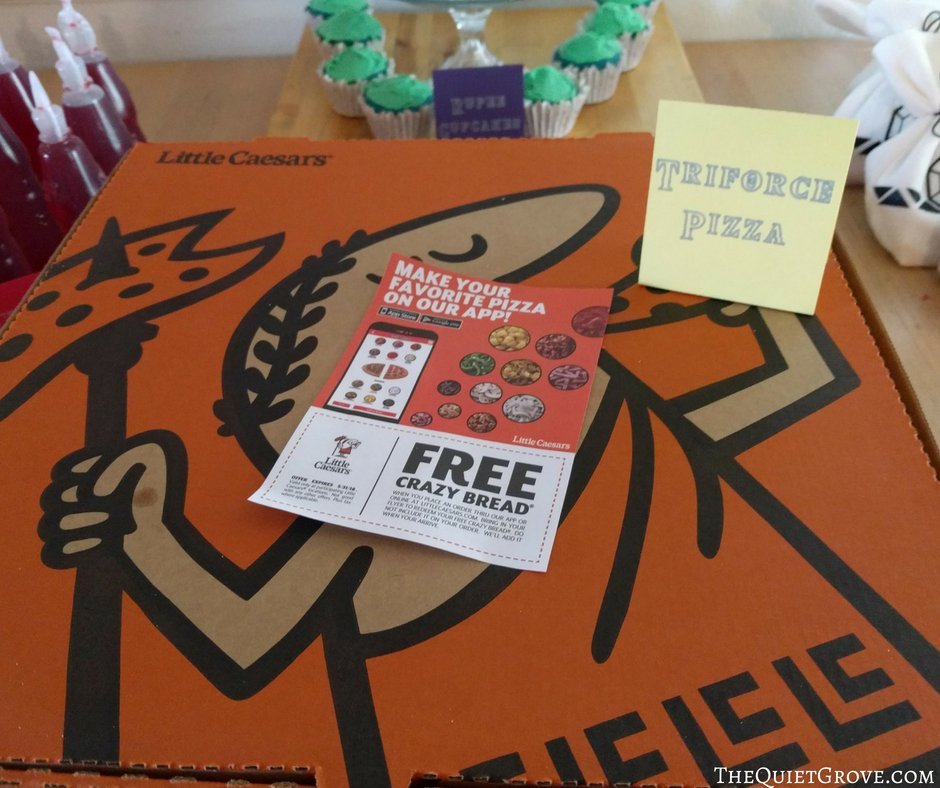
For the main food (since our party was in the evening) we had Triforce Pizza. (Get it..? Pizza is cut into triangles like the triforce…) Anyways, we just got some LIttle Ceasar $5 Pizzas for the kids.
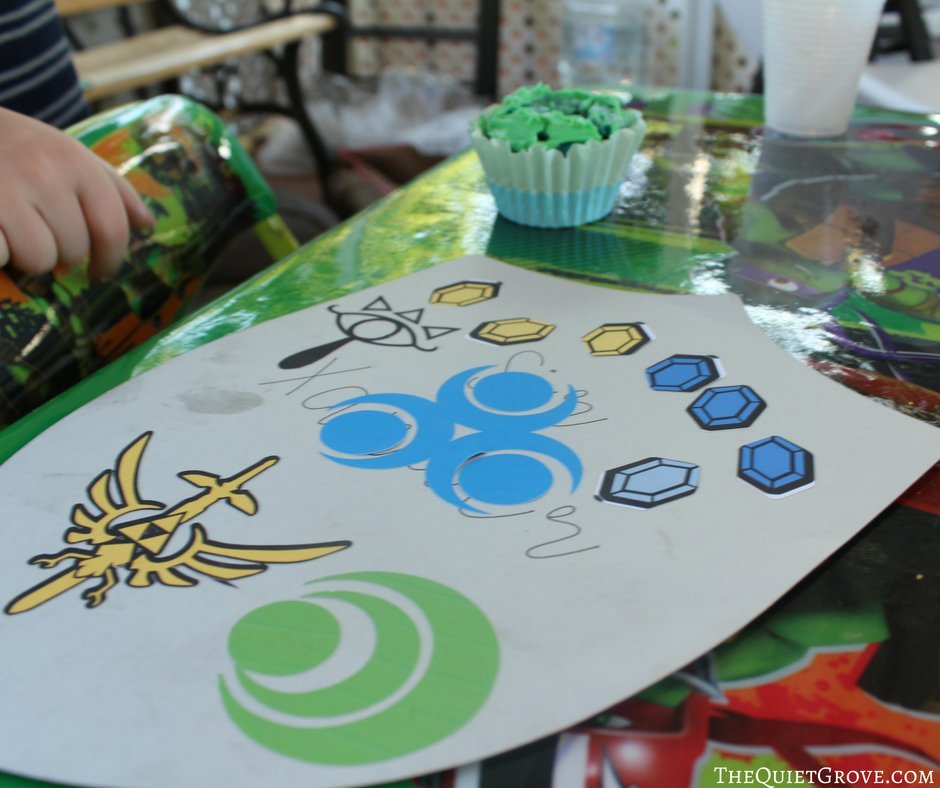
Lastly, for the Birthday Dessert, we made Rupee Cupcakes. My son requested Blue cupcakes so that’s what he got with green grass frosting around a ring pop to look like a Rupee in the grass. (I displayed the cupcakes on the Dollar Store DIY 2-tiered dessert tray. Get tutorial here)

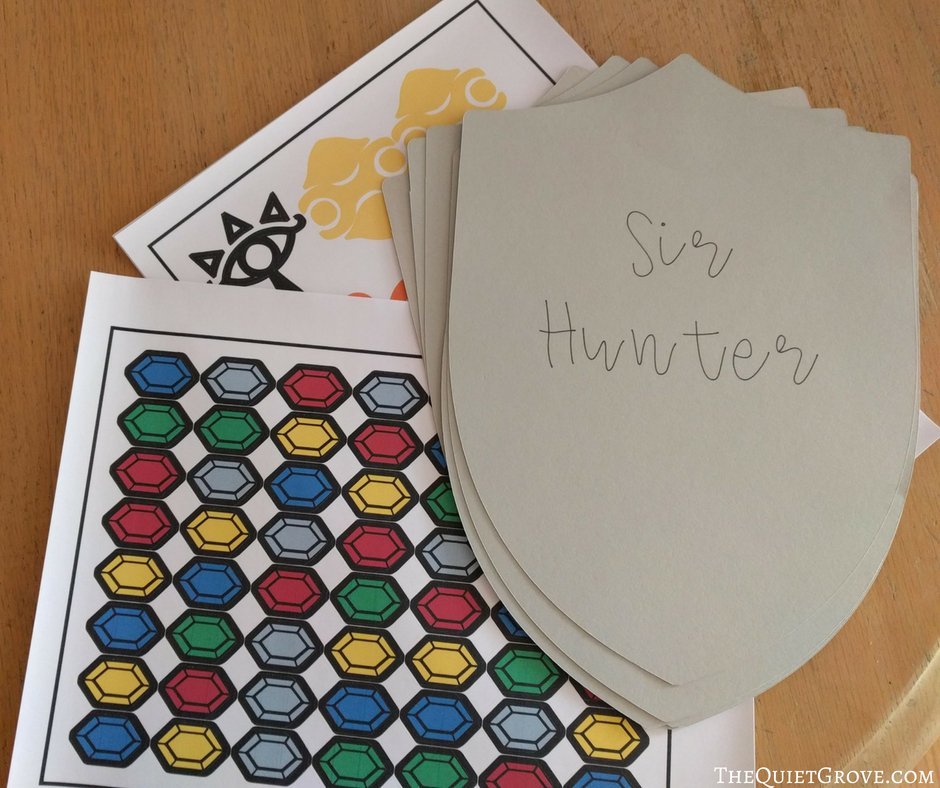
We had 2 activities as the party. 1 Activity was a Rupee Scavenger Hunt. I originally meant to cut out the rupees from colored cardstock and glue them to a black silhouette backing. But last minute I decided to utilize Cricut’s Print and Cut ability so I flattened the SVG files and then printed them onto white cardstock and let my Cricut Explore Air 2 cut them out. For those who want to use the Print and Cut function to make their Rupees, I went back and saved out my files as clear background PNG files so you can just upload and then they are ready to go. (Click here for the Zelda Party PNG set).
Once they were cut, I added a bit of tape to the back of each and had them paced all over the upstairs. **I meant to get some pictures of the kids searching for all the rupees but they were all moving soo fast that the pictures all came out blurry. Oh well. They all had a ton of fun.

For the Second activity, I Used my Cricut Explore Air 2 to cut out and label with Sir/Lady (+their first name) for each child. Then I made custom Zelda Stickers for the kids to decorate their shields along with crayons. (Click here to go to the Design Space Canvas for the Shield.)
For the Stickers, I just uploaded the Zelda PNG files and then sized them to fit on the Shield then utilized Cricut’s Print and cut function to print the stickers on Printable Vinyl and then had my Cricut Explore Air 2 cut them out. (Click here for the Zelda Party PNG set)
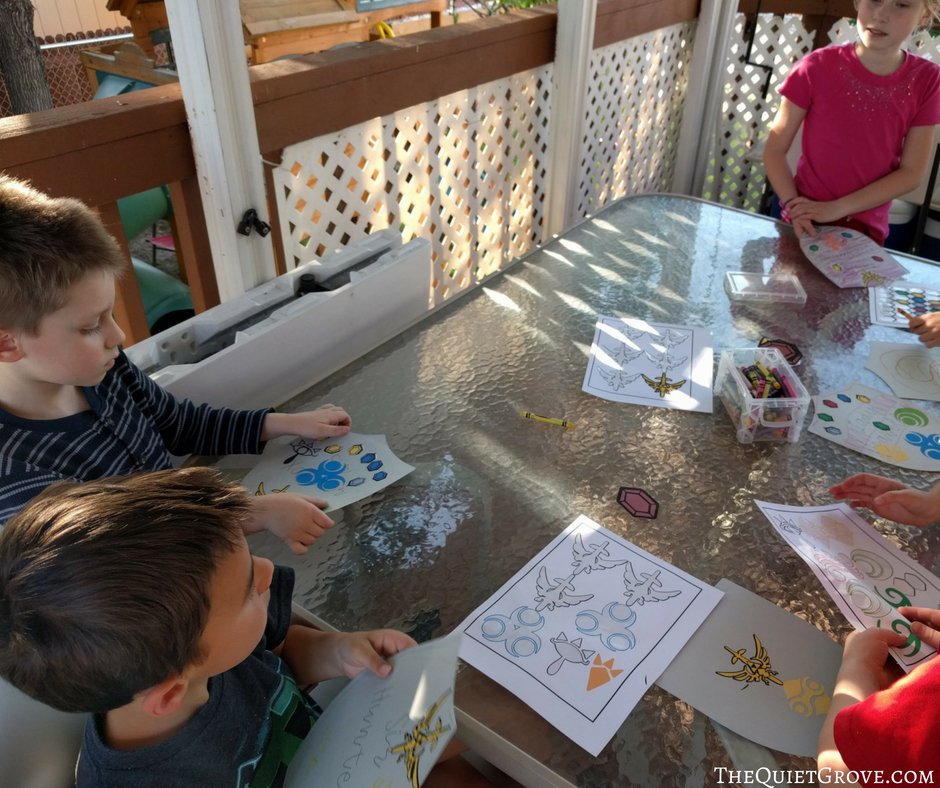
The kids had soo much time decorating their shields. They were originally supposed to be decorative for the kids to take home and put on their walls but after decorating them the kids fashioned handles with tape on the back and then started right into a make-believe adventure.
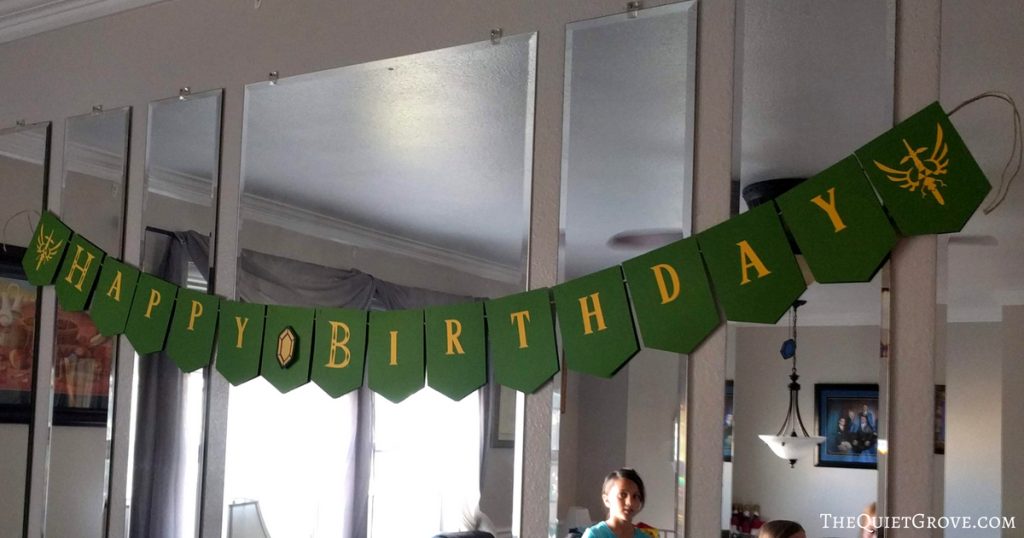
I love how the decorations for the party turned out. In the front room, I put up a Green and yellow Happy Birthday Banner. (Click here for the Design Space Canvas for the Banner.) To make this Banner with the classic Zelda font you will need to download and install this free font before opening the link. Also, You will want to upload the Triforce full SVG from my Zelda Party SVG set. Then just size the Triforce to fit in the banner.
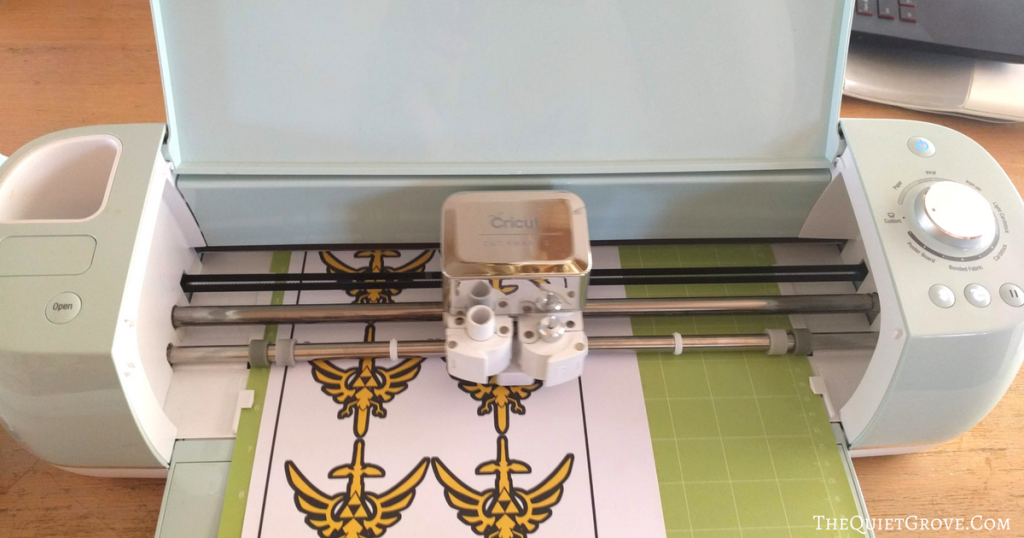
For the Zelda Tribe symbols, I just uploaded the SVG Cut files (found in my Zelda Party SVG set here) into Design Space and then sized them to fit on a page for each one. That gave them decent size when up on the walls.

Now for the Zelda and Link and Triforce…They took the most work. First, you need to download the SVG files from my Zelda Party SVG set here. Then upload them into Design Space. Since I wanted them each about 4 feet tall I had to slice the bigger sections to cut out then assemble. We ran out of time getting ready for the party so my husband (who was assembling Zelda and Link decided to leave off a little bit of the extra detail work on Zelda. I still think it turned out amazing)
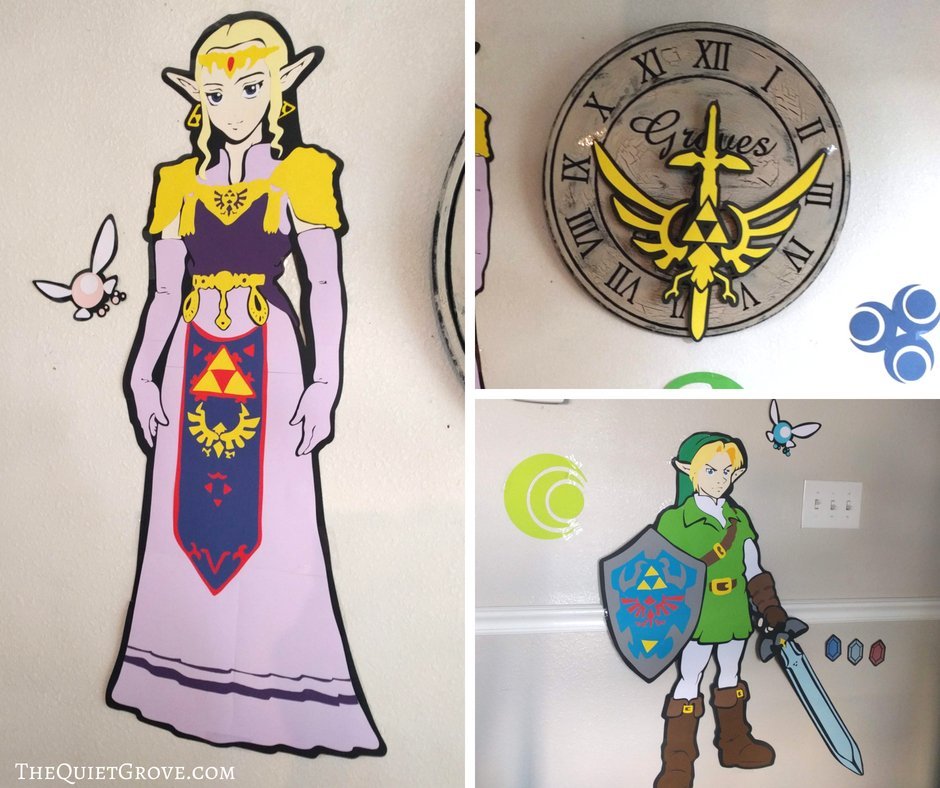
If you don’t know how to do this there are some tutorials on Youtube. Here is one that does a good job walking you through the process by fellow crafter Sara Wise.
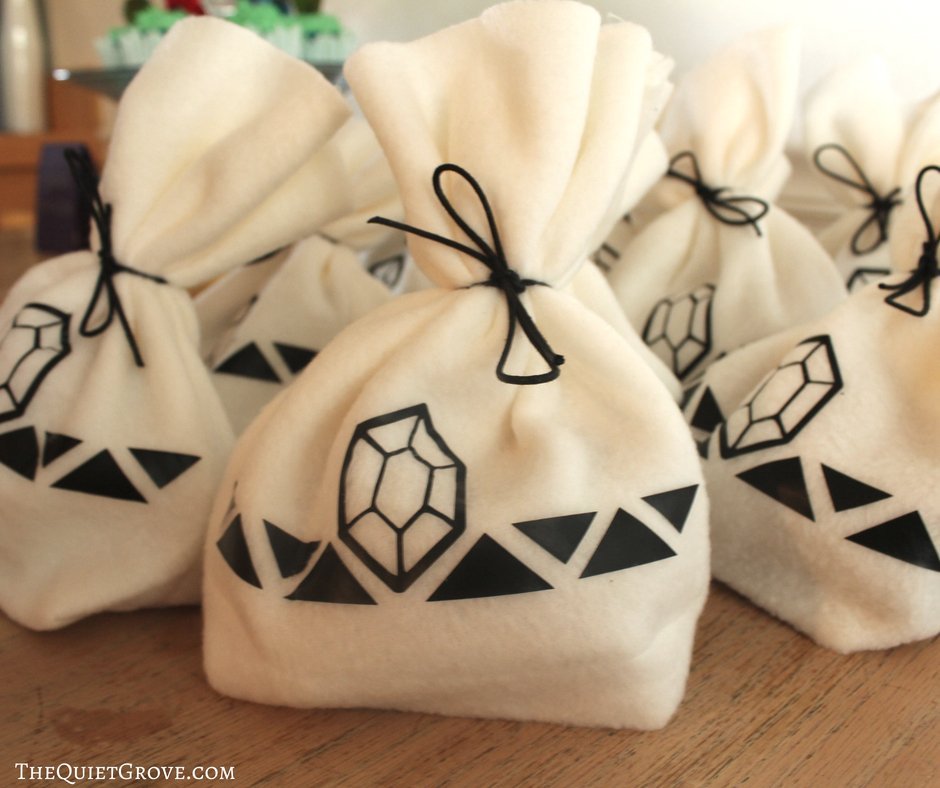
Lastly, for the party favors, I made Zelda Extra Wallet (or Rupee bags as my kids call them) that I filled with special treats for each kid. You can find the instructions for making the bags as well as the free SVG cut file for the Iron-On decorative pattern for the bags –> HERE<–.
I have to say that this party did take time and effort to put together. I am glad I have such an amazing husband who was willing to help. And in the end it was soooo worth it for how happy my son was and how much all the kids enjoyed it.
If you liked this post, then check out these: (Click on the photos to go to the post!


Jessica
Thursday 26th of October 2023
So thankful for all of these svg files for our son's zelda party! Thank you so much
Julia
Thursday 26th of October 2023
You are welcome. Enjoy!
Norma Ortiz
Tuesday 4th of January 2022
My boy is a fan of Zelda and I want to prepare his birthday.
thepumpkinpatchhomeschool
Monday 17th of August 2020
OH MY GOODNESS. You are SO awesome than you so much for these! I've been looking for a decent Link to make for my nephew! Thank you, thank you!
Julia
Monday 17th of August 2020
thanks. My husband drew them for me.