

This is a sponsored conversation written by me on behalf of Cricut. The opinions and text are all mine.
Did you know that Cricut now has a whole line of Infusible Ink Products?

For those who are new to Cricut Infusible Ink, let’s talk about what it is and how it works. Infusible ink is a special ink that when heated to a specific temperature sinks into your base material leaving a permanent design that won’t peel or crack and will stay vibrant wash after wash. That’s right, unlike Iron-on and Vinyl which uses an adhesive to stick to a surface of your project, Infusible Ink actually infuses into your project becoming permanent.
*Note: Infusible Ink only works with specific materials which is why Cricut offers a whole line of affordable blanks to use (from Coasters to Shirts to Totes) Right now the Infusible Ink line of materials & blanks are only available at Michaels. However, this fall you will also be able to purchase them directly through Cricut.com

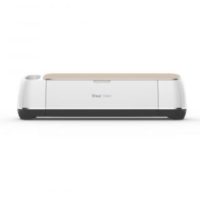
Additionally, to use Infusible Inks you need a Heat press that can reach 400°. I recommend using an Easypress 2. Not only are the various Easypress 2’s nice and portable but they all come with quality heat plates that heat evenly, and the temperature ability to reach up to 400° which helps to ensure flawless Infusible Ink results every time.
As for the Infusible ink itself, Cricut offers two lines of products. Sheets (that you cut and weed-like vinyl or Iron-on as well as pens. The sheets are great for larger projects, ones that you want a filled in design. Sheets can be bought in boxes with 1, 2 or 4 colors/patterns.

Pens are great for those intricate designs you want to make (yes you can layer with colored sheets). I have also seen crafters use the pens to get a watercolor-like design (by drawing on a ziplock with the pens adding a touch of water snd then painting onto the transfer paper with a watercolor brush. I haven’t tried this process yet myself but when I do, I will make sure to post about it here.
You can use both the sheets as well as pens with any of the Cricut blanks for various looks. When Cricut first announced about the Infusible Inks they sent me a starter kit to play with and I have to say I quickly fell in love.

I can’t wait to work with these inks to make even more projects. For my first Infusible Ink projects, I made a funny “Bookmarks are for Quitters” Library Tote Bag using the Infusible Ink Sheets as well as some beautiful Lacy designed Coasters using the Pens.

The process is slightly different depending on what project blanks you are using (as well as whether you are using the sheets, the pens or layering.) Check out the tutorials below to learn how to make both of these fun projects!
DIY "Bookmarks Are For Quitters" Library Tote Bag (made with Infusible Ink)

DIY tutorial for using Cricut Infusible Ink to make this fun "Bookmarks are for Quitters" Library Bookbag.
Materials
Tools
Instructions
Cutting Instructions:
1. Click on Cricut Design Space for Bookmarks are for Quitters Bag Design - -->HERE<--

2. Click to Make and Mirror Image on Mat.

3. Select Infusible Ink Sheets from the Materials List.

4. Load the Infusible Ink Sheet ink side up onto the mat and load it into the Maker.

5. After cutting, peel the mat from the Infusible Ink Sheet.

6. Use a paper cutter to cut off unused ink sheet to use for future projects.

7. Weed the design.

Easypress Instructions:
1. Follow instructions found on the Cricut Easypress Settings page --> HERE <--

2. Preheat Cricut EasyPress 2 to 385°F and set the timer to 40 seconds
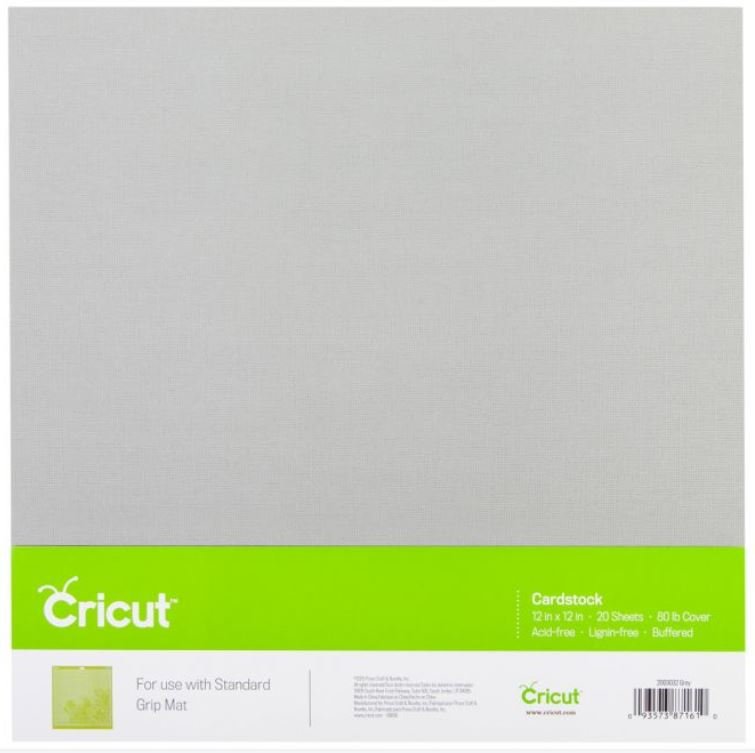
3. Place the Easypress mat inside the tote bag & Insert cardstock on top of the mat inside the tote bag to prevent bleed-through

4. Lint roll tote bag to clean the surface before adding Infusible Ink.

5. Cover the tote bag with butcher paper larger than the heat plate & Preheat the tote bag for 15 seconds.
6. Remove butcher paper from the top of the tote bag & Place the design face down, the liner side up.

7. Cover with clean butcher paper larger than the heat plate & Press with light pressure at 385°F for 40 seconds

8. Slowly lift the press & remove butcher paper & Carefully remove the liner while warm (use tweezers if necessary)

Notes
* The Ink on the Infusible Ink sheets is delicate so make sure your hands are grease-free and completely dry before handling the sheets.
Recommended Products
As an Amazon Associate and member of other affiliate programs, I earn from qualifying purchases.


DIY Lacy Coasters (made with Infusible Ink)

DIY tutorial for using Cricut Infusible Ink to make these beautiful Lacy Coasters
Materials
Tools
Instructions
Drawing Design:
1. Open Design Space for Lacy Coaster Design -->HERE<--

2. Click to Make the project and click to Mirror Image for Infusible Ink Mat

3. Select copy paper (20 lbs) as the material

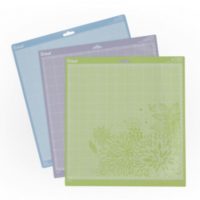
4. Load Infusible Ink Pen into Clamp A, And Place Lazer Copy Paper on the light grip mat and load it into Cricut Maker.

6. After your Cricut is done Drawing and cutting remove it from the machine and peel the mat from the paper

Easypress Instructions:
1. Follow the instructions found on the Cricut Easypress Settings page --> HERE <--

2. Preheat Cricut EasyPress 2 to 400°F and set the timer to 60 seconds.
3. Wipe tile coaster with a lint-free cloth.

4. Place the design face down & Secure it with tape, avoiding the image area.

5. Cover the Easypress mat with butcher paper to protect the surface & Place the coaster glossy side up.

6. Cover with clean cardstock

7. Center machine, press with no pressure at 400°F for 60 seconds

8. Lift press & Remove cardstock and let tiles fully cool.

9. Peel off the paper.

Notes
** CAUTION: Coaster will be very hot. Let cool completely. Remove coaster from design. so as not to burn yourself.
Recommended Products
As an Amazon Associate and member of other affiliate programs, I earn from qualifying purchases.


Don’t you just love how these Infusible Ink projects turned out? I love that the coasters are nice and shiny with the Infusible Ink design making them look like they were bought with the design on them. I also love that with the shirts that the design becomes part of the tote bag.

What projects are you most excited to use Cricut Infusible Ink with? And are you more excited about the sheets or pens?

If you liked this post then make sure to check out these: (Click on the photos to go to the posts)

