

Looking for an easy tutorial for how to customize your kid’s plastic Easter Egg Baskets with Cricut Vinyl?

Easter is just a few days away, and so it’s time to get those last-minute Easter projects done. Easter this year for many is looking very different than originally planned. However, it can still be special. While we originally had plans to celebrate with my husband’s side of the family (parents, siblings, nieces & nephews. Now it will just be our little family. But we will still be having an Easter egg hunt and I decided to make it more special by putting my kid’s names on their Easter Egg baskets.

I had ordered over a month ago all the supplies for our Easter celebration for our whole extended family and I didn’t want everything to go to waste (and we didn’t need all of that for just our 3 kids.). So we made Easter Care packages for each of my husband’s siblings which would include Easter Baskets with their kid’s names on them as well as the grass and prefilled eggs. Everything they would need for a fun Easter egg hunt for their kids.

Adding names to the Easter Egg Baskets only took a few minutes with my Cricut Maker and Cricut vinyl. Since all the baskets looked the same this was a fun way to make them more personalized.
You can customize your own easter baskets using the tutorial below or pin it to your Easter DIY pinboard to do next year.
DIY Custom Easter Baskets with Cricut Vinyl

You can customize your kid's Easter egg baskets in just minutes using your Cricut Machine and Cricut vinyl.
Instructions
Open a New Cricut Design Space and Add your kid's Names by selecting the Text button.

Choose your desired font and then size names to preference.

**I made sure all the names were between 1- 1 1/2 inches High and used the basic Cricut Sans font. However, you can adjust the font or size to whatever you prefer.
Click to make and Select your material

Load vinyl onto a standard grip mat.

**I used Cricut's Permanent vinyl for our buckets so I selected Premium Outdoor Vinyl. If you are using standard, Glitter or Holographic Vinyl make sure you select that specific type in the materials drop-down.)
After cutting, weed excess vinyl from cut design using the weeding tool from the essential tool kit.

Cut rectangles of Transfer tape to the size of the cut names.

Peel off back of transfer tape and firmly press on vinyl using scraping tool fro essential tool kit.

Peel off vinyl backing

Place design on Easter Egg Bucket and press with the scraping tool

Peel off the transfer tape.

Notes
**I chose black vinyl to customize the Easter buckets so that all the kid's names would stand out well in contracted to the colorful buckets but you can do whatever color you want.
***I was actually able to use the same piece of transfer tape for multiple design transfers so I was able to not waste.
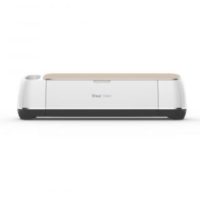
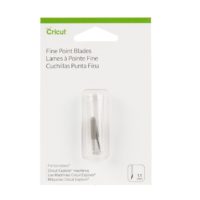
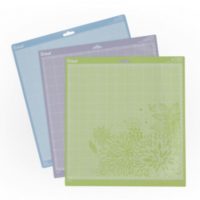
Recommended Products
As an Amazon Associate and member of other affiliate programs, I earn from qualifying purchases.


I do love how they turned out, as did my kids. They love it whenever I add their names on anything. It’s sort of an ownership thing.

If you liked this DIY then check out these: (click on the photo to go to the post)

