

Who wants to make these fun double-sided Harry Potter Christmas Throw Pillows?

Today I am teaming up with Fairfield World and 24 crafty bloggers to show you how easy and fun it is to make your own custom throw pillows for Christmas. We were each given 2 fluffy Fairfield pillows and were told to use our favorite craft supplies and our imagination to make our Christmas Pillows. Since we are doing a Harry Potter Christmas this year I decided to use my Cricut and some Iron-on I had on hand to make these fun Double-sided Harry Potter Christmas Pillows.

Follow the tutorial below to learn how to make your own Harry Potter Christmas pillows now or pin this post to your Harry Potter Pinterest Board to make later on.
DIY Harry Potter Christmas Pillows

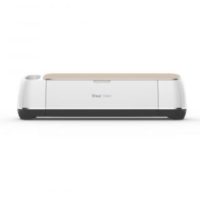
These easy DIY Harry Potter Christmas Pillows are made with a Cricut crafting machine, Iron-on and the Easypress 2.
Materials
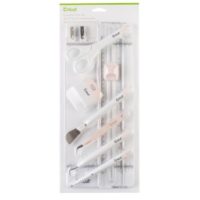
Tools
Instructions
Cutting Instructions:
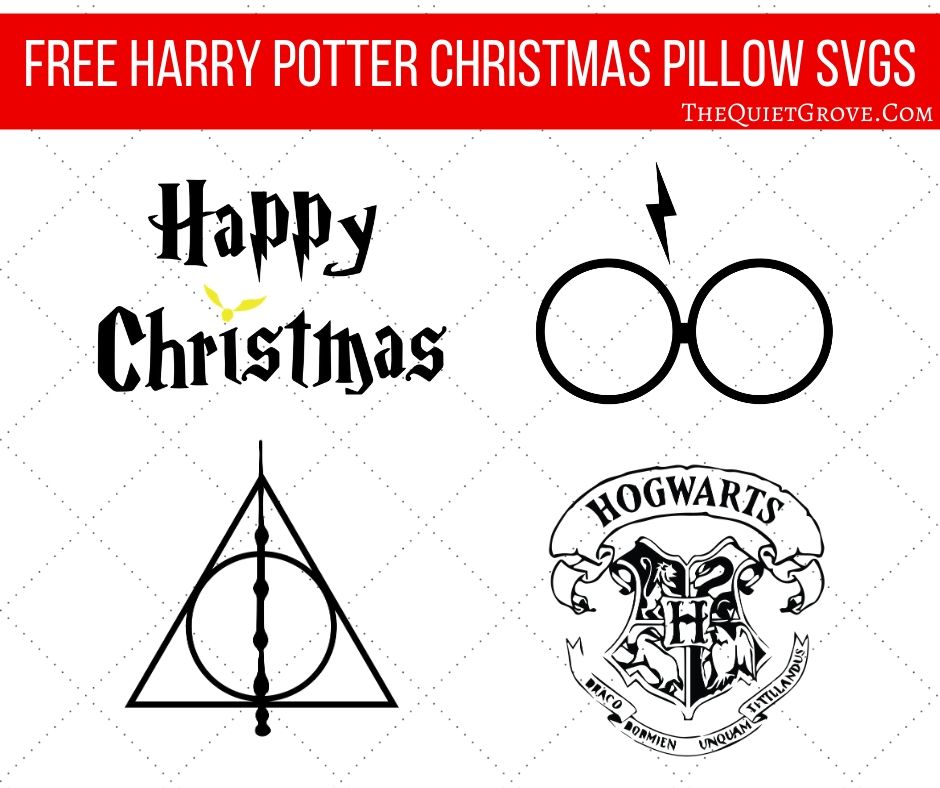
Download Free HP Christmas Pillow SVGs -->HERE<--
Upload the designs into Cricut Design Space

Size Files for your sized pillow cover.

*Happy Christmas = 10in Wide x 6.2in High
* Harry Potter Glasses = 10in wide x 8.182in High
* Hogwarts Crest = 9.449in Wide x 10in High
* The Deathly Hallows = 9.229in Wide x 10in High
Turn the text for the Happy Christmas Pillow and the Hogwarts Crest White.

Click on each image and select attach so that Cricut cuts them all in the right formatting (for the Happy Christmas you will only want to select the letters if you want to cut the snitch for the eye in a different color. I did the by selecting the Happy Christmas Design, ungrouping it. hiding the snitch, selecting the letters and attaching them then making the snitch visible again)

Click to make and select the mirror image button for all the mats.

Select Iron-on as the material.

load onto the mat shiny side down.

After cutting the Iron-on use weeding tool from the essential tool kit to weed the design.

-->REPEAT for all the black and white mats<--

For final gold, mat change the material to foil Iron-on.

Place on mat shiny side down.

After cutting weed the design.

EasyPress 2 Instructions:
Set the EasyPress 2 to 315°F / 157°C.
Place the Pillow Cases on the Easypress mat (bottom side facing up) &Pre-heat for 5 seconds.
Place the Iron-on Design on the pillowcases.

Firmly press with the EasyPress 2 for 30 seconds.

Repeat process with the next design on the other side of the pillowcase. (I placed the 12x12 Esypress Mat inside the pillowcase to be able to press the new design without hurting the design on the other side of the pillowcase. I also left the backing of the first design on until both sides of the pillowcase are done. (you don't want the iron-on sticking to the mat or the press.)

For the Foil Iron-on snitch change the Easypress temperature to 295 & press for 30 seconds (make sure the whole design is covered with either the backing from the Happy Christmas or with a sheet of parchment paper.)
Peel off the Iron-on backing and enjoy!

Recommended Products
As an Amazon Associate and member of other affiliate programs, I earn from qualifying purchases.


I just love how these pillows turned out. And since they are double-sided I can use them all year round if I want to.

I can’t wait to show you all the other fun DIY Harry Potter decorations I am making for Christmas this year. In the meantime click on the photo below to get all the deets on all the other fun Christmas pillows created for the FFWPillow Party 2019 Challenge!

- Gnome Pillow by Laura at Laura Kelly Designs
- Hedgehog Pillow by Alexandra at The Hedgehog Hollow
- Pom Pom Snowflake Pillow byt Emily at The Benson Street
- 3 Snowmen and a Bunny Pillow by Cindy DeRosier
- Reindeer Prance Pillow by Lindsey at Artsy Fartsy Mama
- 3 Trees Pillow by Beth from Creatively Beth
- Tree in a Truck Pillow by Katie from The Crafty Blogstalker
- Snowflake on Buffalo Plaid by Cheryl and Maybe That’s What Che Said
- Snowman Pillow by Janet at Try It Like It
- Oh Joy Pillow with Pom Poms by Ginger at GingerSnaps Crafts
- Merry Christmas by Ann Makes
- 25th of December Pillow by Lindsay at See Lindsay
- Joyful Pillow with Pom Poms by Natalie at DoodleCraft Blog
- Plaid Christmas Tree Pillow by Erica at Five Little Monsters
- Harry Potter Christmas Pillows by Julie at The Quiet Grove
- Felt Tree in Truck Pillow by Debra at Quartermain Designs
- Joyeux Noel Pillow by Monica at Sookee Designs
- Oh Come Let Us Adore Him Pillow by Amy at Amy Latta Designs
- Joy on Snowflakes Pillow by Diana at Miss USG Moments
- Polar Bear Pillow by Kimberly at Crafting Cheerfully
- Let It Snow Pillow by Katie at A Sweet Berry Designs
- All Hearts Come Home For Christmas Pillow by Suzie Bentz Designs
- Ornaments Pillow by Morena’s Corner
- Meet Me Under the Mistletoe AND Fresh Farm Christmas Trees by Laura at Laura’s Crafty Life

If you liked this post, then check out these: (click on the photo to go to the post)


Brittany Fleming
Monday 1st of November 2021
Can you make a print or word doc of the Happy Christmas? I want to have someone peont it on a pillow because I don't have circuit.
Julia
Monday 8th of November 2021
Yeah I can do that.
Oreillers de Noël DIY avec Fairfield World – mes emplois préférés
Friday 17th of September 2021
[…] Coussins de Noël Harry Potter par Julie à The Quiet Grove […]
janetvlt
Monday 4th of November 2019
what a great pair. the red one has so much detail in the design!!!
annmakes
Monday 4th of November 2019
I love how you incorporated Harry Potter! TFS.
Susie Bentz
Monday 4th of November 2019
Darling designs! My niece is a Potter-head and these are brilliant gift ideas!