


This Hoppy Easter Bunny Butt Shirt is sure to be a hit with your kids this Easter.

Earlier this month while making Easter decorations with my daughter on a fun mommy-daughter crafting weekend my daughter asked if I could make her a fun Easter Shirt with the Bunny Butt design we used for both a Bunny Butt Banner and Embossed Bunny Silhouette with 3D flowers.
So I sat down and designed this fun “Hoppy Easter” Bunny Butt shirt. Her cousins loved it so much they asked for matching shirts (which I will make later this week thanks to how quick and easy these are to make.)

Materials Needed:
- Cricut Explore Air 2 (or other Cricut Cutting Machines that work with Design Space)
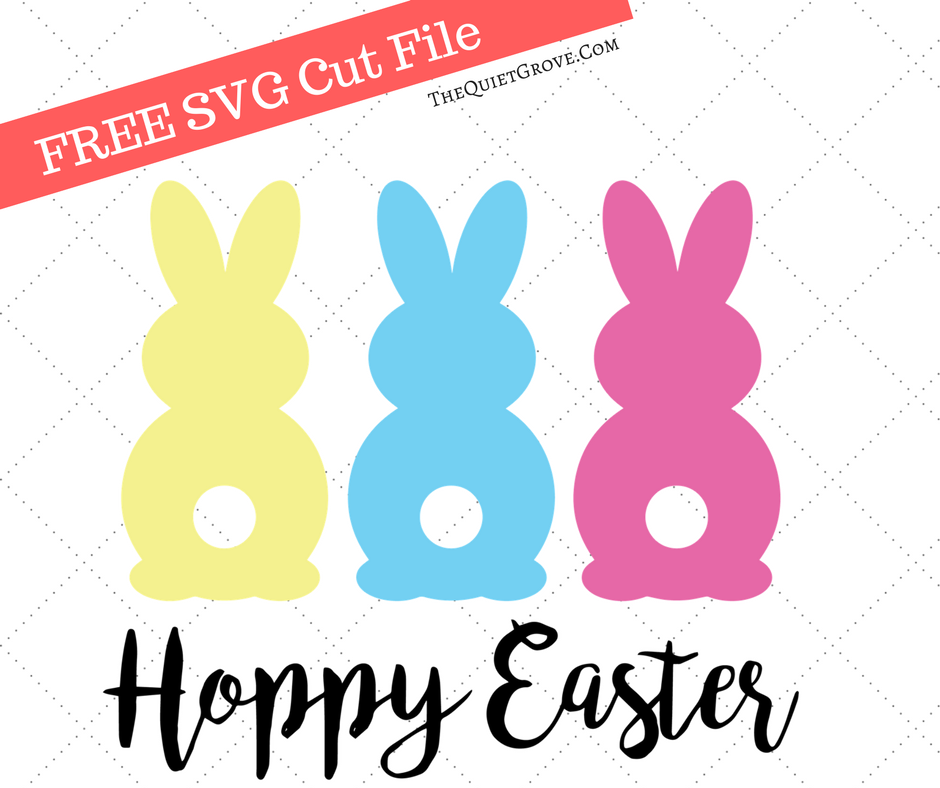
- Free Hoppy Easter SVG Cut File
- Standard Grip Mat
- Fine Point Blade
- Essential Toolkit
- Pink Iron-On (Heat Transfer Vinyl)
- Blue Iron-On (Heat Transfer Vinyl)
- Yellow Iron-On (Heat Transfer Vinyl)
- Black Iron-On LIte (Heat Transfer Vinyl)
- EasyPress
- EasyPress Mat
- White tshirt
If you need to order any of these supplies from Cricut.com use Promo Code: TheQG10 to get 10% off + free shipping!!
**Note this code does not work on Design Space Access, digital content, machines, EasyPress, Brightpad

Instructions:
- Upload File and Insert into your Design Space Canvas

- Size Design according to the size of shirt you will be putting it on.

- Click Make it button and then select “Mirror Image” setting for each mat.

- Set Cricut machine to the Iron-On setting, load your Iron-on onto a standard grip Mat, load into your Cricut and get cutting.

- After you are done the cutting, use your weeding tool to weed out the excess vinyl

- Place shirt on EasyPress Mat ** The EasyPress Mat is Cricut’s newest tool to use with their easypress. It shields your work surface from damaging heat (so you can use your table without damaging it) It helps eliminate moisture and directs the heat (from the easypress) to your Iron-On Design creating a better meld to your fabric!

- Preheat the area of your shirt that you will be putting your design (5-10 seconds) then place the first color of Iron-On where you want it on your shirt.

EasyPress Ironing Instructions
- Set your EasyPress to 315 F and preheat for 5 Seconds. Press Iron-On design for 30 seconds on the front of the garment and then 15 seconds on the back of the garment (leaving Liner on) using medium pressure. Warm Peel.
Regular Iron Instructions (for those who don’t have an EasyPress Yet.)
- Set your iron to the Cotton/Linen setting (generally the highest temperature setting). Make sure the steam setting is OFF for steam irons.
- Place the weeded image, liner side up, onto the preheated material.* Apply medium pressure with the iron for 25-30 seconds.
- Flip the material over and apply medium pressure with the iron to the back of the material for an additional 25-30 seconds.*
- Let cool 1-2 minutes. Remove lining.

Seriously this shirt is sooo easy to make (especially when using the EasyPress) that this is the perfect project to do with your kids. Think how much more they would love their shirts if they got to help make their own??

If you liked this post, then check out these (Click on the photo to go to the post)

